
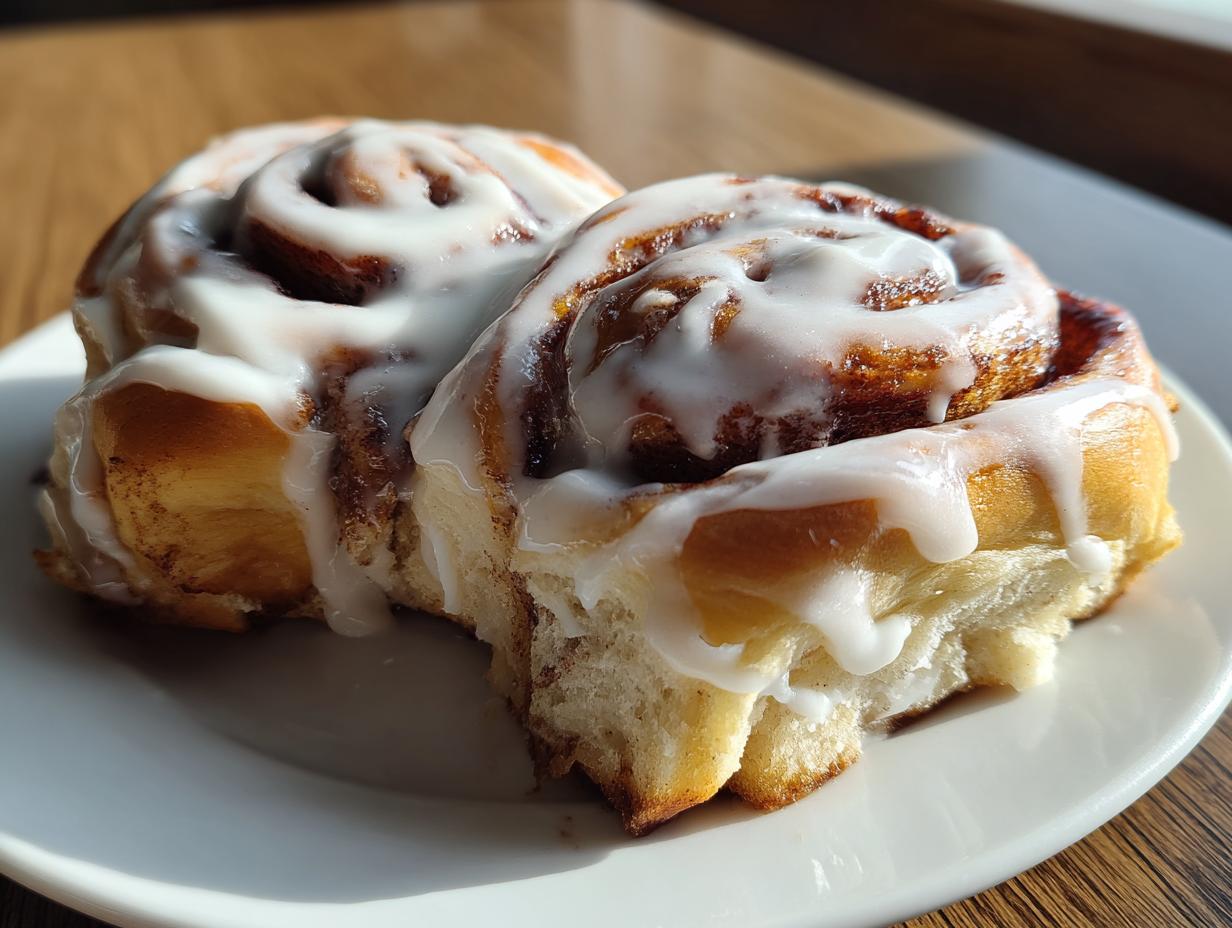
You know that moment? When the kitchen stops being just a room and starts smelling like pure, cozy magic? That’s the smell of homemade cinnamon rolls fresh from the oven! I used to think making a perfect, bakery-quality Cinnamon roll—the kind that’s soft, fluffy, and dripping with that tangy glaze—was reserved for people way more experienced than me. Yeast dough always seemed so intimidating, right? Trust me, I’ve been there. But I’m here to tell you that belief is totally wrong. This recipe strips away all the complexity. We’re building confidence right here, step by manageable step, so you can achieve the absolute best Cinnamon roll experience right in your own home. You absolutely can do this! If you want to know more about my philosophy on conquering kitchen doubts, you can always check out our story here.
- Why This Homemade Pastry Recipe Delivers the Best Cinnamon Roll
- Essential Ingredients for Your Perfect Cinnamon Roll
- Step-by-Step Instructions for the Ultimate Cinnamon Roll Dough
- Assembling and Shaping Your Gooey Cinnamon Roll Log
- Baking Tips for a Sweet Breakfast Recipe That Rises Perfectly
- Crafting the Perfect Cream Cheese Icing for Your Cinnamon Roll
- Storage and Reheating Instructions for Leftover Cinnamon Rolls
- Frequently Asked Questions About Making Cinnamon Rolls
- Estimated Nutritional Data for This Sweet Breakfast Recipe
Why This Homemade Pastry Recipe Delivers the Best Cinnamon Roll
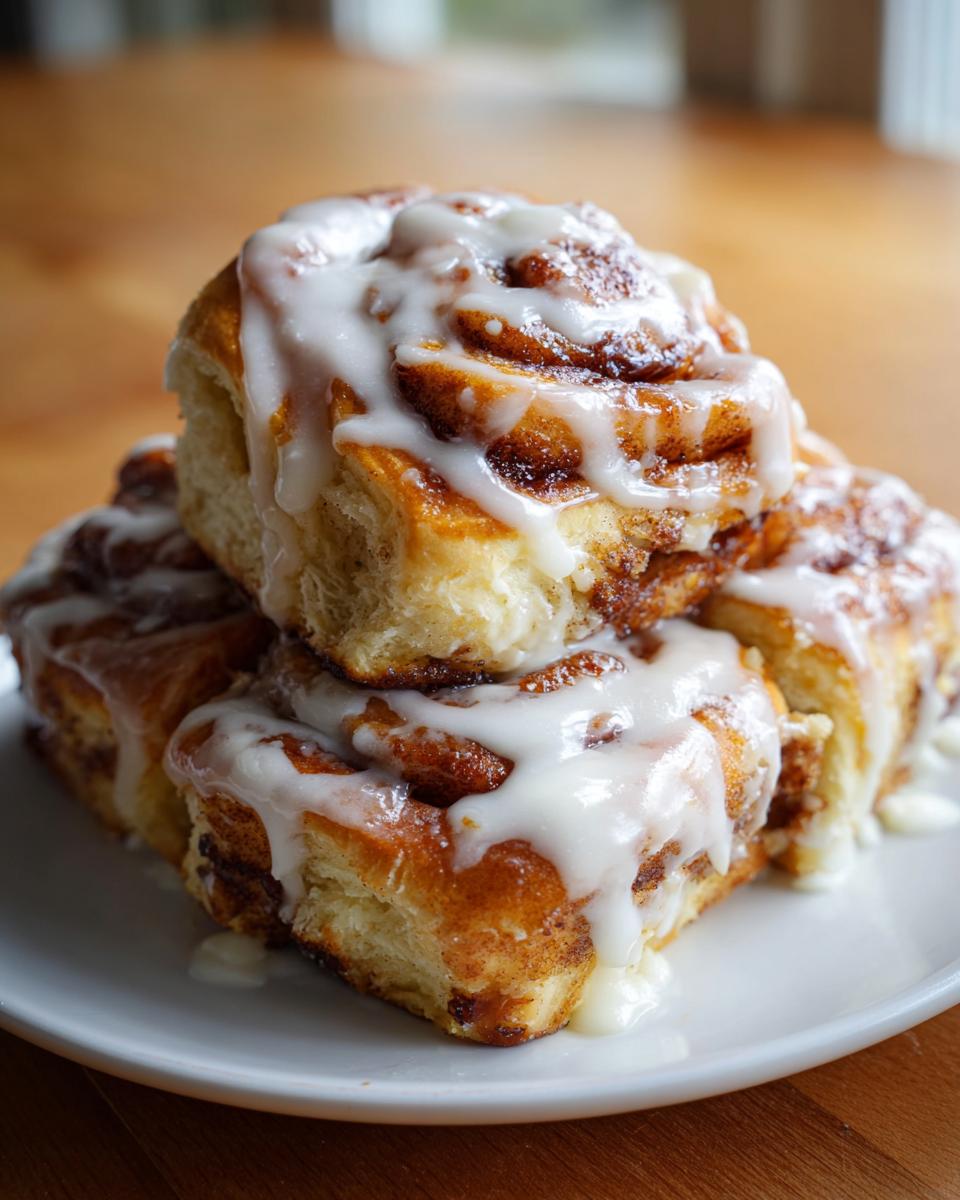
So many recipes promise perfection, but this one actually delivers the kind of soft, gooey roll you dream about. The reason this homemade pastry shines is honestly in the balance. We treat the yeast right, we use a rich dough packed with butter and eggs, and we use just the perfect amount of that spiced filling so they stay gooey but don’t explode in the oven. That’s how you get the best cinnamon roll!
- The dough is rich enough to feel decadent but easy enough for beginners.
- We activate the yeast perfectly every single time—no guessing games here!
- The filling ratio guarantees those beautiful, defined spirals.
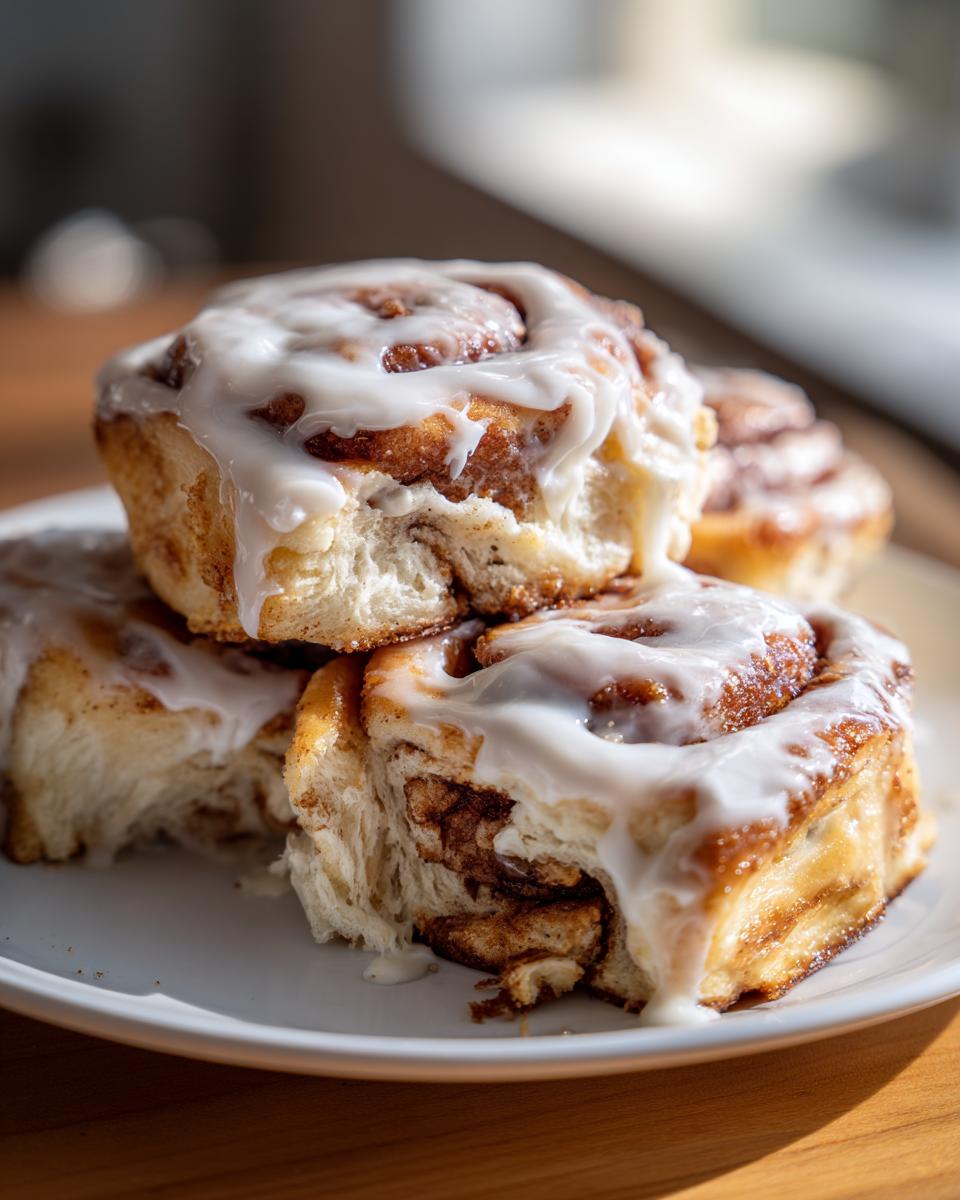
Achieving That Signature Soft Roll Texture
The tenderness of these rolls comes down to the temperature of your fats and eggs. Using room temperature eggs incorporates much better into the butter mixture, creating tiny air pockets we call structure. Keeping that butter super soft, but not melted, helps create that wonderfully tender crumb when it bakes. This simple setup is the secret weapon for avoiding tough, dry bread.
Essential Ingredients for Your Perfect Cinnamon Roll
Gathering your ingredients is the first step toward conquering this recipe, and let me be very clear: precision matters here, especially with that yeast! Treat these components with respect, and they will reward you with incredible flavor. We need three distinct groups: the rich dough base, the luscious filling, and the final, swoon-worthy icing. Check your milk temperature first—it should be warm, around 105-115°F, just cozy like a baby’s bath. That’s key to waking up our yeast!
- For the Dough: 1 cup whole milk, warmed; 2 1/4 teaspoons active dry yeast; 1/2 cup granulated sugar plus 2 tablespoons; 1/2 cup unsalted butter, softened; 2 large eggs (room temperature is best!); 4 cups all-purpose flour, plus extra for dusting; 1 teaspoon salt.
- For the Filling: 1/2 cup unsalted butter, softened (it needs to be spreadable!); 1 cup packed light brown sugar; 2 tablespoons ground cinnamon.
- For the Icing: 8 ounces cream cheese, softened; 1/2 cup unsalted butter, softened; 3 cups powdered sugar; 1 teaspoon vanilla extract; 2 to 3 tablespoons milk.
Ingredient Notes and Substitutions for Easy Cinnamon Rolls
Don’t stress if you don’t have whole milk exactly; 2% works just fine, but avoid skim if you can, as the fat in the milk really helps tenderize the dough for these easy cinnamon rolls. If you’re out of brown sugar for the filling, you can use granulated, but you lose that deep molasses flavor, so I highly recommend sourcing it! For the yeast, if you only have instant yeast, you can skip the initial proofing step and just mix it directly with the dry ingredients, but I prefer proofing it—it lets me know my yeast is alive and ready to work!
Step-by-Step Instructions for the Ultimate Cinnamon Roll Dough
Now we get to the satisfying part—turning those ingredients into a proper, pliable dough! This is the foundation of any terrific yeast roll recipe, so take your time here. First, we wake up the yeast. In a small bowl, gently mix that warm milk with the two tablespoons of sugar and the active dry yeast. You want it to look foamy, or bubbly, after about five to ten minutes. If it doesn’t foam, don’t panic, just check your milk temperature; it was probably too hot and shocked the yeast. Next, into your big bowl go the eggs, the rest of the sugar, softened butter, and salt. Add the foamy yeast mixture and about half your flour. Mix until it just comes together, then add the rest gradually. You’re looking for a soft dough that cleans the sides of the bowl.
Kneading is non-negotiable! Whether you use a stand mixer with the dough hook or you turn it out onto a floured counter, work it for about five to seven minutes. You’ll know you’re done when the dough feels smooth, springs back when lightly poked, and it’s elastic enough to stretch a bit before tearing. It shouldn’t feel sticky anymore when you touch it lightly.
The Critical First Rise: Patience for a Great Cinnamon Roll
Once kneaded, place that beautiful ball of dough into a lightly oiled bowl and turn it over once so it’s coated. Cover it up tight—I use plastic wrap so I can check on it—and walk away! It needs about an hour to an hour and a half in a nice warm spot, or until it has genuinely doubled, maybe even a little more. I remember my first time trying this; I got impatient after 45 minutes because it looked only slightly bigger. I baked it anyway, and wow, were those rolls dense! Learn from my mistake: wait for that full doubling. That expansion is where all the lightness comes from.
Assembling and Shaping Your Gooey Cinnamon Roll Log
Okay, you’ve got this beautifully risen dough, and now it’s time to transform it into the star of the show! Gently punch the air out—don’t be aggressive, just deflate it slightly—and turn it out onto a lightly floured spot. You need to roll this baby out into a neat rectangle, aiming for about 12 inches by 18 inches. Don’t stress about exact ruler measurements; just get it big and mostly even. Next, grab that creamy cinnamon-sugar filling we mixed earlier. Spread it edge-to-edge, but leave about a half-inch border bare along one of the long sides. This clear border is crucial because it helps seal the log!
Now for the satisfying part: roll it up! Starting on the side *opposite* that empty border, roll the dough up as tightly as you possibly can. You want those spirals to be defined later, so squeeze it tight as you go. Once you reach the end, pinch that bare seam shut really well. After sealing, I like to gently squish the entire log slightly to even out the thickness. Finally, take a sharp, clean knife—or even better, unflavored dental floss—and cut the log into 12 equal pieces. Place those gorgeous spirals cut-side up into your prepared 9×13 pan, leaving a little room for them to puff up again!
Baking Tips for a Sweet Breakfast Recipe That Rises Perfectly
We’ve done the mixing, the kneading, and the filling—don’t rush the finish line! Before these hit the heat, we need that second rise. Arrange your cut rolls snugly in that greased 9×13 pan, cover them loosely—I just use a clean kitchen towel now—and let them sit in a warm spot for about 30 to 45 minutes. They should look visibly puffy, like they’re whispering secrets to each other. If you skip this, you’ll get dense hockey pucks instead of the softest rolls imaginable.
When they look puffy, it’s oven time! Preheat your oven to 375°F (190°C). Place the pan on the middle rack. They usually take between 20 and 25 minutes to bake. Watch for that beautiful golden brown color covering the tops, especially around the edges. Pulling them out right when they hit that perfect hue guarantees that melt-in-your-mouth texture for your fantastic sweet breakfast recipe!
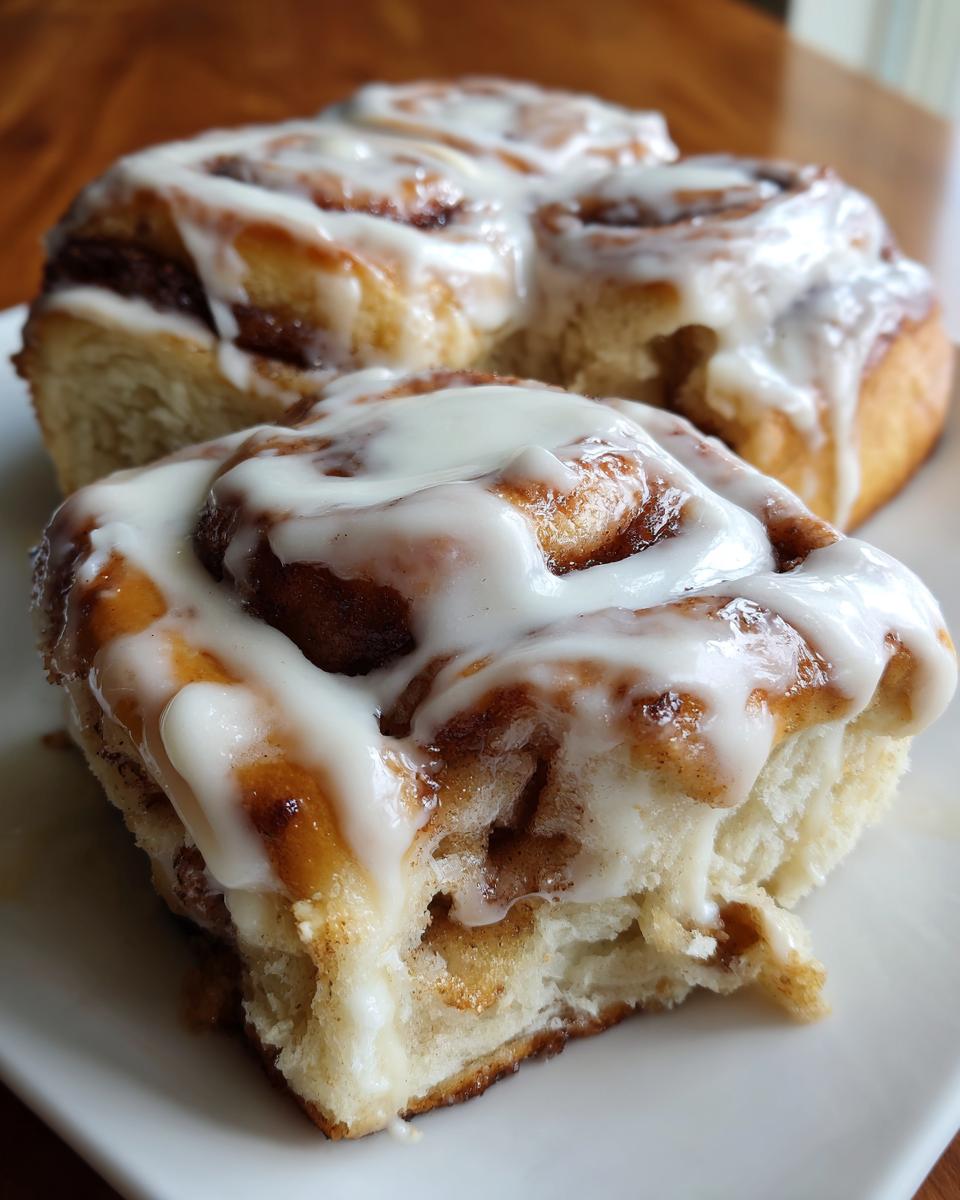
Crafting the Perfect Cream Cheese Icing for Your Cinnamon Roll
This is the grand finale, folks! The icing is what turns a great roll into an unforgettable, bakery-quality experience. You need everything for the icing—the cream cheese, the butter, and the powdered sugar—to be super soft. Pop the softened cream cheese and butter into your mixer first and beat them until they are perfectly smooth. No lumps allowed! Slowly stream in the powdered sugar and your vanilla extract. If your icing seems too stiff to even stir, this is where that extra milk comes in. Add just one tablespoon at a time. You want it to be thick enough to really coat the warm rolls but thin enough to drizzle down the sides enticingly. It should look glossy and totally irresistible!
Storage and Reheating Instructions for Leftover Cinnamon Rolls
We know these rarely last, but if you manage to have leftovers of your amazing homemade cinnamon rolls, we need to store them correctly to keep that gooey texture! If you plan on eating them within two days, it’s perfectly fine to keep them covered on the counter at room temperature; keep that icing on, too! For longer storage, pop them into an airtight container in the fridge.
When it comes time to reheat, skip the sad, dry microwave attempts. Wrap a whole roll (or a few!) loosely in a damp paper towel and zap it for about 15 seconds. Or, for the best results, pop them into a 350°F oven for 5 minutes. That little bit of moisture brings them right back to perfect!
Frequently Asked Questions About Making Cinnamon Rolls
It’s totally normal to have a few lingering doubts when working with yeast, especially when you’re aiming for the best cinnamon roll possible. Don’t worry, I’m here to help troubleshoot those last-minute questions before you dive into baking your sweet breakfast recipe!
Can I use instant yeast for these easy cinnamon rolls?
Absolutely! If you have instant yeast instead of active dry, you can totally adapt. Just skip Step 1 entirely—don’t worry about proofing it in the milk. You can just mix that instant yeast right in with your dry ingredients (flour, salt, and remaining sugar) before you start combining everything. It’s a great shortcut for making easy cinnamon rolls!
Why didn’t my dough rise the first time?
This is usually one of two things, and it’s almost always the temperature! If your milk was too hot, it killed the yeast before it could even get started, so you’ll end up with a brick instead of a cloud. If the milk was too cold, the yeast just got sluggish and didn’t wake up enough to perform. Next time, grab a thermometer, or just make sure that milk feels just comfortably warm on your wrist.
Can I make the dough ahead of time for a morning treat?
Yes, you definitely can! This is one of my favorite tricks for a weekend brunch. After you finish kneading (Step 3), place the dough in the oiled bowl, cover it well, and stick it in the refrigerator overnight instead of letting it rise on the counter. In the morning, just take it out, punch it down, shape it, let it do its second rise for about 45 minutes at room temp, and then bake! It saves so much morning time.
Can I skip the second rise for my cinnamon roll?
Oh, please don’t! If you skip it, you are cheating yourself out of that signature soft texture. Skipping that second rise means you end up with much denser rolls because the yeast activity needed for puffiness won’t happen in the oven. You need those rolls to look puffy and happy before they get baked for that truly soft and gooey promise!

Estimated Nutritional Data for This Sweet Breakfast Recipe
I always try to keep the focus on how delicious these are, but for those who like to plan, here are the estimates for our baked cinnamon roll. Remember, this is just a ballpark figure pulled from the standard measurements we used. Your exact nutritional count might shift slightly based on the brand of butter or how much icing your family decides to be generous with!
- Serving Size: 1 roll
- Calories: 450
- Sugar: 45g
- Fat: 24g
- Protein: 6g
This is approximate data, as the final count will certainly vary depending on your specific ingredients!
PrintSoft and Gooey Homemade Cinnamon Rolls with Cream Cheese Icing

Follow this straightforward recipe to make bakery-quality, soft, fluffy cinnamon rolls from scratch. This recipe focuses on a rich, yeasted dough and a simple cream cheese glaze for a satisfying sweet breakfast.
- Prep Time: 45 min
- Cook Time: 25 min
- Total Time: 170 min
- Yield: 12 servings 1x
- Category: Breakfast
- Method: Baking
- Cuisine: American
- Diet: Vegetarian
Ingredients
- 1 cup whole milk, warmed to 105-115°F
- 2 1/4 teaspoons active dry yeast
- 1/2 cup granulated sugar, plus 2 tablespoons for yeast
- 1/2 cup unsalted butter, softened
- 2 large eggs, room temperature
- 4 cups all-purpose flour, plus more for dusting
- 1 teaspoon salt
- For the Filling: 1/2 cup unsalted butter, softened
- 1 cup packed light brown sugar
- 2 tablespoons ground cinnamon
- For the Icing: 8 ounces cream cheese, softened
- 1/2 cup unsalted butter, softened
- 3 cups powdered sugar
- 1 teaspoon vanilla extract
- 2–3 tablespoons milk
Instructions
- Activate the yeast: In a small bowl, combine the warm milk, 2 tablespoons of sugar, and the yeast. Let stand for 5 to 10 minutes until foamy.
- Prepare the dough: In a large bowl or stand mixer, combine the remaining 1/2 cup sugar, softened butter, eggs, and salt. Mix until just combined. Add the yeast mixture and half of the flour. Mix on low speed until combined. Gradually add the remaining flour until a soft dough forms.
- Knead the dough: Knead the dough on a lightly floured surface or with a dough hook for 5 to 7 minutes until it is smooth and elastic.
- First rise: Place the dough in a lightly oiled bowl, turning to coat. Cover with plastic wrap and let it rise in a warm place for 1 to 1.5 hours, or until doubled in size.
- Make the filling: While the dough rises, mix the softened butter, brown sugar, and cinnamon together in a small bowl until well combined.
- Shape the rolls: Punch down the risen dough. Turn it out onto a lightly floured surface and roll it into a large rectangle, about 12 by 18 inches.
- Spread the filling: Spread the cinnamon-sugar filling evenly over the entire surface of the dough, leaving a small border on one long edge.
- Roll and cut: Starting from the long edge opposite the border, tightly roll the dough into a log. Pinch the seam closed. Cut the log into 12 equal pieces.
- Second rise: Place the rolls cut-side up in a greased 9×13 inch baking pan. Cover loosely and let them rise again for 30 to 45 minutes, or until puffy.
- Bake the rolls: Preheat your oven to 375°F (190°C). Bake for 20 to 25 minutes, or until golden brown.
- Make the icing: While the rolls cool slightly, beat the softened cream cheese and butter until smooth. Gradually add the powdered sugar, vanilla extract, and 2 tablespoons of milk until the icing is creamy. Add the remaining milk if needed for a thinner consistency.
- Ice and serve: Spread the cream cheese icing generously over the warm cinnamon rolls. Serve immediately for the best texture.
Notes
- For the softest rolls, make sure your milk is warm, not hot, to avoid killing the yeast.
- If you want extra gooey rolls, slightly increase the amount of filling butter.
- You can prepare the dough the night before, let it rise, punch it down, place it in the pan, cover, and refrigerate. In the morning, let it warm up for 30 minutes before baking.
Nutrition
- Serving Size: 1 roll
- Calories: 450
- Sugar: 45g
- Sodium: 300mg
- Fat: 24g
- Saturated Fat: 15g
- Unsaturated Fat: 9g
- Trans Fat: 0.5g
- Carbohydrates: 55g
- Fiber: 2g
- Protein: 6g
- Cholesterol: 65mg