
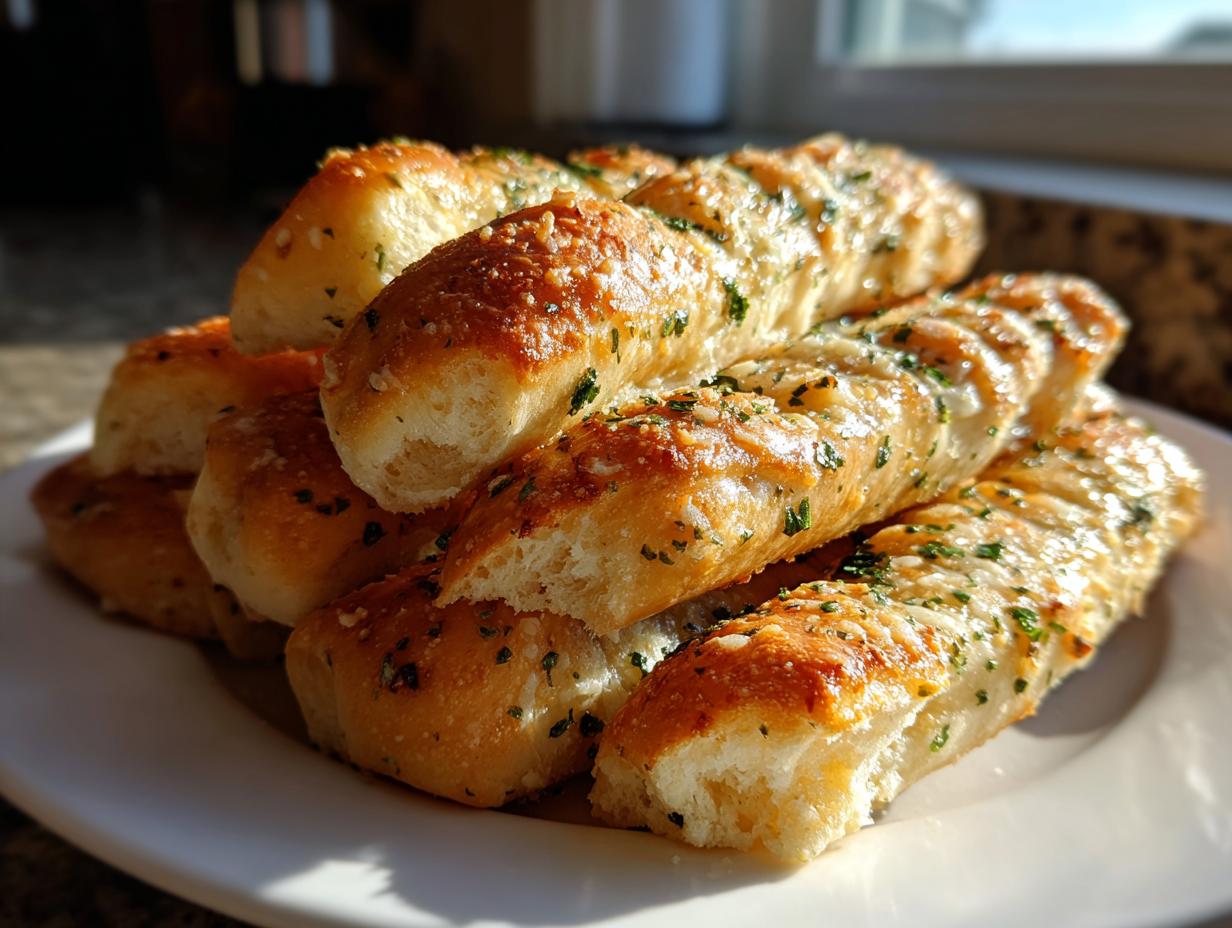
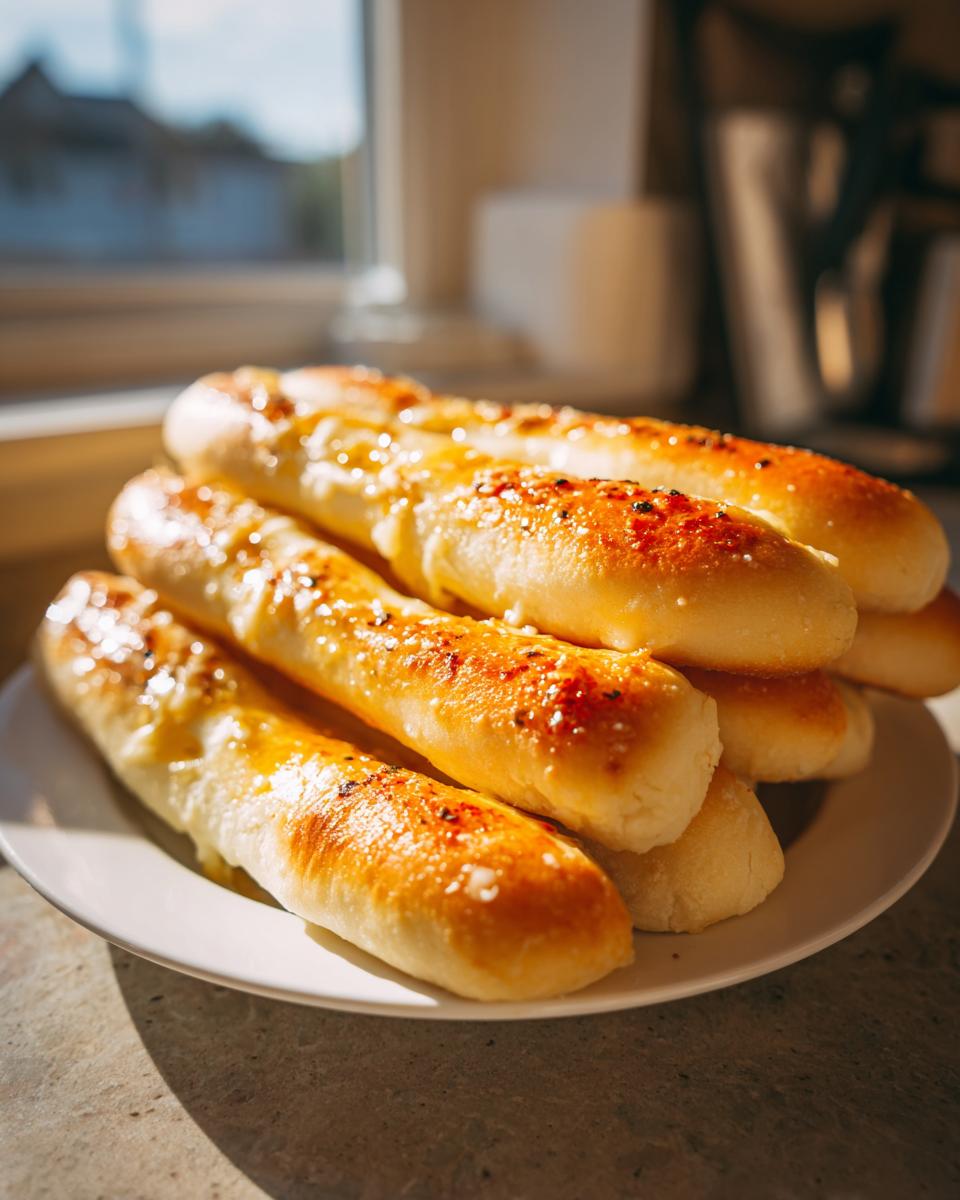
I don’t know about you, but when I start thinking about Italian night, there’s a little voice in my head that immediately demands those pillowy, buttery sticks you get before the main course. Seriously, that first basket of warm breadsticks is half the reason we go out! For years, I kept ordering takeout just for that specific salty, garlicky hit. But mastering restaurant-quality sides at home? That’s where the real confidence boost comes in. Trust me, you absolutely do not need a secret handshake or a special imported flour to nail them. We are going to break down exactly how to achieve that famous, soft, and utterly chewy texture. This isn’t just another recipe; it’s my definitive Olive Garden Breadsticks Copycat method, guaranteed to give you the best homemade breadsticks you’ve ever eaten.
- Why These Are The Ultimate Soft Breadsticks Recipe (Olive Garden Copycat)
- Ingredients for Homemade Breadsticks with Garlic Parmesan Breadsticks Topping
- How to Prepare Easy Breadsticks Using This Homemade Dough Recipe
- Tips for Perfect Restaurant Style Breadsticks Every Time
- Variations: Making Cheesy Breadsticks or Mozzarella Breadsticks
- Serving Suggestions for Your Appetizer Bread Sticks
- Storage & Reheating Instructions for Leftover Breadsticks
- Frequently Asked Questions About Homemade Breadsticks Recipe
- Nutritional Estimates for Two Breadsticks
- Share Your Homemade Breadsticks Creations
Why These Are The Ultimate Soft Breadsticks Recipe (Olive Garden Copycat)
What’s the real secret here? It’s all about balance. We aren’t aiming for a hard, crusty Italian breadstick; we want that signature soft breadsticks texture that practically dissolves in your mouth. Achieving that requires a little patience with the yeast and the right amount of oil right in the dough itself. That oil is the key to keeping them wonderfully chewy breadsticks, even after they cool down a bit.
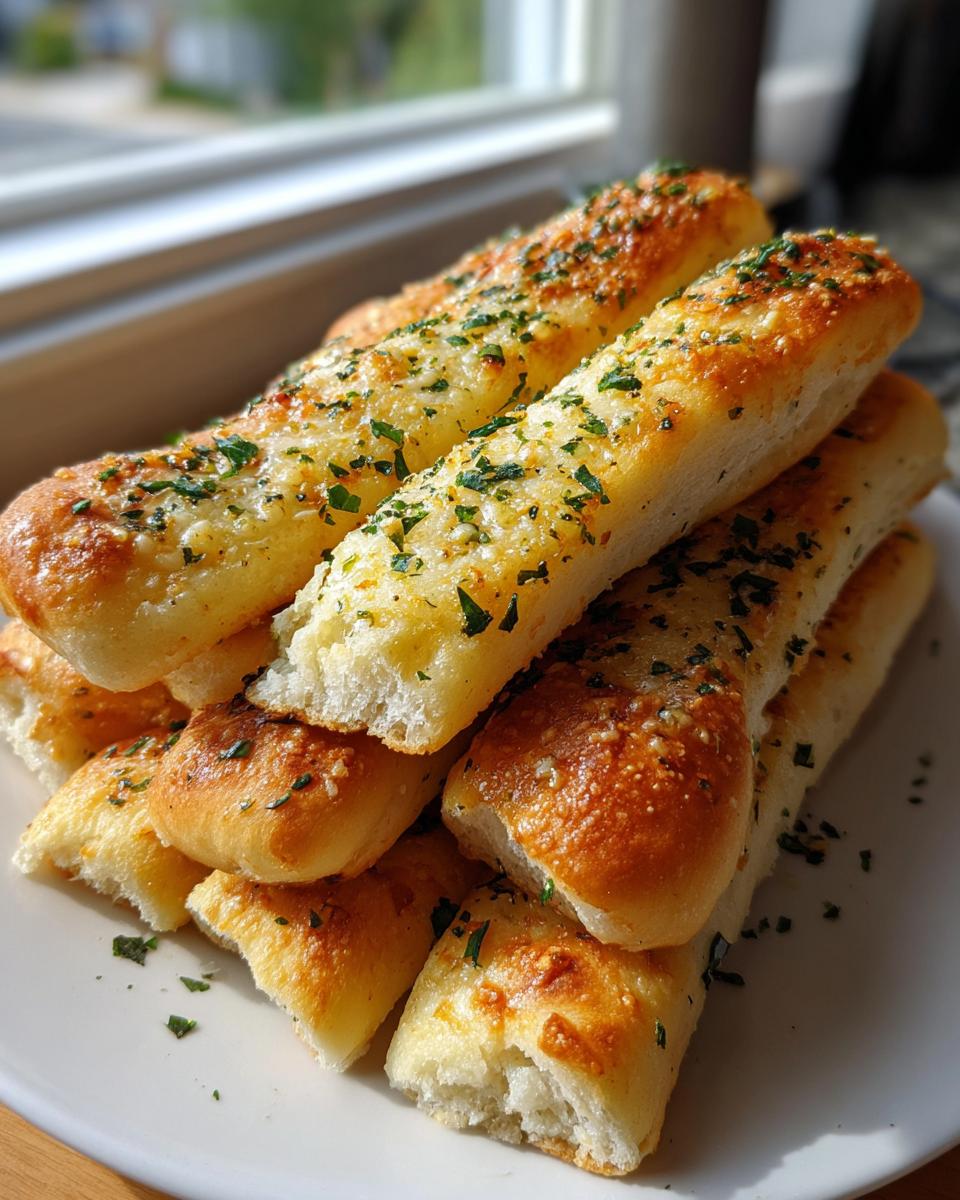
Most quick dough recipes end up too hard or too airy. Not this one. We use a slightly wetter dough consistency before the rise, which is what locks in that incredible moisture, pushing them firmly into the realm of true restaurant style breadsticks. Once they come out of the oven, that heavy blanket of garlic butter seals the deal. It’s simple, it’s delicious, and honestly, it beats paying ten bucks for bread at the restaurant every single time.
Ingredients for Homemade Breadsticks with Garlic Parmesan Breadsticks Topping
Okay, let’s talk assembly. Because we are making these from scratch, everything needs to be measured out precisely. Don’t worry, you probably have most of this on hand! We’re dividing our list into two parts: the dough, which gives us that perfect chewy breadsticks base, and the topping, which is where all the magic flavor happens. I always lay everything out on the counter before I even think about turning on the mixer. It saves so much time!
When you get to the Parmesan for the topping, please splurge a little if you can. Using freshly grated Parmigiano-Reggiano that you grate yourself makes a huge difference versus the pre-ground stuff in a green can. It melts smoother and has that sharp, salty bite we want against the rich garlic butter.
For the Soft Breadsticks Dough
- 1 1/2 cups warm water (make sure this is between 105-115°F—too hot kills the yeast!)
- 2 1/4 teaspoons active dry yeast
- 2 tablespoons granulated sugar
- 4 cups all-purpose flour, plus more for dusting
- 1 teaspoon salt
- 1/4 cup olive oil, plus more for greasing
For the Buttery Garlic Parmesan Breadsticks Topping
This rich Garlic Parmesan Breadsticks topping is what you brush on right when they come out of the oven. Make sure your butter is fully melted!
- 1/2 cup unsalted butter, melted
- 4 cloves garlic, minced (yes, use 4, we want flavor!)
- 1 teaspoon dried Italian seasoning
- 1/2 teaspoon salt (this helps balance the richness)
- 1/4 cup grated Parmesan cheese
How to Prepare Easy Breadsticks Using This Homemade Dough Recipe
This is the best part—turning simple flour and water into something amazing! Because we are doing this from scratch, remember that success relies on following the process for this easy breadsticks recipe. It’s a rewarding Homemade Dough Recipe that cooks way faster than you might think.
Activating the Yeast and Creating the Dough
First things first, we wake up the yeast. In a big bowl, mix that warm water, your sugar, and the yeast. Now, you have to wait. Walk away for 5 to 10 minutes. If it doesn’t get foamy and bubbly on top, your water was too hot or the yeast is old, and we have to start that tiny step over. Once it’s foamy, we add the flour and the teaspoon of salt. Mix it until it looks messy. Then, pour in that 1/4 cup of olive oil.
Kneading and Allowing the Breadsticks Dough to Rise
Time to get your hands dirty! Turn the shaggy dough out onto a surface dusted lightly with flour. You need to knead this for a solid 5 to 7 minutes. You’re looking for it to stop sticking to your hands and become really smooth—think of the texture of a stress ball, nice and elastic. That’s how you make sure your breadsticks develop that amazing chew.
Next, lightly oil a clean, large bowl. Put your smooth dough ball in there and turn it so it’s coated. Cover it up tight and find a warm spot. You need to let this rise for 60 to 90 minutes. Seriously, don’t rush this part! You want it to look completely doubled in size. This long rest is what develops the flavor and lightness.
Shaping and Baking Your Dinner Side Dish Bread
Okay, we are moving fast now! Get your oven preheated to 400°F (200°C). Line two big sheets with parchment paper—this is a must so they don’t stick! Gently punch the air out of your dough. I divide mine into two equal piles, flatten each one into a rectangle maybe a quarter-inch thick. Now, use a knife to cut the dough into strips. Aim for about 1 inch wide and 8 inches long—that’s the perfect size for dipping!
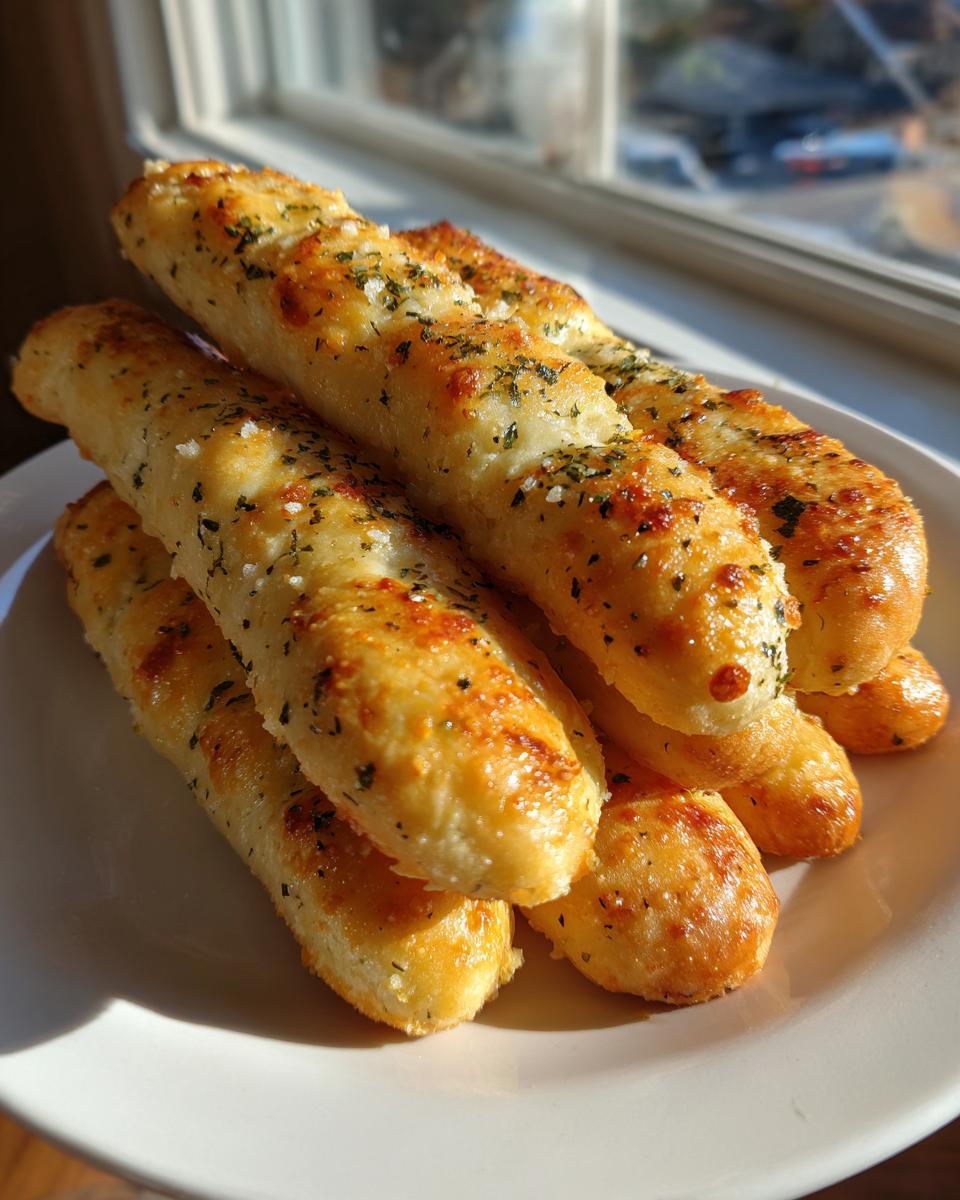
Lay them out on your sheets with a tiny bit of space between each one. They bake fast, usually just 10 to 12 minutes. You are watching for light golden brown edges. If the center of your oven runs hot, you might want to rotate the sheets halfway through—that keeps this dinner side dish bread cooking evenly!
Applying the Signature Garlic Butter Topping
The second those breadsticks leave the oven, you have about 30 seconds to make them perfect. The heat is what makes the topping absorb! While they bake, quickly whisk together your melted butter, minced garlic, Italian seasoning, and that final bit of salt. As soon as the pan hits the counter, brush that garlic concoction all over the tops—don’t be shy!
Right after the butter goes on, sprinkle that grated Parmesan cheese liberally over the top. The heat will melt it slightly and set it right in place. That immediate application locks in all that incredible buttery breadsticks flavor. Serve them right away for the best experience!
Tips for Perfect Restaurant Style Breadsticks Every Time
Look, I totally get it—sometimes you need that perfect appetizer but you don’t have 90 minutes to wait for dough to rise. Life happens! That’s why I always keep a couple of expert tricks up my sleeve to speed things up or plan ahead. These tips are about making sure you get fantastic, craveable results without stress.
Quick Bread Recipe Substitutions
If you are truly in a pinch, don’t panic. You can absolutely swap out the quick bread recipe base dough for one package of that pre-made refrigerated pizza dough from the store. It won’t have that specific homemade tang, but it gets you 90% of the way there flavor-wise! Just unroll it, cut it into strips exactly as I described above, and proceed straight to baking. It cuts the total time in half easily!
Make Ahead Breadsticks Storage Guidance
If you want to do the hard work ahead of time, this dough is fantastic for that. You can mix the dough, knead it, put it in an oiled bowl, cover it, and stick it right in the fridge for up to three days. It essentially slow-ferments beautifully in the cold! Just remember—the dough will be rock hard coming out of the fridge, so you must let it sit on the counter for at least an hour or two before you try to punch it down and shape it. Cold dough doesn’t roll; warm dough pleads!
Variations: Making Cheesy Breadsticks or Mozzarella Breadsticks
I know so many of you ask for the cheesy version, and honestly, who can blame you? These are simple to upgrade! If you want to turn these into truly decadent cheesy breadsticks, wait until the breadsticks have been baking for about 7 minutes. Pull the pan out carefully, sprinkle a generous amount of shredded mozzarella over the tops—make sure it’s layered nicely so it melts evenly—and pop them back in the oven for the last 3 to 5 minutes.
That way, the cheese gets completely gooey right when the breadstick finishes baking. Then, you follow your standard procedure: immediately brush with the garlic butter and dust with Parmesan. If you want that extra gooey pull, I even recommend adding some mozzarella right before the final butter brush, layering it on top of the garlic butter for that ultimate melt when you bring them to the table! Check out some great inspiration for Cheesy Garlic Breadsticks if you want even more cheese inspiration.
Serving Suggestions for Your Appetizer Bread Sticks
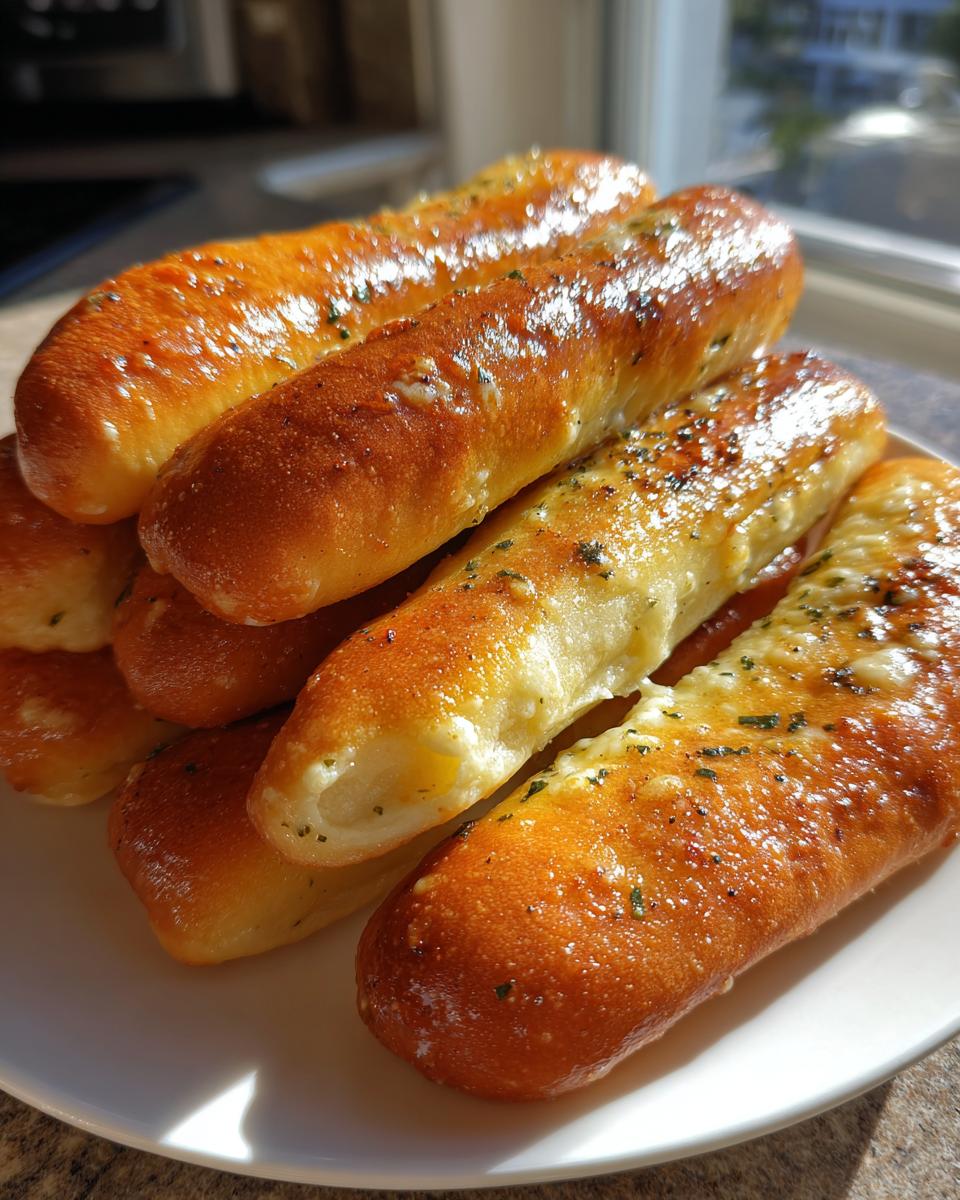
Now that you have the fluffiest, butteriest appetizer bread sticks imaginable, what do you serve them with? Honestly, they are perfect served solo next to the couch while watching a movie, but they truly shine alongside Italian favorites. They are the ideal dipping vehicle.
I always serve mine alongside a big bowl of spaghetti and meatballs or creamy lasagna—they soak up stray sauce like nothing else! If you’re having a lighter night, use them to scoop up a side of warm marinara sauce or homemade Alfredo. They also cut through the richness of a Caesar salad beautifully. Honestly, they just sort of make any weeknight dinner feel instantly fancier.
Storage & Reheating Instructions for Leftover Breadsticks
Okay, if you have any leftovers—which, surprise, surprise, I rarely do—storage is important for keeping that soft texture. Never leave them out on the counter! They need to go into an airtight container as soon as they are completely cool. If you stack them warm, they’ll steam each other and get gummy, and we can’t have that!
For reheating, please skip the microwave if you can. It makes them tough really fast. Instead, lay them directly on a baking sheet or even just directly on the oven rack. Heat them at 350°F for about 5 minutes. This crisps the outside just a tiny bit and warms the buttery centers perfectly. They taste almost as good as fresh!
Frequently Asked Questions About Homemade Breadsticks Recipe
Can I make the dough for these breadsticks ahead of time?
Absolutely, you can! This is one of my favorite things about this Homemade Breadsticks Recipe. Mix up the dough completely, let it have its first rise only until it’s puffy (maybe 30 minutes instead of the full 90), punch it down, coat it in oil, and stick it in a covered bowl in the fridge. It can hang out there for up to three days. Just remember the huge rule: when you pull it out to use it, you must let it sit on the counter until it feels room temperature before you try to roll it out. It needs to relax!
How can I make my breadsticks chewier instead of soft?
That’s a great question for those who prefer a little more structure! Our main recipe leans towards soft, pillowy breadsticks, but if you want them chewier, you need to adjust the oven time slightly. Try pulling them out one or two minutes before the recipe calls for—when they look just barely golden, not fully browned. The residual heat from the pan will continue cooking them slightly as you brush on the garlic butter. A tiny bit less bake time equals a little more chewiness, simple as that!
What is the best dipping sauce for these garlic breadsticks?
Seriously, you can never have too many dipping options! Since these are so heavily modeled after the restaurant version, a classic, warm marinara sauce is non-negotiable. It’s simple, acidic, and perfect for those fluffy homemade breadsticks. If you’re feeling creamy, a thick, rich Alfredo sauce is also heavenly—it doubles down on the buttery experience! Either way, having two sauces available means everyone leaves happy.
Nutritional Estimates for Two Breadsticks
I always feel a little awkward sharing calorie counts because, let’s be honest, when you’re pulling these buttery things straight from the oven, no one is counting! But for those of you tracking macros or just curious about what you’re diving into, here is the estimated breakdown for just two of these amazing dinner side dish bread servings.
Keep in mind, Ava here isn’t a registered dietitian, so these are just guidelines based on standard grocery store ingredients. If you go heavy on the extra Parmesan or butter topping (and I wouldn’t blame you!), your numbers might be a touch higher. It’s all about balance, right?
- Serving Size: 2 breadsticks
- Calories: 180
- Fat: 8g
- Saturated Fat: 4g
- Carbohydrates: 24g
- Sugar: 2g
- Protein: 4g
- Sodium: 250mg
- Cholesterol: 15mg
See? Not terrible for something that tastes this incredibly indulgent! They are breadsticks, they have butter, but they pack a good punch of energy for whatever adventure your evening holds. Enjoy every single bite!
Share Your Homemade Breadsticks Creations
Whew! That’s it—you’ve made the ultimate soft and chewy breadsticks, and I’m genuinely so proud of you for tackling the dough!
Now that you have a basket of pure comfort sitting on your counter, I really want to see what you cooked up. Did they turn out perfectly golden? Did you go heavy on the garlic butter? Did the kids devour them before you could even set the table for dinner?
Please, please, please come back here and let me know how it went. Leave a star rating right below this section so other tentative bakers know they can trust this recipe—that feedback helps me know I’m guiding you right!
And if you snapped a picture—go ahead and share it! Tag me on Instagram or Facebook. I love seeing these recipes live in real kitchens. If you have any final questions that popped up while you were kneading or baking, don’t hesitate to reach out directly on my contact page. Happy dipping!
PrintThe Ultimate Soft & Chewy Olive Garden Copycat Breadsticks with Garlic Parmesan Butter
You can make soft, chewy, restaurant-style breadsticks at home. This easy recipe replicates the famous Olive Garden breadsticks, topped with a rich garlic parmesan butter sauce.
- Prep Time: 20 min
- Cook Time: 12 min
- Total Time: 92 min
- Yield: 16 servings 1x
- Category: Appetizer
- Method: Baking
- Cuisine: American
- Diet: Vegetarian
Ingredients
- 1 1/2 cups warm water (105-115°F)
- 2 1/4 teaspoons active dry yeast
- 2 tablespoons granulated sugar
- 4 cups all-purpose flour, plus more for dusting
- 1 teaspoon salt
- 1/4 cup olive oil, plus more for greasing
- 1/2 cup unsalted butter, melted
- 4 cloves garlic, minced
- 1 teaspoon dried Italian seasoning
- 1/2 teaspoon salt
- 1/4 cup grated Parmesan cheese
Instructions
- Activate the yeast: In a large bowl, combine the warm water, sugar, and yeast. Let this stand for 5 to 10 minutes until it becomes foamy.
- Make the dough: Add the flour and 1 teaspoon of salt to the yeast mixture. Mix until a shaggy dough forms. Add the 1/4 cup of olive oil.
- Knead the dough: Turn the dough out onto a lightly floured surface. Knead for 5 to 7 minutes until the dough is smooth and elastic.
- First rise: Lightly grease a large bowl with olive oil. Place the dough in the bowl, turning to coat. Cover the bowl with plastic wrap or a clean towel and let it rise in a warm place for 60 to 90 minutes, or until doubled in size.
- Shape the breadsticks: Preheat your oven to 400°F (200°C). Line two large baking sheets with parchment paper. Punch down the risen dough gently. Divide the dough into two equal pieces. Roll each piece into a large rectangle about 1/4 inch thick. Cut the dough into strips about 1 inch wide and 8 inches long. Place the strips on the prepared baking sheets, leaving a small space between them.
- Bake: Bake for 10 to 12 minutes, or until the breadsticks are lightly golden brown.
- Prepare the garlic butter topping: While the breadsticks bake, combine the melted butter, minced garlic, Italian seasoning, and 1/2 teaspoon of salt in a small bowl.
- Finish the breadsticks: Immediately after removing the breadsticks from the oven, brush the garlic butter mixture generously over the tops of the warm breadsticks. Sprinkle evenly with the grated Parmesan cheese.
- Serve: Serve the soft dinner rolls warm.
Notes
- For a quicker recipe, you can substitute the homemade dough with one package of store-bought pizza dough.
- If you want cheesy breadsticks, sprinkle mozzarella cheese over the tops during the last 3 minutes of baking before adding the garlic butter.
- You can make the dough ahead of time and refrigerate it for up to 3 days. Allow it to come to room temperature before shaping.
Nutrition
- Serving Size: 2 breadsticks
- Calories: 180
- Sugar: 2
- Sodium: 250
- Fat: 8
- Saturated Fat: 4
- Unsaturated Fat: 4
- Trans Fat: 0
- Carbohydrates: 24
- Fiber: 1
- Protein: 4
- Cholesterol: 15