
Raise your hand if you’ve ever pulled a tray of so-called “crispy” side dishes out of the oven, only to find potatoes that are steaming sadly in the middle instead of snapping delightfully? I’ve been there plenty of times! That’s why conquering perfect breakfast potatoes changed everything for me here at Kitchenican. As I shared on our About page, I used to think great food required expert-level skill, but that just isn’t true. Trust me, the secret to achieving perfectly crispy breakfast potatoes isn’t some fancy equipment—it’s just two simple pre-cooking steps: a good cold soak and total drying. This oven-roasted method guarantees that golden exterior everyone chases. Once you master this technique, you’ll stop ordering crispy breakfast potatoes out and start making them your signature simple side dish!
- Why This Is the Best Breakfast Potato Recipe for Crispy Perfection
- Ingredients for Flavorful Morning Potatoes
- How to Prepare Easy Breakfast Potatoes Step-by-Step
- Tips for Success Making Homemade Breakfast Potatoes
- Variations for Your Breakfast Potatoes Recipe
- Serving Suggestions for Your Quick Breakfast Side Dish
- Storage and Reheating Instructions for Leftover Breakfast Potatoes
- Frequently Asked Questions About Crispy Breakfast Potatoes
- Estimated Nutritional Information for This Recipe
Why This Is the Best Breakfast Potato Recipe for Crispy Perfection
If you’ve ever ended up with pale, mushy potatoes, you know the disappointment! That’s why I am so passionate about this specific approach. We aren’t just mixing ingredients here; we are executing a technique designed specifically to defeat sogginess. This is truly the best breakfast potato recipe because it focuses on physics, not magic. Those crispy breakfast potatoes you see in magazines happen because we tackle the starch, which is the primary culprit in creating a gummy texture.
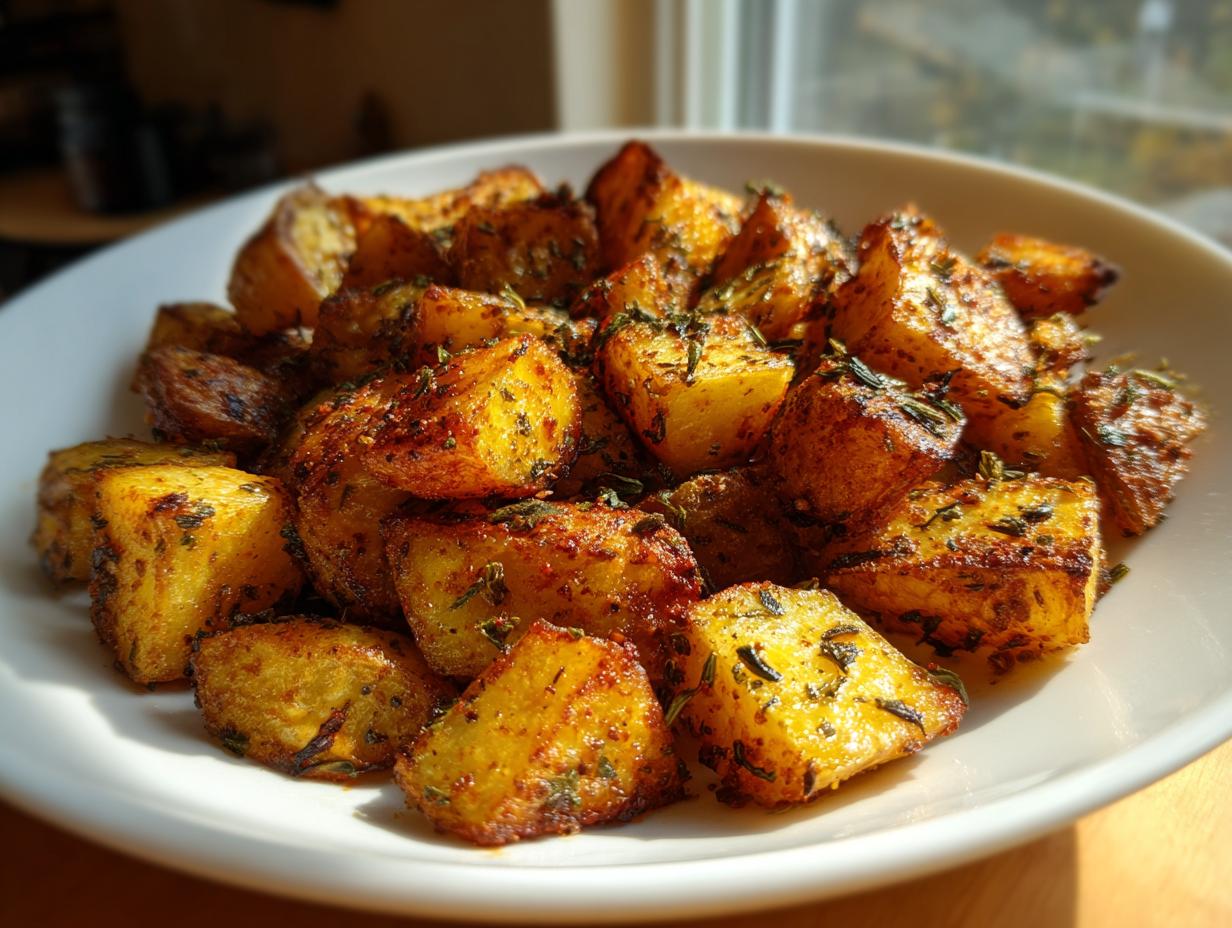
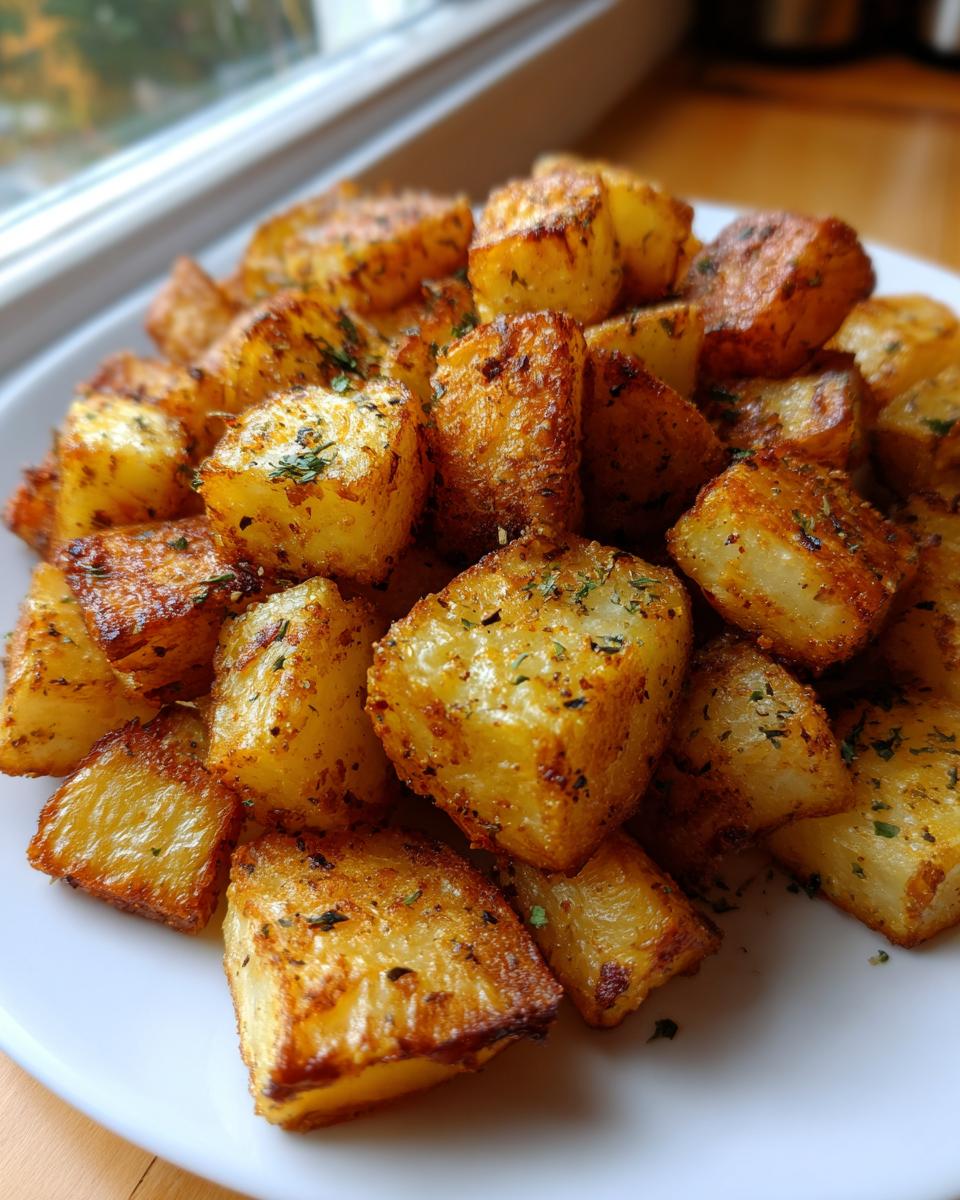
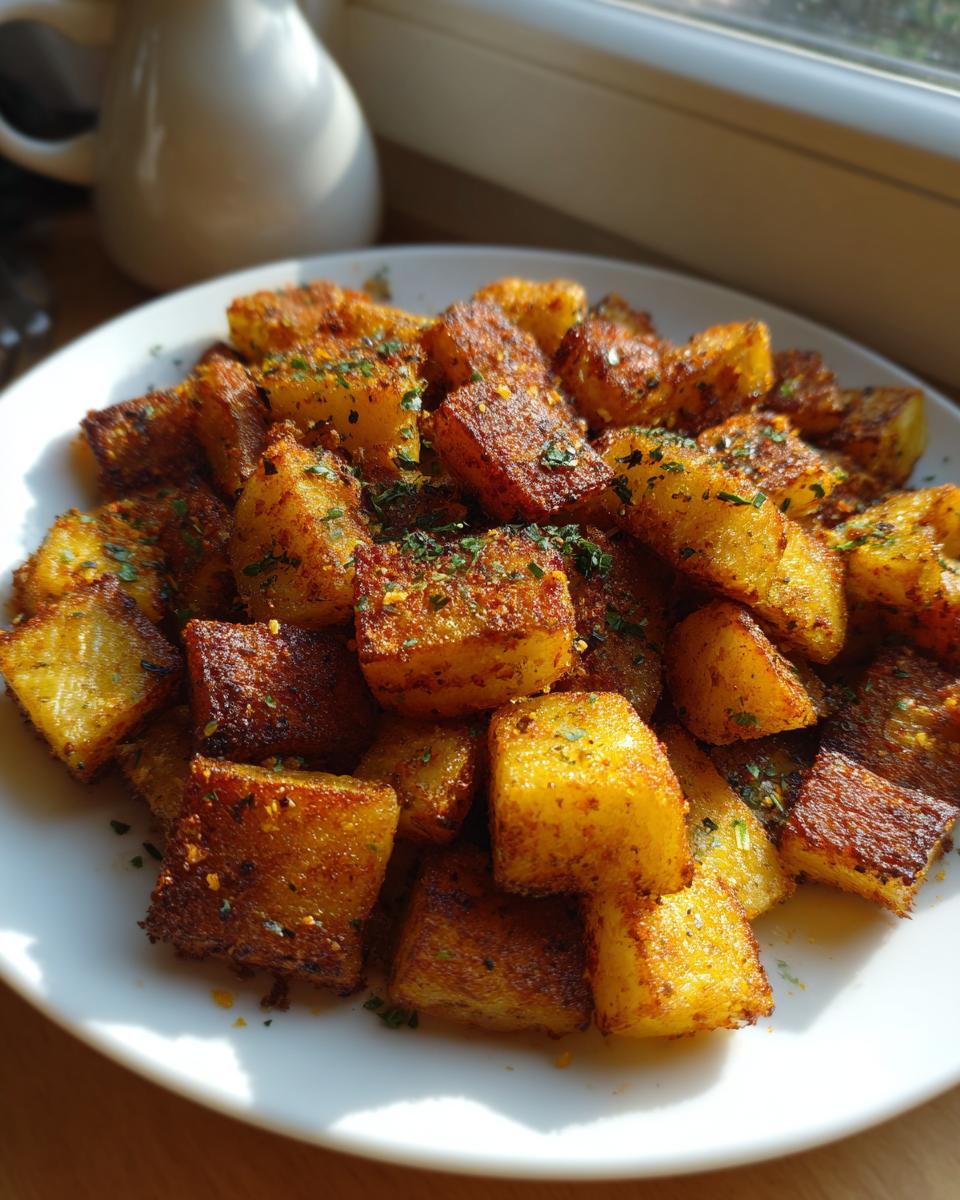
When you nail the prep, the cooking itself becomes a breeze. You get that deeply satisfying, golden brown exterior that snaps when you bite into it, revealing a fluffy, perfectly cooked interior. It’s the textural contrast that makes them so addictive.
The Secret to Golden Brown Potatoes: Starch Removal
This step is non-negotiable, folks. I need you to cover those diced Yukon Golds completely with cold water for at least 30 minutes. What’s happening? That cold water is pulling the surface starch right out of the potato cubes. That surface starch is what turns into paste when it heats up. Removing it means we are setting the stage for those beautifully golden brown potatoes. Just trust me, don’t rush this part!
Oven Roasted Potatoes Breakfast Technique vs. Skillet
While you can certainly make great potatoes in a skillet, the oven method we use here is superior for beginners and for busy mornings. Oven roasted potatoes breakfast style allows you to coat every piece evenly and cook them through with dry, circulating heat. In a skillet, it’s too easy to overcrowd the pan, which traps steam and steams your potatoes instead of roasting them. The oven lets us spread them out; space equals crispness!
Ingredients for Flavorful Morning Potatoes
Okay, grab your mixing bowl! The ingredients for these amazing breakfast potatoes are super simple, but the quality really shines through. We are using Yukon Golds here—and I insist on them! They hold their shape beautifully but cook up with that creamy, fluffy interior you want, unlike russets that can sometimes break down too much. Make sure your Yukon Golds are scrubbed well and diced uniformly, about a half-inch size, so they cook evenly.
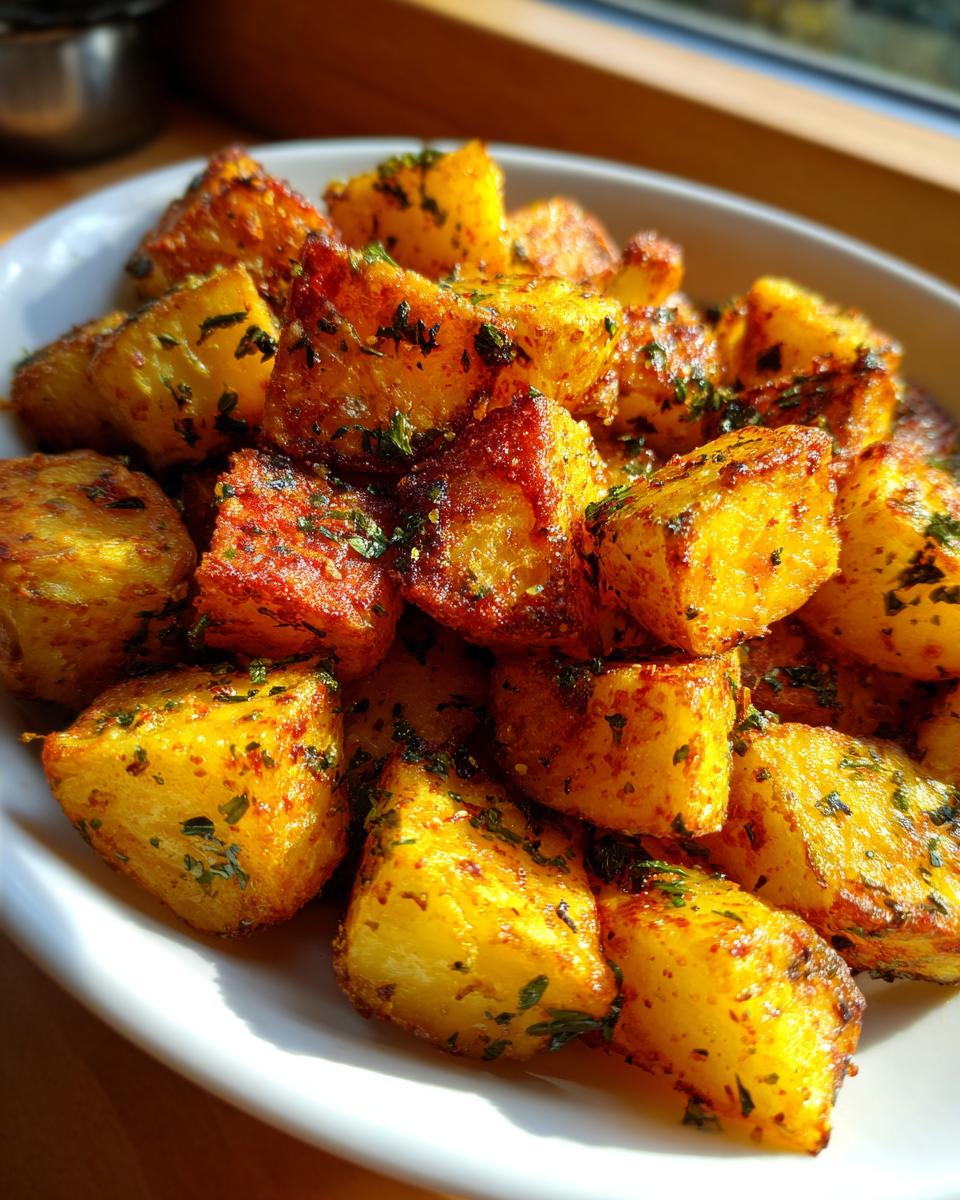
The seasonings are classic for a reason—they bring out that savory, warming flavor without being overwhelming. We’re relying on smoked paprika for color and depth, plus garlic powder, onion powder, and just a touch of crushed rosemary for that irresistible aroma. Remember, about 35 minutes of prep time is mostly waiting for that cold soak!
Ingredient Notes and Substitutions for Your Breakfast Potatoes
Let’s talk oil. I prefer avocado oil because it has a high smoke point, which we need when we are shooting for crispy food. If you don’t have it, feel free to use canola or another neutral, high-heat oil. The butter is purely optional; I add it at the very end right before serving if I’m making these on a slower weekend. If you skip that, guess what? These are naturally perfect gluten free breakfast potatoes, which is great for everyone!
How to Prepare Easy Breakfast Potatoes Step-by-Step
Now for the fun part—turning those soaked, starchy little cubes into golden dynamite! These steps are what make these easy breakfast potatoes so reliable. Don’t worry if it feels like a lot of steps initially; once you do the cold soak, the rest just flows. The absolute most important thing here is making sure your oven is ripping hot and giving those potatoes room to breathe when they hit the pan.
Step one is done, so we jump into drying them off. Then, get your oven cranked up to 425 degrees Fahrenheit. That high heat is crucial for that crispy exterior we talked about. When seasoning, use a big bowl so you can toss everything without spilling seasoning everywhere—we want that paprika and garlic powder on every single surface!
When you spread them on the sheet, please, please, please resist the urge to pile them up! If they are touching too much, they steam, and we are back to sad, soggy sides. A single layer is the law of the land here. We roast them for 20 minutes, flip them, and then give them another 15 to 20 minutes until they look perfect. If you’re making a huge batch, you should absolutely use two baking sheets!
Achieving Maximum Crispness: Drying and Roasting
Let’s circle back to drying them (Step 2). This is critical, seriously. After draining them, spread those potatoes out on a clean kitchen towel. I usually grab a second towel and just gently press down. If the towel starts looking damp, you need to keep patting! If you see any condensation forming on the towel, they aren’t dry enough. Before you move to seasoning, run your hand over them; if they feel dry to the touch and not even slightly slick, you’re ready for the oil.
When they hit the oven (Step 5), that initial 20 minutes sets the crust. Don’t touch them! Let the dry heat work its magic. After that first flip, look closely: you should see some serious brown spots already forming. That’s the payoff for all that careful drying we did earlier!
Tips for Success Making Homemade Breakfast Potatoes
Look, sometimes even following a perfect recipe, things don’t turn out exactly right, and that’s okay! That’s where knowing a few extra tricks comes in handy for making homemade breakfast potatoes that consistently nail that crispy exterior. My biggest tip, which I mentioned briefly above, is about your pan space. If you are trying to squeeze 2 lbs of potatoes onto one standard half-sheet pan, you are setting yourself up for failure. They will touch, they will steam, and you will be sad.
If you have to use two pans to ensure everything lies in a single, glorious, uncrowded layer, then use two pans! Also, don’t trust the default calibration on your oven; if your temperature feels off, grab an inexpensive oven thermometer. If the heat isn’t truly 425 degrees, you won’t get the necessary initial shock onto the potato surface to start that crisping process.
A final thought on seasoning: when you toss them in the bowl with the oil, make sure you crush those herbs, like the rosemary, between your fingers before mixing. That action releases those wonderful aromatic oils, adding so much more depth to our flavorful morning potatoes. Check out these tips from other home cooks for even more ways to perfect your side dish! You can read more great suggestions here.
Variations for Your Breakfast Potatoes Recipe
Once you master the core technique, you can start playing around with these breakfast potatoes! They are such a fantastic canvas because they soak up flavor so well. If you want a different direction than our smoky paprika base, try leaning into fresh thyme instead of rosemary—it gives a slightly brighter taste that’s wonderful for weekend brunch gatherings.
For veggie boosts, sautéing some diced onions and bell peppers separately until soft, and tossing them in with the roasted potatoes during the last ten minutes is fantastic. They get slightly caramelized and add a great sweetness. If you want to make this a heartier meal on its own, you can toss in pre-cooked, crumbled breakfast sausage right at the end. That turns our simple side into a full-on hash!
If you stick to our core spice mix but swap the paprika for a heavy dose of dried oregano and fresh parsley at the end, you have lovely garlic herb breakfast potatoes ready to go. See? Simple changes make a huge difference without ever compromising that crispy exterior we worked so hard to achieve!
Serving Suggestions for Your Quick Breakfast Side Dish
These potatoes are so versatile, they truly deserve a starring role at the table. For a classic morning vibe, you simply cannot go wrong pairing them with perfectly fried or scrambled eggs. They are the ideal quick breakfast side dish partner for crispy bacon or sausage patties—the saltiness plays off the savory spices so well.
But don’t just think weeknights! If you’re planning a larger spread for a lazy Sunday, heap these onto a platter. They make an incredible base layer for more elaborate weekend brunch potatoes creations, perhaps topped with cheese and chives. You can also make an extra batch earlier in the week; they cool beautifully and reheat up crisply the next day. Check out how others are serving theirs for more inspiration! See their delicious ideas here.
Storage and Reheating Instructions for Leftover Breakfast Potatoes
Nobody wants to waste these perfect little nuggets! Storing leftovers properly is key to keeping that snap alive. Once the potatoes are fully cooled—and this is important, don’t put warm potatoes in the fridge—store them in an airtight container. They stay great for about three days in the refrigerator. When it comes to reheating, the microwave is your enemy; it just steams them back to mushville! You want dry heat to bring back the crisp. Pop them on a baking sheet at 375 degrees Fahrenheit until they get hot and crisp again, or use an air fryer for five minutes. That’s how you guarantee delicious leftovers!
Frequently Asked Questions About Crispy Breakfast Potatoes
I always get questions about making these potatoes perfect, which is totally understandable! If you’ve hit a snag before, maybe one of these common fixes will help you out. I believe if we talk through the potential pitfalls, we can smash them before they even happen. We want everyone to feel successful when making these!
Why are my breakfast potatoes still soggy, even after soaking?
If you soaked them but they are still soggy, you almost certainly skipped the drying step, or you didn’t let your oven get hot enough early on. Remember, moisture is the enemy of crisp! After you soak them, you have to pat them until they feel completely dry on the outside. If you’re still doubting yourself, try spreading them on a paper towel-lined sheet for 10 minutes before seasoning. It buys you that extra assurance for crispy breakfast potatoes every time.
Can I make these in an air fryer instead of the oven?
Oh, absolutely! The air fryer is fantastic for this, especially if you are only making a serving or two. Set your air fryer to 400 degrees Fahrenheit. Toss your dried, seasoned potatoes with just a tiny bit more oil than the recipe calls for—maybe a tablespoon extra since there’s less surface area for the oil to adhere to. Cook them in batches so you don’t overcrowd the basket, shaking them every 8 minutes or so. They cook faster, usually in about 18 to 22 minutes total!
What kind of potato is best for getting that fluffy interior?
I swear by Yukon Gold potatoes for this recipe. They have the perfect medium starch content. Russets have too much starch, so they tend to fall apart when you toss them, or they get overly crumbly instead of fluffy. Red potatoes tend to stay a bit too waxy and dense. Yukon Golds give you that beautiful, creamy center wrapped up in that perfectly crisp shell. This choice makes these homemade breakfast potatoes so satisfying.
Can I prep these ahead of time?
Yes, you totally can! You can do the soaking and cutting up to a day in advance—just keep the diced potatoes submerged in the cold water in the fridge. You must still dry them thoroughly the next morning before oiling and seasoning. If you want to get ahead even further, you can roast them halfway (Step 5), let them cool completely, refrigerate them, and then finish the roasting process right before serving breakfast. Feel free to reach out if you have any more specific questions about timing! Contact me here.
Estimated Nutritional Information for This Recipe
I always want to be super transparent about what we’re eating here! While I truly believe cooking at home gives you so much control over ingredients—you choose the oil, you control the salt—it’s still impossible to give you one absolute, definite nutritional breakdown. This recipe, for example, is naturally gluten-free, but if you add that optional tablespoon of butter at the end, those numbers shift slightly.
What I can give you is a solid, working estimate based on the core ingredients listed for about 4 servings. Please treat these figures as a starting guide, not gospel! Use this information to make informed choices for your family, and remember that quality ingredients always make a difference in what your final macros look like.
Here is what you can generally expect per serving of these wonderful breakfast potatoes:
- Calories: Around 250
- Total Fat: Roughly 12 grams (mostly unsaturated from the oil)
- Carbohydrates: About 33 grams
- Protein: Approximately 4 grams
- Fiber: A helpful 4 grams
- Sodium: This depends heavily on how generous you are with the salt, but aim for under 350mg.
You can always look up the specifics for your exact brands of smoked paprika and Yukon Golds if you need precise counting. If you ever have questions about ingredient choices or substitutions, jump over to the Privacy Policy page—just kidding, head to the contact page if you have real questions! But seriously, this breakdown shows you why this dish is a fantastic, filling side. Enjoy!
PrintPerfectly Crispy Breakfast Potatoes: The Simple Secret to Golden Perfection
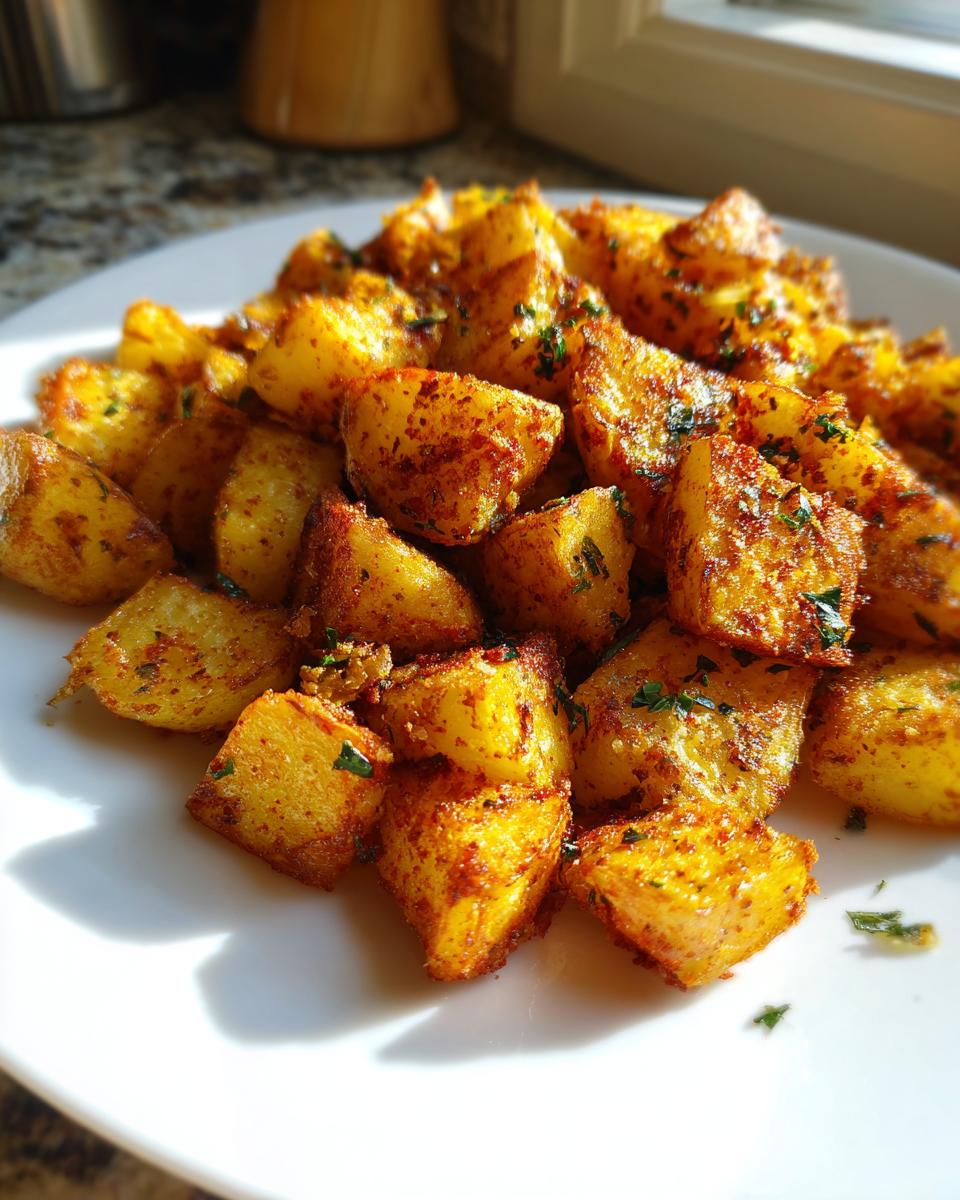
You can make perfectly crispy breakfast potatoes every time. This straightforward recipe focuses on the technique needed to achieve golden, tender insides and crisp exteriors, making it the best breakfast potato recipe for your weekend brunch or quick weekday side dish.
- Prep Time: 35 min
- Cook Time: 40 min
- Total Time: 75 min
- Yield: 4 servings 1x
- Category: Breakfast
- Method: Oven Roasting
- Cuisine: American
- Diet: Gluten Free
Ingredients
- 2 lbs Yukon Gold potatoes, scrubbed and diced into 1/2-inch cubes
- 2 tablespoons avocado oil (or other high-heat oil)
- 1 teaspoon smoked paprika
- 1 teaspoon garlic powder
- 1/2 teaspoon onion powder
- 1/2 teaspoon dried rosemary, crushed
- 1/2 teaspoon salt
- 1/4 teaspoon black pepper
- 1 tablespoon butter (optional, for skillet finish)
Instructions
- Prepare the potatoes: Dice the potatoes into uniform 1/2-inch cubes. Place the cubes in a bowl and cover them completely with cold water. Let them soak for at least 30 minutes. This step removes excess starch, which is key for crispiness.
- Dry the potatoes: Drain the potatoes completely. Spread them out on a clean kitchen towel or several layers of paper towels. Pat them very dry. Moisture prevents crisping, so make sure they are as dry as possible.
- Preheat the oven: Set your oven to 425 degrees Fahrenheit (220 degrees Celsius). If you are using a large baking sheet, line it with parchment paper for easier cleanup.
- Season the potatoes: In a large bowl, toss the dry potato cubes with the avocado oil, smoked paprika, garlic powder, onion powder, rosemary, salt, and pepper until every piece is evenly coated.
- Roast for crispiness: Spread the seasoned potatoes in a single layer on the prepared baking sheet. Do not overcrowd the pan; use two sheets if necessary. Place the pan in the preheated oven and roast for 20 minutes.
- Flip and finish: After 20 minutes, remove the pan and use a spatula to flip the potatoes. Return them to the oven and roast for another 15 to 20 minutes, or until they are deeply golden brown and crispy.
- Optional skillet finish: For extra flavor and crispness, melt 1 tablespoon of butter in a large skillet over medium-high heat. Add the roasted potatoes to the hot skillet and cook for 2-3 minutes, tossing frequently, until the edges are extra browned.
- Serve immediately as a flavorful morning side dish.
Notes
- For the crispiest results, ensure your oven temperature is accurate and do not skip the initial cold water soak to remove surface starch.
- If you prefer skillet breakfast potatoes, cook them over medium-high heat, stirring only every 5-7 minutes to allow a crust to form on the bottom before turning.
- These oven roasted potatoes are naturally gluten-free and vegan if you omit the optional butter finish.
Nutrition
- Serving Size: 1 serving
- Calories: 250
- Sugar: 1
- Sodium: 350
- Fat: 12
- Saturated Fat: 2
- Unsaturated Fat: 10
- Trans Fat: 0
- Carbohydrates: 33
- Fiber: 4
- Protein: 4
- Cholesterol: 0