
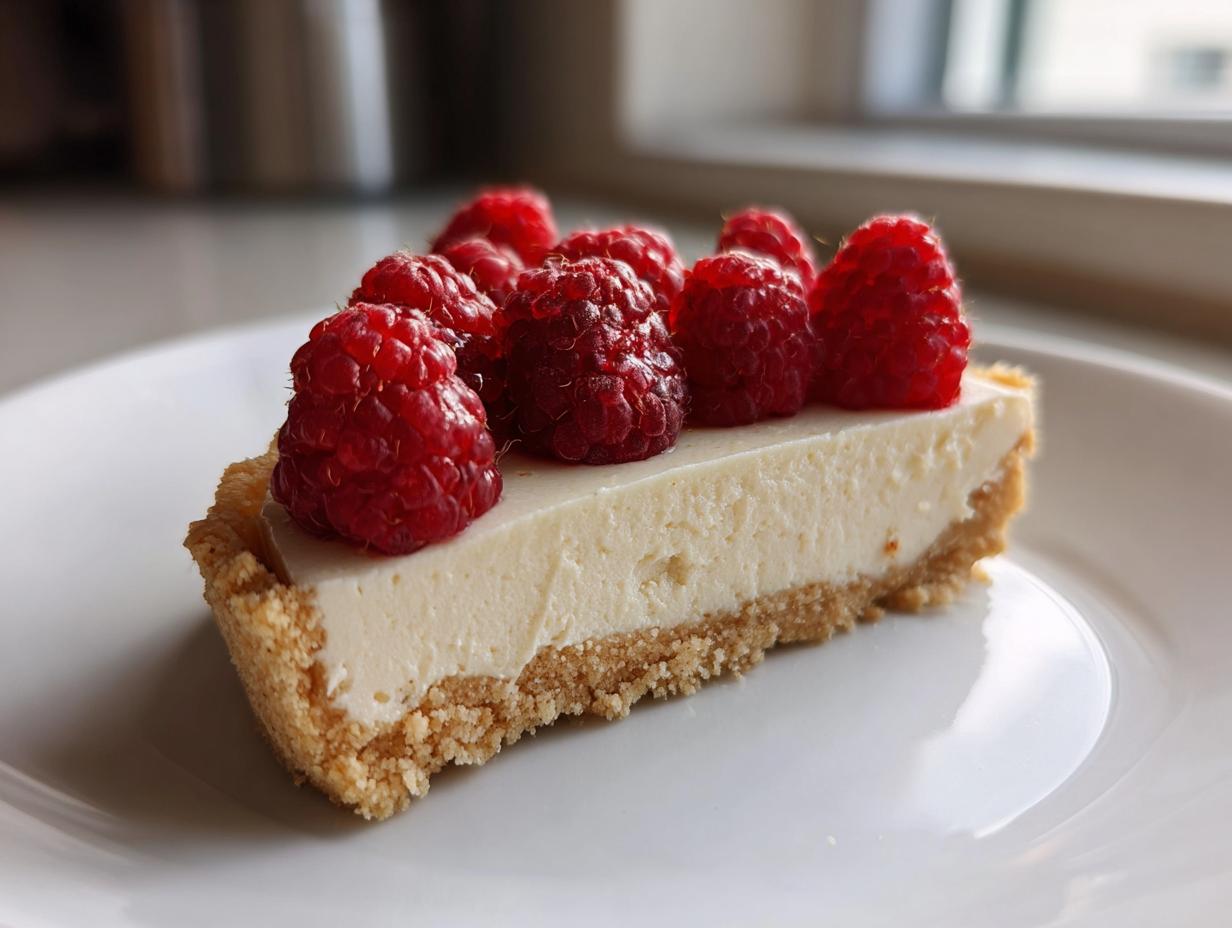
I hear you. Sometimes you just look at the fancy French desserts in those glossy magazines and think, “Nope. Not for me.” They look impossibly elegant, right? Well, I’m Ava Sinclair, and I built this whole space to prove those moments of doubt wrong. I want you to know that you absolutely can create a showstopper dessert without needing professional training or spending an entire weekend stressing in the kitchen. That’s why I am so excited to share my take on the white chocolate mousse tart. This recipe is pure magic: unbelievably luxurious, incredibly silky, and it happens to be no-bake! It’s the definition of an easy elegant dessert that feels like it belongs in a patisserie window. Trust me, once you nail this, you’ll be ready to conquer anything. You deserve to feel like a culinary genius, and this tart is going to make that happen. Check out my whole journey over on the About page if you want to know more about shaking off those kitchen jitters!
- Why This white chocolate mousse tart is Your Next Showstopper Dessert
- Gathering Ingredients for Your white chocolate mousse tart
- Step-by-Step Guide to the no bake tart recipe
- Tips for Success with Your Silky White Chocolate Filling
- Serving Suggestions for this Raspberry Topped Tart
- Storage and Make Ahead Dessert Instructions for the white chocolate mousse tart
- Frequently Asked Questions about the creamy mousse tart
- Estimated Nutrition for a Slice of white chocolate mousse tart
- Share Your Luxurious Sweet Treat Creation
Why This white chocolate mousse tart is Your Next Showstopper Dessert
Honestly, this tart hits every single mark when you need something that looks impossibly fancy but doesn’t require a full day commitment. It’s the perfect luxurious sweet treat for when company comes over, or even just when you need to impress yourself!
- It’s a fantastic make ahead dessert; the chill time is actually when it gets better!
- It satisfies that longing for a truly breathtaking presentation.
- It’s built on simple techniques, making it an easy elegant dessert.
Effortless Elegance: The No-Bake Promise
When I say no-bake, I mean it for the filling! Sure, the crust needs a quick bake, but the star—that gorgeous filling—just chills into perfection. This eliminates a ton of potential stress. You get that beautiful, refined, patisserie style dessert look without wrestling with gelatin or tricky tempering. It really feels like cheating, but trust me, it’s legit.
Texture Perfection: Silky White Chocolate Filling Meets Buttery Tart Shell
Texture is everything here. We are aiming for a filling that is incredibly silky white chocolate filling—light, airy, and melts the second it hits your tongue. That’s balanced perfectly by the crisp, toothsome contrast of the buttery tart shell. Please, use good quality white chocolate here; it’s worth every penny for that superior melt and flavor!
Gathering Ingredients for Your white chocolate mousse tart
Okay, now we move onto the fun part: the shopping list! Since this is such a **luxurious sweet treat**, the quality of your ingredients really shines through, especially that white chocolate. Don’t be tempted to grab the cheapest block; we need that good stuff with actual cocoa butter for the creamiest result. I’ve broken down everything you need into three simple groups. This helps keep things organized when you’re actually assembling your **showstopper dessert**!
For the Buttery Tart Shell
This shell is what gives us the perfect crunch against that soft filling. Make sure that butter is right out of the fridge!
- 1 1/2 cups all-purpose flour
- 1/2 cup powdered sugar
- 1/4 teaspoon salt
- 1/2 cup **cold unsalted butter, cubed**
- 1 large egg yolk
- 2 tablespoons ice water
For the Silky White Chocolate Filling
This is where the magic happens, folks. The richness comes from combining the melted chocolate with that lovely custard base we make. Notice we need the heavy cream split into two roles—one for cooking and one for whipping later!
- 8 ounces **high-quality white chocolate, finely chopped**
- 1 cup heavy cream, divided (for heating)
- 4 large egg yolks
- 1/4 cup granulated sugar
- 1 teaspoon vanilla extract
- 1 cup heavy cream, chilled (for whipping tomorrow!)
For Topping and Garnish
Keep this simple. The tart is rich enough on its own, so fresh, bright acidity from fruit is the perfect finish for this **white chocolate mousse tart**.
- Fresh raspberries or strawberries, for topping
Step-by-Step Guide to the no bake tart recipe
Okay, deep breaths! This is where we turn ingredients into that stunning final product. Don’t let the word *anglaise* scare you; this whole process is shockingly straightforward once you see it broken down. Just follow these steps exactly, and you’ll have a beautiful, professional-looking tart in no time!
Making and Blind Baking the Buttery Tart Shell
We start with the crust because that needs dedicated oven time. Toss your dry ingredients into the food processor, then blitz in that cold, cubed butter until it looks like coarse meal. After adding the yolk and ice water, pulse it just until it clumps—seriously, stop pulsing the second it holds together. Don’t overdo it! Press that dough firmly and evenly into your tart pan, prick the bottom all over with a fork, and get it into the fridge for 30 minutes. That chilling time is non-negotiable; it stops the crust from shrinking.
Preheat your oven to 375°F (190°C). Line the chilled crust with parchment paper and fill it with pie weights or dried beans. Bake it for 15 minutes, then carefully take out the paper and weights and bake it for just another 5 to 7 minutes until it’s light gold. Once it’s baked, pull it out and let that buttery tart shell cool down completely on a wire rack. It must be room temperature before the mousse goes in!
Creating the Crème Anglaise Base for the creamy mousse tart
Now for the custard component. Whisk together the 1 cup of heavy cream (the first measurement!), the four egg yolks, and the sugar in a small saucepan. Heat this mixture low and slow over medium-low heat. You need to stir it constantly with your whisk—super important! We are looking for it to thicken just enough that it coats the back of a spoon perfectly. If you see it bubble aggressively, you’ve gone too far, so watch carefully! Do not let it boil.
Once it coats the spoon, immediately pour that hot mixture right over your finely chopped white chocolate. Let it sit for two minutes so the heat transfers. Then, gently whisk until the chocolate is completely melted and the mixture is completely smooth. Stir in your vanilla extract. Now, you have to let this base cool down to room temperature. If it’s hot, it will melt your whipped cream later, and we want that creamy mousse tart to be light!
Folding the Light Airy Mousse and Assembling the white chocolate mousse tart
While the base cools, whip that second cup of cold cream until you get nice, stiff peaks. This is what gives us the light airy mousse! To incorporate them properly, take about a third of your whipped cream and fold it into the cooled white chocolate base first. This step is called ‘sacrificing’ a portion of the cream—it lightens the heavy base so everything incorporates smoothly afterward. Then, gently fold in the remaining whipped cream in two additions. Be patient! Stop folding the second you don’t see any more white streaks running through your beautiful silky white chocolate filling.
Finally, pour that finished mousse into your completely cooled tart shell. Use an offset spatula to smooth the top so it’s perfectly flat and looks super professional. That’s it for assembly!
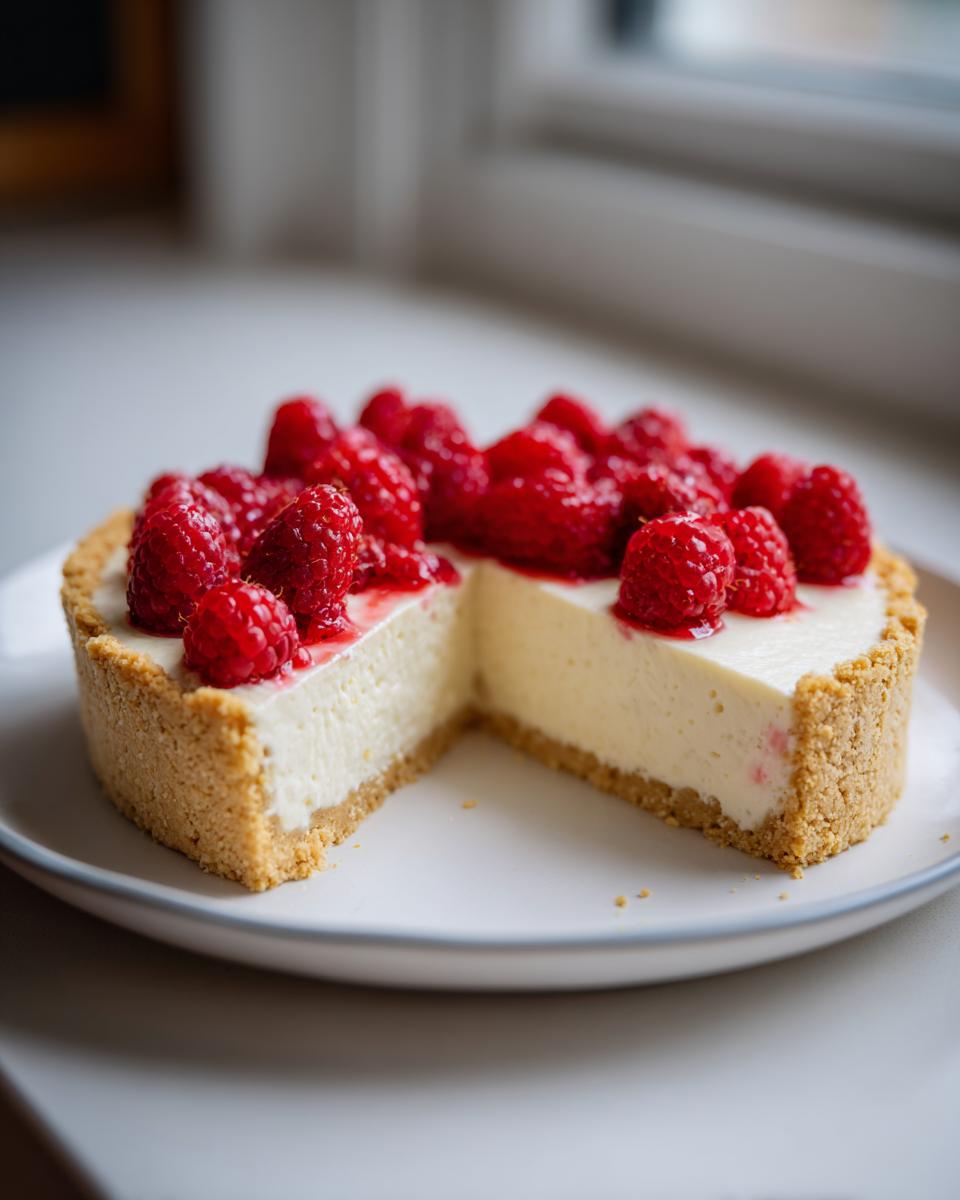
Setting and Serving the Mousse Tart with Berries
The hard part is over, but patience is still your friend here. Cover the tart gently with plastic wrap (don’t let it touch the surface!) and move it into the fridge. It needs a minimum of four hours to set up firmly, but I find slicing is so much cleaner, and the flavor is deeper if you let it chill overnight. Right before you bring this gorgeous **white chocolate mousse tart** to the table, top it generously with your fresh raspberries or strawberries. We want that vibrant, acidic burst right when people eat it!
Tips for Success with Your Silky White Chocolate Filling
Even though this is a fantastic no bake tart recipe, we still have a few key things to watch out for! The success of this silky white chocolate filling relies heavily on chemistry, especially when you are dealing with white chocolate. My biggest non-negotiable tip? You absolutely must use high-quality white chocolate that specifically lists cocoa butter as an ingredient. If it doesn’t have cocoa butter, it won’t melt smoothly into that custard base and your mousse will end up grainy or seize up—and nobody wants that!
If you’re feeling adventurous but want to keep the integrity of the filling, you can always reach out to me via the contact page if you run into trouble. But for now, let’s look at some easy swaps for the shell.
Ingredient Notes and Substitutions for the white chocolate mousse tart
If your local store is out of regular flour, feel free to swap about half of the all-purpose flour for almond flour when making the crust; it makes the buttery tart shell taste even richer, though you might need to chill it a tiny bit longer. Now, if you’re looking to spice things up—and I highly recommend this for holiday gatherings—you can easily create those spiced crust variations I mentioned! Just mix 1/4 teaspoon of cinnamon and a tiny pinch of cayenne pepper right along with the flour and sugar at the beginning. It adds the most lovely, warming note that cuts through the sweetness of the white chocolate. For toppings, if raspberries aren’t in season, try thinly sliced kiwi or even a drizzle of melted dark chocolate, as I saw suggested over at Spoon Orchard!
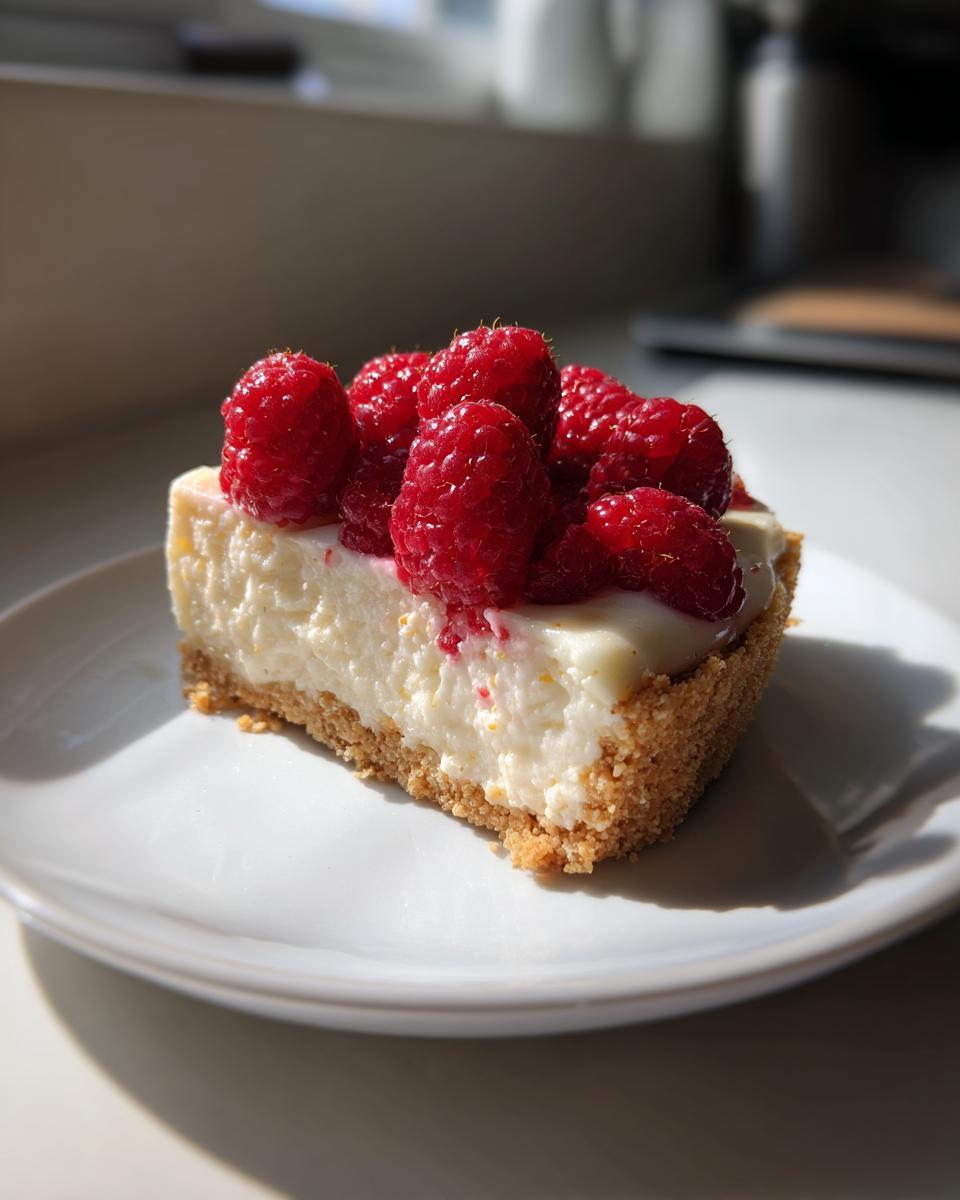
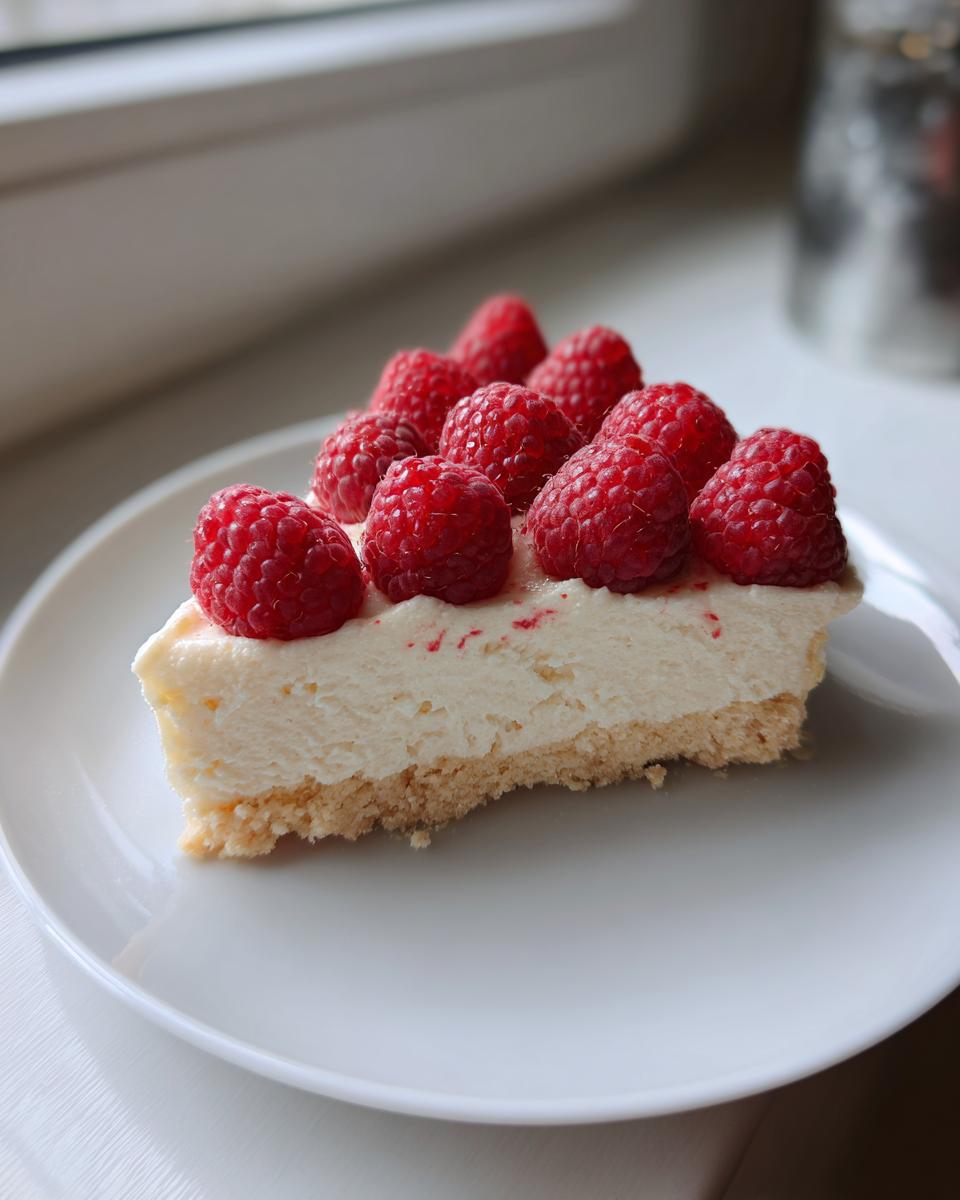
Serving Suggestions for this Raspberry Topped Tart
The richness of this silky white chocolate filling absolutely sings when you pair it with something bright and acidic. While fresh raspberries are my go-to—just like on the gorgeous tart featured over at Home Cook Yummy—don’t stop there! Think about dusting the top with a tiny bit of fresh lime or lemon zest right before serving. That little pop cuts through the sweet white chocolate perfectly.
If you decided to make the mini tartlets recipe version, a single perfect strawberry or a few mint leaves is all you need for an individual dessert serving that looks incredibly polished. They are so easy to serve individual dessert servings at a party!
Storage and Make Ahead Dessert Instructions for the white chocolate mousse tart
This is why this tart is my secret weapon for entertaining: it’s a brilliant make ahead dessert! You absolutely must chill this for at least four hours, but honestly, overnight is perfection for that firm, yet soft, texture. Store the finished tart loosely covered in the refrigerator. Since there are no eggs or dairy left exposed, it holds up beautifully for up to two days without impacting the flavor of that creamy mousse tart. Just resist the urge to top it with berries until you are absolutely ready to slice and serve!
Frequently Asked Questions about the creamy mousse tart
Can I skip baking the crust entirely for this no bake tart recipe?
I really wouldn’t recommend it, sweetie. While the filling is no-bake, baking the **buttery tart shell** is crucial for texture. If you skip the bake, the dough stays soft and pasty, and we certainly don’t want a soggy bottom on our gorgeous **white chocolate mousse tart**! A quick blind bake ensures that crisp base we crave to contrast with the soft mousse.
What if I don’t have high-quality white chocolate? Can I use chips?
Please, try your best to find that good stuff! Standard white chocolate chips often have stabilizers that prevent them from melting smoothly into that **silky white chocolate filling**. When it melts, it can seize, leaving you with a grainy texture instead of a velvety one. If chips are all you have, chop them very, very finely, but the results won’t be quite as luxurious.
How do I stop the mousse from weeping or getting watery?
Weeping usually happens if the chocolate base doesn’t cool enough before you fold in the whipped cream. Heat kills air, and if your base is warm, it deflates the cream, introducing liquid it can’t hold onto. Let that base cool completely to room temperature, stir it often while it cools, and then fold gently! This ensures a stable, **light airy mousse**.
Can this be made into mini tartlets?
Oh, yes! That’s a fabulous idea for parties, just like the inspiration I saw over at Lunarecipe! If you use standard 4-inch tartlet tins, you’ll need to reduce the baking time significantly—maybe just 10 to 12 minutes total for the shell. The filling will set much faster, too, sometimes in just an hour or two!
Is this considered a beginner friendly tart?
Absolutely! While it looks like a super advanced pastry item, the techniques required here are simple measurement, mixing, and folding. Since there’s no tricky oven work for the filling, I truly consider this one of the best beginner friendly tart recipes for achieving massive visual payoff with low effort. If you need any extra guidance on technique, I detail our privacy philosophy on our privacy page, showing how seriously we take helping you succeed!
Estimated Nutrition for a Slice of white chocolate mousse tart
I always include this because I believe in transparency, even when we’re making something incredibly decadent! Remember, these numbers are just estimates for one slice of our white chocolate mousse tart, calculated based on the standard ingredients listed above. If you use a little extra raspberry topping, or if your butter brand varies, the counts will shift a slight bit. This is exactly why it’s always best to view values as general guidance only. You can review our full site usage details on the Terms of Use page.
- Serving Size: 1 slice
- Calories: 450
- Sugar: 28g
- Sodium: 150mg
- Fat: 30g
- Protein: 6g
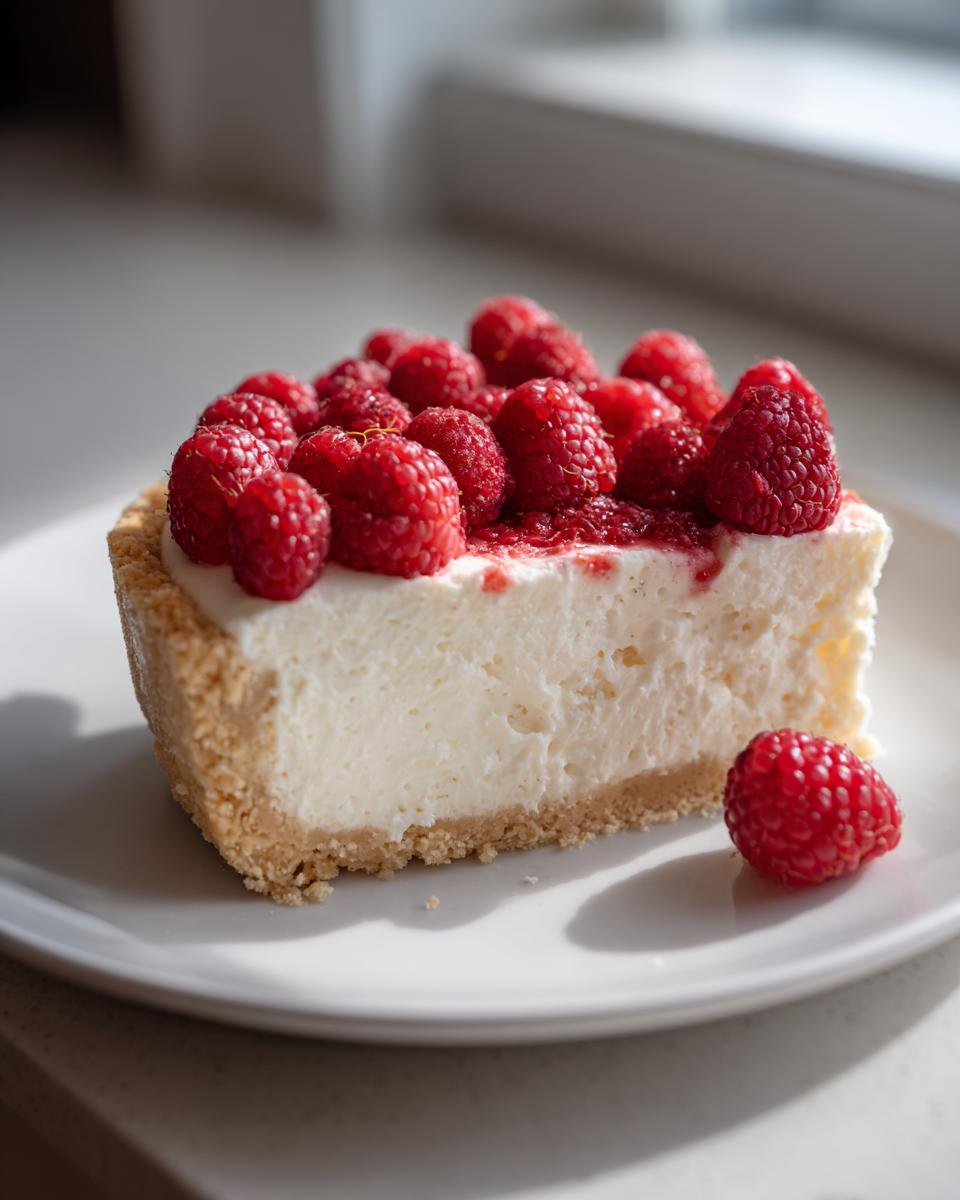
Share Your Luxurious Sweet Treat Creation
Now it’s your turn! I genuinely can’t wait to see the gorgeous presentation you’ve put together. Did you go with a mountain of raspberries, or maybe some chocolate curls? Snap a photo of your finished mousse tart with berries and tag me, I love seeing your success! Please leave a star rating below so other cooks know how much you enjoyed this luxurious sweet treat, and drop any final questions in the comments. I’m always here to cheer you on! You can see another beautifully decorated version over at Bridget’s Recipes for more inspiration!
PrintElegant No-Bake White Chocolate Mousse Tart

Create a showstopper dessert with this easy, no-bake white chocolate mousse tart. It features a buttery crust and a silky, light mousse, perfect for impressing guests or making ahead for any occasion.
- Prep Time: 35 min
- Cook Time: 25 min
- Total Time: 4 hr 60 min
- Yield: 8 servings 1x
- Category: Dessert
- Method: Baking and No-Bake
- Cuisine: French Inspired
- Diet: Vegetarian
Ingredients
- 1 1/2 cups all-purpose flour
- 1/2 cup powdered sugar
- 1/4 teaspoon salt
- 1/2 cup cold unsalted butter, cubed
- 1 large egg yolk
- 2 tablespoons ice water
- 8 ounces high-quality white chocolate, finely chopped
- 1 cup heavy cream, divided
- 4 large egg yolks
- 1/4 cup granulated sugar
- 1 teaspoon vanilla extract
- 1 cup heavy cream, chilled (for whipping)
- Fresh raspberries or strawberries, for topping
Instructions
- Prepare the Crust: In a food processor, pulse the flour, powdered sugar, and salt until combined. Add the cold butter cubes and pulse until the mixture resembles coarse crumbs. Add the egg yolk and ice water, pulsing until the dough just comes together. Do not overmix.
- Press the dough evenly into the bottom and up the sides of a 9-inch tart pan with a removable bottom. Prick the bottom all over with a fork. Chill the crust for 30 minutes.
- Preheat your oven to 375°F (190°C). Line the chilled crust with parchment paper and fill with pie weights or dried beans. Bake for 15 minutes. Remove the weights and paper and bake for another 5-7 minutes until lightly golden. Let the buttery tart shell cool completely on a wire rack.
- Prepare the Mousse Base: Place the finely chopped white chocolate in a heatproof bowl. In a small saucepan, combine 1 cup of heavy cream, 4 egg yolks, and granulated sugar. Heat over medium-low heat, stirring constantly with a whisk, until the mixture thickens slightly and coats the back of a spoon (do not boil). This is a crème anglaise base.
- Pour the hot cream mixture over the chopped white chocolate. Let it sit for 2 minutes, then whisk gently until the chocolate is completely melted and the mixture is smooth. Stir in the vanilla extract. Let this white chocolate base cool to room temperature, stirring occasionally.
- Whip the Remaining Cream: In a separate, chilled bowl, whip the remaining 1 cup of cold heavy cream until stiff peaks form.
- Fold the Mousse: Gently fold about one-third of the whipped cream into the cooled white chocolate base to lighten it. Then, gently fold in the remaining whipped cream until no white streaks remain, creating a light, airy mousse.
- Assemble the Tart: Pour the silky white chocolate mousse into the cooled tart shell. Smooth the top with an offset spatula.
- Chill: Refrigerate the tart for at least 4 hours, or preferably overnight, until the mousse is fully set.
- Serve: Before serving this luxurious sweet treat, top with fresh raspberries or strawberries.
Notes
- For a spiced crust, add 1/4 teaspoon of cinnamon and a tiny pinch of cayenne pepper to the dry ingredients before adding the butter.
- You can make this make ahead dessert up to 24 hours in advance for easy entertaining.
- Use high-quality white chocolate that contains cocoa butter for the best flavor and texture in your creamy mousse tart.
Nutrition
- Serving Size: 1 slice
- Calories: 450
- Sugar: 28g
- Sodium: 150mg
- Fat: 30g
- Saturated Fat: 18g
- Unsaturated Fat: 12g
- Trans Fat: 0g
- Carbohydrates: 40g
- Fiber: 1g
- Protein: 6g
- Cholesterol: 120mg