
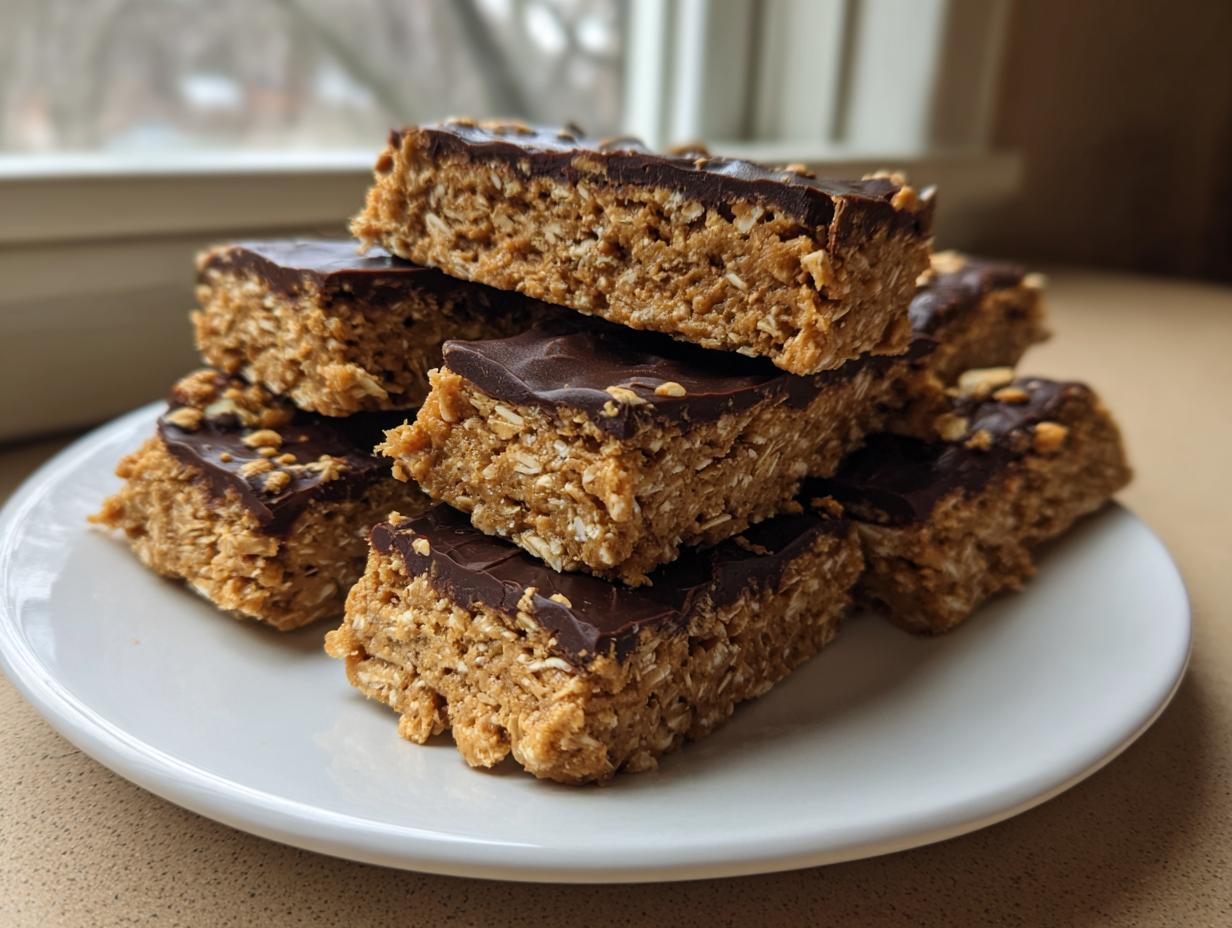
I don’t know about you, but I got so tired of buying those expensive store-bought protein bars only to find they tasted like chalk dust or were secretly loaded with sugar! That feeling of needing a quick, satisfying snack but not trusting the label is exactly why Kitchenican was born—to prove you can have confidence in what you eat. Trust me, you don’t need complex techniques or twenty ingredients. That’s why I’m sharing my go-to recipe for the **Easy 5-Ingredient, No-Bake Peanut Butter & Chocolate Protein Bars**. We’re ditching the oven and conquering snack time with something truly delicious, made right in your own kitchen.
- Why Our Homemade Protein Bars Are a Game Changer (E-E-A-T Focus)
- Gathering Your Simple Ingredients for Easy Protein Bars
- Step-by-Step Guide to Making No Bake Protein Bars
- Tips for Success When Making High Protein Snacks
- Storage and Reheating Instructions for Your Protein Bars
- Serving Suggestions for These Quick Protein Snacks
- Frequently Asked Questions About Homemade Protein Bars
- Understanding the Nutrition in Your Protein Bars
- Share Your Creations and Get More Simple Recipes
Why Our Homemade Protein Bars Are a Game Changer (E-E-A-T Focus)
I finally broke up with the grocery store snack aisle for good when I realized just how much sugar they crammed into those things masquerading as perfect high protein snacks. Honestly, I was buying them for convenience, but they rarely lived up to the hype—too many weird additives and that awful dry, crumbly texture. These homemade protein bars are different. They satisfy that craving for something decadent but keep us on track.
- No weird fillers or ingredients you can’t pronounce. Just real food fueling real hard work.
- They are genuinely tasty! No chalkiness whatsoever, ever.
- Perfect for making ahead because they last wonderfully in the fridge.
The Secret to Perfect Chewy Protein Bars
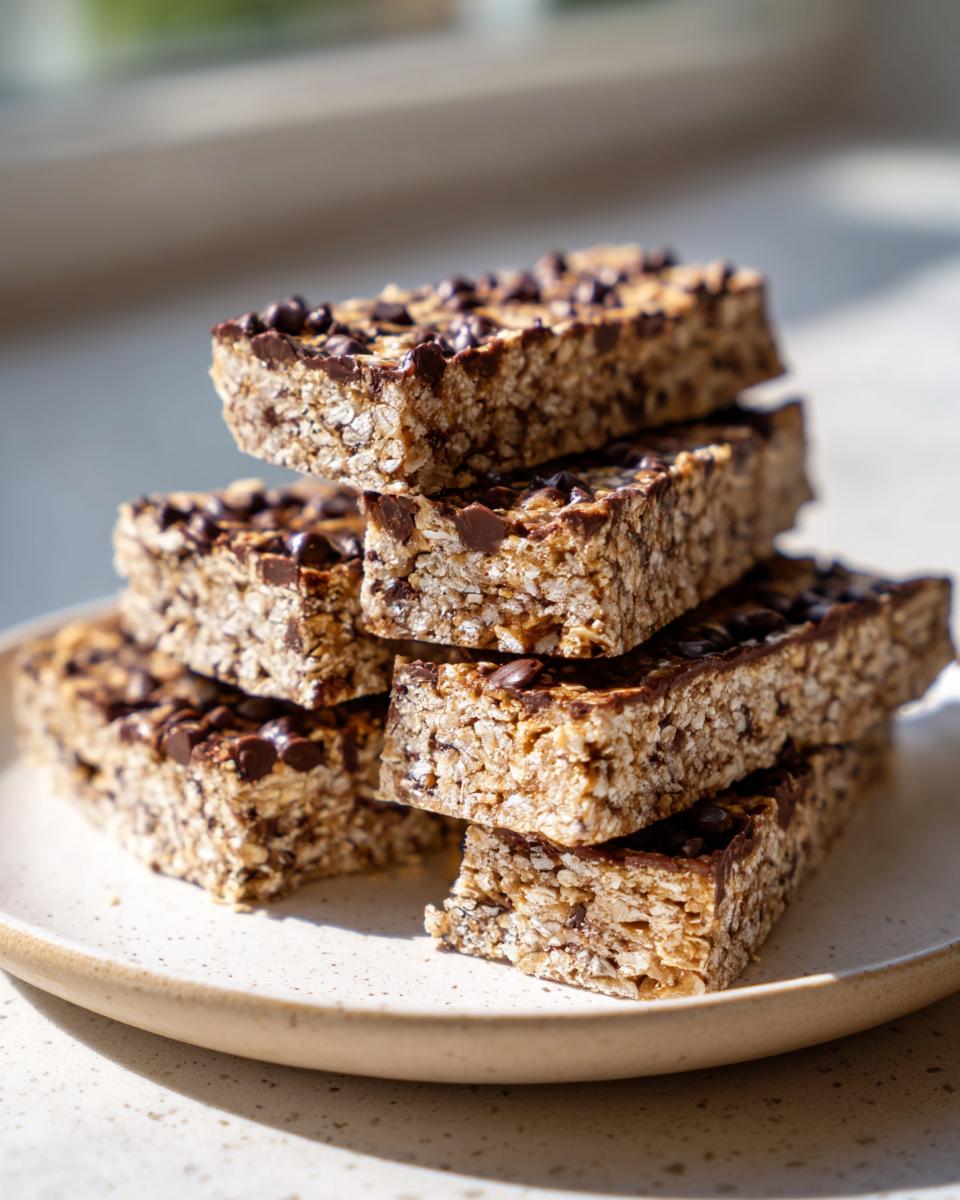
The reason these turn out so wonderfully soft and chewy protein bars is because we skip the oven entirely. Baking can sometimes dry things out or make powdered ingredients seize up. Here, we rely on the natural stickiness of peanut butter and honey (or maple syrup) to create that perfect, sturdy binder. It compresses beautifully, giving you a satisfying, substantial bite without any stress!
Gathering Your Simple Ingredients for Easy Protein Bars
I love how straightforward this recipe is. Seriously, when I say easy, I mean it! You only need five core components to create these fantastic easy protein bars. No hunting down obscure health food store items; just the essentials for incredible flavor and structure. This simplicity is why they are my number one choice for quick no bake protein bars.
Ingredient Clarity: What You Need for These Peanut Butter Protein Bars
Let’s look at exactly what you need to have ready before you start mixing. Remember, consistency in your ingredients helps guarantee perfect homemade protein bars every single time.
- Rolled Oats (1 cup): Standard old-fashioned rolled oats work perfectly here.
- Natural Peanut Butter (1/2 cup): Make sure it’s natural, the kind that might need stirring! It binds better.
- Vanilla Protein Powder (1/2 cup): This is the main source of protein, folks! I use vanilla, but feel free to use your preferred type—whey or plant-based powder is fine.
- Honey or Maple Syrup (1/4 cup): This is our natural sweetener and binder.
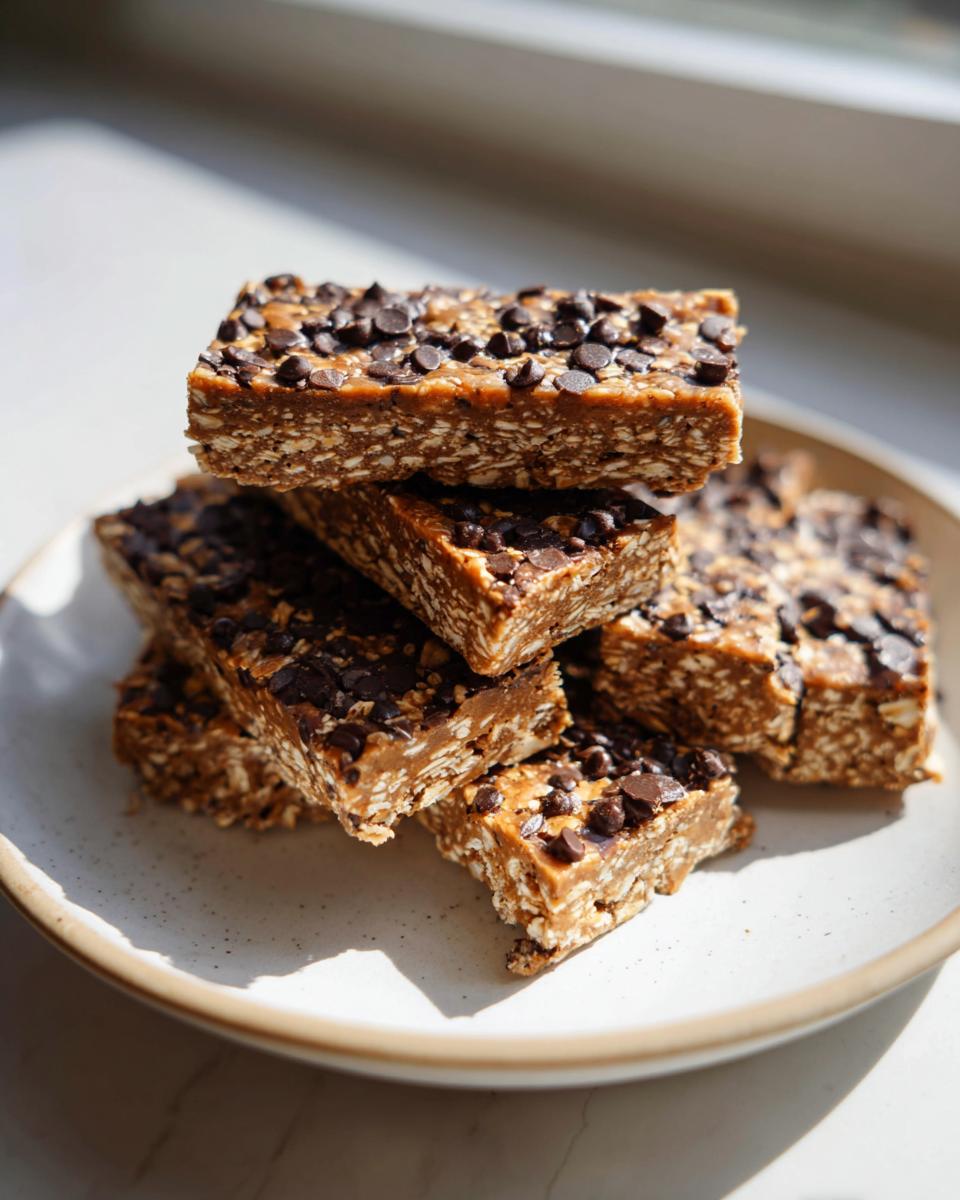
- Dark Chocolate Chips (1/4 cup, optional): I know I said 5 ingredients, but honestly, the chocolate topping elevates these from good to great. Don’t skip it if you can help it!
Step-by-Step Guide to Making No Bake Protein Bars
Okay, this is the fun part! We’re moving fast here because there’s no waiting for the oven to preheat. The beauty of these no bake protein bars is that the prep time is ridiculously short. Just make sure you have your 8×8 pan ready to go. Remember, we are building structure here, so pay attention to how you handle the mix!
Prep the Pan and Combine the Base for Your Protein Bars
First thing: line your pan! Use parchment paper and make sure you leave an overhang on two opposite sides. This overhang becomes your handles later—it’s how we lift the whole block out clean! In a nice sturdy bowl, toss in the oats, protein powder, peanut butter, and your sweetener. Grab a wooden spoon or just use your hands—this mixture gets stiff quickly. You need to mix until everything is totally incorporated and looks like a thick, uniform dough. If you stir it and it seems a little crumbly, don’t panic! Add water or milk just a teaspoon at a time until it *just* starts sticking together firmly. Not too much sticky liquid, though, or you’ll end up with a giant puddle!
Pressing and Chilling Your Homemade Protein Bars
Once you have that perfect dough, scrape it into your prepared pan. Now, you must press! Use the back of a measuring cup or a flat spatula to really compact that mixture down into the corners. The firmer you press it now, the less it will crumble later. If you’re using those optional chocolate chips, sprinkle them over the top and give them a little press so they adhere. Then, and this is crucial for structural integrity, slide that pan into the refrigerator. You need at least one solid hour to chill. If you cut them warm, they’ll just fall apart. Don’t risk it! Once they are rock solid, use those parchment handles to lift the whole slab out. You can find my privacy commitment regarding following steps over at this policy page.

Tips for Success When Making High Protein Snacks
Even though these are incredibly easy—truly, no cooking required snacks—a couple of little tricks can elevate them from good to absolutely essential for your weekly rotation. I always think about these in terms of how they hold up when I need them for my Sunday afternoon meal prep bars sessions! The biggest key to success is knowing what you can swap out without throwing the whole structure off.
Ingredient Swaps for Customizing Your Protein Bars
If you’re looking to keep these bars strictly plant-based, which some of you plant-powered pals often ask about—it’s super easy! Just swap the honey for maple syrup. That’s it! Maple syrup works just as well as a binder in this recipe, keeping things vegan-friendly. Now, regarding your protein powder: this recipe works great with whey or a plant blend, but different brands have slightly different absorption rates. If you notice your mix is getting too stiff when using a plant-based powder, just add that extra teaspoon of water or milk we talked about earlier. Don’t be afraid to taste the mix before it chills, either! That assures you’re happy with the sweetness before it sets up.
Storage and Reheating Instructions for Your Protein Bars
Because we skipped the baking and we’re using minimal added ingredients, these homemade protein bars have to be stored a little differently than their store-bought counterparts. The good news is that they hold up beautifully in the fridge, which is perfect for my Sunday meal prep bars routine!
You should definitely keep these in an airtight container in the main compartment of your refrigerator. Based on the ingredients, they will stay perfectly fresh and firm for about a week. If you try to leave them on the counter, especially if your kitchen is warm, they’ll get a little too soft and might start losing their form—we want them sturdy!
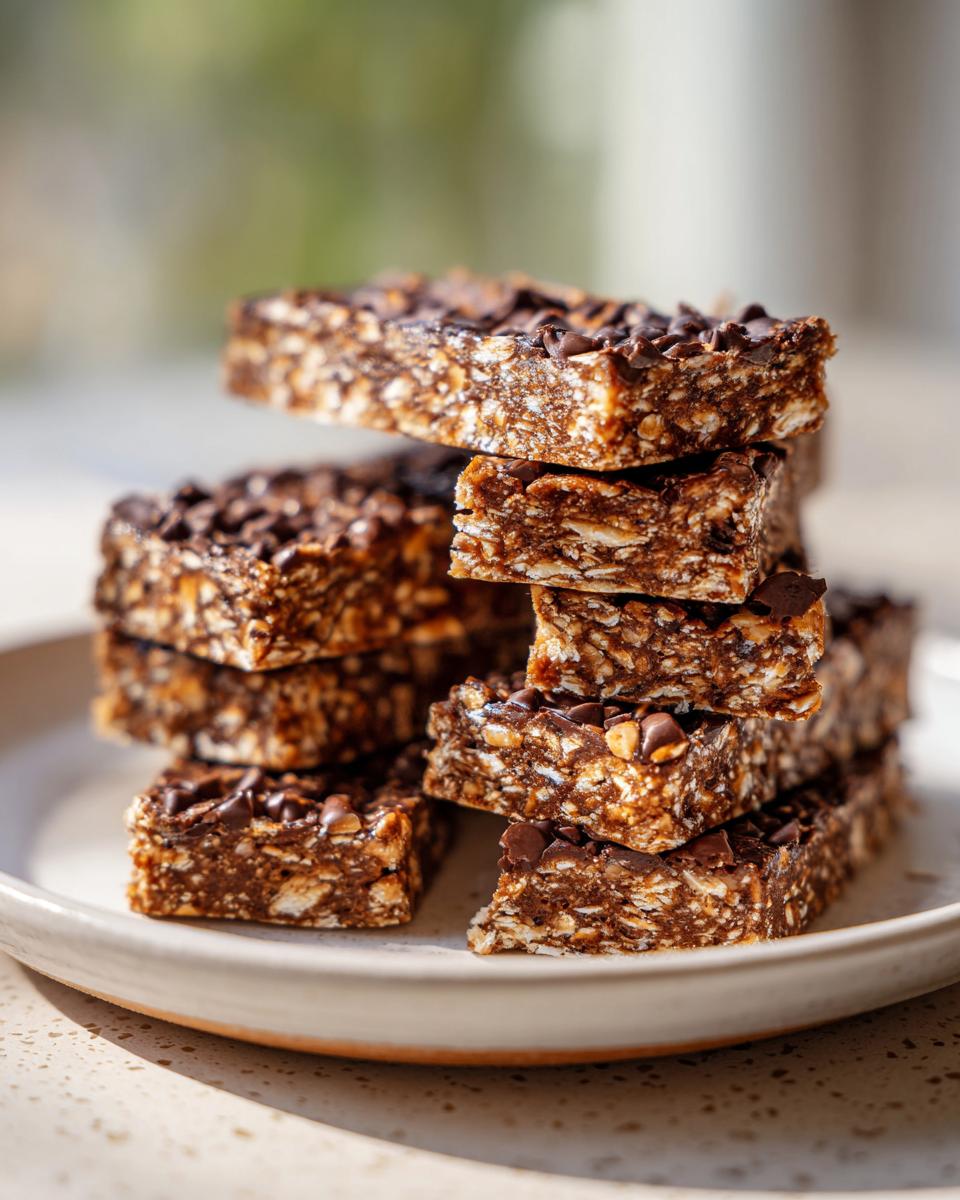
Now, if you made a double batch (which, let’s be honest, I always do!), you can absolutely freeze them. Pop those cut bars into a freezer-safe container or a heavy-duty zip-top bag, separating layers with parchment paper so they don’t stick together. They freeze like a dream! You can pull one out about 15 minutes before you plan to eat it, and it thaws right back to that perfect chewy texture. No reheating required for these quick protein snacks; they are best served chilled!
Serving Suggestions for These Quick Protein Snacks
Part of the joy of making your own quick protein snacks is figuring out the best way to enjoy them throughout a busy week. There are no hard rules here, of course, but I have a few favorites that really make these peanut butter bars shine!
If you’re grabbing one first thing in the morning to get you through until lunch, I love pairing a bar with a strong hot coffee. The bitterness of the coffee really cuts through the sweetness of the peanut butter and chocolate, making it feel really decadent, almost like dessert for breakfast!
If you’re using these as a true post-workout boost, try having half a bar alongside some fresh berries—maybe sliced strawberries or a handful of blueberries. The natural sugars from the fruit give you a great little energy lift right when you need it, balancing out the richness of the bar. They make the perfect little portable fuel pack!
Frequently Asked Questions About Homemade Protein Bars
You know I always want you to feel totally confident in the kitchen, and baking homemade protein bars sometimes brings up a few last-minute questions. Don’t worry if you’re second-guessing the ingredients! I’ve gathered the common things people ask me about when they’re trying to make their own guilt-free high protein snacks. Hopefully, these cover everything so you can get your batch chilling!
Can I make these low sugar protein bars?
That’s a great point. Since this recipe relies on honey or maple syrup for binding, pulling those sugars out changes the texture quite a bit. If you want low sugar protein bars, you could try swapping the liquid sweetener for a sugar-free substitute like liquid stevia or monk fruit syrup. Be warned, though—you’ll likely need to add a little extra dry ingredient, maybe a tablespoon of ground flaxseed or even more protein powder, just to make sure the mixture still holds together without that stickiness. It needs a little moisture backup!
How do I prevent my no bake protein bars from crumbling?
Crumbling is the arch-nemesis of the no bake protein bars world, but we’ve got two major defenses! First, when you mix the ingredients, stop mixing *only* when it just comes together into a cohesive dough—don’t overwork it, but make sure every bit of dry powder is incorporated into the sticky stuff. Second, and this is non-negotiable: You must press them down HARD into that pan. Use the bottom of a glass or a metal measuring cup and apply real pressure to compact the mixture. If you do that, and then let them chill for the full hour, they’ll hold together beautifully! For more in-depth tips on structure, check out what others have found successful over at this guide.
Are these the best homemade protein bars for beginners?
Absolutely, yes! I wouldn’t have built Kitchenican if I thought home cooking was reserved for experts. These are truly the best homemade protein bars for someone just starting out. Why? Because there are only five main ingredients, zero actual cooking or baking time required, and the process is basically just ‘mix and mash.’ If you can stir something in a bowl, you can master this recipe for no cooking required snacks. It builds that confidence we talk about!
If you have any other questions while you’re working through the steps, please feel free to reach out through my contact page. I love hearing from you!
Understanding the Nutrition in Your Protein Bars
Since we are in full control of our protein bars recipe now, I want to give you a quick rundown on what’s fueling you up! Now, remember, I’m a home cook, not a certified nutritionist, so these numbers are estimates based on the ingredients listed in the recipe—your protein powder brand or exact honey amount might shift things slightly. These are great for helping you track your macros when you plan your meal prep bars!
We are aiming for high protein and keeping the sugar reasonable thanks to that dark brown sugar swap we bypassed in this 5-ingredient version. Here is a breakdown per bar (based on cutting the batch into 10 pieces):
- Calories: About 200
- Protein: A solid 12 grams!
- Sugar: Roughly 8g (All natural from oats, PB, and syrup/honey)
- Fat: Around 11g (Mostly healthy fat from the peanut butter)
- Carbohydrates: About 18g
That’s a fantastic profile for a quick energy boost or a filling healthy snack bar. Knowing exactly what you’re putting into your body just gives you so much more confidence in your choices, which is what Kitchenican is all about!
Share Your Creations and Get More Simple Recipes
Now that you’ve successfully made your batch of **peanut butter protein bars**, I seriously want to see what you whipped up! Part of my mission here at Kitchenican is building a community where we can all share what works, what we customized, and how cooking something new can build lasting confidence. I hope this recipe showed you how easy homemade protein bars really are!
Please leave a comment below and tell me how they turned out! Did you stick to the classic chocolate chips, or did you try adding chopped nuts or a sprinkle of sea salt? Every little adjustment you make helps another beginner cook right behind you. If you want to see how we handle user feedback and site commitments, you can always check out my Terms of Use page—we keep things transparent here.
If this recipe sparked joy and you realized, “Hey, I *can* do this!”, stick around! My whole journey with Ava Sinclair is about transforming kitchen doubt into kitchen joy. Keep an eye out for more simple, foolproof recipes coming soon for your busy schedule. Happy snacking!
PrintEasy 5-Ingredient No-Bake Peanut Butter Protein Bars
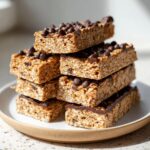
You can make these simple, homemade protein bars in minutes. This no-bake recipe uses five basic ingredients to create chewy, high-protein snacks perfect for meal prep or on-the-go energy.
- Prep Time: 10 min
- Cook Time: 0 min
- Total Time: 1 hour 10 min
- Yield: 10 servings 1x
- Category: Snack
- Method: No Bake
- Cuisine: American
- Diet: Vegetarian
Ingredients
- 1 cup rolled oats
- 1/2 cup natural peanut butter
- 1/2 cup vanilla protein powder (whey or plant-based)
- 1/4 cup honey or maple syrup
- 1/4 cup dark chocolate chips (optional, for topping)
Instructions
- Line an 8×8 inch baking pan with parchment paper, leaving an overhang on the sides for easy removal.
- In a medium bowl, combine the rolled oats, protein powder, peanut butter, and honey or maple syrup.
- Mix the ingredients thoroughly with a sturdy spoon or your hands until a uniform, thick dough forms. If the mixture seems too dry, add one teaspoon of water or milk at a time until it holds together.
- Press the mixture firmly and evenly into the prepared pan. Use the back of a measuring cup to compact it well.
- If using chocolate chips, sprinkle them over the top and press them lightly into the surface.
- Place the pan in the refrigerator and chill for at least 1 hour, or until the bars are firm enough to cut.
- Use the parchment paper overhang to lift the block out of the pan. Cut the block into 10 to 12 even bars.
- Store your homemade protein bars in an airtight container in the refrigerator for up to one week.
Notes
- For a vegan option, use maple syrup instead of honey and ensure your protein powder is plant-based.
- If you want a richer chocolate flavor, melt the chocolate chips and drizzle them over the chilled bars before cutting.
- These are excellent for meal prep; make a batch on Sunday to cover your snacking needs for the week.
Nutrition
- Serving Size: 1 bar
- Calories: 200
- Sugar: 8g
- Sodium: 120mg
- Fat: 11g
- Saturated Fat: 2g
- Unsaturated Fat: 9g
- Trans Fat: 0g
- Carbohydrates: 18g
- Fiber: 2g
- Protein: 12g
- Cholesterol: 5mg