
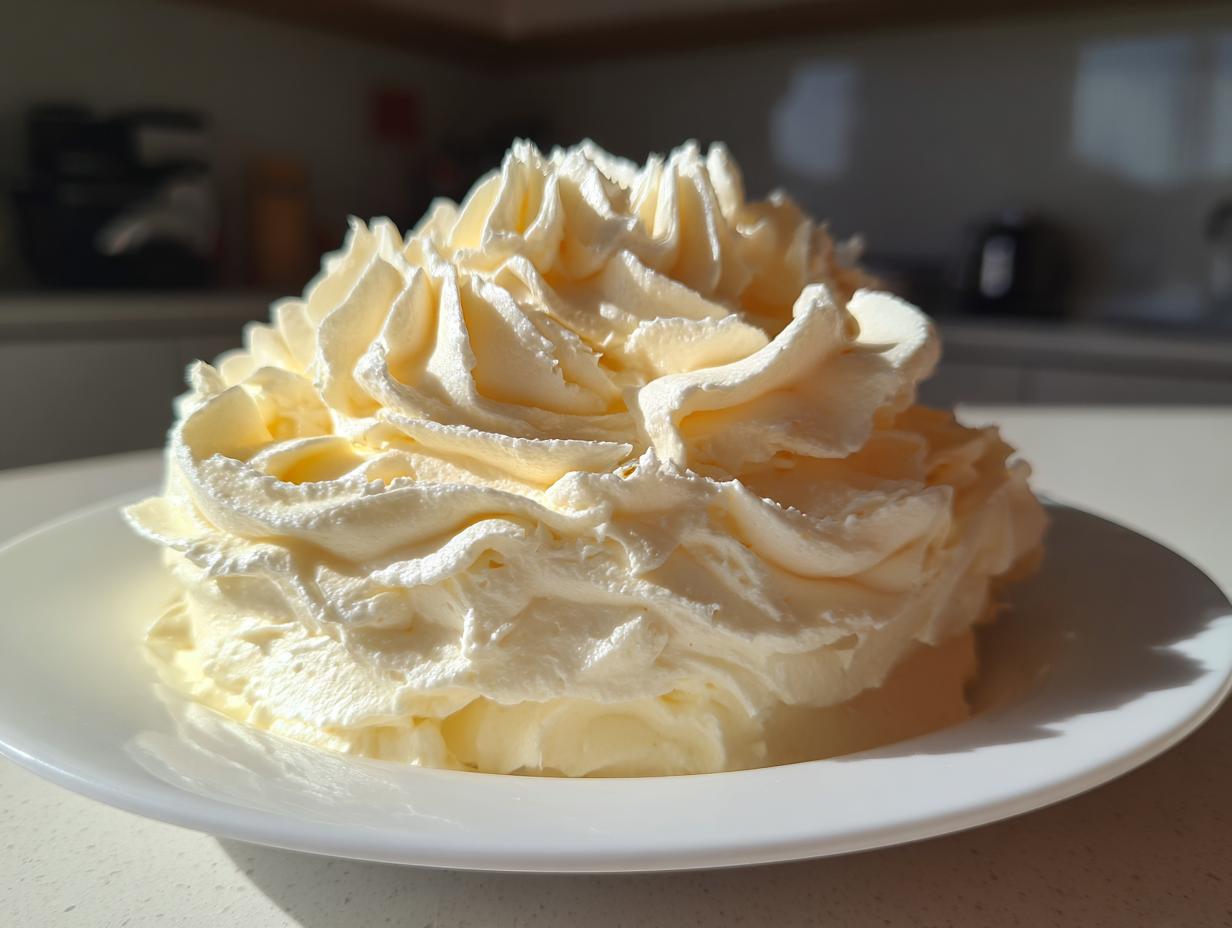
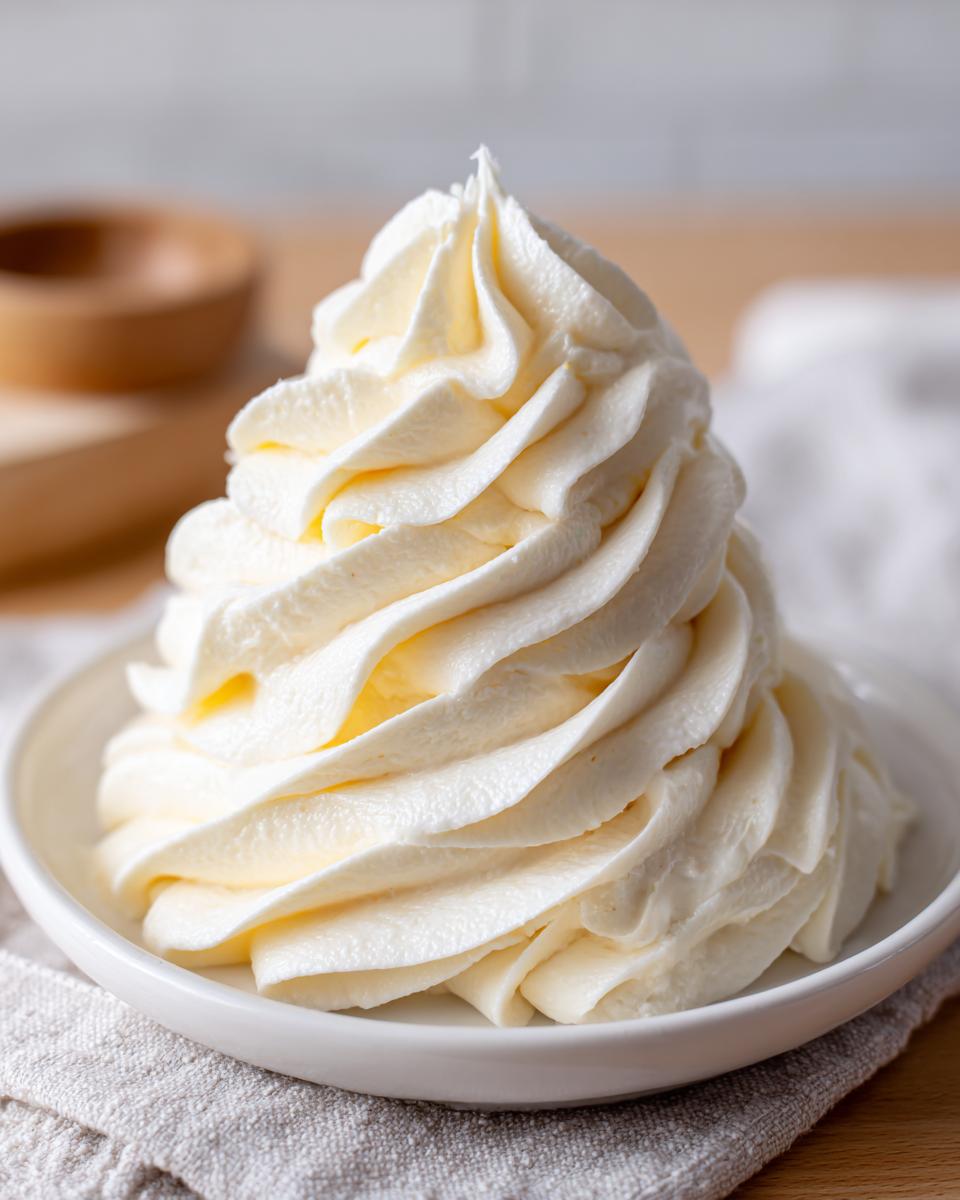
I know that look. You’re staring at a beautiful cake, perfectly baked, just waiting for that crowning glory—the frosting. But then the doubt creeps in, right? Will it be gritty? Will it look like a toddler smeared it on? Trust me, I’ve dealt with lumpy, runny, and generally disappointing dessert toppings more times than I can count. That’s why I’m handing you the blueprint for what I genuinely believe is the absolute **best vanilla buttercream frosting** out there. It’s creamy, it’s unbelievably fluffy, and guess what? You’re looking at a finished, gorgeous topping in about 10 minutes flat. If you’ve ever felt intimidated by piping bags, this quick buttercream recipe is here to hand you the confidence to start creating! You can read more about our mission to build kitchen confidence over at the About Us page.
- Why This Classic Vanilla Buttercream Frosting Will Be Your Go-To
- Gathering Ingredients for Perfect Vanilla Buttercream Frosting
- How to Prepare This Easy Buttercream Frosting Step-by-Step
- Tips for Success with Your Rich Vanilla Flavor Frosting
- Variations on This Simple Vanilla Frosting
- Storage and Reheating Instructions for Homemade Vanilla Icing
- Frequently Asked Questions About This Creamy Dessert Topping
- Estimated Nutritional Data for Vanilla Buttercream Frosting
- Share Your Success with This Baking Essential Frosting
Why This Classic Vanilla Buttercream Frosting Will Be Your Go-To
When people ask me for the ultimate frosting blueprint, this is what I give them. This **vanilla buttercream frosting** isn’t just sweet; it’s engineered to be reliable for every occasion. It’s the classic American buttercream that delivers on its promise of flavor without any fuss.
- It achieves the ideal texture for the **Best Buttercream for Cakes**—no more sad, flat icing!
- It’s sturdy enough to turn your everyday cupcakes into beautiful creations.
- It comes together in just 10 minutes; who has time for complicated recipes these days?
Texture Perfection: Creamy, Smooth, and Pipeable
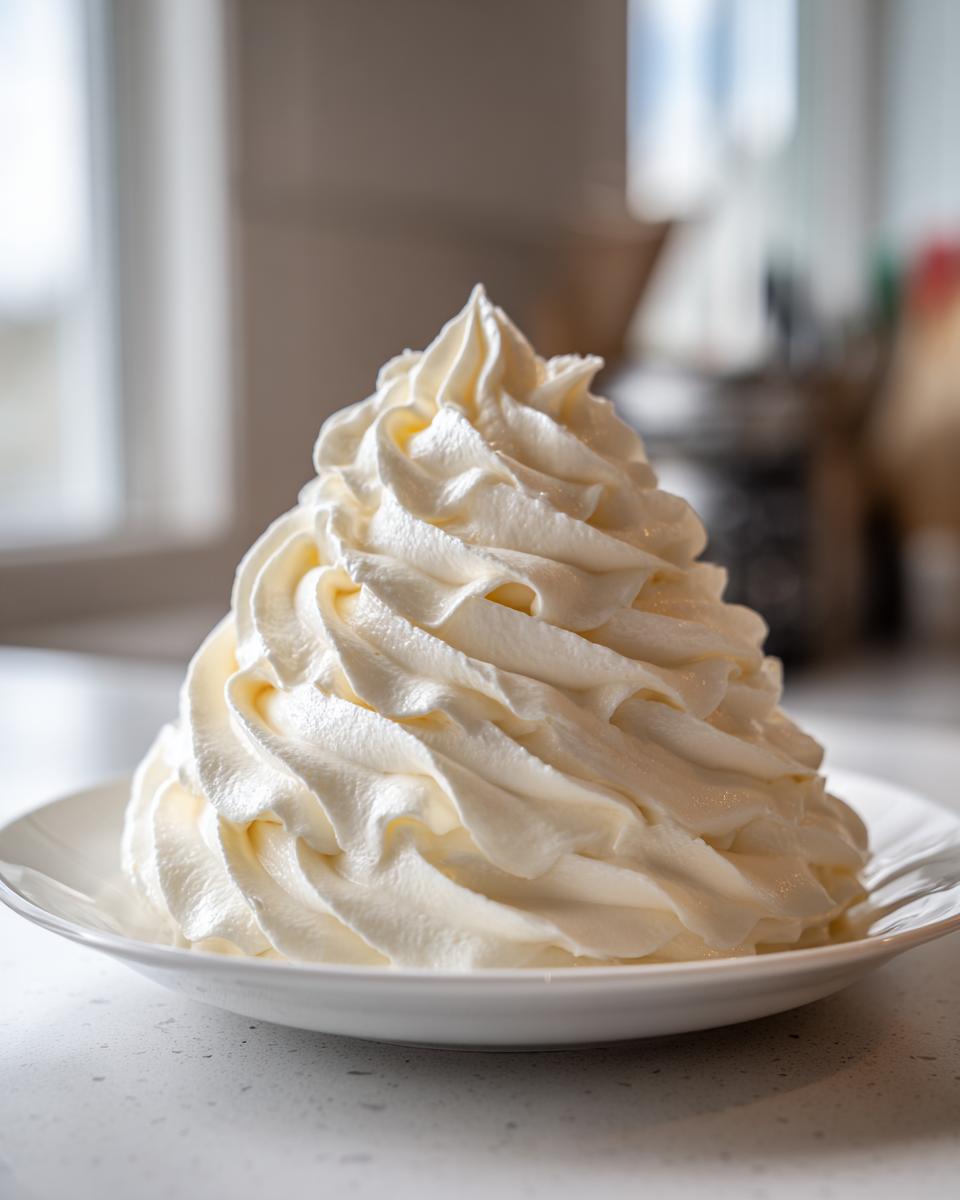
The secret to getting that dreamy, velvety finish is actually in the final steps. After you mix in your liquids, you have to beat it! That medium-high speed whipping for five minutes is everything. It incorporates the air that turns dense icing into genuinely **Fluffy Cupcake Icing**. This is the gold standard for any **American Buttercream Tutorial** because it sets just enough so your beautiful piped details don’t melt off the counter.
Speed and Simplicity: A Quick Buttercream Recipe
If you need **Easy Buttercream Frosting** in a pinch, this is it. We’re talking 10 minutes from start to finish, and it’s a pure **No Cook Frosting**. We rely on simple ingredients you already have—butter, sugar, vanilla. There’s no melting, no cooling time required. It respects your time while delivering maximum flavor. That’s exactly how I like to bake anymore!
Gathering Ingredients for Perfect Vanilla Buttercream Frosting
Before we dive into the mixing magic, let’s talk about what goes into this flawless topping. Having your ingredients prepped the right way is half the battle won! I know we all get impatient, but trust me when I say the state of your butter and sugar matters immensely for a smooth result. We stick to the essentials here—no weird stabilizers needed for this **Homemade Vanilla Icing**.
Ingredient List for Your Homemade Vanilla Icing
- 1 cup (2 sticks or 226g) unsalted butter, softened to room temperature
- 4 cups (480g) powdered sugar, sifted
- 1 teaspoon pure vanilla extract
- 2 to 4 tablespoons heavy cream or milk
- Pinch of salt
How to Prepare This Easy Buttercream Frosting Step-by-Step
Getting this **vanilla buttercream frosting** perfect is all about respecting the order and giving the mixer enough time on those key steps. Don’t rush the beginning or the end! If you follow these steps exactly, you’ll have that perfect, gorgeous icing you see on all the professional cakes. For other great techniques, you can check out this helpful resource while you work.
Creaming the Butter Base
Step one is all about the butter! Make sure it’s properly room temperature—soft enough to press a finger into without resistance, but not melted and oily. Pop the butter into your mixer and beat it on medium speed until it’s looking completely smooth. Honestly, give this two full minutes. You need to scrape down the sides halfway through because we are building the smoothest foundation possible here.
Incorporating Sugar and Flavor for Classic Cake Frosting
Now we introduce the powdered sugar, but you can’t just dump it all in! Keep the mixer on low speed and add it one cup at a time. Wait until that cup is almost fully incorporated before adding the next—low speed prevents a sugar cloud explosion in your kitchen! Once the four cups are in, stop and scrape down the bowl one more time. Then, mix in your vanilla extract and that tiny pinch of salt.
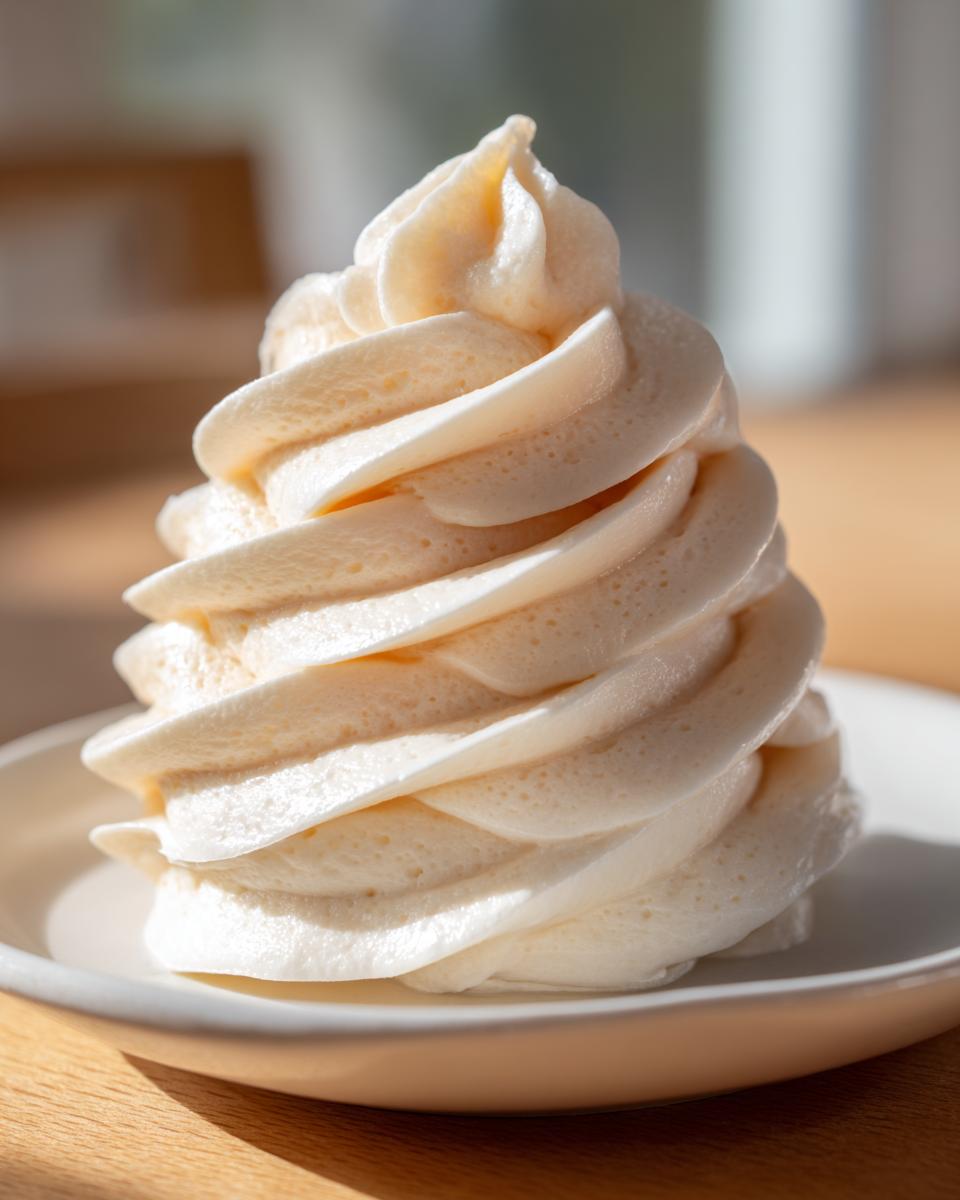
Achieving the Ideal Fluffy Cupcake Icing Consistency
This is where we turn basic icing into magical **Fluffy Cupcake Icing**. Start adding your cream or milk just one tablespoon at a time. I always start with just two tablespoons. Then, you have to crank the speed up to medium-high and let it run for a full 3 to 5 minutes. That long, high-speed beat is what makes the **vanilla buttercream frosting** light, airy, and ready for piping. Seriously, don’t skimp on that final whip time!
Tips for Success with Your Rich Vanilla Flavor Frosting
I’ve made this **vanilla buttercream frosting** countless times, and I’ve learned that even a perfect recipe needs a little on-the-fly adjustment if your kitchen is a little warmer or your butter was slightly colder than mine. Don’t panic if the consistency isn’t perfect right off the mixer. That’s why I always keep an eye on my reserves! These little fixes are the difference between great frosting and the absolute **Best Buttercream for Cakes**.
Adjusting Thickness for Spreading or Piping Buttercream Guide
If your **Easy Buttercream Frosting** looks a little too stiff for spreading—maybe it’s fighting you when you try to get it smooth—add a splash more cream or milk, but do it teaspoon by teaspoon. Slow and steady wins this race! Conversely, if you went a little heavy on the liquid and it looks a bit thin, grab your reserved sifted powdered sugar and add it quarter cup at a time until it firms up. This precise balancing act is crucial for a great **Piping Buttercream Guide** result.
Boosting the Vanilla Buttercream Frosting Flavor
Sometimes, I want that vanilla flavor to really punch through, especially when I’m using it on a very mild cake base. My little trick? Just bump up that vanilla extract! Instead of the standard teaspoon, use 1.5 teaspoons. That little extra bit of pure extract deepens the overall experience of this **Simple Vanilla Frosting** without changing the texture one bit. It’s an easy way to customize your **Homemade Vanilla Icing**!
Variations on This Simple Vanilla Frosting
The beauty of this basic recipe for **Vanilla Buttercream Frosting**, which I call my default **Classic Cake Frosting**, is how wonderfully adaptable it is. Once you master the creamy, fluffy base, you can spin it into so many different flavors without changing the core 10-minute preparation time. It’s all about adding complementary flavors during that final mixing stage. You have the perfect canvas!
Here are two of my absolute favorite ways to mix things up when I need a slight change of pace:
- Zesty Lemon Touch: If you are frosting a sheet cake or maybe a bright yellow cake base, you absolutely have to try adding the zest of one whole lemon along with your vanilla extract in Step 3. I usually add about a teaspoon of fresh lemon juice along with the zest during the final whipping stage. It cuts through the sweetness perfectly and makes it taste so fresh. It’s amazing on sugar cookies too!</li
- Almond Amore: For a slightly more grown-up or sophisticated flavor, replace half of the vanilla extract with pure almond extract. I actually suggest using just 1/2 teaspoon of almond extract combined with 1/2 teaspoon of vanilla. Almond can be intense, so start slow! This variation gives it a little something extra that people can never quite put their finger on.</li
- Chocolate Swirl Potential: While this isn’t technically a vanilla variation, I always keep this secret in my back pocket. If you want that rich, decadent look, carefully scoop out about a cup of your finished **Homemade Vanilla Icing** into a separate bowl. Melt about one ounce of good quality semi-sweet chocolate and gently fold it into that separated portion. Then, just drop dollops of the vanilla and chocolate frostings into your piping bag before decorating. Swirl it gently—wow! No extra whipping required.</li
See? It’s that simple to get more mileage out of one **Quick Buttercream Recipe**!
Storage and Reheating Instructions for Homemade Vanilla Icing
You work hard for that perfect **vanilla buttercream frosting**, and you definitely don’t want to waste any of it! Luckily, this American buttercream holds up beautifully, whether you’re saving it for next weekend or storing leftovers from a huge party. The key thing to remember is that temperature drastically changes this frosting’s texture, so warming it up safely is super important if you plan on piping later.
For short-term storage—say, if you frosted a cake in the morning but need to move it later—keeping it cool but not cold is generally fine. If you cover a frosted item loosely with plastic wrap and keep it in a cool room (under 70°F), it should be okay for a day. But for anything longer, we need the fridge.
Storing Your Classic Cake Frosting in the Refrigerator
If you have leftover **Homemade Vanilla Icing** in a container, go ahead and secure that lid tight. It’s best kept refrigerated for up to two weeks. Don’t put it uncovered right next to those half-cut onions, though, or your delicious dessert topping will taste savory later! The butter solidifies when it gets cold, which is great for preservation but terrible for decorating.
When you pull it out to use it again, whether it’s a container of leftover frosting or a still-frosted cake, you must let it sit on the counter at room temperature. This needs to happen for at least an hour, sometimes two, depending on the size of your batch or cake. Be patient!
Bringing Your Vanilla Buttercream Frosting Back to Piping Consistency
Once the frosting is completely soft again—no cold spots left in the middle—it might look a little sad, maybe even slightly separated or deflated. Don’t panic! This is totally normal for any **Creamy Dessert Topping** stored cold. Remember that final, long whip we did? You need to replicate that!
Just pop the softened frosting back into your mixer. Start on low speed to gently redistribute the ingredients, scrape down the sides, and then beat it on medium-high for another full 1 to 2 minutes. This final blast of mixing incorporates the air back in, making it light, fluffy, and perfectly pipeable again. Seriously, a minute or two of whipping after it comes to room temperature saves the day every time. It’s like giving your **Easy Buttercream Frosting** a quick spa treatment!
Frequently Asked Questions About This Creamy Dessert Topping
We get so many great questions about this **vanilla buttercream frosting** because everyone wants that foolproof, beautiful result! I tried to cover the biggest concerns people have when trying out a new **Homemade Vanilla Icing** recipe. Remember, feeling like you’ve got the answers is the first step to building that kitchen confidence. You can find other great tips related to piping, like this one on icing cupcakes, if you want even more ideas!
Can I substitute the heavy cream in this vanilla buttercream frosting recipe?
You certainly can! If you don’t have heavy cream on hand, whole milk works great; it’s one of the simplest switches for this **Quick Buttercream Recipe**. Just be careful—milk is thinner than cream, so you might only need 2 tablespoons total before you hit that perfect consistency. If you use half-and-half, you’ll probably need less liquid overall. The goal is to use enough liquid to get it fluffy, but not so much that it turns soupy.
How long does this Classic Cake Frosting last?
This is great news for all you bakers who like to prep ahead! If you store this **Classic Cake Frosting** in an airtight container at cool room temperature (keep it below 70°F if you can!), it’ll be perfect for about 2 days. For longer storage, the fridge is your friend; it keeps well for up to two weeks. Just remember what I mentioned earlier: bring it to room temperature and give it a good 1-2 minute whip to bring back that light, airy texture before you try to frost anything!
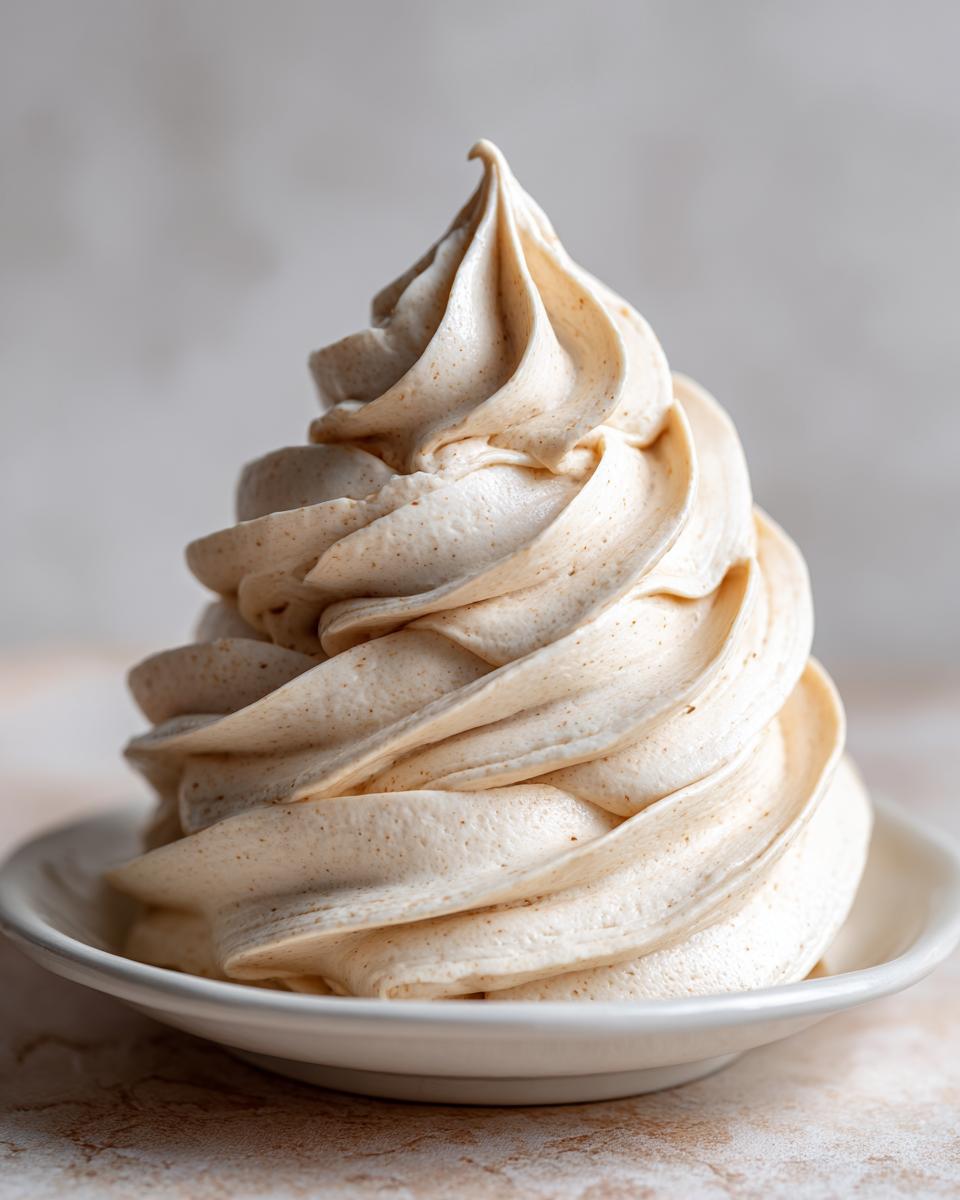
Is this the best buttercream for cakes that I can pipe with?
Yes, absolutely! Because we beat this **Easy Buttercream Frosting** for that full 3 to 5 minutes at the end, it incorporates tons of air, making it wonderfully light yet surprisingly sturdy. It holds beautiful sharp edges for layer cakes and makes gorgeous swirls on top of cupcakes. If you’re ever concerned, just use the lower amount of liquid (the 2 tablespoons) to ensure a firmer pipeable texture. Feel free to reach out through my contact form if you have any final recipe questions!
Estimated Nutritional Data for Vanilla Buttercream Frosting
I always try to keep things completely transparent here at Kitchenican, even when it comes to the less fun part of baking! Since this **vanilla buttercream frosting** is made from simple bases like butter and sugar, the numbers are straightforward. Please remember that these figures are estimates based on the standard serving size and the ingredients listed in the recipe above. I have linked our Privacy Policy if you ever want to review how we handle data related to these estimates.
- Serving Size: 1/4 cup
- Calories: 350
- Sugar: 55g
- Sodium: 45mg
- Fat: 15g
- Saturated Fat: 9g
- Unsaturated Fat: 6g
- Trans Fat: 0.5g
- Carbohydrates: 56g
- Fiber: 0g
- Protein: 1g
- Cholesterol: 35mg
Think of this as just helpful information, not a reason to skip your dessert! This **Homemade Vanilla Icing** is meant to be enjoyed when you celebrate something special, and knowing the basics is part of being a confident cook.
Share Your Success with This Baking Essential Frosting
Now it’s your turn! I’ve given you the methods, the ratios, and all the little secrets I’ve picked up over the years to make this **vanilla buttercream frosting** consistently perfect for cakes, cupcakes, and whatever else you decide to frost. But the true magic happens when you put the mixer on, right?
I truly hope this recipe gives you that little boost of confidence you need to tackle any dessert project. If you make this **Easy Buttercream Frosting**, please, please come back and let me know how it went! Drop a star rating below—it really helps other home cooks who might be feeling that same initial doubt I used to feel.
Did you try piping a rosette border? Did you swirl it onto cookies? I love seeing how you make this **Baking Essential Frosting** your own! If you have feedback or any last-minute stumbling blocks, drop a note in the comments section below. We’re all learning together here. And just a heads up on site navigation, you can always review our Terms of Use if you have questions about sharing recipes.
If you’re looking for even more inspiration on decorating, check out this other delicious frosting variation for your next bake!
Print
The Best Classic Vanilla Buttercream Frosting
This recipe provides a smooth, creamy, and fluffy American buttercream that holds its shape well for piping and decorating cakes and cupcakes. It uses simple, accessible ingredients and requires no cooking.
- Prep Time: 10 min
- Cook Time: 0 min
- Total Time: 10 min
- Yield: About 3 cups 1x
- Category: Dessert Topping
- Method: Mixing
- Cuisine: American
- Diet: Vegetarian
Ingredients
- 1 cup (2 sticks or 226g) unsalted butter, softened to room temperature
- 4 cups (480g) powdered sugar, sifted
- 1 teaspoon pure vanilla extract
- 2 to 4 tablespoons heavy cream or milk
- Pinch of salt
Instructions
- Place the softened butter in the bowl of a stand mixer fitted with the paddle attachment (or use a large bowl with a hand mixer). Beat the butter on medium speed until it is completely smooth and creamy, about 2 minutes. Scrape down the sides of the bowl.
- Gradually add the sifted powdered sugar, one cup at a time, mixing on low speed until just combined after each addition. Scrape down the sides frequently.
- Add the vanilla extract and the pinch of salt. Mix on low speed until incorporated.
- Increase the mixer speed to medium-high. Add the heavy cream or milk, one tablespoon at a time, beating well after each addition until the frosting reaches your desired consistency. Start with 2 tablespoons.
- Once the liquid is added, beat the frosting on medium-high speed for 3 to 5 minutes until it becomes light, fluffy, and visibly pale. This whipping time is key for achieving the best texture for piping.
- Use immediately to frost cakes, cupcakes, or cookies.
Notes
- If the frosting is too thick for spreading, add more cream, one teaspoon at a time.
- If the frosting is too thin, add more sifted powdered sugar, one quarter cup at a time.
- For a richer vanilla flavor, use 1.5 teaspoons of vanilla extract.
- This frosting is perfect for decorating because it pipes well and sets slightly firm.
Nutrition
- Serving Size: 1/4 cup
- Calories: 350
- Sugar: 55
- Sodium: 45
- Fat: 15
- Saturated Fat: 9
- Unsaturated Fat: 6
- Trans Fat: 0.5
- Carbohydrates: 56
- Fiber: 0
- Protein: 1
- Cholesterol: 35