
I love a good snack that travels well and doesn’t demand professional-level skills. If you’re anything like me, you sometimes need a reliable recipe that works whether you have five minutes or half an hour. That’s why I’m so excited to talk about these Chewy Chocolate Chip Oatmeal Bars. Seriously, these are the ultimate pantry staple oat bars because they come with a glorious secret: you can make them baked or no-bake!
When I first started turning my kitchen from a scary place into a haven for simple, delicious food, snacks that lasted more than a day were gold. These wonderful oatmeal bars check every box—they’re chewy, they freeze well, and they make a ton. This recipe is the result of streamlining processes so you never have to guess if something is going to work. As Ava Sinclair always says, the biggest barrier isn’t complexity, but confidence, and I promise you’ll feel confident baking (or not baking!) these delicious treats.
- Why You Will Make These Chewy Chocolate Chip Oatmeal Bars
- Gathering Ingredients for Your Oatmeal Bars
- How to Prepare Classic Baked Oatmeal Bars
- Quick No Bake Oat Bars Variation Instructions
- Tips for Making Perfect Oatmeal Bars Every Time
- Storing and Reheating Your Oatmeal Snack Bars
- Variations on Classic Oatmeal Bars
- Frequently Asked Questions About Oatmeal Bars
- Create More Amazing Oatmeal Bars
Why You Will Make These Chewy Chocolate Chip Oatmeal Bars
You need these in your life, trust me. We’ve all been there—needing a quick breakfast bar or a satisfying afternoon treat, but not wanting a huge mess. That’s what makes these the best easy oatmeal bars around.
- They are truly dual-purpose: You get classic chewy oatmeal bars with the baked version, or speedy, dense bars with the no-bake route!
- They use almost entirely pantry staples. No exotic shopping trips needed here!
- They hold together beautifully. Perfect for lunchboxes or grabbing on the way out the door.
- The chocolate chips stay gooey, whether baked or chilled.
If you love the texture of a soft cookie but need the portability of a bar, you’re going to want to check out my favorite oatmeal cookie recipe too, but for grab-and-go, these are king!
Gathering Ingredients for Your Oatmeal Bars
Okay, let’s talk about what you need! Since this recipe is so wonderfully flexible, we’re just going to list the core items here. Honestly, most of this you probably already have in your cupboard, which is why these make such great pantry staple oat bars. Remember, clarity here means success later, so pay attention to the state of the butter!
Essential Pantry Staples for These Oatmeal Bars
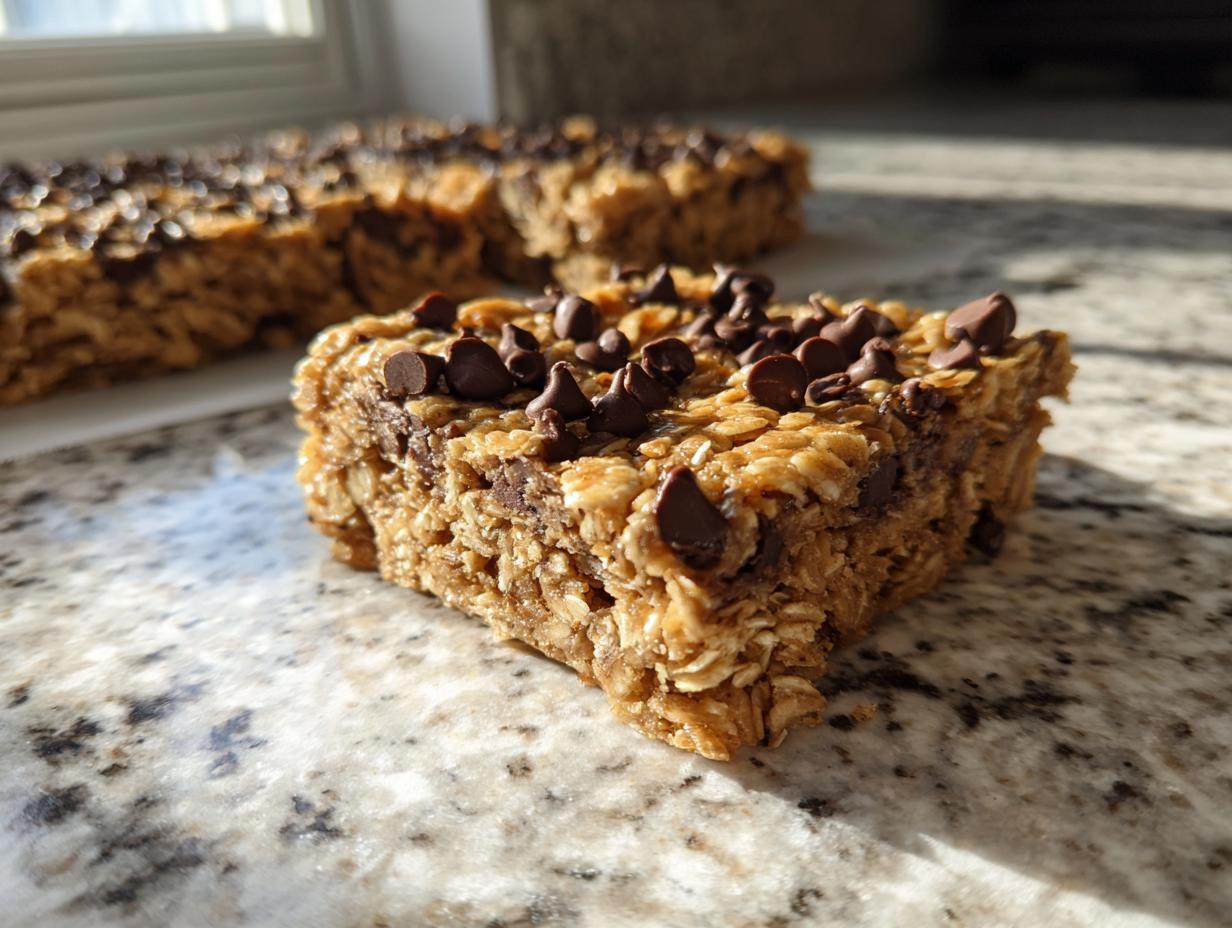
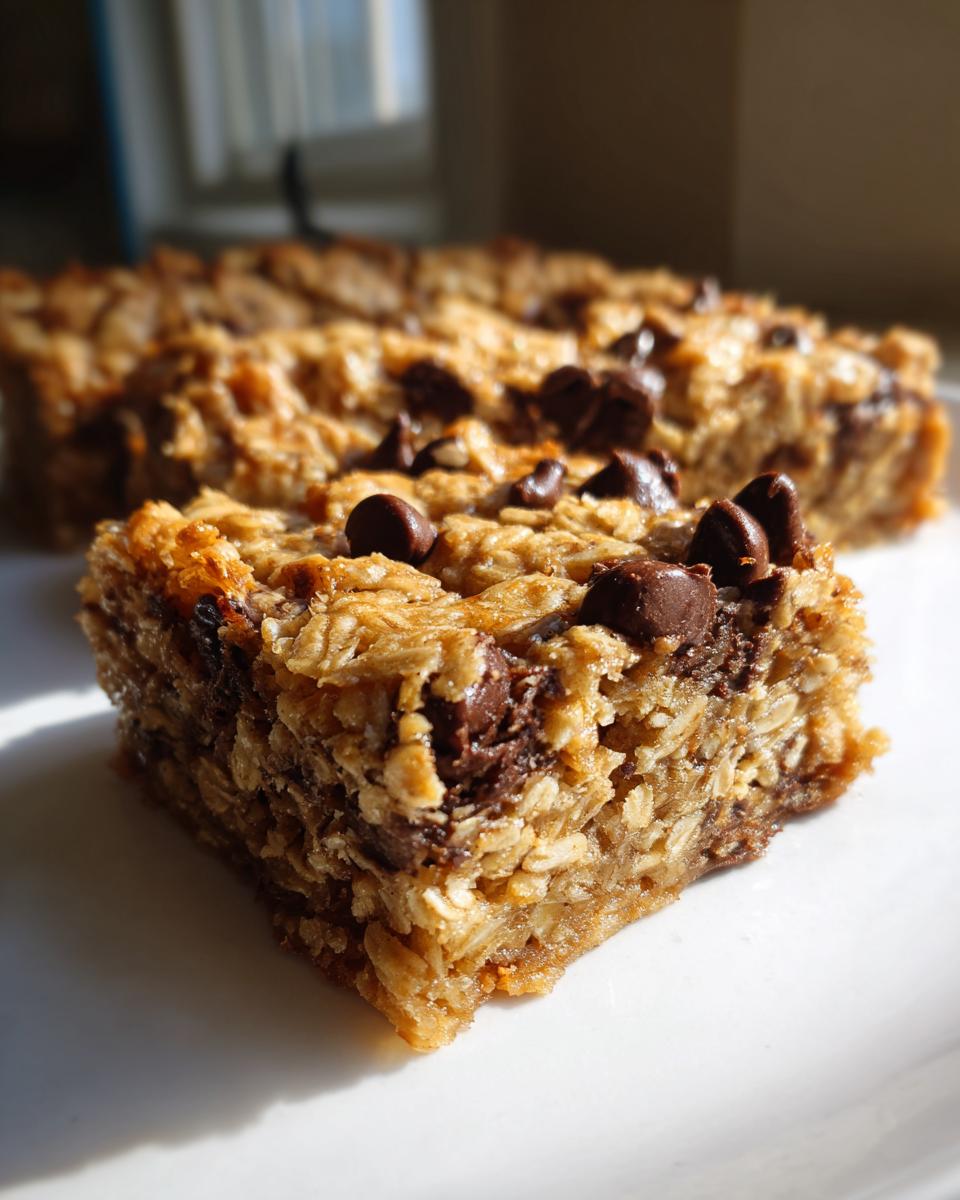
For the main body of the bars, you’ll gather two cups of rolled oats, one cup of all-purpose flour, baking soda, and salt. For the rich, chewy sweetness, we need one cup of unsalted butter that is truly softened—not melted, nice and pliable—along with ¾ cup of packed light brown sugar and a half cup of regular granulated sugar. Don’t forget the two large eggs and a teaspoon of vanilla extract. And, of course, we need a generous cup and a half of semi-sweet chocolate chips, plus half a cup extra oats if you want that lovely, rustic topping!
How to Prepare Classic Baked Oatmeal Bars
Now we get to the fun part: baking! If you’re opting for the classic route, preheat your oven to 350°F (175°C). You need a 9×13 inch pan, and please, use parchment paper with an overhang. Seriously, do this. It saves you from scrubbing baked-on sugar later, and it makes lifting these heavy oatmeal bars out a breeze!
Mixing Wet and Dry Components for Baked Oatmeal Bars
First, whisk your dry guys—two cups of oats, flour, baking soda, and salt—in a medium bowl to make sure everything is dispersed evenly. Now, for the magic in your big bowl: cream that softened butter with both the brown and white sugars. You want it pale and fluffy; this is where those air pockets that make the bars chewy come from. Don’t rush this! Beat in your eggs one at a time, then the vanilla. When you add the dry mix back in, only mix until you see no more streaks of flour. Overmixing at this point will develop gluten, and suddenly you don’t have chewy oatmeal bars; you have hockey pucks, and nobody wants that! If you love that soft, chewy texture, remember you can always check out my thoughts on my favorite oatmeal cookies recipe for comparison.
Baking and Cooling Your Oatmeal Bars
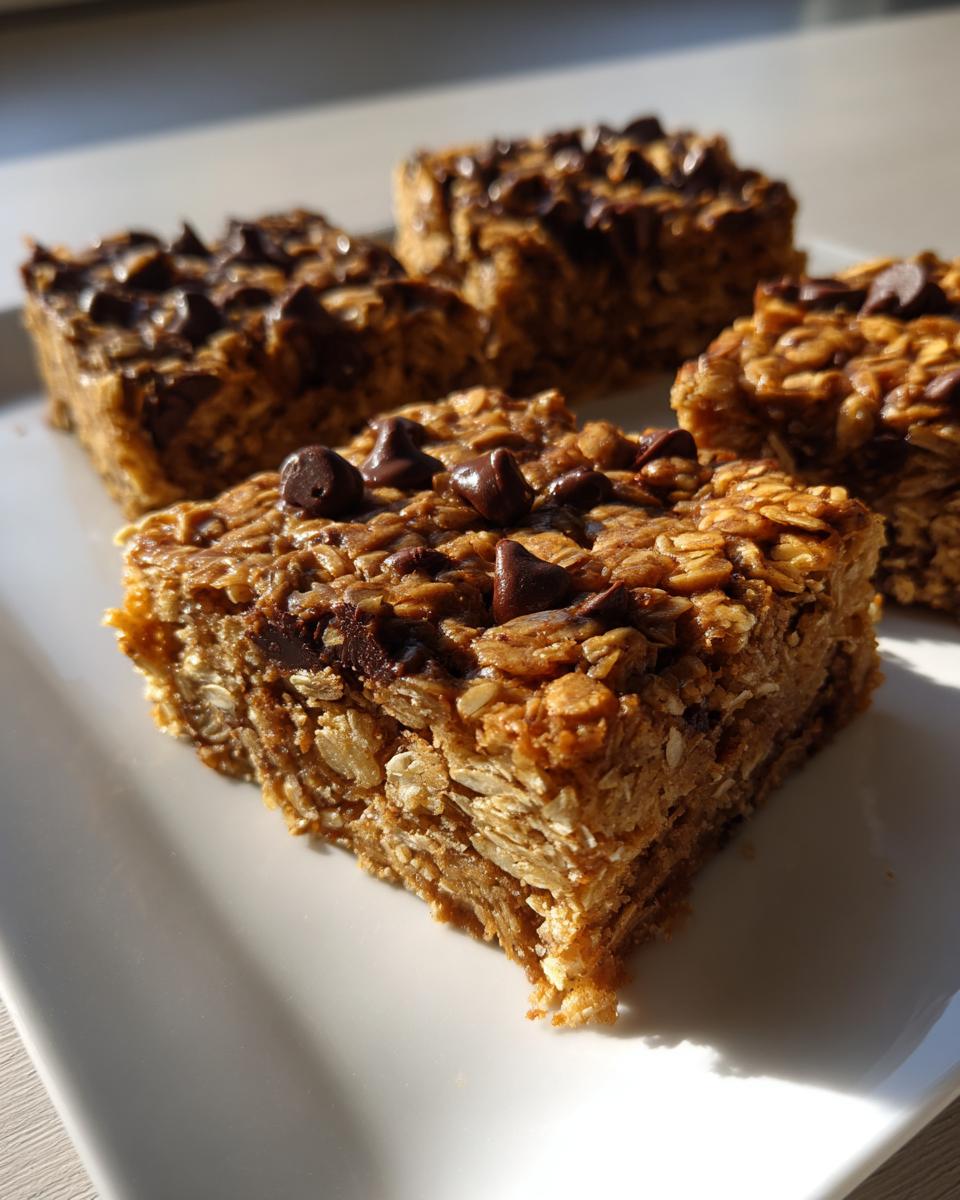
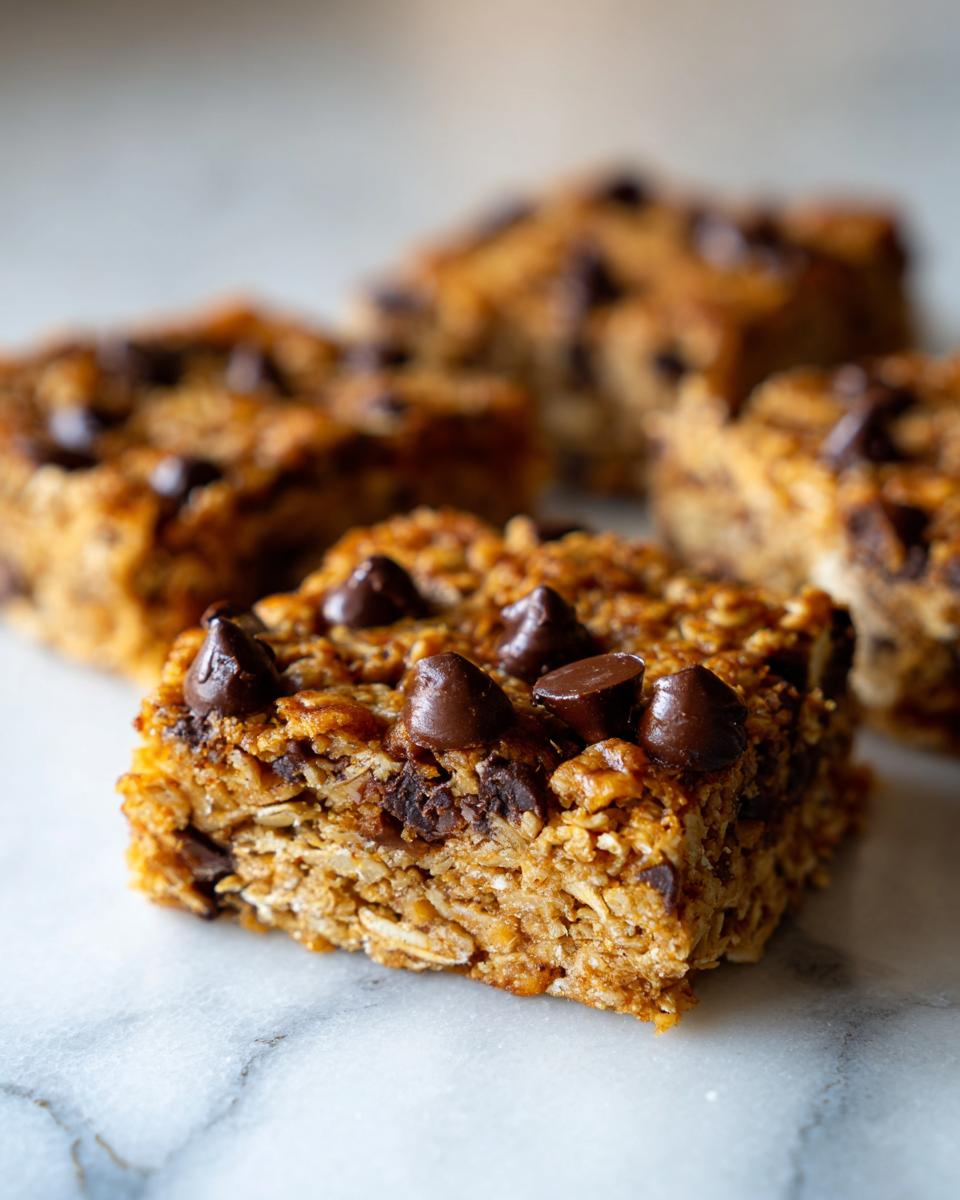
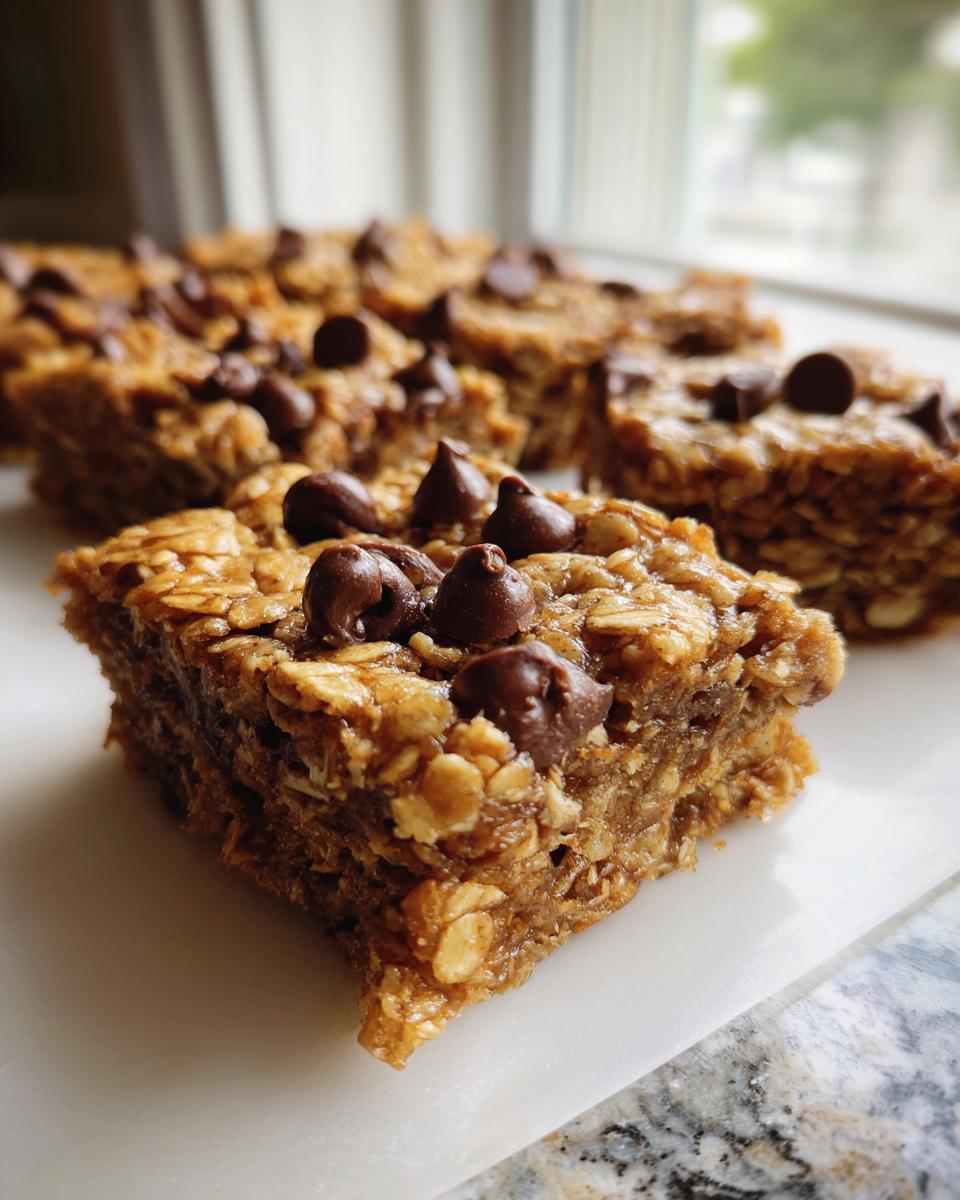
Once you fold in those chocolate chips, press two-thirds of the dough into your prepared pan. Sprinkle the rest of the chips and the optional extra oats on top. Bake for about 22 to 25 minutes. You’re looking for golden brown edges and a center that looks mostly set. Here’s my biggest pro tip for chewiness: pull them out just before you think they are totally done. They keep cooking on the hot pan. Let them cool entirely—and I mean entirely—before you lift them out and cut them. Patience here guarantees perfect squares!
Quick No Bake Oat Bars Variation Instructions
Okay, for those days when the oven is too much effort, or you just need something *now*, let’s talk about the no-bake route. This is fantastic when you want those satisfying no bake oat bars without the wait. We’re skipping the eggs, leavening, and preheating entirely, which is a huge time saver!
First things first: we need to create our binding syrup. In a saucepan over medium heat, you’ll melt one cup of butter, one cup of brown sugar, and a half cup of granulated sugar together. Keep stirring until it’s completely smooth and melted—no grainy bits allowed! Take that off the heat immediately and stir in one teaspoon of vanilla extract.
In a big bowl, mix up 4 cups of rolled oats and 1 cup of chocolate chips. Pour that wonderful hot mixture right over the oats and stir everything until those oats are totally coated. This is where your oatmeal bars come together!
Now comes the most crucial step for a successful no-bake bar that doesn’t crumble into a million pieces: pressing. Transfer this mixture into your parchment-lined 9×13 pan. You need to use the back of a measuring cup or a sturdy spatula and press down incredibly firmly. I mean it—really pack it in there! This compression is what keeps your no bake oat bars intact once they chill. Pop the whole thing into the fridge for at least two hours until it’s rock solid. Once firm, use that parchment overhang to lift it out and cut into squares. If you want quick energy bars without turning on the heat, definitely check out my recipe for easy 5 ingredient protein bars while you wait for these to set!
For more inspiration on this style, you should absolutely see how Sarah handles her own no-bake chocolate oatmeal bars!
Tips for Making Perfect Oatmeal Bars Every Time
Listen, even the most straightforward recipes can hit a snag, right? We want these to be perfect, professional-looking, easy oatmeal bars, not sad, crumbly messes. If you’re worried about the final texture, I have a couple of non-negotiables that really ensure success, whether you baked them or went the no-bake route. Remember, the goal is chewy, not dry!
Ingredient Substitutions for Your Oatmeal Bars
If you’re improvising in the kitchen—and I totally support that, by the way—you have some great options. For the baked version, feel free to swap out half those semi-sweet chocolate chips for peanut butter chips when you want a richer flavor profile. If you are leaning towards healthier oatmeal bars and want more fiber or texture, you can replace up to half that flour with whole wheat flour, though the texture will be slightly denser.
In the no-bake version, you can absolutely substitute the peanut butter with almond butter or sunflower seed butter if you have an allergy. A little tip: if you’re using sunflower butter, you might need to add just a touch more binding liquid, like a teaspoon of maple syrup, because nut butters vary in thickness. Don’t forget, if you ever need an easy base for flavor boosting, my recipe for easy homemade garlic butter recipe shows how simple quality ingredients can be!
Storing and Reheating Your Oatmeal Snack Bars
One of the best parts about making a big batch of oatmeal bars is that you don’t have to eat them all right away! These shine as make ahead breakfast bars because they last so well. The storage totally depends on which version you made, so pay close attention here.
If you made the baked bars, you can keep those right on the counter! Store them in an airtight container, cut or uncut, for up to four days at room temperature. Since they are full of butter and sugar, they don’t usually need the fridge, and keeping them cool can actually make them a little too firm. Room temperature keeps that chewy texture alive!
The no-bake version is a bit different. Because these rely on chilled butter and fats to stay solid, they absolutely need to live in the refrigerator. Pop them into an airtight container and they will stay perfectly firm and delicious for a good week, maybe even ten days! If you slice them first, stick a small square of parchment paper between the layers so they don’t stick together.
As for reheating? Honestly, I never reheat these. They are designed to be eaten cold or at room temperature. If you pull the no-bake bars out of the fridge about 20 minutes before you want to eat them, they soften up perfectly. If you want more ideas on making dishes ahead of time, I have some great tips in my guide on how to make make-ahead side dishes that simplify picnic prep!
Variations on Classic Oatmeal Bars
Now that you have mastered the chocolate chip classic, it’s time to get creative! The base recipe here is seriously sturdy, meaning it’s crying out for flavor swaps. Think about what you love in a snack or dessert, and chances are, we can fit it into this structure. I honestly love experimenting when I make a double batch—one standard and one wild card!
If you’re a big fan of fruit, definitely try incorporating some mashed, very ripe banana into the wet mix for a natural sweetness boost. It really keeps things moist! If you do this, you might want to skip the extra egg for the baked version, as the banana adds enough binder. You can find a similar vibe in my banana oatmeal cookies recipe, too.
For a truly decadent afternoon treat, think about taking inspiration from those decadent morning pastries. Imagine swirling in some brown sugar, cinnamon, and maybe a touch of cream cheese filling right before baking. Yes, those cinnamon roll oatmeal bars are absolutely a stunning upgrade!
And who can forget peanut butter? If you’re making the no-bake version, replacing half the butter with creamy peanut butter adds an amazing depth and makes those no-bake bars even better at holding their shape. Check out this fantastic inspiration for banana oatmeal bars if you want to get fruity and fresh with your next batch!
Frequently Asked Questions About Oatmeal Bars
I always get so many questions right after I post a fan favorite like this! It’s exciting to see everyone wanting to customize their oatmeal bars. Baking is flexible, but knowing a few key points will make sure these turn out perfectly for you every single time, whether you are looking for breakfast bars with oats or just a simple snack.
Can I make these oatmeal bars healthier?
Yes, you absolutely can tinker with these to make them fit whatever diet you’re on! For a healthier take, I swap out half the all-purpose flour for whole wheat pastry flour—it keeps things light but adds fiber. If you want a real boost for those kid friendly oatmeal bars, stir in a tablespoon or two of ground flaxseed with the dry ingredients. You can also use maple syrup instead of some of the granulated sugar, but just remember that liquids change the texture, so you might need slightly less vanilla or eggs.
Why are my baked oatmeal bars crumbling?
Ugh, crumbling bars are the worst! If your baked oatmeal bars are falling apart, it’s almost always one of two things. First, you didn’t press the bottom layer down firmly enough before baking—that structure needs to be packed in tight! Second, and this is common, you baked them too long. If they look dry coming out of the oven, they will definitely crumble once cool. Remember that tip I gave you about pulling them slightly early? That ensures they stay wonderfully chewy and linked together. For more ideas on speedier wholesome options, check out my guide on quick healthy breakfasts!
Create More Amazing Oatmeal Bars
Whew! We made it through the baked and the no-bake worlds, and I hope you feel that little surge of cooking confidence I always get when I finish a great project. Now that you have the blueprint for these amazing, chewy chocolate chip oatmeal bars, the real fun begins—making them your own!
I truly want to know what you decided to do! Did you stick purely to the classic chocolate chip? Did you sneak in some dried cranberries, or maybe go wild with coconut flakes in the no-bake version? Don’t keep those delicious experiments to yourself!
Please hop down into the comments below and let me know how your bars turned out. Were they chewy? Which method did you choose? I love reading your success stories and getting ideas for my next batch. And if you enjoyed simplifying your snack game with this recipe, check out my story over on the About Page to see how we are building Kitchenican together!
PrintChewy Chocolate Chip Oatmeal Bars (Baked and No-Bake Options)
Create satisfying, portable oatmeal bars using simple ingredients. This recipe provides instructions for both a classic baked version and a quick no-bake alternative, perfect for easy snacks or make-ahead breakfasts.
- Prep Time: 15 min
- Cook Time: 25 min
- Total Time: 40 min
- Yield: 24 bars 1x
- Category: Snack
- Method: Baking/No-Bake
- Cuisine: American
- Diet: Vegetarian
Ingredients
- 2 cups rolled oats
- 1 cup all-purpose flour
- 1 teaspoon baking soda
- 1/2 teaspoon salt
- 1 cup (2 sticks) unsalted butter, softened
- 3/4 cup packed light brown sugar
- 1/2 cup granulated sugar
- 2 large eggs
- 1 teaspoon vanilla extract
- 1 1/2 cups semi-sweet chocolate chips
- 1/2 cup extra rolled oats (for topping, optional)
Instructions
- Preheat your oven to 350°F (175°C). Line a 9×13 inch baking pan with parchment paper, leaving an overhang for easy removal.
- In a medium bowl, whisk together the 2 cups of rolled oats, flour, and baking soda. Add the salt and mix well.
- In a large bowl, cream together the softened butter, brown sugar, and granulated sugar until the mixture is light and fluffy. This step builds texture.
- Beat in the eggs one at a time, mixing well after each addition. Stir in the vanilla extract.
- Gradually add the dry ingredients to the wet ingredients, mixing on low speed until just combined. Do not overmix.
- Fold in the chocolate chips.
- Press two-thirds of the dough evenly into the prepared baking pan. Sprinkle the remaining chocolate chips and the extra 1/2 cup of rolled oats over the top, if using.
- Bake for 22 to 25 minutes, or until the edges are golden brown and the center is set.
- Let the bars cool completely in the pan before lifting them out using the parchment overhang and cutting them into squares.
- For the No-Bake Variation: Skip steps 1, 4, 5, 6, and 7. Melt 1 cup of butter, 1 cup of brown sugar, and 1/2 cup of granulated sugar in a saucepan over medium heat until smooth. Remove from heat and stir in 1 teaspoon of vanilla extract. In a large bowl, combine 4 cups of rolled oats and 1 cup of chocolate chips. Pour the melted mixture over the oats and chocolate chips and stir until fully coated. Press firmly into a parchment-lined 9×13 inch pan. Chill in the refrigerator for at least 2 hours until firm before slicing.
Notes
- For the chewiest baked bars, slightly underbake them; they will continue to set as they cool.
- You can substitute half the chocolate chips with peanut butter chips or chopped nuts for different oatmeal bar recipes.
- If you are making the no-bake version, pressing the mixture down very firmly is key to keeping your no bake oat bars from crumbling.
Nutrition
- Serving Size: 1 bar
- Calories: 210
- Sugar: 15g
- Sodium: 120mg
- Fat: 11g
- Saturated Fat: 6g
- Unsaturated Fat: 5g
- Trans Fat: 0g
- Carbohydrates: 28g
- Fiber: 2g
- Protein: 3g
- Cholesterol: 30mg