

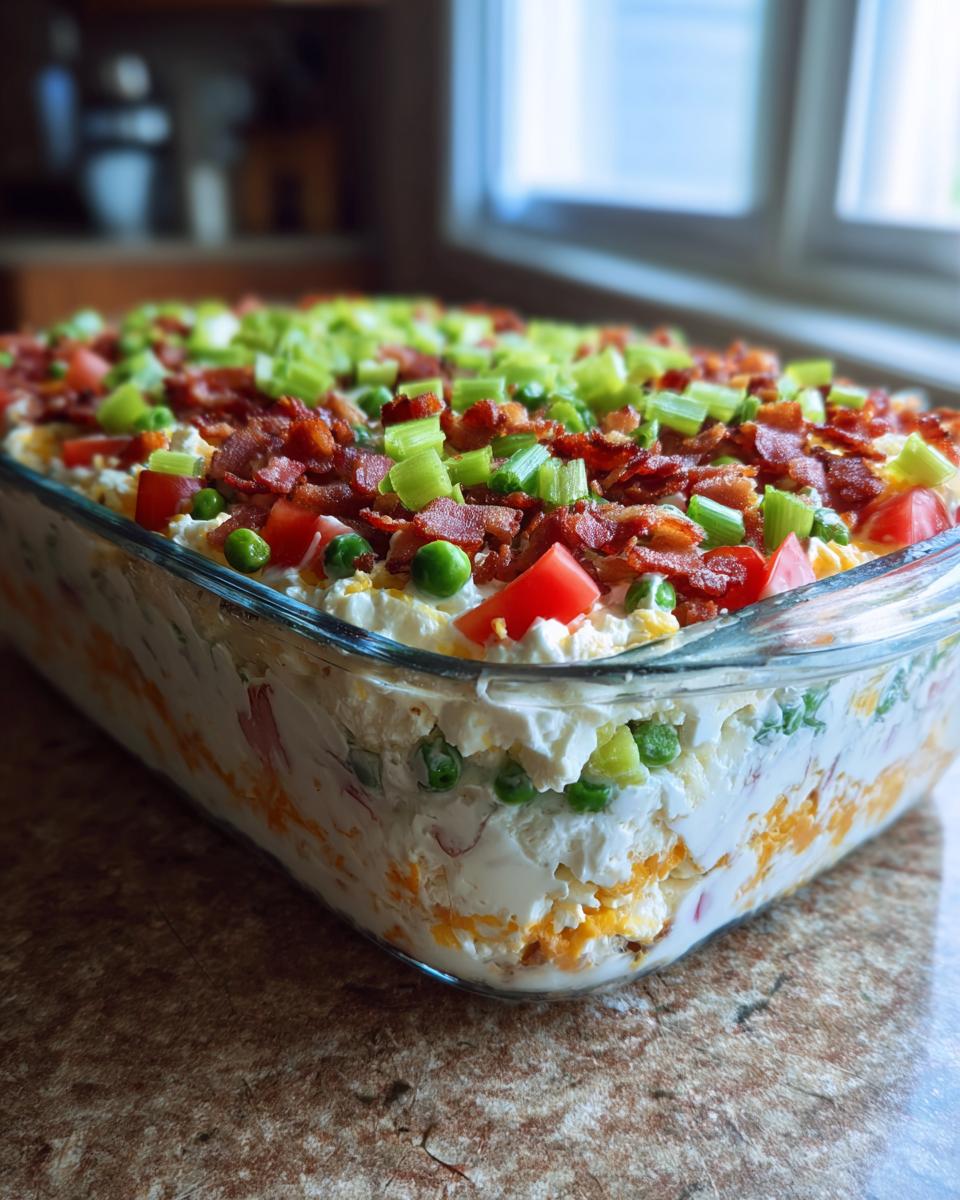
When I think about true comfort food that just *works* every single time, my mind immediately goes to those wonderful retro dishes. You know, the ones that look incredible on a buffet table and taste like a slice of nostalgia? That’s exactly what this 7 layer salad is. Honestly, early on in my journey, I was unsure I could manage something that looked so complicated, but this recipe proved me wrong. Mastering this simple, satisfying layered dish was a huge confidence booster for me. It’s the ultimate, make-ahead, crowd-pleasing side that travels like a dream. Trust me, once you see how satisfying those distinct layers look, you’ll realize the joy of cooking is truly accessible to everyone.
- Why This Classic 7 Layer Salad is Your New Potluck Favorite
- Ingredients for the Best Seven Layer Salad Recipe
- How to Assemble Your Classic 7 Layer Salad
- Tips for Success with Your Make Ahead Salad
- Storage and Serving Instructions for Your 7 Layer Salad
- Ingredient Notes and Substitutions for Layered Vegetable Dish
- Variations: Beyond the Classic 7 Layer Salad
- Frequently Asked Questions About This Salad with Bacon and Cheese
- Estimated Nutritional Data for a Serving of 7 Layer Salad
Why This Classic 7 Layer Salad is Your New Potluck Favorite
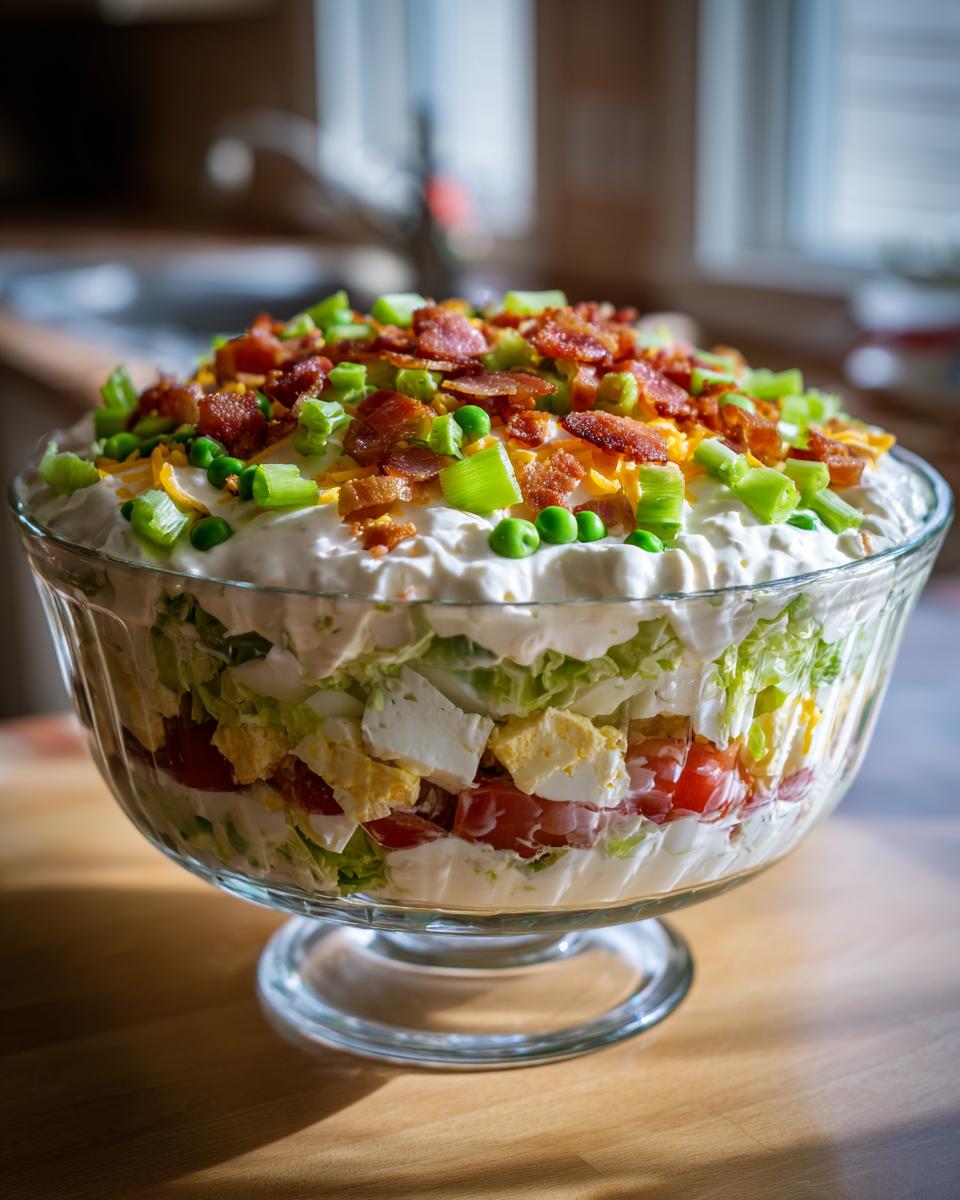
If you’re looking for the best Potluck Salad Ideas that people actually ask you to bring again, this is it. There’s something magical about a retro salad that just never goes out of style, and the 7 layer version truly shines. It’s reliable, it looks beautiful in its clear glass dish, and it’s designed specifically for making ahead—a lifesaver when you have a busy day!
Key Benefits of the Seven Layer Salad Recipe
- It’s naturally stunning! Those vibrant, distinct layers are such a showstopper.
- The ultimate Make Ahead Salad; you assemble it the night before so serving time is zero stress.
- It balances textures perfectly—crisp veggies, creamy dressing, and salty bacon crunch.
- It travels incredibly well when kept cold. We even take this as a go-to Picnic Side Dish. You can check out some of my other favorites for busy evenings here: easy weeknight dinners.
Ingredients for the Best Seven Layer Salad Recipe
Okay, before we get into the fun part—the actual stacking—we need to prep our components. This Seven Layer Salad Recipe is all about keeping those layers separate until serving, so having everything ready to go is key. I always use a big, clear bowl so everyone can admire the work! We’ll separate the dressing components first—that creamy magic is what holds everything together.
For the Creamy Layer Salad Dressing
This simple mixture creates the incredible binding sauce for our Creamy Layer Salad Dressing. Make sure you whisk it until it’s perfectly smooth so you don’t get any weird clumps sitting on top of your beautiful layers later!
- 1 cup mayonnaise
- 2 tablespoons white vinegar
- 1 tablespoon sugar
- 1 teaspoon salt
- 1/2 teaspoon black pepper
For the Seven Vegetable Layers
Remember, these need to be prepped ahead of time so you can assemble this without rushing. The thawing of the peas is important so they don’t introduce extra water into the mix!
- 1 head iceberg lettuce, chopped
- 1 cup frozen green peas, thawed
- 4 hard-boiled eggs, sliced or chopped
- 1 cup shredded sharp cheddar cheese
- 1/2 cup chopped red onion
- 1 cup cooked bacon, crumbled
- 1 cup chopped celery
- 1 cup chopped tomatoes
How to Assemble Your Classic 7 Layer Salad
This is where the fun really starts! Remember how I stress trusting yourself? Building this Classic 7 Layer Salad is just like stacking building blocks, but tastier. The order matters—seriously, don’t put the tomatoes before the cheese unless you want a soupy mess! It’s always best to select a beautiful, clear glass bowl or trifle dish for this recipe. It lets everyone admire your work before it gets devoured. If you’re also looking to upgrade your butter game for other dishes, check out this easy homemade garlic butter recipe!
Preparing the Creamy Layer Salad Dressing
Before we think about stacking, we need that dressing finished up perfectly. Take the ingredients we listed—mayonnaise, vinegar, sugar, salt, and pepper—and put them in a medium bowl. Whisk everything together until it’s completely uniform and velvety smooth. We want zero lumps here! Once it’s liquid gold, set that bowl aside while we focus on the architecture of the salad.
Building the Seven Layers of the Salad
You’ll be following the specific order to ensure this works as a true Layered Vegetable Dish. Start by lightly packing your chopped iceberg lettuce onto the bottom. Next, gently add the thawed peas over the lettuce (Layer 2). Layer 3 is the chopped eggs, followed by the sharp cheddar cheese as Layer 4. Now, sprinkle on your red onion (Layer 5), and then scatter that glorious crispy bacon as Layer 6. Finally, Layer 7 is your celery and tomatoes combined—these go right on top.
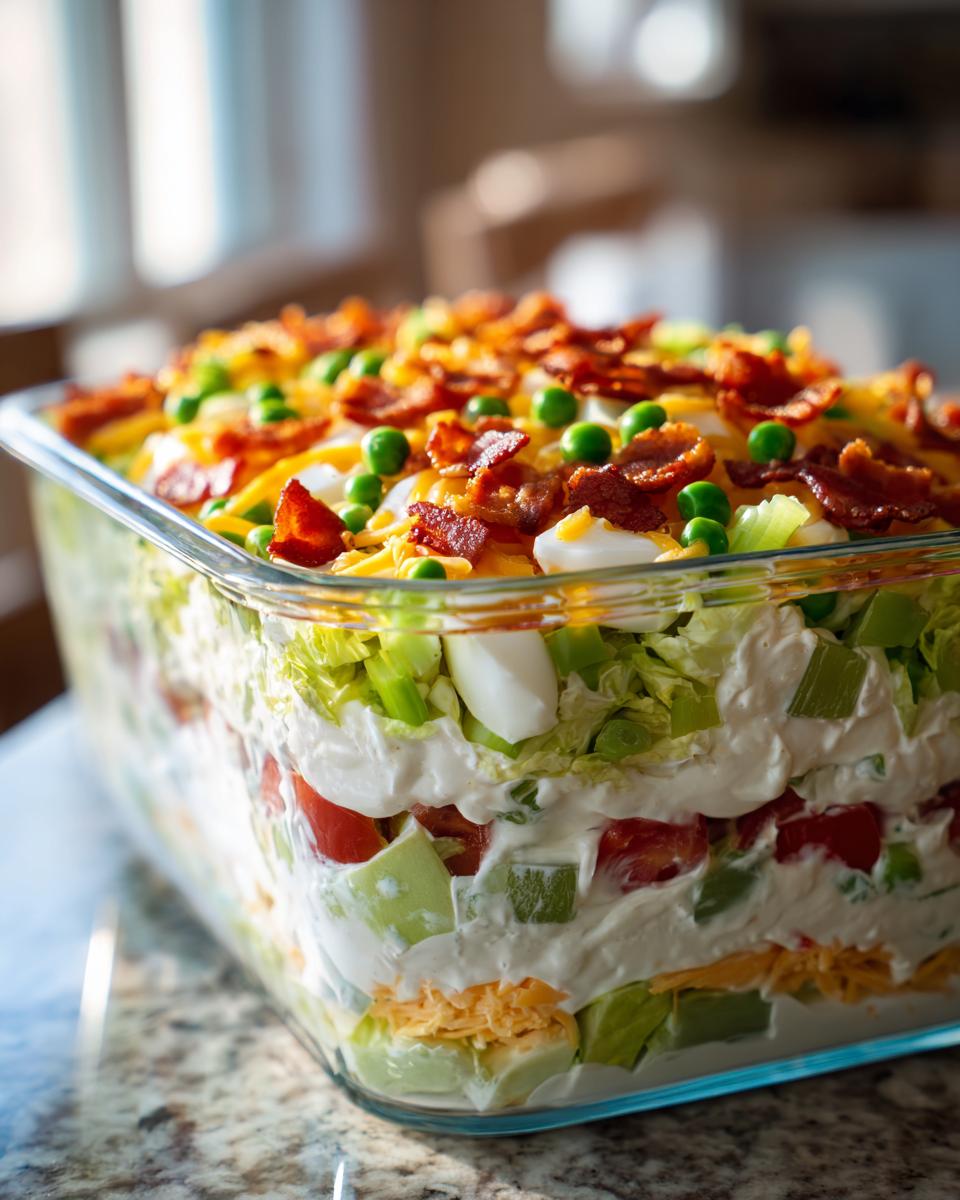
The final, crucial step is applying the dressing. Pour your prepared creamy dressing gently right over the top layer. Try to spread it carefully so you don’t mash the layers underneath! Then cover it tightly and get it into the fridge. That chilling time is non-negotiable for the best results!
Tips for Success with Your Make Ahead Salad
One of the absolute best things about this entire recipe is that it’s designed to be a Make Ahead Salad. I know how hectic hosting can get, so knowing I can conquer the side dishes the night before is such a relief! The flavor melding that happens overnight is actually beneficial; everything gets to know each other beautifully in the cold.
My biggest piece of advice is this: when you apply that creamy dressing to the top layer, make sure you spread it edge-to-edge. That dressing acts like a sealant for the entire dish. If air gets to the lettuce or the vegetables too early, they can wilt or brown. Covering it tightly with plastic wrap after that sealing layer of dressing ensures everything stays crisp and fresh until party time.
When you’re planning, remember to give it at least four hours in the fridge, but overnight is genuinely better. If you’re bringing this as a Potluck Favorite to an event, consider bringing the dressing in a separate small jar and pouring it on right before serving for maximum crispness, although covering it really does a great job. If you need another fantastic make-ahead recipe for your spread, you HAVE to try my easy whipped ricotta dip!
Storage and Serving Instructions for Your 7 Layer Salad
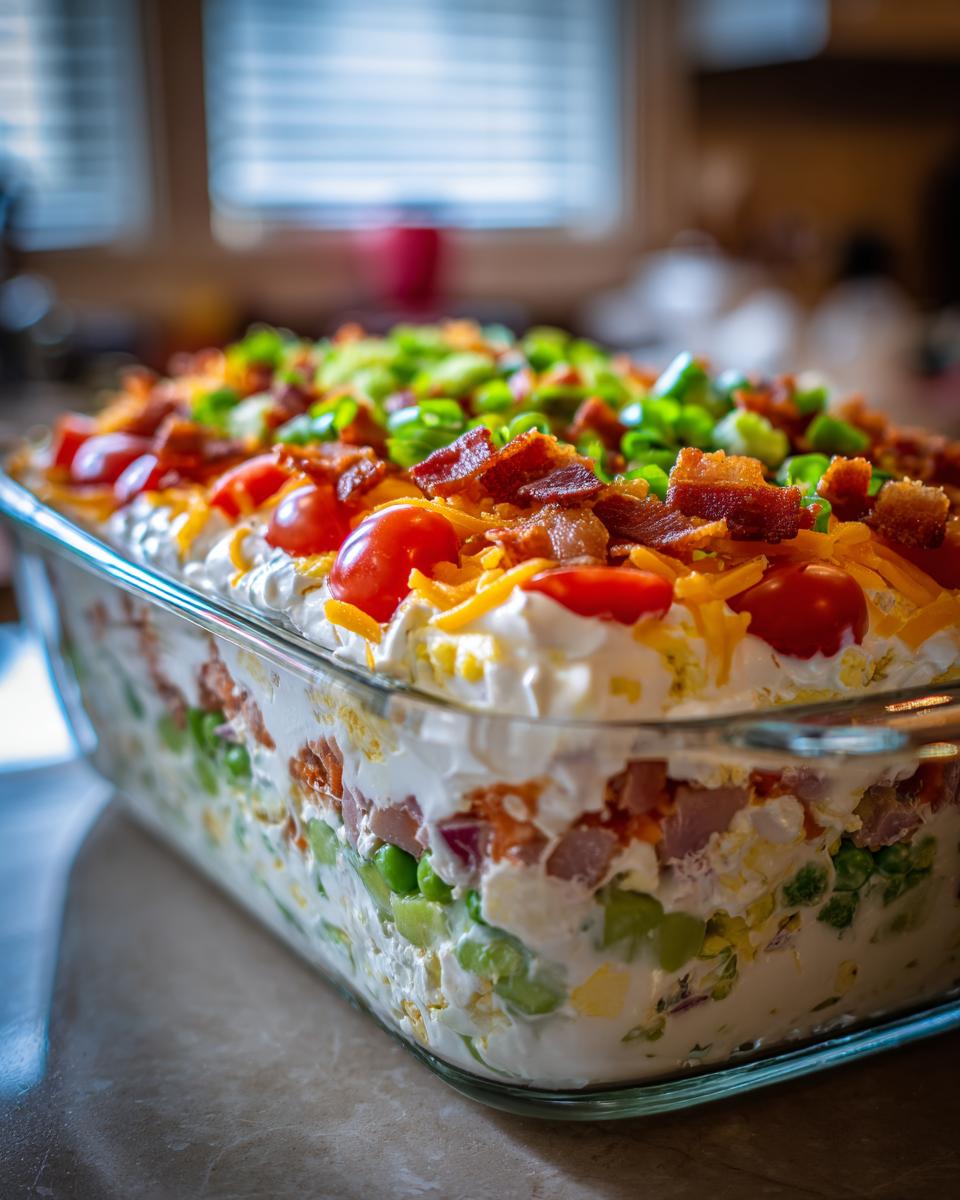
Since this is the ultimate Crowd Pleasing Salad, timing your assembly is everything! You definitely want to chill this beauty for at least four hours minimum, but if you can manage it, letting it sit overnight in the fridge is truly the sweet spot. That resting time lets all the crunchy elements marry up perfectly with that creamy dressing—it just tastes better when it’s had time to settle!
When you cover it, go tight. Use plastic wrap right against the top layer of dressing to keep air out. And here’s the most important thing: this salad is served cold, straight from the fridge! There’s no reheating involved here, obviously, but making sure it stays chilled right up until serving time keeps those layers looking sharp and crisp.
Ingredient Notes and Substitutions for Layered Vegetable Dish
When making any classic recipe, I always get questions about what you can swap out, especially if you’re planning for a crowd with different needs. This Layered Vegetable Dish is pretty flexible, but some layers are definitely more important than others! For instance, the recipe lists sharp cheddar, but if you wanted something with a bit more zest, Monterey Jack or even Pepper Jack works beautifully. And if you have guests who don’t eat pork, this is an easy fix!
Since this recipe is listed as vegetarian friendly overall (minus the bacon), you just need to omit the crumbled bacon for those folks. Or, here’s a fun trick: use smoky smoked paprika mixed into the dressing instead of the bacon, or swap it out entirely for toasted, crushed pecans for a great crunch! If you’re looking for other great vegetable sides, my veggie lentil salad recipe is another winner.
Also, while iceberg lettuce provides that classic crunch, some folks prefer romaine. Just make sure whatever you use is chopped crisp and dry. We want crunch, not sogginess!
Variations: Beyond the Classic 7 Layer Salad
While I absolutely adore the traditional formula—lettuce, peas, eggs, cheese, onion, bacon, tomato—I know sometimes you want to shake things up when you’re making a Simple Side Dish. Don’t feel pressured; the layered concept is incredibly adaptable!
The most common way people deviate is by swapping out the veggies based on what’s in season. If you’ve got lots of fresh broccoli florets or shaved carrots on hand, throw them in! Just remember to keep the dressing layer on top to seal everything up tight.
Now, I know some folks take this idea and run with it toward something completely different, like creating a full-blown Seven Layer Taco Salad. That uses tortilla chips, seasoned meat, salsa, and sour cream instead of the creamy mayo dressing. While delicious, it’s a totally different beast! If you love that flavor profile but need something faster, check out my one-pot cheesy taco pasta skillet. For now, though, let’s keep our focus on making this crisp, fresh version the absolute best it can be!
Frequently Asked Questions About This Salad with Bacon and Cheese
I always get questions after a party about this recipe, especially since it’s such a popular Salad with Bacon and Cheese! It’s easy to master, but a few little things can confuse people when they try to tailor it for their own events. Here are the top things folks ask me about making the Best Seven Layer Salad!
How far ahead of time can I assemble this salad?
This is the beauty of a great Make Ahead Salad! You absolutely can assemble the entire thing—layers, topping, and dressing—the night before you plan to serve it. We’re aiming for at least four hours of chilling, but overnight allows those flavors to truly meld together perfectly. Just make sure it’s wrapped super tightly so that dressing seals out the air!
Can I substitute the Iceberg lettuce?
You can, but you change the texture profile a bit! The crisp water content of iceberg is what gives this traditional 7 layer salad its classic crunch. If you use something softer like leaf lettuce, it might start to wilt faster. I suggest using romaine if you need a substitute, but follow my tip on making sure it’s super dry!
Can I make a vegetarian version of this specific salad?
Of course! That bacon layer is wonderful, but sometimes you need that flavor without the meat. For a fantastic vegetarian option, just skip the bacon and use that smoky paprika mixed into the dressing as a flavor boost, which I mentioned earlier. Or, if you want that crunchy component, try some toasted pecans—they offer a great savory bite! You can find other vegetarian ideas on my cheese ball recipe page, too.
How long is the creamy dressing good for on its own?
If you happen to make extra of that delicious Creamy Layer Salad Dressing, it will keep well in an airtight container in your fridge for about five days. It’s mayo-based, so just keep it cold. This is great if you want to prep just the dressing early in the week!
For more amazing, reliable recipes that people always compliment, I often point people toward this great one I found: Classic 7 Layer Salad.
Estimated Nutritional Data for a Serving of 7 Layer Salad
I always include this section because I believe in transparency when we’re cooking at home—you deserve to know what you’re putting on your plate! Remember, because this Classic 7 Layer Salad recipe is built on fresh ingredients and you might tweak quantities, these numbers are our best estimates based on the standard measurements provided.
This salad is rich because of the creamy dressing, the eggs, and the cheese, so it’s definitely satisfying! Here is what you can generally expect for one serving based on the recipe:
- Calories: 310
- Total Fat: 28g (Watch that saturated fat breaks down into 9g)
- Total Carbohydrates: 10g
- Protein: 11g
- Sugar: 6g
- Sodium: 450mg
It’s a great way to get in some fiber, too, clocking in around 3g per serving! As always, these figures are estimates, but they give you a solid idea of what you’re enjoying in this delicious, Vibrant Vegetable Salad. Knowing the components helps you feel confident serving it at any event!
PrintClassic 7 Layer Salad Recipe

Make this classic 7 layer salad, a simple, make-ahead dish perfect for potlucks, holidays, and summer BBQs. It features crisp vegetables, bacon, cheese, and a creamy dressing.
- Prep Time: 25 min
- Cook Time: 0 min
- Total Time: 25 min
- Yield: 8 servings 1x
- Category: Side Dish
- Method: Layering
- Cuisine: American
- Diet: Vegetarian
Ingredients
- 1 head iceberg lettuce, chopped
- 1 cup frozen green peas, thawed
- 4 hard-boiled eggs, sliced or chopped
- 1 cup shredded sharp cheddar cheese
- 1/2 cup chopped red onion
- 1 cup cooked bacon, crumbled
- 1 cup chopped celery
- 1 cup chopped tomatoes
- 1 cup creamy dressing (see below)
Instructions
- Prepare the creamy dressing first. In a medium bowl, whisk together 1 cup mayonnaise, 2 tablespoons white vinegar, 1 tablespoon sugar, 1 teaspoon salt, and 1/2 teaspoon black pepper until smooth. Set aside.
- Select a clear, deep glass bowl or trifle dish to show the layers.
- Create the first layer by placing the chopped iceberg lettuce in the bottom of the bowl. Pack it down lightly.
- Add the thawed green peas as the second layer over the lettuce.
- Arrange the sliced hard-boiled eggs as the third layer.
- Spread the shredded cheddar cheese evenly over the eggs for the fourth layer.
- Add the chopped red onion as the fifth layer.
- Sprinkle the crumbled bacon over the onions for the sixth layer.
- Place the chopped celery and chopped tomatoes as the final vegetable layer.
- Gently pour the prepared creamy dressing over the top layer, spreading it carefully to cover all ingredients without disturbing the layers beneath.
- Cover the bowl tightly with plastic wrap. Refrigerate for at least 4 hours, or preferably overnight, to allow the flavors to meld and the dressing to set.
- When ready to serve, remove the plastic wrap.
Notes
- You can assemble this salad the night before your event. Keep it covered and chilled until serving time.
- For the best presentation, apply the dressing just before chilling, ensuring it seals the layers.
- If you prefer a slightly sweeter dressing, increase the sugar to 1 1/2 tablespoons.
- This recipe makes a great potluck salad because it travels well when kept cold.
Nutrition
- Serving Size: 1 serving
- Calories: 310
- Sugar: 6
- Sodium: 450
- Fat: 28
- Saturated Fat: 9
- Unsaturated Fat: 19
- Trans Fat: 0
- Carbohydrates: 10
- Fiber: 3
- Protein: 11
- Cholesterol: 105