
Let’s be honest, is there anything more disappointing than pulling a baked chicken breast out of the oven only to find it tastes like shoe leather? I spent years wrestling with that exact problem. I truly thought that tender, juicy results were reserved for professional chefs or maybe a magic trick. I’m Ava Sinclair, and I built Kitchenican because I was tired of that gap between wanting a great meal and having the confidence to make it.
After too many disappointing dinners, I obsessed over technique until I nailed it. This method, which I call the Foolproof Juicy Baked Chicken Breast: The Ultimate 25-Minute Method with Simple Garlic Herb Rub, changed everything for me. It proves that you don’t need complex marinades or hours of prep. You just need the right steps. If you’ve ever doubted your ability to cook protein, trust me, this recipe is where you build that foundational kitchen confidence. For more simple ideas that fit your crazy schedule, check out my collection of easy weeknight dinners.
- Why This Foolproof Recipe Guarantees a Juicy Baked Chicken Breast Every Time
- Ingredients for Your Simple Baked Chicken Seasoning
- How to Prepare Your Juicy Baked Chicken Breast Recipe
- Tips for Success with Your Baked Chicken Breast
- Make-Ahead and Meal Prep Chicken Breast Oven Strategies
- Serving Suggestions for Your Easy Baked Chicken Breast Dinner
- Storage and Reheating Instructions for Moist Chicken Breast Technique
- Frequently Asked Questions About Baked Chicken Breast
- Share Your Foolproof Chicken Breast Recipe Success
Why This Foolproof Recipe Guarantees a Juicy Baked Chicken Breast Every Time
You’re probably here because you need to know exactly how to bake chicken breast not dry, right? I get it! The beauty of this method is that it’s designed around consistency, not guesswork. That means you get that fantastic, tender oven chicken breast flavor every single night. This isn’t just a recipe; it’s a system built to win.
- It’s incredibly fast—we’re talking about real healthy dinner recipes ready in under 30 minutes total.
- The simple rub packs huge flavor without needing an hours-long marinade.
- It works every time, which means you stop dreading cooking chicken!
The Key Technique for Tender Oven Chicken Breast
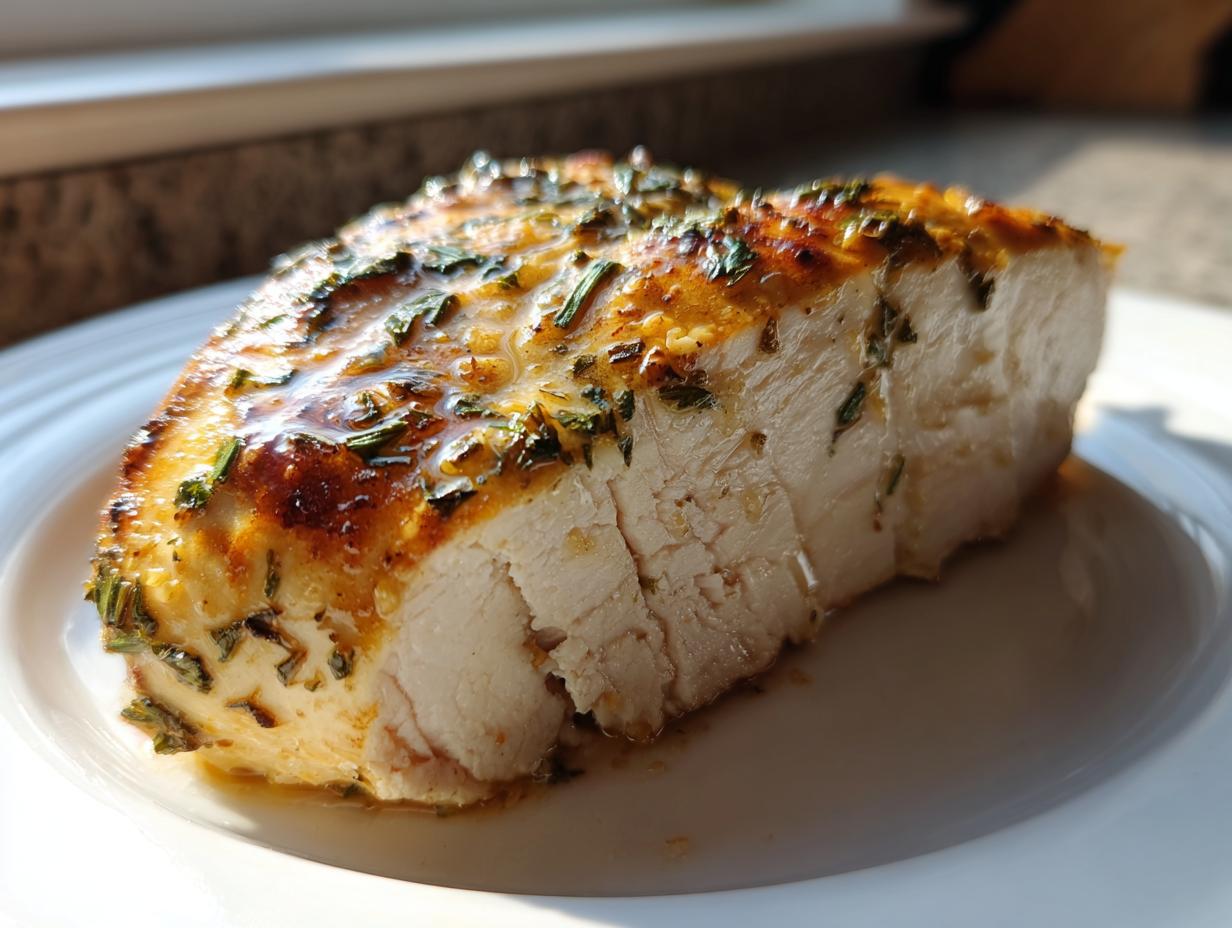
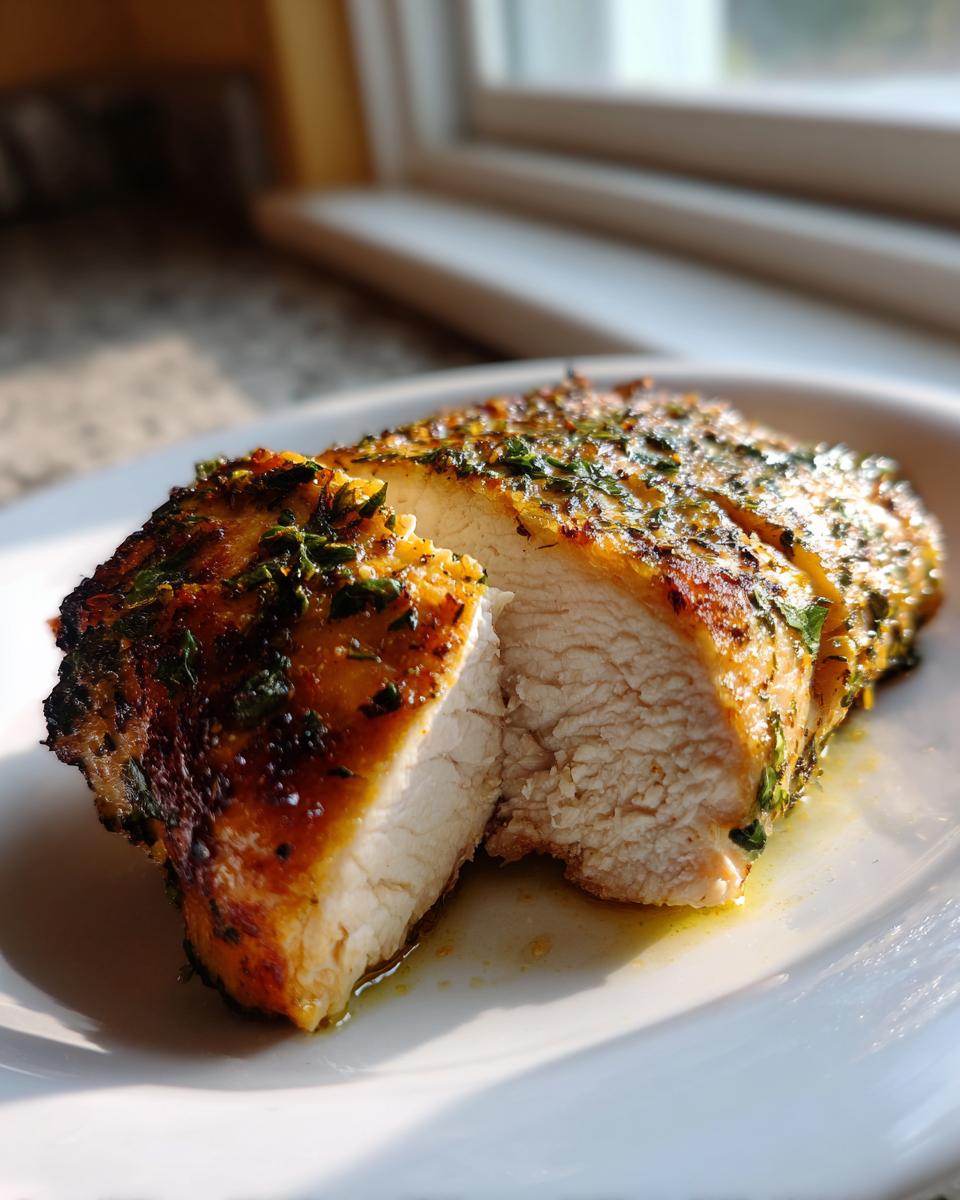
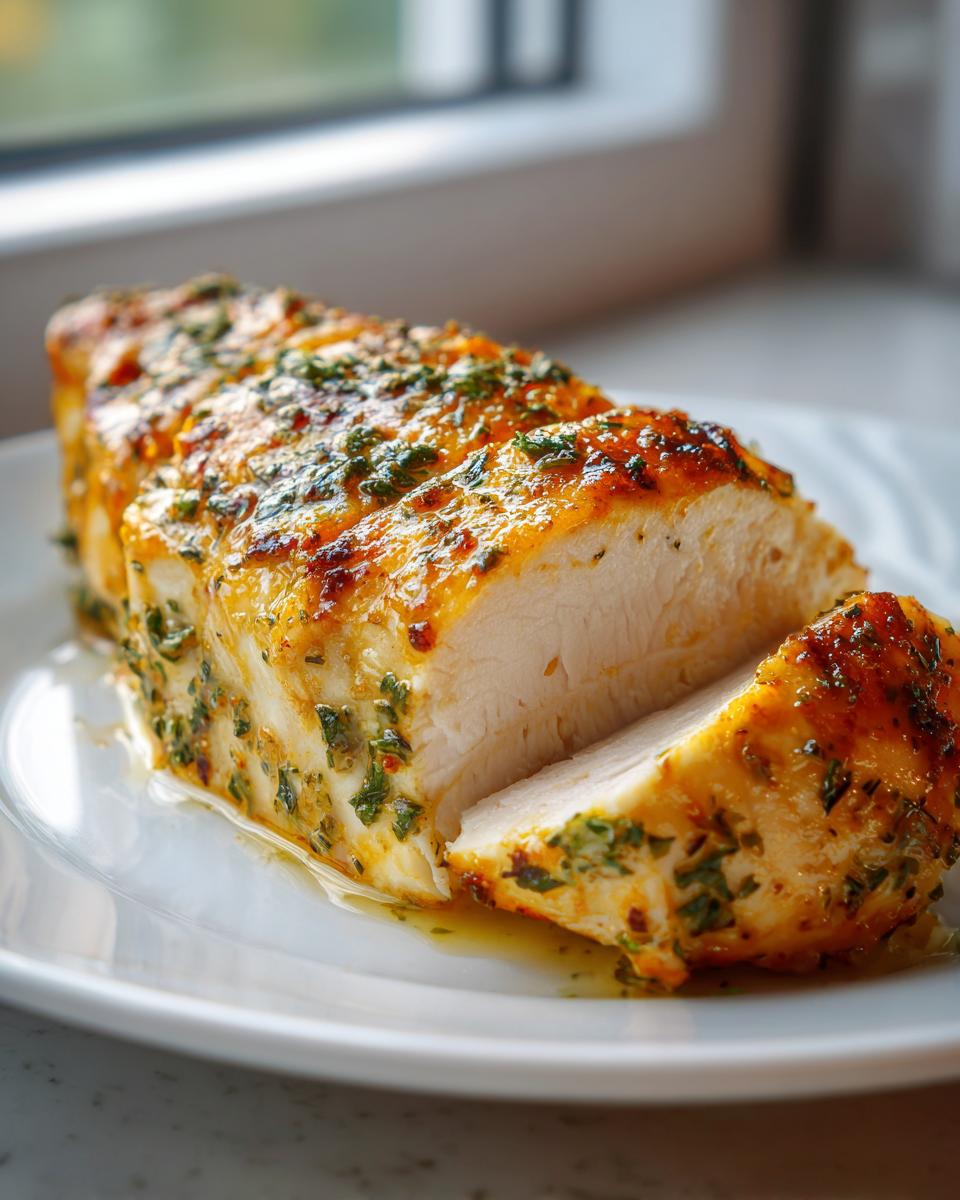
The secret sauce isn’t really a sauce; it’s geometry! We pound the chicken breasts to an even thickness. This is huge because it means the whole piece cooks at the same rate. You avoid those dry, thin edges while waiting for the thick middle to finish. Then, the absolute non-negotiable step is resting it. Seriously, don’t cut into it right away! Letting it sit for five to ten minutes lets all those beautiful juices redistribute back into the meat. It’s the difference between a good piece of chicken and something that truly melts in your mouth.
Ingredients for Your Simple Baked Chicken Seasoning
Okay, let’s talk about what you need for this amazing flavor bomb! Remember how I mentioned my philosophy focuses on accessible ingredients? These spices are easy to find, yet they combine into something spectacular. I always feel confident using high-quality spices because they make such a difference in a simple rub like this.
- 4 boneless, skinless chicken breasts (about 6-8 oz each)
- 1 tablespoon olive oil
- 1 teaspoon kosher salt
- 1/2 teaspoon black pepper
- 1 teaspoon garlic powder
- 1 teaspoon dried oregano
- 1/2 teaspoon dried thyme
- 1/4 teaspoon paprika
- 2 cloves garlic, minced (optional, for extra flavor)
Ingredient Notes and Substitutions
If you don’t have dried oregano on hand—no sweat! You can bump up the thyme, or just use a quality Italian seasoning blend instead. This rub is super forgiving. Now, if you want to pivot into that creamy garlic butter baked chicken flavor profile that’s so popular, skip the olive oil and just melt 2 tablespoons of real butter until it’s smooth. Mix the minced garlic right into that melted butter and brush that over the chicken before seasoning. Either way, you get massive flavor without any guesswork!
How to Prepare Your Juicy Baked Chicken Breast Recipe
Alright, this is where the magic actually happens! We’re moving beyond theory to get this baked chicken breast into the oven fast enough for a Tuesday night. I always lay out my sheet pan and parchment paper first—quick cleanup is key when you’re aiming for an easy baked chicken breast dinner.
Following these steps precisely ensures that you get that amazing texture that people swear by, transforming something simple into something special. This entire process takes hardly any time at all, but paying attention to these details makes the difference between okay chicken and truly phenomenal, juicy chicken.
Step 1: Pounding for Even Thickness
This is the step that separates the dry chicken club from the juicy chicken club! Take your chicken breasts and place them between two pieces of plastic wrap. Now, grab a meat mallet or even the bottom of a heavy skillet. Gently but firmly tap the thicker end until the entire breast is roughly the same thickness, aiming for about 3/4 inch from end to end. Why do this? Because if you don’t, that thin tail end cooks through in minutes while you wait for the thick middle to catch up—and that thin end dries out first! Evening it out means everything finishes cooking at the same exact time for that melt in your mouth chicken breast feel.
Step 2: Achieving Perfect Baked Chicken Breast Timing
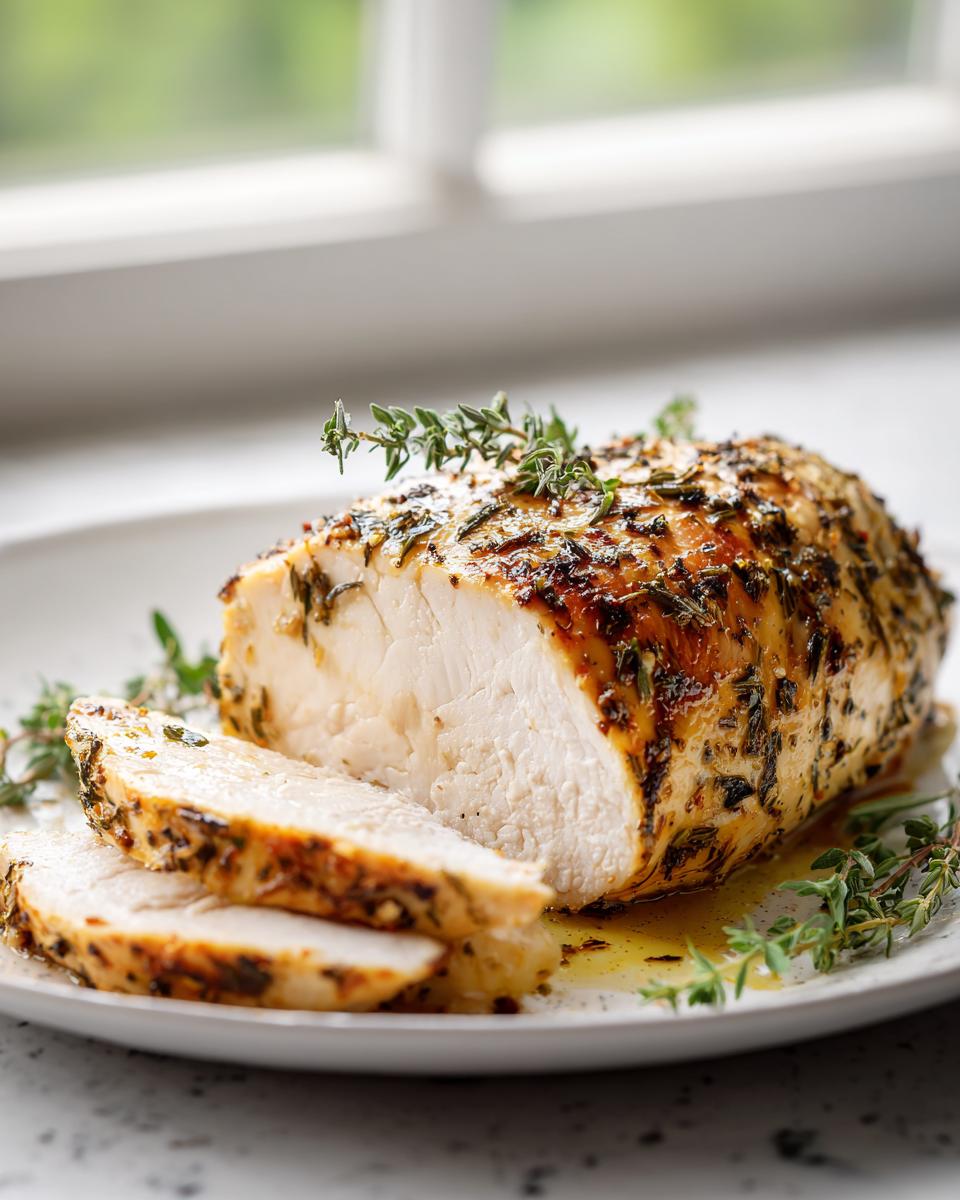
First thing: crank that oven up to 400°F (200°C)! We want a good blast of heat initially. Once the oven’s ready, rub the oil mixture over the chicken, then generously sprinkle and press that dry rub all over. Place the seasoned pieces on your lined pan and pop them right in. We’re aiming for 18 to 22 minutes, but don’t trust the clock alone! Always use your meat thermometer to check the thickest spot. It has to hit 165°F (74°C) internally for safety, but pull it out right at that mark. That initial high heat helps seal in the surface moisture, setting up great oven baked chicken timing guide results.
Tips for Success with Your Baked Chicken Breast
Look, I know I keep hammering on the thermometer and the resting time, but these are the tools that genuinely take you from anxious novice to confident cook. If you’re looking for foolproof simple oven protein recipes, this is it. Don’t skip the rest! It’s mandatory for keeping that internal moisture locked in after the heat source is gone.
For chicken breast for beginners, remember this: an instant-read thermometer is your best friend. It’s the only reliable way to gauge doneness. Seriously, ditch the ‘poke test’ for now. If you want that melt-in-your-mouth experience, pull the chicken out just as it hits 165°F. I promise it will keep cooking those last few degrees while resting. For more things you can do while dinner is roasting, take a peek at my favorite salad dressing recipe!
If you happen to overcook it slightly before resting (we’ve all been there!), check out this trick mentioned by folks at Diethood: adding a splash of liquid like broth or water when reheating can revive some of that lost moisture.
Make-Ahead and Meal Prep Chicken Breast Oven Strategies
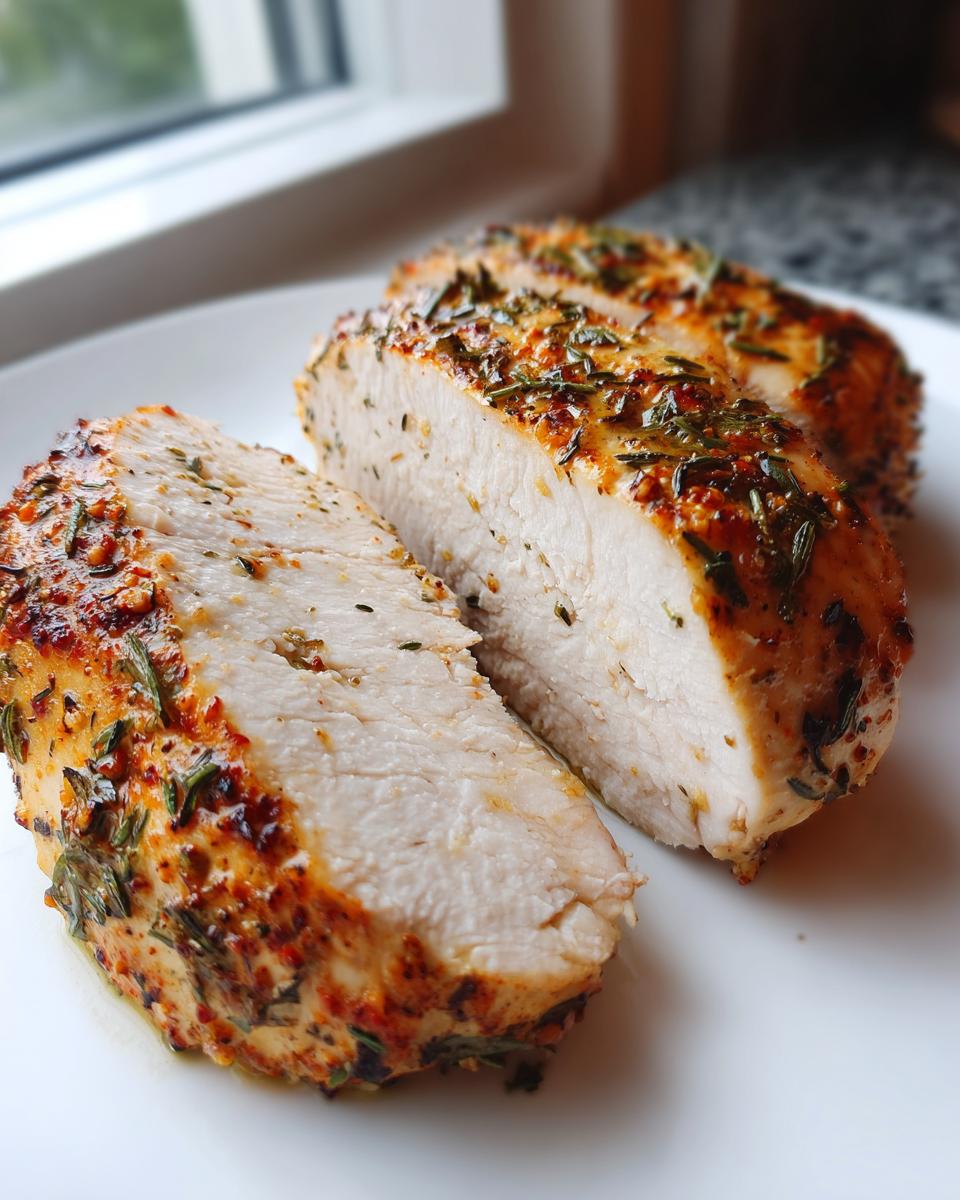
This recipe for baked chicken breast is practically *begging* to be made ahead of time! Weeknight cooking is all about making smart moves on Sunday, right? Once the chicken has cooled down completely after resting—and I mean totally cool, not just lukewarm—slice it evenly against the grain. This keeps every piece ready to throw into a salad or grain bowl during the week.
I always store mine in small, airtight containers. To keep that moisture locked down, sometimes I even add just a teaspoon of water or a drizzle of olive oil on top before sealing the lid. It reheats beautifully, and you’ve got healthy protein ready to go. Learn how I use that principle in my cheeseburger bowl! It’s perfect, and you can see how amazing those results are over at Fit Feastly, too.
Serving Suggestions for Your Easy Baked Chicken Breast Dinner
So you nailed the cooking step—congratulations! Now for the fun part: building the rest of your meal. Since this recipe is so versatile, the possibilities feel endless, but I always gravitate toward dishes that keep the fuss minimal, especially on a busy night. This chicken is delicious sliced cold over a big salad, but when you want a warmer plate, I have a few go-to pairings!
If you’re looking for that ultimate cozy, one pan baked chicken experience, you’ve got to try baking some vegetables right alongside it on the pan. My favorite is tossing potatoes with olive oil and running them in the oven about 10 minutes before the chicken goes in. Check out my recipe for garlic parmesan chicken and potatoes; you can adapt this concept easily by just using the seasoning mix we made for the chicken on the potatoes instead!
Another simple option that pairs perfectly with this lean protein is something green and zesty. I am obsessed with roasted broccoli lately. If you roast it at 400 degrees alongside the chicken for the last 15 minutes, it gets these amazing crispy edges. The recipe I use for best roasted broccoli has that garlic kick that just complements the herby seasoning on the chicken beautifully. It always feels more impressive than the ten minutes of effort it actually takes!
Storage and Reheating Instructions for Moist Chicken Breast Technique
So, you made an amazing batch of baked chicken breast, and now you have glorious leftovers! Fantastic. The key to keeping that moisture we worked so hard to lock in is proper storage. I always let the cooked chicken cool completely on the counter first. Once it’s room temperature, slide it into a shallow, airtight container. Keep it in the fridge, and it’ll be good for about four days.
Reheating is where people typically ruin their work, but not you! Never reheat this in a dry pan or in the microwave uncovered. To keep that moist chicken breast technique working its magic, I microwave slices covered with a damp paper towel for short bursts. Or, if you’re warming up a whole piece, put it in a small oven-safe dish with a tablespoon of chicken broth or water, cover it tightly with foil, and warm it low and slow. Easy peasy!
Frequently Asked Questions About Baked Chicken Breast
I get so many questions about this recipe because everyone wants that foolproof method. It’s awesome that you’re taking the time to check these details—that’s exactly what builds skill in the kitchen! If you ever have another question that isn’t covered here, feel free to send me a note via my contact page!
Can I use frozen chicken breasts for this baked chicken breast recipe?
Oh, please don’t try to sneak frozen chicken into the 400°F oven! The answer is a firm no, honey. For any recipe that requires high heat to cook quickly, like this one, you absolutely must thaw your chicken first. If you don’t, the outside will be cooked to jerky status before the center even thaws out enough to start cooking properly. For food safety and texture, always thaw them fully in the fridge overnight before you plan to make your baked chicken breast.
What internal temperature means my chicken breast is perfectly cooked?
This is the number one secret to moving past dry chicken! You must use a meat thermometer. We are aiming for 165°F (74°C) in the thickest part of the breast. Seriously, aim for that number and pull it out right then. The essential part, which I mentioned earlier, is the resting period. Once you remove it from the oven, it will continue to cook internally, often rising another degree or two. That carryover heat is what finishes the job safely while keeping everything incredibly juicy!
Is this a healthy baked chicken breast option?
Absolutely, yes! Honestly, this is one of my favorite ways to prepare a healthy baked chicken breast. It naturally fits into just about any healthy eating plan because we rely on lean, skinless meat. We use just a touch of olive oil for binding the spices, and the seasoning is all herbs and spices—no fillers, no unnecessary sugars or heavy sauces in the base recipe. Plus, it’s a fantastic way to get clean protein for meal planning without loading up on sodium or fat.
Share Your Foolproof Chicken Breast Recipe Success
Now you have the method, the seasoning blend, and the confidence to make a truly fantastic, juicy baked chicken breast! I can’t tell you how much joy it gives me when readers write in saying, “Ava, I finally cooked chicken without stressing!” or “My husband asked for this recipe again tomorrow!” That’s the Kitchenican goal—turning intimidation into accomplishment.
I really want to hear how this turned out for you. Did you nail the resting time? Did you try the garlic butter variation? Go ahead and make this recipe tonight, and then come back and leave a rating and a comment below. Your feedback means the world to me, and it helps other cooks who are just starting out feel brave enough to try something new. I’m cheering you on from my kitchen as you master this essential protein! If you want to learn more about how we build confidence one recipe at a time, check out my About Page.
PrintFoolproof Juicy Baked Chicken Breast: The Ultimate 25-Minute Method with Simple Garlic Herb Rub
You need a reliable way to cook chicken breast that stays moist. This recipe uses a simple garlic herb rub and a specific baking technique to guarantee tender, juicy results every time you bake chicken breast in the oven. It is fast enough for a weeknight dinner and simple enough for beginners.
- Prep Time: 10 min
- Cook Time: 20 min
- Total Time: 35 min
- Yield: 4 servings 1x
- Category: Dinner
- Method: Baking
- Cuisine: American
- Diet: Low Fat
Ingredients
- 4 boneless, skinless chicken breasts (about 6–8 oz each)
- 1 tablespoon olive oil
- 1 teaspoon kosher salt
- 1/2 teaspoon black pepper
- 1 teaspoon garlic powder
- 1 teaspoon dried oregano
- 1/2 teaspoon dried thyme
- 1/4 teaspoon paprika
- 2 cloves garlic, minced (optional, for extra flavor)
Instructions
- Preheat your oven to 400°F (200°C). Line a baking sheet with parchment paper for simple cleanup.
- Prepare the chicken: Place the chicken breasts between two sheets of plastic wrap or inside a large zip-top bag. Gently pound the thicker end of each breast until the thickness is even, about 3/4 inch. This step is key to prevent dry spots.
- Make the rub: In a small bowl, combine the salt, pepper, garlic powder, oregano, thyme, and paprika. If using, mix in the minced garlic with the oil.
- Season the chicken: Rub the olive oil mixture evenly over all sides of the chicken breasts. Sprinkle the dry rub mixture generously over both sides of the chicken, pressing it lightly so it adheres.
- Bake the chicken: Place the seasoned chicken breasts on the prepared baking sheet. Bake for 18 to 22 minutes. The exact time depends on the thickness of your chicken.
- Check for doneness: Use a meat thermometer to check the internal temperature. The chicken is done when it reaches 165°F (74°C) in the thickest part.
- Rest the chicken: Remove the chicken from the oven and place it on a cutting board. Tent it loosely with foil and let it rest for 5 to 10 minutes before slicing. This resting period keeps your baked chicken breast juicy.
Notes
- For meal prep, slice the cooled chicken and store it in airtight containers. It reheats well in the microwave or a skillet.
- If you prefer a garlic butter flavor, melt 2 tablespoons of butter and mix it with the minced garlic, then brush this over the chicken before baking instead of using olive oil.
- To ensure you never have dry chicken breast again, use an instant-read thermometer. Overcooking is the main cause of dryness.
Nutrition
- Serving Size: 1 breast
- Calories: 250
- Sugar: 1
- Sodium: 350
- Fat: 6
- Saturated Fat: 1
- Unsaturated Fat: 5
- Trans Fat: 0
- Carbohydrates: 2
- Fiber: 0
- Protein: 45
- Cholesterol: 130