
Are you tired of that thin, artificially flavored stuff sitting in the back of your fridge? I swear, every time I looked at that bottle of store-bought chocolate syrup, I felt like I was missing out on something truly decadent. You deserve better! That’s why I’m showing you how to build cooking confidence by ditching the plastic bottle and whipping up this incredibly rich, silky smooth version from scratch. Seriously, this recipe comes together faster than it takes to drive to the store. This isn’t about complicated techniques; it’s about proving that the most satisfying flavors come from simple ingredients you already have. Trust me, once you make this, you won’t look back. If you’re ready to elevate your sauces, check out my guide for easy weeknight dinners too!
- Why This Homemade Chocolate Syrup Recipe is Superior
- Ingredients for the Best Chocolate Syrup Recipe
- How to Prepare Quick Cocoa Syrup Recipe on the Stovetop
- Tips for Success Making Your Homemade Chocolate Sauce
- Variations for Your Rich Chocolate Drizzle
- Serving Suggestions for This Easy Dessert Topping
- Storage and Shelf Life for Homemade Chocolate Syrup
- Frequently Asked Questions About Making Chocolate Syrup
- Continue Your Journey with Simple, Accessible Recipes
Why This Homemade Chocolate Syrup Recipe is Superior
Listen, picking up a bottle of commercial syrup is easy, but making something yourself is rewarding, and frankly, it tastes one thousand percent better. We’re talking about making a Rich Chocolate Drizzle that actually tastes like real cocoa, not just corn syrup and chemicals. This is your chance to create something genuinely Better Than Hershey’s Syrup because you control every single ingredient. It’s confidence in a jar!
I’m so excited to share how easy it is to achieve that perfect texture. For more amazing flavor builders, explore my list of delicious dessert recipes.
Achieving that Silky Smooth Chocolate Sauce Texture
The real magic happens when you balance the water, sugar, and cocoa powder just right. It seems simple, but that precise ratio is what makes this sauce so decadent. You might feel nervous when it’s hot because it seems thin, but that’s the secret! Don’t panic; you must let it cool completely. As it settles down, that lovely liquid turns into a wonderfully Silky Smooth Chocolate Sauce. It’s not gummy; it’s just pure, velvety chocolate heaven.
Ingredients for the Best Chocolate Syrup Recipe
You won’t believe how few things you need for this! When I talk about the Kitchenican philosophy, this recipe is what I mean—no weird, hard-to-find ingredients here. We are using the basics we should all have on hand so you can make this any time a chocolate craving hits. You just need five things total for the richest flavor!
Pantry Staple Chocolate Recipe Components
This truly is a Pantry Staple Chocolate Recipe. Grab your measuring cups because clarity matters here, but don’t worry about fancy equipment! You’ll need:
- 1 cup granulated sugar
- 1 cup unsweetened cocoa powder
- 1 cup water
- 1 teaspoon vanilla extract
- Pinch of salt
See? Five things! That salt is important, though—it just wakes up the chocolate flavor. Trust me on that little pinch!
How to Prepare Quick Cocoa Syrup Recipe on the Stovetop
Okay, this is where we prove just how easy this whole process is. Seriously, we’ll have this amazing chocolate syrup ready in about ten minutes total. The key here isn’t speed, though—it’s attention. We need to make sure everything fully dissolves before we even think about letting it simmer. Grab a small saucepan; nothing fancy needed. Combine your sugar, the unsweetened cocoa powder, and the water. You’ll want to whisk this constantly as you slide that pan over medium heat. We are whisking until we see the sugar vanish and the mixture starts just barely hinting at a simmer.
Once it looks right, bring the heat down low, just barely simmering, and let it hang out for about one minute while you stir it occasionally. Watch it closely; we definitely don’t want it boiling rapidly! When that minute is up, pull it right off the burner. Now you mix in your vanilla and that pinch of salt. This might seem thin, but hold on!
Crucial Timing for Perfect Chocolate Syrup
That one minute of simmering over low heat is critical—it blooms the cocoa powder and just melts everything together seamlessly. But the real waiting game comes *after* you take it off the heat. Don’t taste it yet! You absolutely have to let the entire saucepan cool down on the counter first. As it cools, the syrup starts tightening up. If you test it hot, you’ll think it’s too runny, but patience is a virtue when making the best chocolate syrup recipe!
When it’s cool, pour it into your storage container. I always check my work by drizzling a little on the side of the bowl just to admire the texture before I move it over to a jar. Don’t forget to check out my recipe for boosting flavor in homemade garlic butter while you wait for this to cool!
Tips for Success Making Your Homemade Chocolate Sauce
So, you’ve made the syrup, and now you want to make sure every batch of this wonderful Homemade Chocolate Sauce is absolutely perfect? I’ve got a couple of pro-tips straight from my testing notes that make a real difference. Remember, the real joy here is controlling the outcome!
If you like a really thick sauce, maybe one that holds its shape when you drizzle it over brownies, you have two simple options. You can either reduce the amount of water by just a splash—maybe two tablespoons less—or, even easier, just let it simmer on low heat for an extra minute or two before you take it off the heat. That extra time cooks off a little more moisture, which makes it denser when cool.
When it comes to keeping it fresh, treat this like you would any homemade canned good, even though we aren’t technically canning it. Pop that jar in the fridge! Stored in an airtight container, this Homemade Chocolate Sauce stays absolutely brilliant for up to two weeks. If you ever run into issues—or just have a great idea—don’t forget you can always reach out on my contact page!
Variations for Your Rich Chocolate Drizzle
One thing I love about keeping things simple is that these basic recipes are incredibly adaptable. We’re aiming for that perfect, Rich Chocolate Drizzle, and you might have specific dietary needs to consider, which is totally fine! This base recipe is fantastic as is, but let’s talk about tweaking it slightly if you need to.
The great news right off the bat? This recipe is naturally gluten-free, which simplifies things hugely! You don’t have to hunt down special flours or starches, which means fewer worries and more time enjoying your dessert topping. I’ve also been experimenting recently—and this is just for fun, not required—by dropping in a tiny pinch of instant espresso powder when I add the cocoa. It deeply enhances the chocolate flavor without making it taste like coffee. It’s my little secret for an extra decadent batch!
For more ways to include delicious homemade elements into your meals, take a look at my favorites for healthy dinner recipes.
Creating a Vegan Chocolate Syrup Option
If you are making this for friends or family following a plant-based diet, confirming it’s a Vegan Chocolate Syrup is easy, but you do need to check one thing: the sugar. In the US especially, not all granulated sugar is processed without bone char, which some vegans avoid. So, before you start, just glance at the label!
If you want to be absolutely sure, buy sugar clearly labeled as vegan, or you can easily substitute it with coconut sugar or organic cane sugar, although using those might slightly alter the final color or flavor profile. Honestly, if you use standard white sugar and the person isn’t super strict, they usually won’t notice, but transparency is the foundation of cooking with confidence!
Serving Suggestions for This Easy Dessert Topping
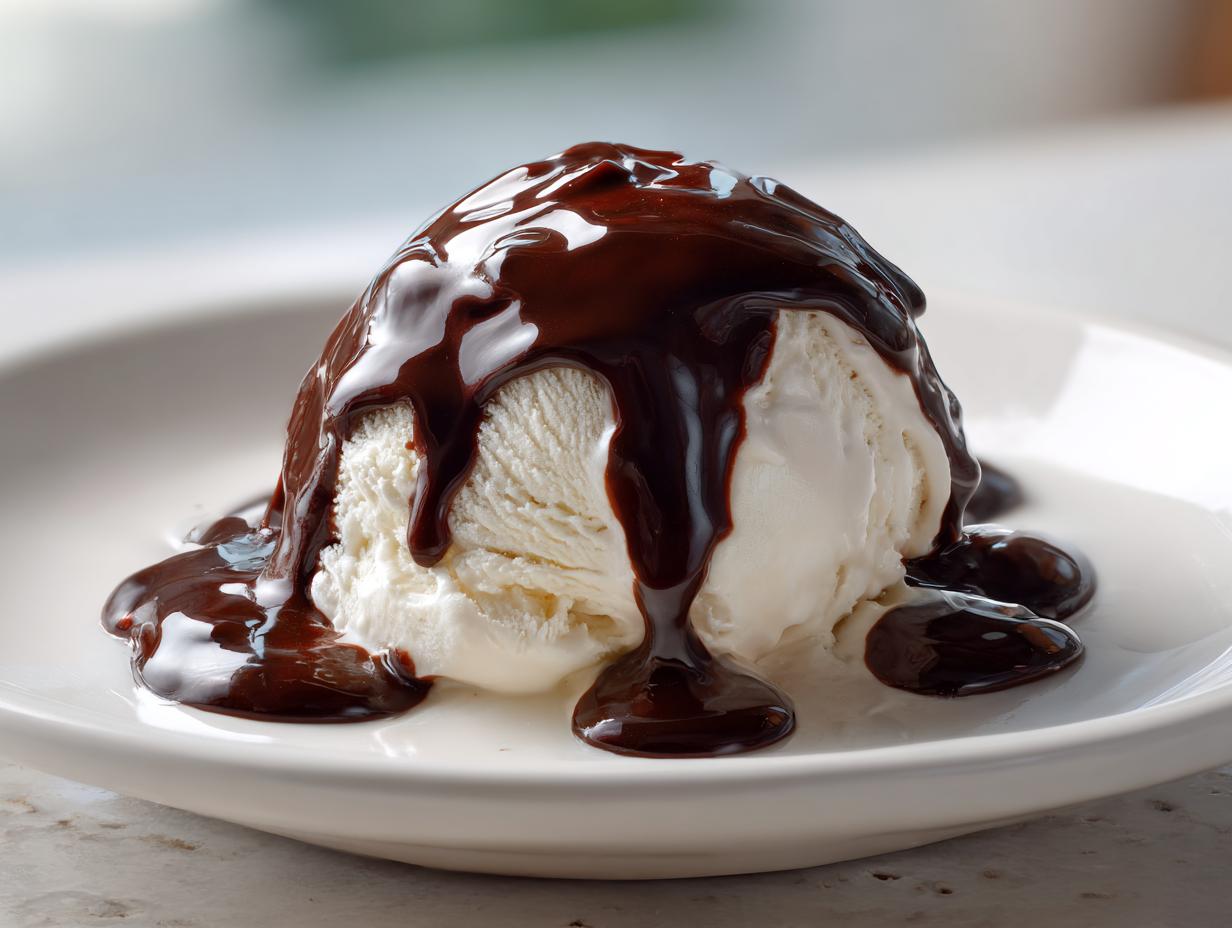
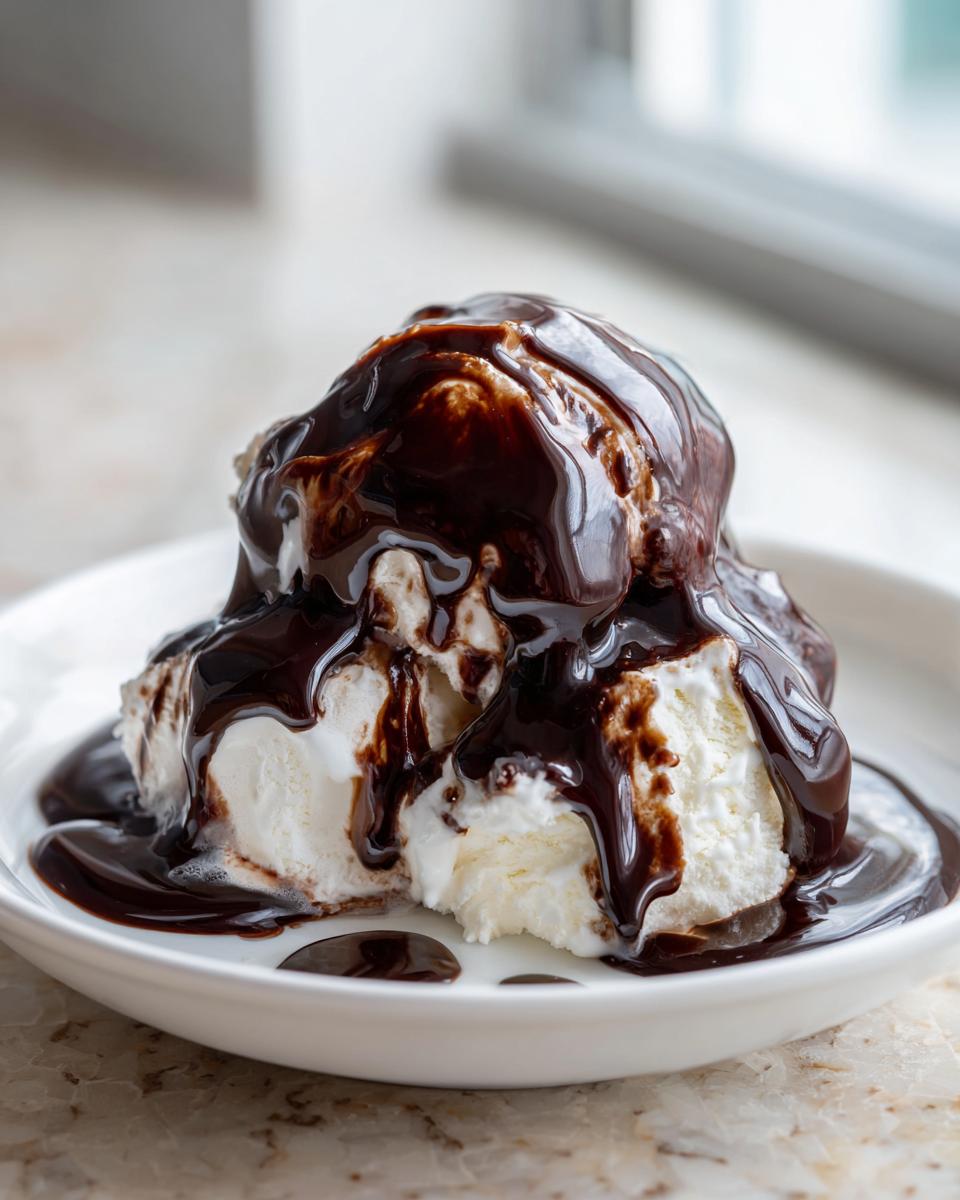
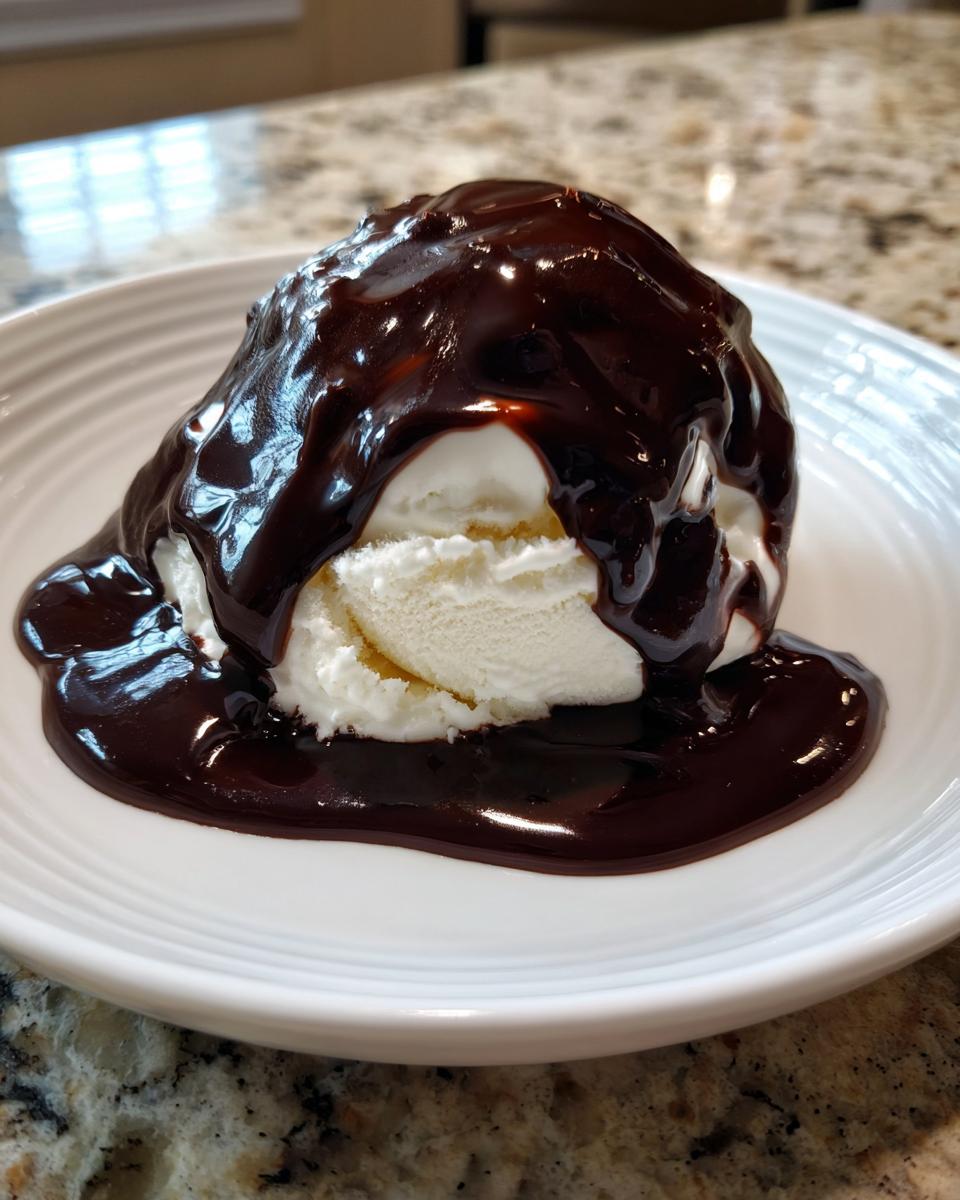
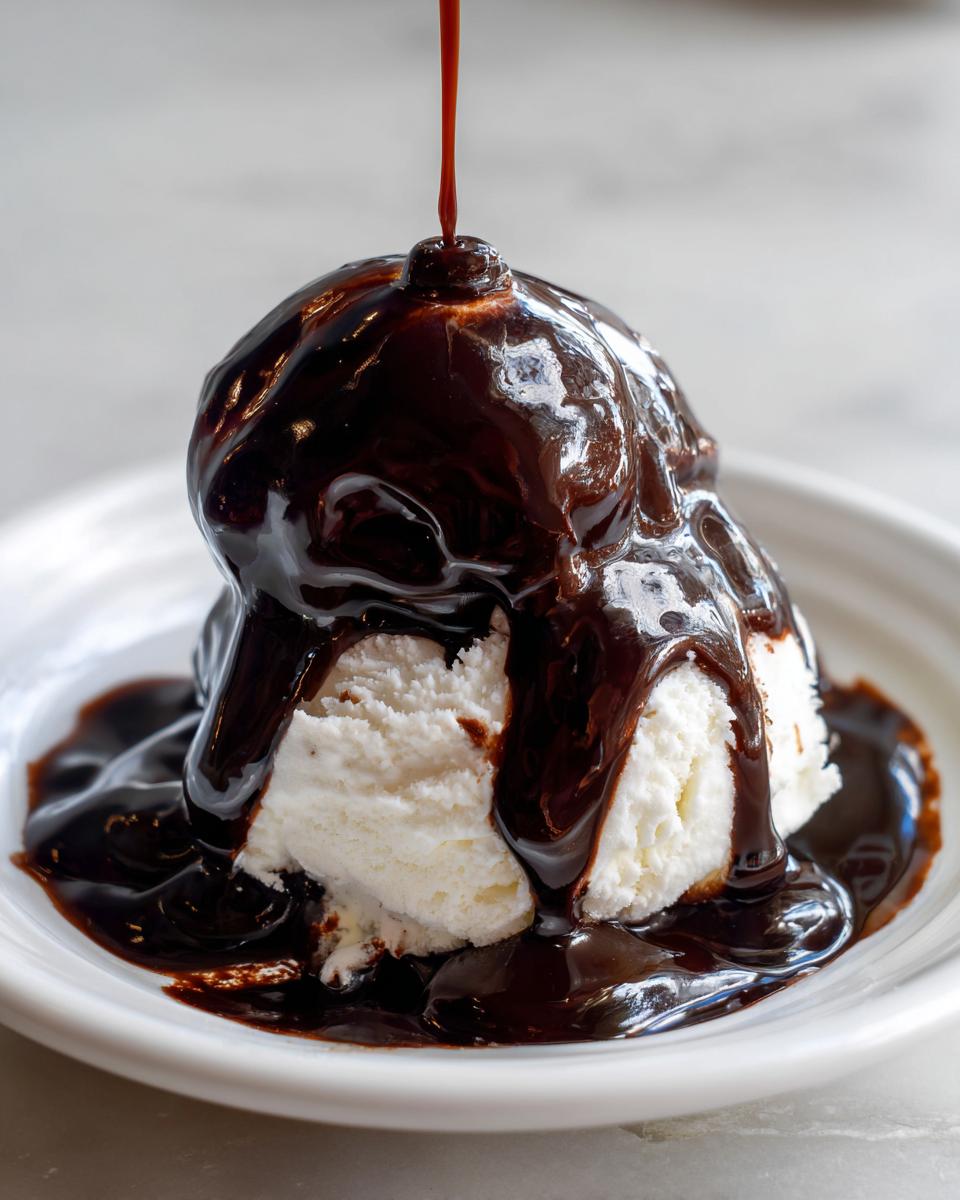
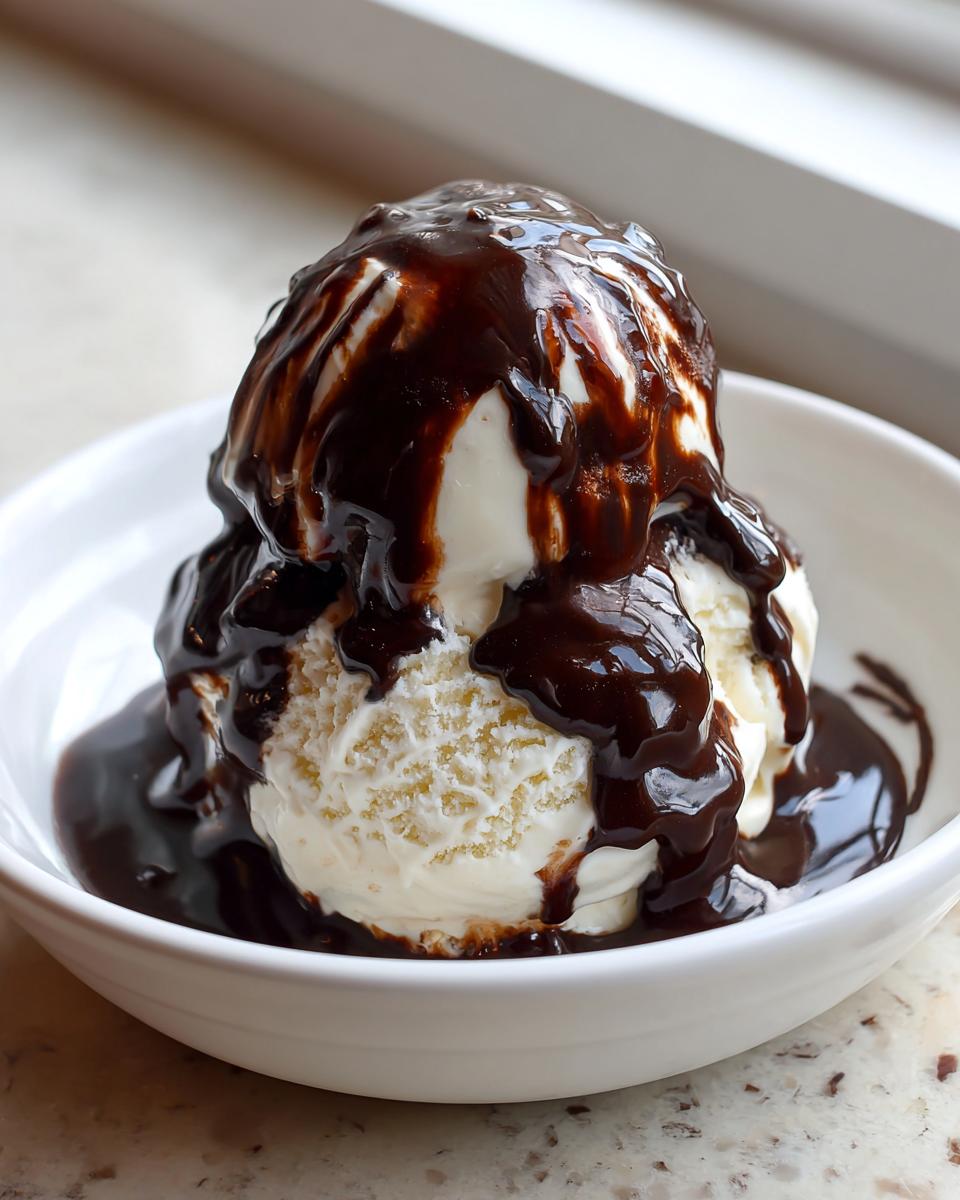
Now that you have this glorious jar of homemade goodness, the fun really begins! This is the ultimate Easy Dessert Topping because it works everywhere. My absolute favorite thing to do? Douse a scoop (or three) of vanilla ice cream. The contrast between the cold, creamy ice cream and the rich, room-temperature drizzle is just divine.
But don’t stop at dessert! This makes the absolute best Chocolate Milk Syrup Recipe. Just stir two good spoonfuls into a cold glass of milk—it dissolves so much better than the stuff from the store. It’s also fantastic stirred into your morning coffee if you are trying to replicate that coffee shop experience at home! If you need a base for your breakfast treats, I have a wonderful recipe for fluffy pancakes that pairs perfectly.
And hey, if you happen to have extra, try dipping some fresh strawberries or apple slices in it! It thickens up just enough to coat them beautifully, almost like a lighter version of a chocolate glaze. I actually have a recipe for a creamy fruit dip that this syrup can upgrade instantly!
Storage and Shelf Life for Homemade Chocolate Syrup
When you put this much effort—even if it was only ten minutes of effort!—into making something this delicious, the last thing you want is for it to go bad too quickly. Because this recipe doesn’t use all those weird commercial preservatives, we have to treat our leftover chocolate syrup just a little bit differently than the stuff you buy at the store. But don’t worry, keeping it fresh is super simple!
The golden rule here is that it needs to live in the cold. You absolutely must store this homemade goodness in the refrigerator. An airtight container is a must—I usually just use a standard mason jar with a tight-fitting lid. The good news is that it keeps really well! You can count on enjoying that rich, homemade flavor for up to two weeks. That’s two weeks of decadent ice cream sundaes, folks. Make a double batch; I promise you’ll use it up!
Frequently Asked Questions About Making Chocolate Syrup
I know you might still have a few lingering questions. It’s totally normal when you’re breaking up with a commercial product you’ve relied on forever! That’s why I pulled together the most common things folks ask me about their new favorite chocolate syrup recipe. Ask away, and let’s build that kitchen confidence!
Can I make this chocolate syrup thicker for a fudge-like drizzle?
Oh, absolutely you can! If you want that thicker, almost fudge-like texture that coats your ice cream in a satisfying shell, you just need to tweak the cooking time slightly. Remember when we talked about success tips? If you reduce the water by about two tablespoons, you’ll get a denser syrup right from the start. Or, keep the water the same, but just let it simmer on low heat for an extra minute or two after the sugar dissolves. Cooling is what sets the thickness, so be brave and let it simmer a tiny bit longer!
How does this compare to ‘Better Than Hershey’s Syrup’ recipes?
That is such a fair question! Honestly, I think this recipe blows those copycat versions out of the water, and here’s why: freshness. When you are making a chocolate syrup from scratch using real cocoa powder and good sugar, you skip all the stabilizers and artificial flavorings used to keep the shelf life long. This syrup has a bright, pure chocolate flavor that just tastes vibrant. It’s better than those recipes because it’s faster, uses fewer ingredients, and tastes instantly superior!
Can I use this as a Coffee Bar Toppings addition?
Yes, yes, and a thousand times yes! This is one of the best parts about making it yourself—it’s amazing as one of your essential Coffee Bar Toppings. Because we cook the sugar completely, it dissolves beautifully into hot liquids without leaving any gritty bits behind. Just stir a dollop into your hot milk for a mocha or swirl it into your iced latte. It mixes in so smoothly, giving you that perfect, rich flavor without any separating.
Continue Your Journey with Simple, Accessible Recipes
See? You just mastered making the best chocolate syrup recipe right in your own kitchen! That’s the Kitchenican way: proving that incredible flavor doesn’t require a trip to a specialty store or hours over the stove. That’s the exact confidence I want you to carry forward into every recipe you try next.
I hope this simple chocolate sauce becomes a staple for you. If you loved this and want to see more ways to simplify your cooking, please leave a rating below! And when you share your masterpieces, remember to let me know what you drizzled it on. If you ever have questions about our site, feel free to check out our privacy policy. Happy cooking!
PrintEasy, Rich, Homemade Chocolate Syrup (Better Than Store-Bought)

You can make this rich, silky smooth chocolate syrup from scratch in under 10 minutes using simple pantry ingredients. Stop buying syrup and start drizzling this superior topping over your ice cream, pancakes, or mixing it into your coffee or milk.
- Prep Time: 5 min
- Cook Time: 5 min
- Total Time: 10 min
- Yield: About 1.5 cups 1x
- Category: Dessert Topping
- Method: Stovetop
- Cuisine: American
- Diet: Vegetarian
Ingredients
- 1 cup granulated sugar
- 1 cup unsweetened cocoa powder
- 1 cup water
- 1 teaspoon vanilla extract
- Pinch of salt
Instructions
- Combine the sugar, cocoa powder, and water in a small saucepan.
- Place the saucepan over medium heat. Whisk the mixture constantly until the sugar dissolves completely and the mixture begins to simmer.
- Reduce the heat to low and let it cook for about 1 minute, stirring occasionally. Do not boil rapidly.
- Remove the saucepan from the heat. Stir in the vanilla extract and salt.
- Allow the syrup to cool completely. It will thicken as it cools.
- Pour the finished chocolate syrup into an airtight container for storage.
Notes
- For a thicker sauce, reduce the water slightly or simmer the mixture for an extra minute or two.
- This recipe is naturally gluten-free. To make it vegan, confirm your sugar source is vegan-friendly.
- Store this homemade chocolate syrup in the refrigerator for up to two weeks.
Nutrition
- Serving Size: 2 tablespoons
- Calories: 100
- Sugar: 18g
- Sodium: 5mg
- Fat: 1g
- Saturated Fat: 0g
- Unsaturated Fat: 0g
- Trans Fat: 0g
- Carbohydrates: 25g
- Fiber: 1g
- Protein: 1g
- Cholesterol: 0mg