
I used to think getting that amazing, crispy, cheesy chicken parmesan experience meant dialing a number or driving across town. That gap between wanting great takeout and actually making it yourself? That’s where so many home cooks stall out, thinking it requires impossible skills. But that’s just not true! That’s why I started this whole thing—to prove that you absolutely can master the chicken parmesan recipe and get a restaurant-quality dinner on the table way faster than delivery arrives. As I talk about more on the About Me page, I learned this lesson the hard way, creating so many soggy messes until I cracked the code for a truly crispy crust and juicy chicken. Trust me, you’ve got this, and we’re starting right now.
- Why This Chicken Parmesan Recipe Delivers Restaurant Style Chicken Parm
- Ingredients for Your Easy Chicken Parmesan Recipe
- Step-by-Step: How to Make Chicken Parmesan
- Tips for Success with Your Juicy Chicken Parmesan
- Making Baked Chicken Parmesan Without Frying
- Serving Suggestions for Your Weeknight Italian Dinner
- Storage and Reheating Instructions for Homemade Chicken Parm
- Frequently Asked Questions About the Chicken Parmesan Recipe
- Nutritional Estimates for This Classic Italian Comfort Food
Why This Chicken Parmesan Recipe Delivers Restaurant Style Chicken Parm
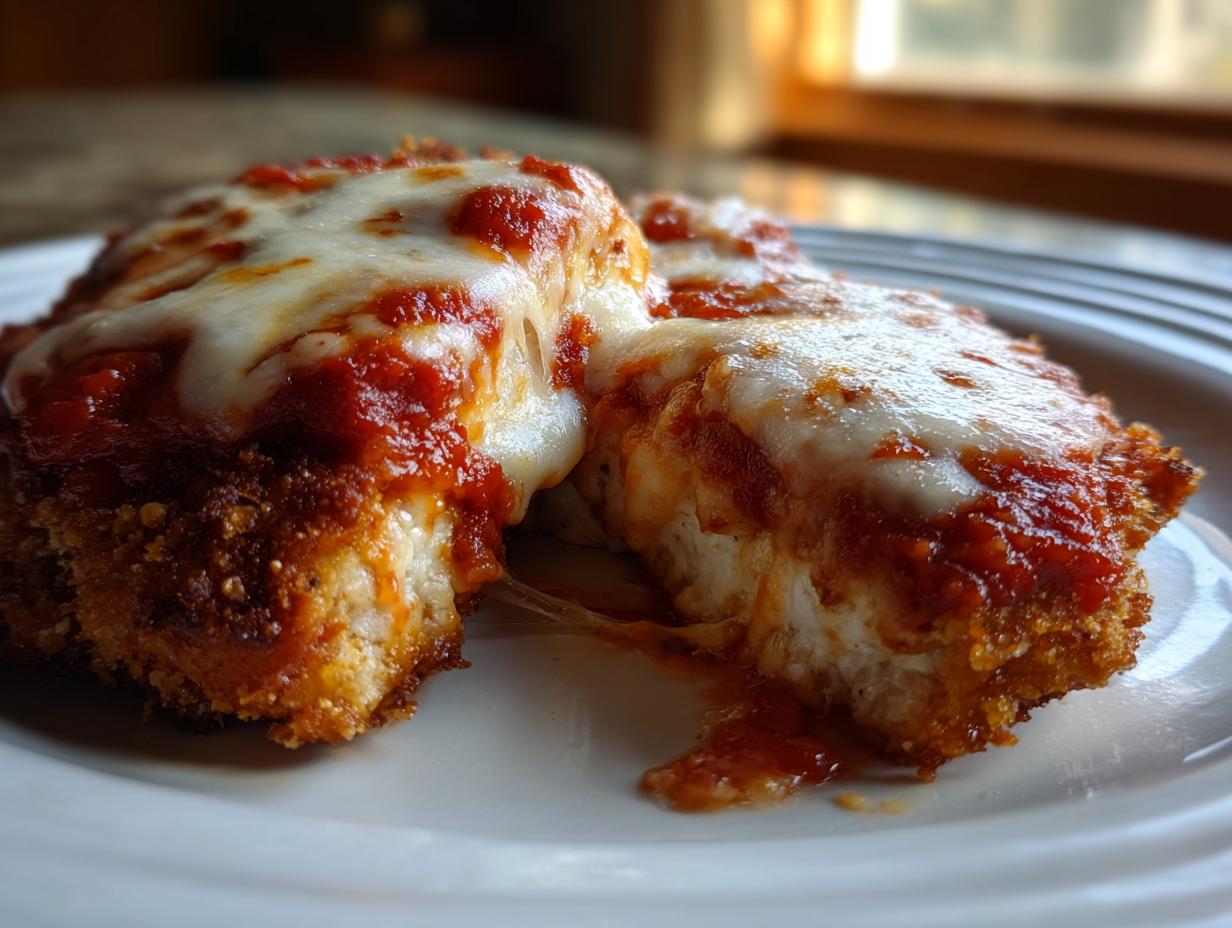
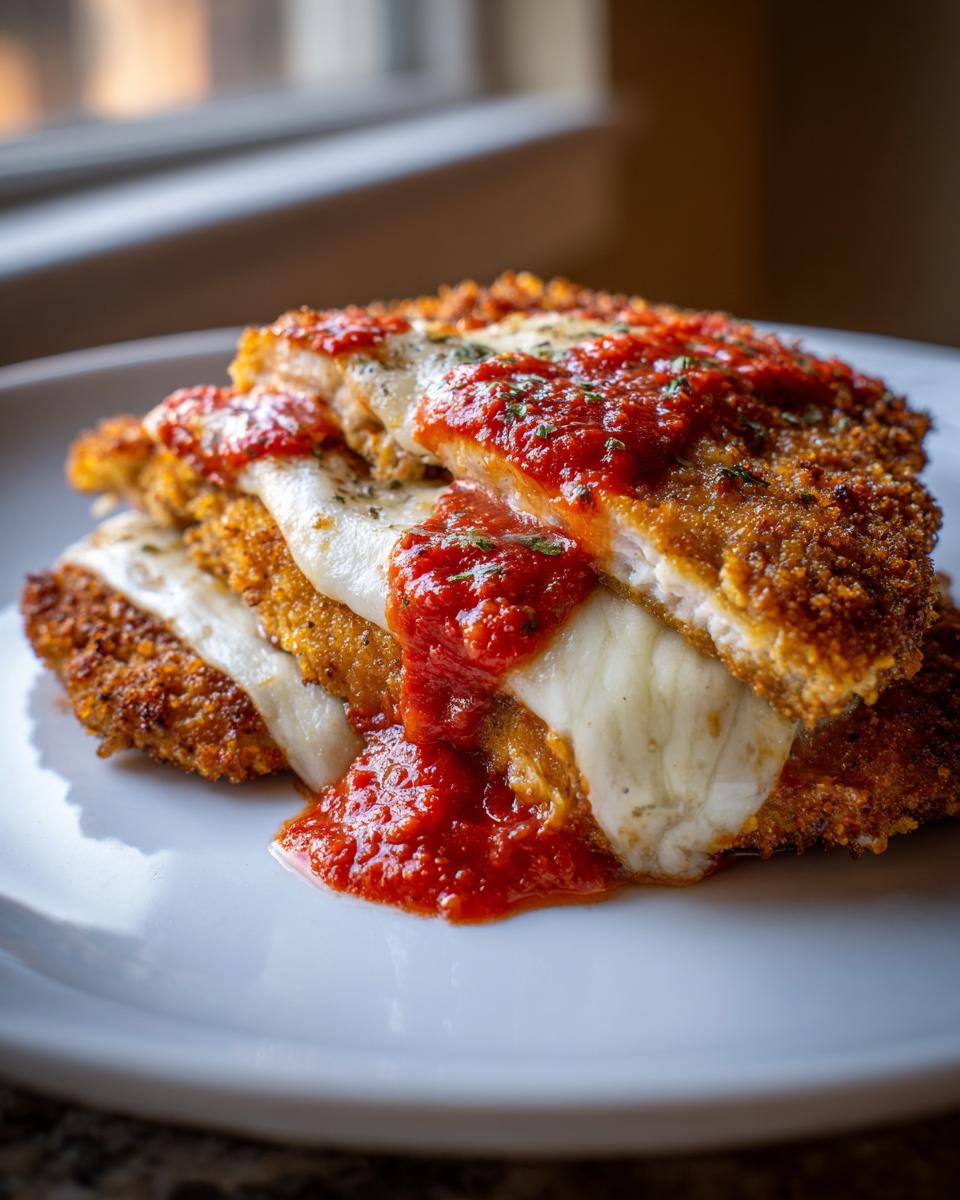
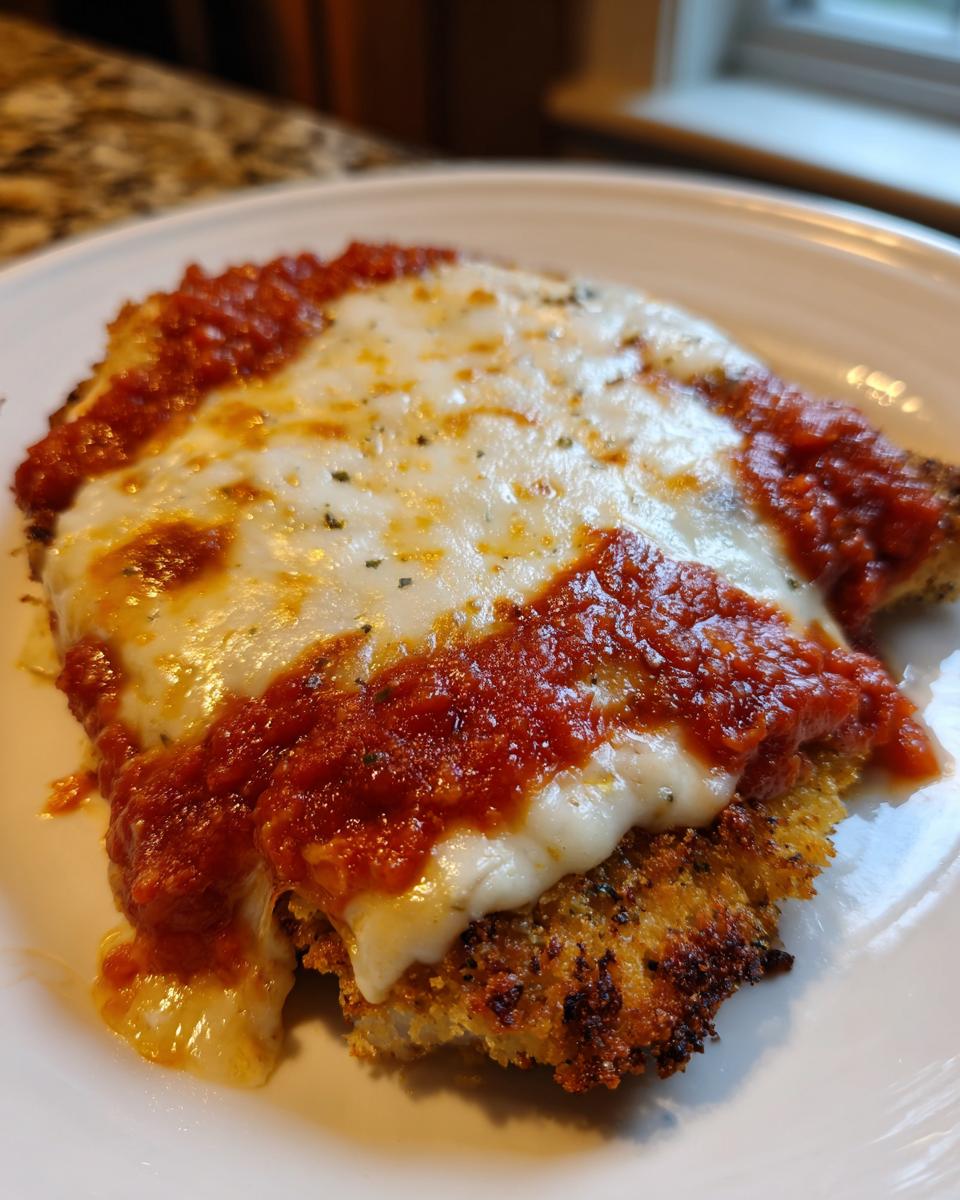
When you search for the best chicken parmesan, what you really want is that shatteringly crisp crust hugging incredibly juicy meat, all buried under bubbling mozzarella. That’s the restaurant standard, and we are hitting it! The key here is our two-step cooking process: a quick pan-fry to lock in the crunch, followed by a short bake to melt that cheese perfectly. If you just bake it, it always gets a little soft, right? We aren’t having that!
This method ensures you get that famously crispy chicken parmesan texture every single time. Plus, we are using a very specific breadcrumb here—Panko—which doesn’t absorb oil like regular breadcrumbs. That genius swap is what keeps this from turning into a soggy mess.
Achieving the Ultimate Crispy Chicken Parmesan Crust
This is where we build trust through technique. You absolutely must set up a dredging station—three shallow bowls ready to go. First, simple flour. Second, eggs mixed with just a splash of water to thin it out slightly. Third, and this is the magic part, combine your Panko breadcrumbs with some grated Parmesan cheese, garlic powder, and oregano.
See how we mixed Parmesan right into the breading? That boosts the flavor profile immediately. Now, when you dredge each cutlet, you need to press, press, press that Panko mixture onto both sides. Don’t just lightly dust it! You want a nice, thick, gritty coating because Panko is our secret weapon; those flaky crumbs fry up much lighter and crunchier than the dense stuff. That hearty layer is what survives the sauce bath later on.
Ingredients for Your Easy Chicken Parmesan Recipe
When you’re aiming for that quick chicken recipe that still tastes like it took all day, ingredient quality matters—even for something as basic as breadcrumbs! You’ll notice we have two separate roles for the Parmesan cheese; don’t mix those up! Having everything ready before you start pounding the chicken makes this flow super smoothly. It’s an incredibly easy chicken parmesan recipe when you’re organized.
Here is exactly what you need on your counter:
- 4 boneless, skinless chicken breasts (about 6 oz each)
- 1 cup all-purpose flour
- 2 large eggs, lightly beaten
- 1 tablespoon water
- 1 1/2 cups panko breadcrumbs (for extra crispiness—don’t skip these!)
- 1/2 cup grated Parmesan cheese (this is specifically for the breading mix)
- 1 teaspoon garlic powder
- 1/2 teaspoon dried oregano
- Salt and black pepper to taste
- 1/4 cup olive oil (for that golden pan-fry stage)
- 2 cups quality marinara sauce (the better the sauce, the better the final dish!)
- 8 ounces fresh mozzarella cheese, sliced or shredded
- 1/4 cup grated Parmesan cheese (this is for sprinkling on top before baking)
- Fresh basil, chopped (just for that beautiful final look and smell)
See? Nothing scary, right? Some of these items are staples, but it’s the combination of the fresh mozzarella and the Panko that really pushes this into restaurant style chicken parm territory. Keep things measured precisely, and we’ll move on to the assembly line!
Step-by-Step: How to Make Chicken Parmesan
Okay, this is where the action happens! Making this Chicken Parmesan dinner is all about workflow. Think assembly line, not a cooking whirlwind. We want juicy chicken, so don’t skip the pounding step—it guarantees everything cooks evenly. Once your cutlets are uniform, you move right into building that incredible crust we talked about. Get your oven preheated to 400°F right now so it’s ready when we are!
Preparing the Chicken Cutlets and Dredging Station
First things first, we need uniform chicken. Take those breasts and put them between plastic wrap. Use your mallet or even a heavy rolling pin and pound them down until they are about half an inch thick all over. This creates perfect, tender cutlets that cook fast. Season both sides lightly with salt and pepper after pounding.
Now, look at the dredging station you set up: flour in the first dish, your whisked egg mixture in the second, and that seasoned Panko/Parmesan blend in the third. Coat the chicken completely in flour, tap off the excess, dip it into the egg bath, and then, here is the most important bit, firmly press that Panko mixture onto both sides. You really have to pack it on to get that thick, juicy chicken parmesan hiding under a protective shell.
Setting the Crust: Pan-Frying for the Best Chicken Parmesan Recipe
Time for the skillet! Get your olive oil heating up in a pan over medium-high heat. You want the oil shimmering but not smoking—if you put the chicken in cold oil, it soaks it up and gets greasy, which ruins the crunch. We are only pan-frying for about two or three minutes per side here. That’s just long enough to toast the Panko to a deep golden brown and set that crust so it doesn’t fall apart later. Don’t worry about cooking it all the way through; we finish that in the oven.
Work in small batches! If you crowd the pan, the temperature drops instantly, and boom, you’re back to square one with soft crusts. As they come out golden, carefully lay them into your greased baking dish.
Assembling and Baking for Cheesy Chicken Bake Perfection
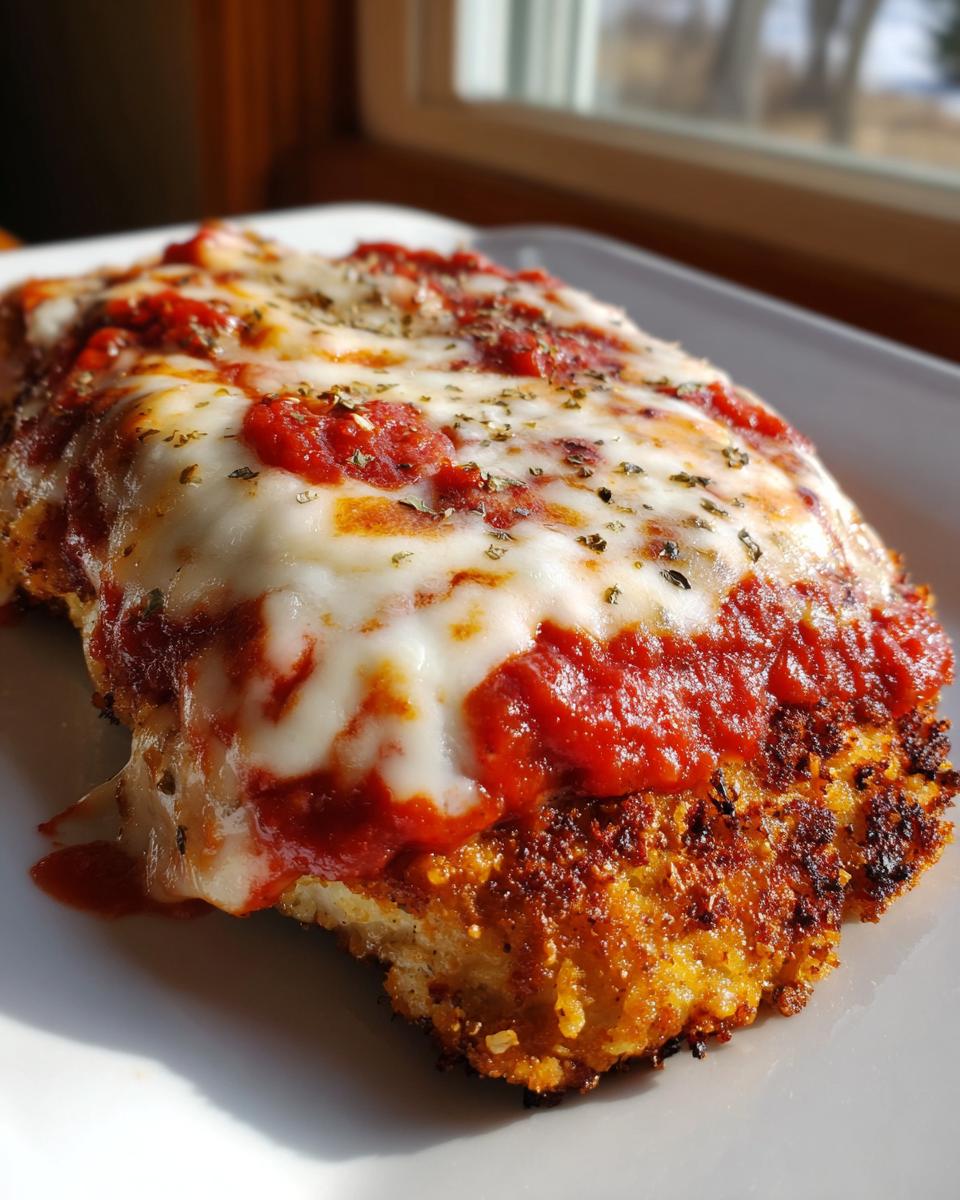
Once all those crispy cutlets are nestled in the dish, it’s time for the cheesy layer! Spoon about a quarter cup of your best marinara sauce right over the top of each piece. Don’t drown them; we want the crust peeking out on the sides! Then, cover generously with your sliced fresh mozzarella. Finally, sprinkle that last bit of Parmesan over everything. This creates that incredible cheesy chicken bake finish.
Pop the dish into that 400°F oven. You are looking for the chicken to hit an internal temperature of 165°F—use a thermometer if you have one to be certain! The cheese should be bubbly and just starting to brown nicely, usually taking about 12 to 15 minutes. When it comes out, that’s your homemade chicken parm, ready for the table!
Tips for Success with Your Juicy Chicken Parmesan
No one wants to wait patiently for leftovers to reheat only to find the amazing crispness has vanished! I’ve got a few final tricks from years of messing this up to guarantee you get that juicy chicken parmesan every time. Remember, a great crust relies on what you put on it, but keeping the inside perfect relies on what you put *in* it.
The biggest tip I learned, which frankly had me annoyed at myself later, was using high-quality sauce. If your marinara tastes thin or watery, it steams the bottom of the Panko while it bakes, turning it mushy before the cheese even melts. You can get a fantastic dish by upgrading that one component! We want rich, thick sauce that just coats the chicken.
Also, please, please use fresh mozzarella if you can find it. That pre-shredded stuff comes coated in anti-caking agents, and it just doesn’t melt into that glorious, stretchy blanket the way fresh slices do. If you skip this, you risk a slightly grainy topping instead of that smooth, beautiful melt you see in pictures. For more on making an incredible experience, check out what my friends at Homestyle Vibe suggest for a truly classic result!
Ingredient Quality for a Superior Chicken Parmesan Recipe
When you are dealing with simple layers like this, every choice matters. For the sauce, I can’t stress enough: pick the best jarred marinara you can find, or better yet, make a quick pan sauce if you have extra time. It needs body!
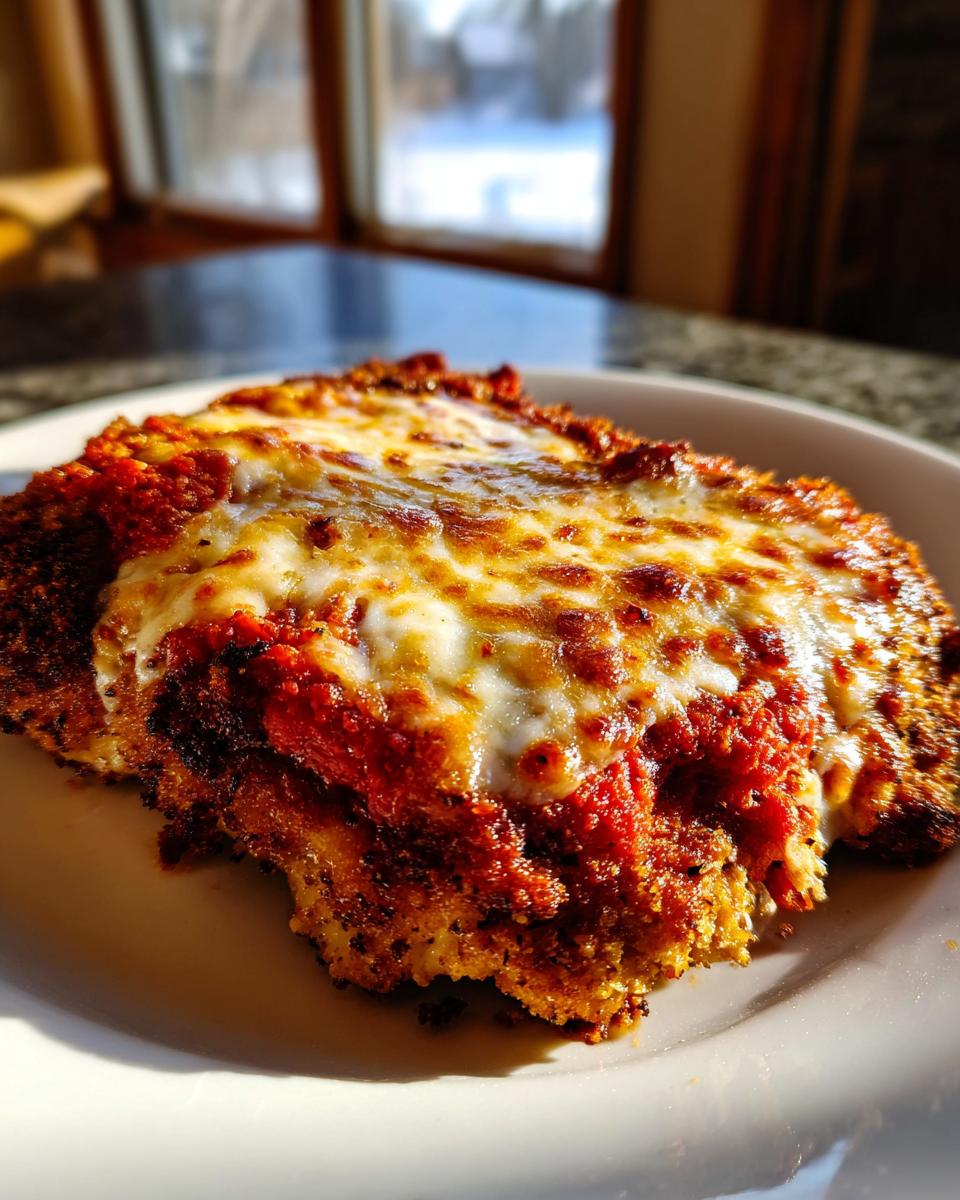
Then there’s the cheese. Using fresh mozzarella slices ensures you get those pools of creamy white cheese that brown beautifully under the broiler. If you use the bagged, pre-shredded kind because it seems easier, it won’t melt the same way—it tends to just sit there looking oily rather than creating that cohesive, gooey layer. It’s a small change but it makes a huge difference in calling this restaurant style chicken parm!
Making Baked Chicken Parmesan Without Frying
I totally get it. Sometimes you want that Classic Italian Comfort Food vibe, but you don’t want to deal with the oil splatters or adding heavy frying to your weeknight routine. Hey, that’s why we have options! If you absolutely must skip the pan-fry step for a healthier take, we can absolutely adapt this chicken parmesan recipe to be purely baked.
It takes a little more attention during the baking process, but you can still nail that satisfying crunch. I pulled these numbers from my own kitchen testing because I know some of you are trying to keep things lighter, just like those fantastic tips you can find over at Funidy!
Here is the secret to successful Baked Chicken Parmesan: you have to fake the initial crisping! Don’t just put the raw breaded chicken in the dish with the sauce; the moisture from the sauce will immediately soak into the Panko. Big fail!
Instead, follow this alternative method:
- Preheat your oven exactly the same way to 400°F.
- Set up your dredging station and coat every cutlet perfectly.
- Instead of heating oil, lightly spray both sides of the breaded cutlets with non-stick cooking spray. You want a fine, even mist—it helps the Panko brown nicely instead of staying pale and floury.
- Place these sprayed cutlets directly onto a wire rack set over a baking sheet. This allows air to circulate underneath, which is crucial for preventing a soggy bottom!
- Bake them plain for about 10 minutes. This sets that beautiful crust.
- Now, pull them out, top them with your marinara, mozzarella, and that final sprinkle of Parmesan. Pop them back in for another 10 to 12 minutes until everything is bubbly and the chicken hits that safe 165°F internal temperature.
See? It’s incredibly similar, but that initial 10-minute dry bake makes all the difference in keeping your crust intact. It might not have that deep, rich color frying gives you, but it comes out tasting amazing and keeps things much cleaner!
Serving Suggestions for Your Weeknight Italian Dinner
When you’ve created something as satisfying as this Chicken Parmesan Recipe, you need the perfect supporting cast to make it a true meal, right? This doesn’t have to be a fussy production; it’s meant to be a delightful, easy weeknight Italian dinner experience. My absolute favorite pairing is simple spaghetti tossed lightly in olive oil and salt, letting the rich marinara from the chicken shine.
But don’t stop there! You need something green to cut through that cheesy richness. A simple side salad with a bright Italian vinaigrette works wonders. And honestly, you can never, ever go wrong with crusty garlic bread on the side for soaking up any extra sauce left on your plate. It’s the perfect, cozy trio!
Storage and Reheating Instructions for Homemade Chicken Parm
One of the best things about making a big, hearty meal like this Homemade Chicken Parm is having leftovers! But let’s be honest, leftover breaded food can sometimes be sad. When I store my Parm, I am already planning on how to bring that crunch back to life the next day. No one wants floppy chicken!
The absolute number one rule for leftovers: Resist the microwave! Microwaves heat water molecules inside the food, and that steam turns your beautiful Panko crust into sad, wet cement. You lose everything we worked so hard for in the dredging station!
To store your amazing Cheesy Chicken Bake, let the cutlets cool completely on a wire rack after they come out of the oven—this releases steam and prevents the bottoms from getting soggy in the container. Transfer them to an airtight container, separating the chicken from the pasta if you served it that way.
Here’s how to bring back the crisp:
- The Oven Method: This is my go-to for reviving a full piece. Place the leftover chicken on a baking sheet, maybe sprayed lightly with cooking spray, and bake at 375°F (190°C) for about 10 to 12 minutes. Watch it closely. The residual sauce will heat up, and the crust firms right back up!
- The Air Fryer Trick: If you have an air fryer, pull that thing out! It’s the best tool for reheating anything crispy. Set it to 350°F (175°C) for just 5 to 7 minutes. It gets the chicken hot inside and crackles the outside beautifully without having to preheat the big oven.
This dish is best eaten within three days of making it. Trust me, it tastes so great you probably won’t have any left by then, but knowing you can save it properly means you can confidently make an extra batch next time!
Frequently Asked Questions About the Chicken Parmesan Recipe
I know you might have a few lingering doubts before diving in, especially worried about getting that signature crunch. It’s totally normal when trying a new chicken parmesan recipe! We all want that perfect restaurant style chicken parm without the fuss. If you have more questions once you’re cooking, don’t hesitate to reach out through my Contact Page—I love hearing how your cooking adventures go!
Can I use chicken tenders instead of breasts for this chicken parmesan recipe?
Yes, you absolutely can! Chicken tenders are essentially smaller, naturally uniform pieces, which is fantastic for a super quick chicken recipe. Since tenders are thinner than the breasts we pound down to a half-inch, you need to chop your cooking time down a bit. You’ll still want to pan-fry them until golden—probably only about 90 seconds per side—because they cook through so fast in the oven. This is a great hack for a fast Chicken Parmesan Dinner Ideas night!
What is the secret to truly crispy chicken parmesan?
If I had to boil it down to three non-negotiable rules for crispy chicken parmesan, it would be these: First, use Panko breadcrumbs—that’s your MVP. Second, your oil must be hot enough when the chicken hits the pan, creating that instant sear. If the oil isn’t hot, the breading soaks up oil instead of crisping up. Third, never overcrowd the pan; give each piece enough space to breathe and fry correctly. Skip those three things, and you risk sogginess, trust me!
Can I prepare this dish ahead of time?
You can definitely prepare components ahead of time! I often set up my dredging station ingredients (the flour, the egg wash, the Panko mixture) and even pound the chicken breasts the night before. Store them separately in the fridge. However, I really don’t recommend assembling the entire dish—sauce, cheese, and all—until right before you plan to bake it. You also will get a much better result if you pan-fry them immediately before baking, rather than frying them a day ahead.
Is this the best way to make an easy chicken parmesan recipe for a crowd?
This method is perfect for family meals, but if you’re hosting a massive party, you might want to switch entirely to the baking method I described earlier, as it’s easier to manage batches in the oven than managing dozens of chicken pieces on the stovetop! For a standard family favorite dinner of four to six people, the pan-fry/bake combo gives you the superior texture that makes this homemade chicken parm recipe famous.
Nutritional Estimates for This Classic Italian Comfort Food
Okay, now we talk about the food breakdown at the end! I’m Ava, and while I’m 100% focused on helping you feel empowered in the kitchen, I also know that sometimes we need to see the numbers for our favorite Classic Italian Comfort Food. I quickly ran the numbers based on the ingredient list provided, using standard database averages for the pan-fried version in this chicken parmesan recipe.
Please remember, these are just estimates! If you use a low-sugar marinara or swap out the oil for a lighter cooking spray, your totals will change. But for a standard, authentic preparation using 1/4 cup of oil for frying four cutlets, this is the ballpark we’re looking at per serving (which is one cutlet):
Here are the estimated macros:
- Serving Size: 1 cutlet
- Calories: 550
- Protein: 45g
- Fat: 28g (This includes the oil used for that essential crispiness!)
- Carbohydrates: 35g
- Sugar: 8g
- Sodium: 750mg
It looks like a hearty, satisfying meal, doesn’t it? Tons of protein from that good chicken breast, and the fat content reflects that beautiful golden-brown crust we worked so hard to create. It’s definitely a substantial meal, perfect for powering through a busy night or enjoying on a cozy Sunday!
PrintThe Ultimate Crispy Chicken Parmesan Recipe: Restaurant Quality at Home
You can make restaurant-style Chicken Parmesan tonight. This recipe focuses on achieving a perfectly crispy crust that stays crisp, juicy chicken cutlets, and a rich, cheesy topping using simple steps. It is an easy weeknight Italian dinner ready fast.
- Prep Time: 20 min
- Cook Time: 25 min
- Total Time: 45 min
- Yield: 4 servings 1x
- Category: Dinner
- Method: Pan-Frying and Baking
- Cuisine: Italian-American
- Diet: Vegetarian
Ingredients
- 4 boneless, skinless chicken breasts (about 6 oz each)
- 1 cup all-purpose flour
- 2 large eggs, lightly beaten
- 1 tablespoon water
- 1 1/2 cups panko breadcrumbs (for extra crispiness)
- 1/2 cup grated Parmesan cheese (for breading)
- 1 teaspoon garlic powder
- 1/2 teaspoon dried oregano
- Salt and black pepper to taste
- 1/4 cup olive oil (for pan-frying)
- 2 cups quality marinara sauce
- 8 ounces fresh mozzarella cheese, sliced or shredded
- 1/4 cup grated Parmesan cheese (for topping)
- Fresh basil, chopped (for garnish)
Instructions
- Preheat your oven to 400°F (200°C). Lightly grease a baking dish large enough to hold the chicken cutlets.
- Prepare the chicken: Place each chicken breast between two pieces of plastic wrap. Pound them to an even 1/2-inch thickness using a meat mallet or rolling pin. Season both sides lightly with salt and pepper.
- Set up your dredging station: Place flour in a shallow dish. In a second dish, whisk the eggs and water together. In a third dish, combine the panko breadcrumbs, 1/2 cup Parmesan cheese, garlic powder, and oregano.
- Dredge the chicken: Coat each cutlet first in the flour, shaking off excess. Dip into the egg mixture, letting excess drip off. Finally, press firmly into the panko mixture to coat both sides completely. Press the breading on to help it adhere.
- Achieve the crisp crust: Heat the olive oil in a large skillet over medium-high heat. Pan-fry the breaded cutlets for 2-3 minutes per side until golden brown. You are not cooking them through, just setting the crust. Work in batches if necessary to avoid overcrowding the pan.
- Assemble the dish: Place the pan-fried cutlets in the prepared baking dish. Spoon about 1/4 cup of marinara sauce over each cutlet. Top generously with the mozzarella cheese, followed by a sprinkle of the remaining 1/4 cup of Parmesan cheese.
- Bake: Bake for 12-15 minutes, or until the chicken is cooked through (internal temperature reaches 165°F) and the cheese is melted and lightly golden.
- Serve immediately over your favorite pasta, garnished with fresh basil.
Notes
- For the crispiest result without deep frying, ensure your oil is hot enough before adding the chicken. A hot pan sets the crust instantly.
- If you prefer a baked-only method, lightly spray the breaded cutlets with cooking spray and bake at 400°F for 10 minutes before adding sauce and cheese, then bake for another 10-12 minutes.
- Use high-quality marinara sauce; since it is a main flavor component, better sauce makes a better final dish.
Nutrition
- Serving Size: 1 cutlet
- Calories: 550
- Sugar: 8
- Sodium: 750
- Fat: 28
- Saturated Fat: 12
- Unsaturated Fat: 16
- Trans Fat: 0.5
- Carbohydrates: 35
- Fiber: 3
- Protein: 45
- Cholesterol: 140