
Are you tired of those watery, bland dipping sauces that come with takeout? I know I was! That lack of flavor is exactly why I built Kitchenican—to show you that unbelievable, restaurant-quality taste isn’t reserved for professional chefs. It’s totally achievable right here in your own kitchen. Today, we’re conquering the legendary **garlic aioli**. Forget the intimidation factor; we aren’t messing around trying to emulsify oil and egg yolks by hand. We are going straight for the easy route: a super fast, wonderfully creamy, mayonnaise-based aioli. Trust me, this simple addition will instantly elevate everything from your weeknight fries to your fancy seafood. If you love transforming simple ingredients like this, you should definitely check out how I make my easy homemade garlic butter recipe too. This aioli is your gateway to flavorful homemade dips!
- Why This Easy Garlic Aioli Sauce Works So Well
- Ingredients for Your Creamy Garlic Aioli Recipe
- How to Make Garlic Aioli Sauce: Step-by-Step Instructions
- Serving Suggestions: Making the Best Garlic Aioli Dipping Sauce
- Storage and Reheating Instructions for Your Homemade Garlic Aioli
- Troubleshooting Common Issues When Making Garlic Aioli
- Frequently Asked Questions About Making Garlic Aioli
- Estimated Nutritional Data for This Garlic Aioli Recipe
- Share Your Garlic Aioli Creations
Why This Easy Garlic Aioli Sauce Works So Well
When I set out to create a **quick aioli recipe**, my main goal was speed without sacrificing that rich, restaurant vibe. This formulation delivers flavor without the technique fright, which is why it’s my go-to for busy nights. Here’s why I think you’ll love ditching the squeeze bottles:
- It’s incredibly fast—we’re talking five minutes maximum for mixing.
- It creates the perfect **simple creamy spread** for burgers or wraps.
- The mayonnaise base ensures a stable, luscious texture every single time.
- You get that bold, unmistakable garlic punch you crave!
If you’re looking for more quick wins to simplify your week, see my tips over on my easy weeknight dinners post!
Ingredients for Your Creamy Garlic Aioli Recipe
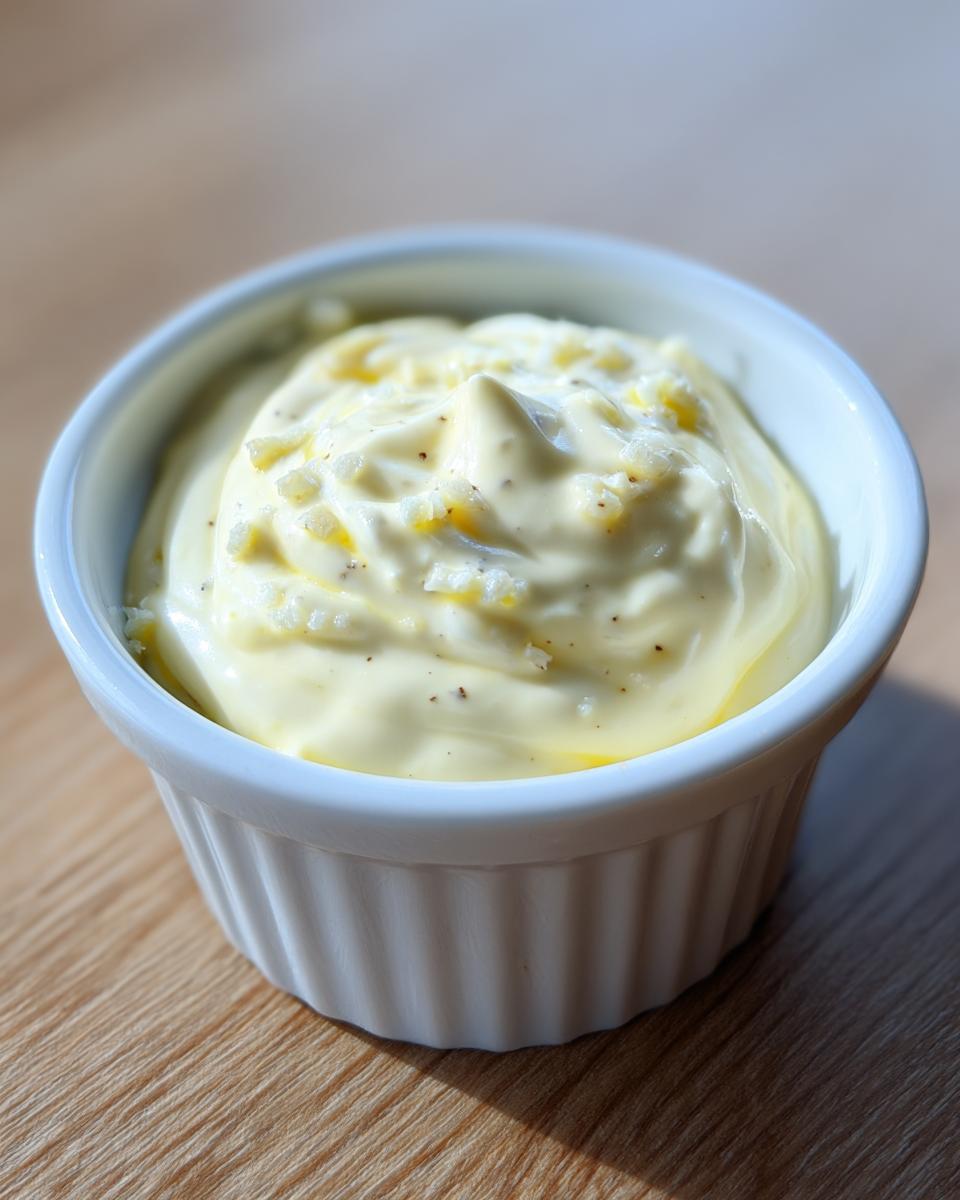
Okay, let’s talk what you actually need. Since we’re keeping this on the fast track, we’re starting with high-quality mayonnaise. Don’t skimp here if you can help it; the mayo is the star foundation for our **creamy garlic aioli recipe**! We need three fat, fresh garlic cloves that we’ll be mincing super fine or pressing. That fresh lemon juice is non-negotiable—it cuts through the richness perfectly! You’ll also grab Dijon mustard for a little tang, salt, pepper, and a splash of olive oil if you want that extra, decadent richness. This entire approach is different than making an authentic, egg-yolk-based aioli from scratch, but wow, the results are so close for the effort involved!
Ingredient Notes and Substitutions for Garlic Aioli
If you’re nervous about that raw garlic bite? Here’s my little secret: swap out one tablespoon of the fresh garlic for a teaspoon of pre-made roasted garlic puree. It gives you that deep flavor without the sharp sting. Also, this is where you can customize! If you really love citrus—and who doesn’t?—you can easily turn this into a vibrant **lemon garlic aioli** by just bumping that lemon juice up to 1.5 tablespoons. Play around a bit; that’s what cooking is all about!
How to Make Garlic Aioli Sauce: Step-by-Step Instructions
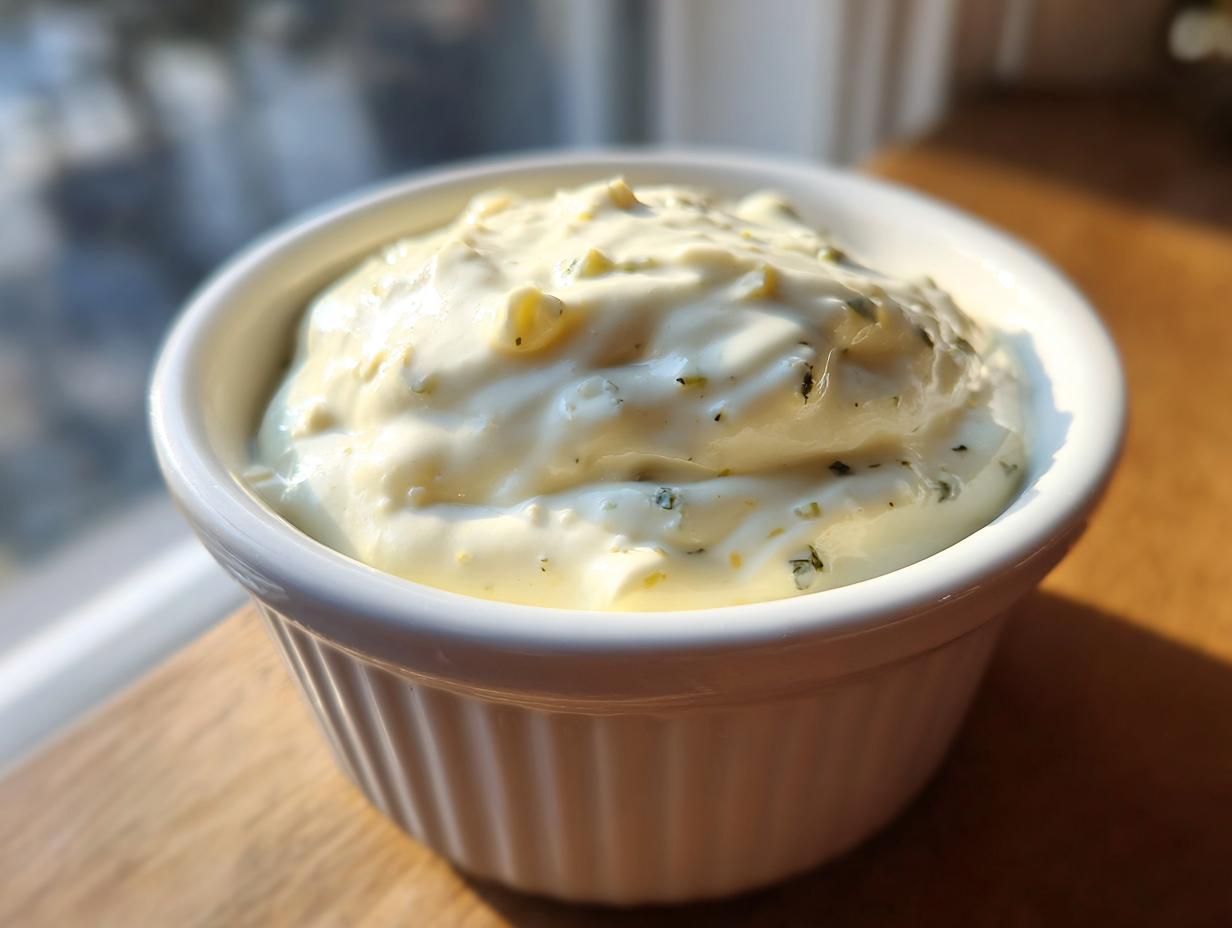
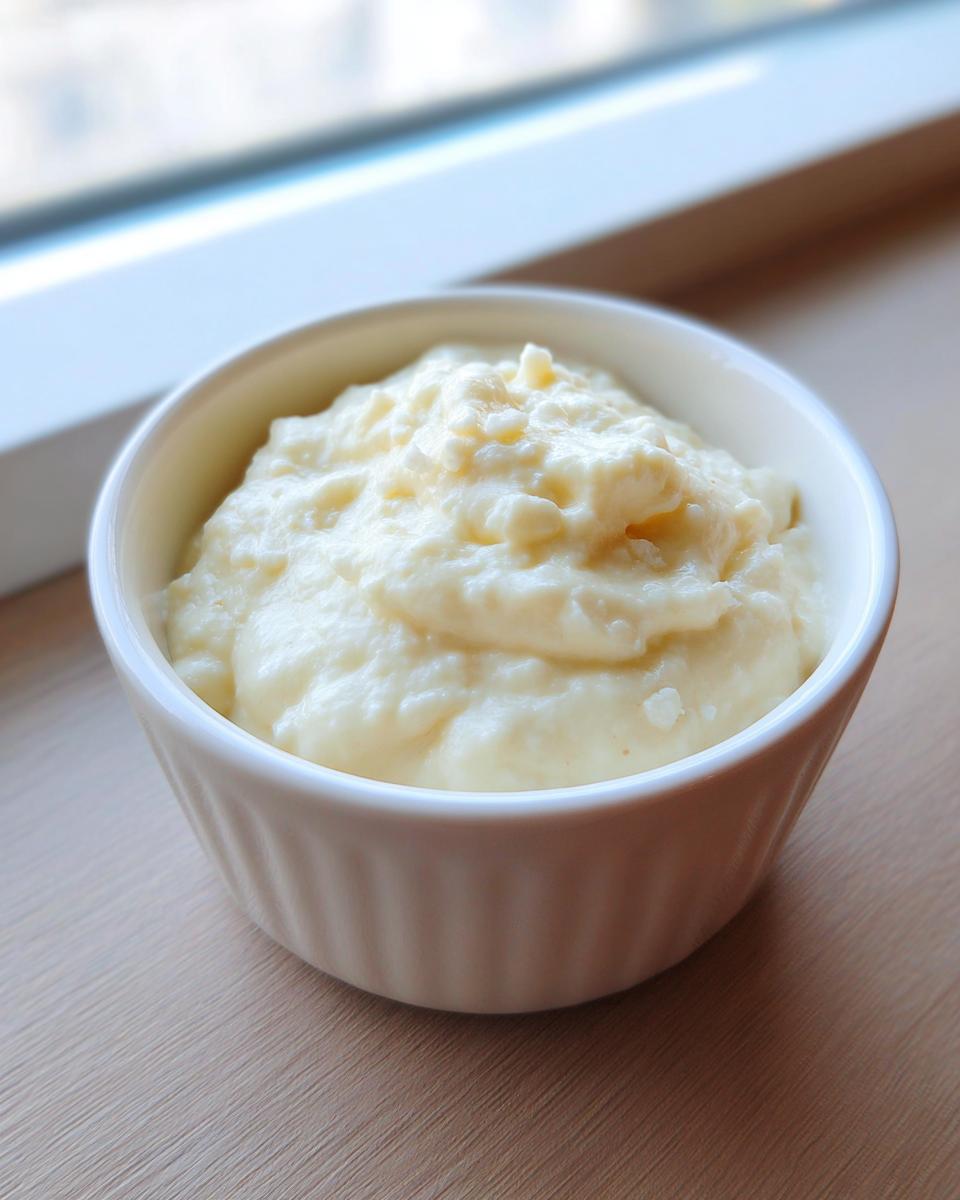
Making this **easy garlic aioli sauce** is honestly just three steps: mix, taste, and chill! Seriously, that’s it. First, you want the garlic prepped. I find using a press works wonders for extracting all that potent goodness without leaving big chunks, but if you mince it super fine, that works too. Get that minced garlic, the mayonnaise, Dijon, and lemon juice into your bowl. For the full breakdown on pairing sauces, check out what the folks at Tasty Delice do with their aioli!
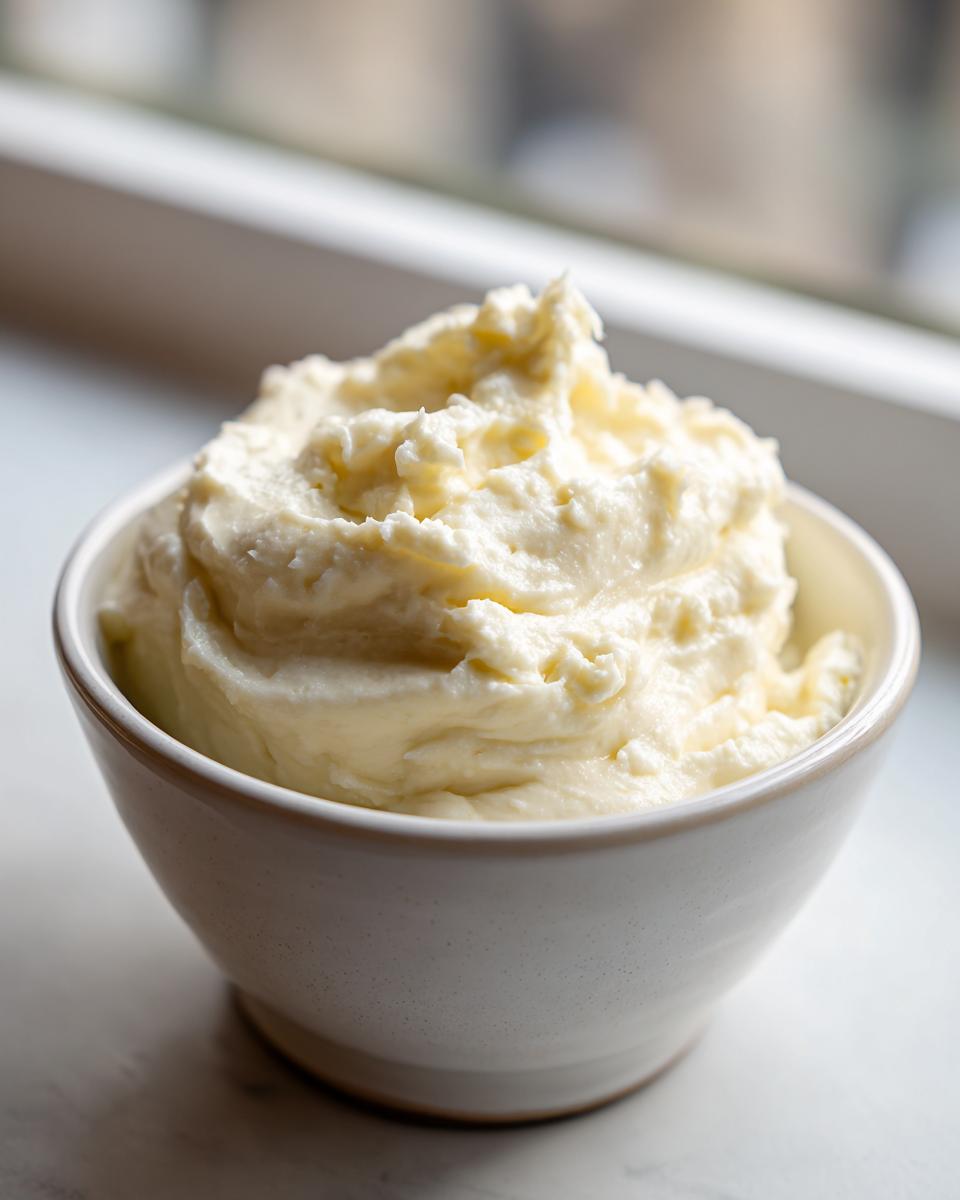
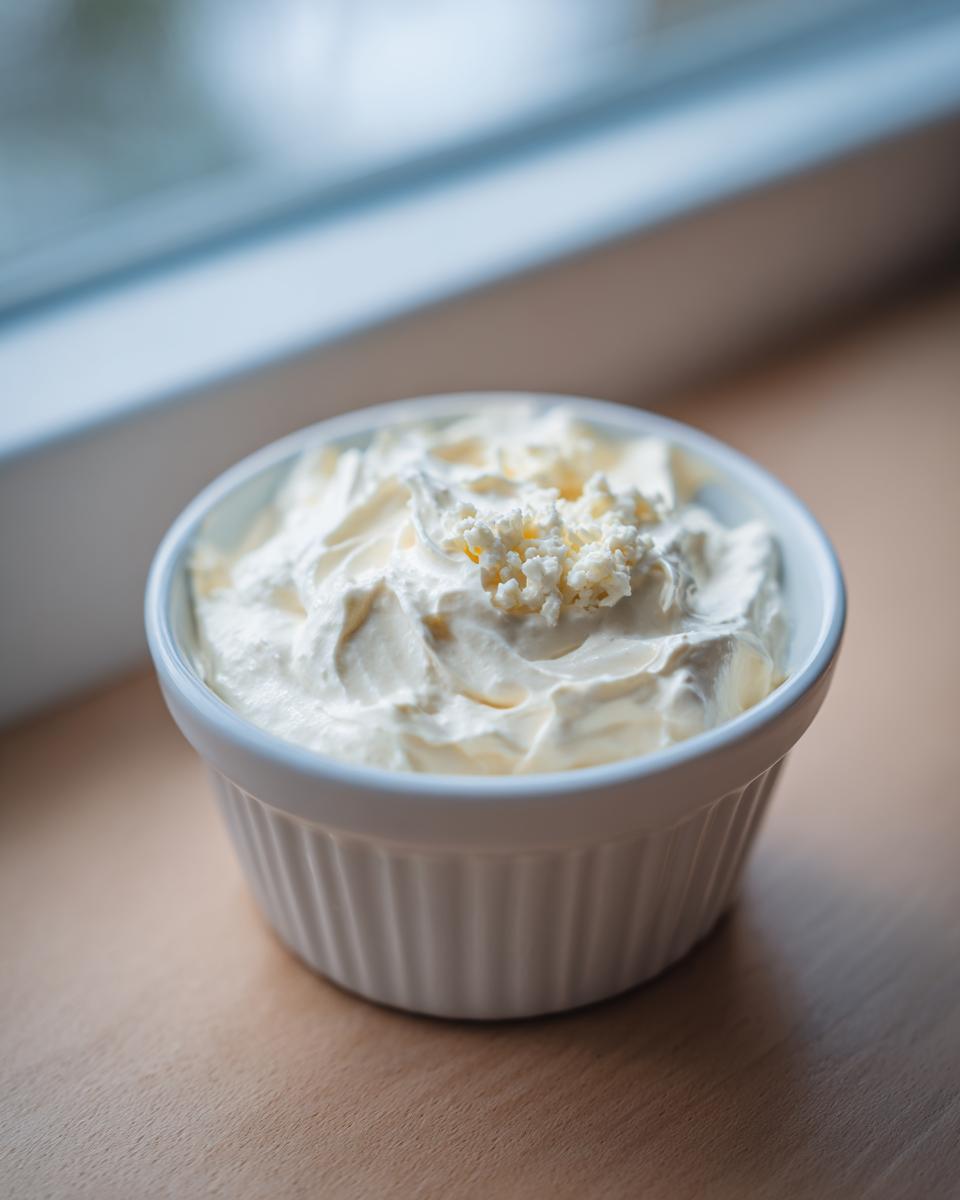
Now you whisk! You’re looking for everything to marry together until it’s totally smooth. Remember what I said about technique? With this mayo base, the technique is just making sure you combine it well. Once you mix everything, taste it! This is the moment to adjust your seasoning, which leads right into my texture secrets below.
The most crucial step, which I almost forgot when I was first trying this out? Chilling! When I first tried skipping the chill time, the flavor wasn’t nearly as deep—don’t skip this step! You need that minimum of 30 minutes in the fridge for the garlic to truly meld into the sauce. If you’re pairing this with something great, like the best roasted broccoli, you’ll thank me later!
Achieving the Perfect Texture for Your Easy Garlic Aioli Sauce
Before you cover it for the chill, we absolutely need to check the seasoning! Taste a little spoonful now and adjust your salt or pepper. If it tastes a little dull, a teeny squeeze more lemon juice wakes it right up. If you decided to add that optional olive oil for extra decadence, whisk it in slowly until the sauce looks uniform. That’s the secret to a beautiful final **easy garlic aioli sauce**.
Serving Suggestions: Making the Best Garlic Aioli Dipping Sauce
Now that you have this perfect, creamy jar of flavor sitting in your fridge, what are you going to do with it? Honestly, you can put it on everything! It immediately wins as the **best garlic aioli dipping sauce** for crispy sweet potato fries or homemade oven fries. If you want to use it as an **aioli sandwich spread**, it’s fantastic slathered on a grilled chicken burger—it instantly makes the whole thing taste gourmet.
But don’t stop there! This isn’t just for fried stuff. Try spooning some of this **garlic aioli for fries** substitute over grilled shrimp or flaky white fish; the lemon and garlic combo is divine. I also love taking a dollop over my easy chicken tacos instead of plain sour cream, or even using it as a dip for roasted carrots and asparagus. For party scenarios, it’s almost always better than plain sour cream for dipping things like my easy 15-minute beer cheese dip! Head over to Recipes N’ Love for more dipping inspiration.
Storage and Reheating Instructions for Your Homemade Garlic Aioli
One of the best things about this recipe is its shelf life! Since we are using mayonnaise as our base, this sauce is super stable. Just pop any leftovers into a clean, airtight container and tuck it into the fridge. You’re good to go for about a week—perfect for keeping on hand for last-minute snacks!
Now, here’s the part where I have to be real with you: do not try to reheat this! Aioli, especially the kind built on mayo, is an emulsion. If you bring it up to high heat, that beautiful, silky texture is going to break apart. It’ll turn oily and separated—not lovely at all. Just let it sit on the counter for about ten minutes before serving if it’s been chilling for a few days, and it’ll be perfect.
Troubleshooting Common Issues When Making Garlic Aioli
Sometimes, even the easiest recipes can throw a little curveball! If your finished **garlic aioli** tastes a little… aggressive, don’t panic. Raw garlic intensity varies wildly! If it’s too strong for you, my fix is always to stir in another small spoonful of mayo or a tiny splash more lemon juice—that instantly lowers the garlic’s volume. If your sauce seems a bit too thin after mixing, just pop it in the fridge for a solid 20 minutes; sometimes chilling helps things thicken up just right!
If you’re still struggling with that raw bite, swing back up to the ingredient section and look at substituting some of that fresh garlic for roasted garlic puree—it’s a game-changer for a smoother flavor profile. For tips on how the experts handle classic sauce mixing, you should definitely peek at the breakdown over at Yellow Chilis!
Frequently Asked Questions About Making Garlic Aioli
I know you might have a few lingering doubts before you dive into making this batch, so let’s tackle those quick questions that pop up all the time. Don’t worry; most kitchen disasters are easily fixed!
Can I make homemade garlic aioli without mayonnaise?
You absolutely can! That is moving into the territory of the *classic French aioli*, which uses egg yolks and oil emulsified slowly. That method is beautiful but requires a bit more focus and patience. Since our recipe is designed for speed and ease using that **mayonnaise based aioli** as a base, it’s the simplest way for a home cook to get incredible results fast. If you want to try the scratch method later, save this recipe for context, and look up a full egg-yolk guide!
What’s the best way to reduce that raw garlic bite?
This is huge! If you find the raw garlic taste too sharp in your **simple creamy spread**, start by adding just one clove, chill it for 30 minutes, and then taste. Secondly, roasting the garlic, like I mentioned, totally mellows it out. A third trick is stirring in a tiny, tiny splash of white wine vinegar along with your lemon juice—it adds complexity that balances the raw edge. Try not to use more than three large cloves unless you love that intense punch!
Is this garlic aioli sauce an acceptable sauce for burgers and sandwiches?
Oh my goodness, yes! This is one of its best uses. I wouldn’t even call it acceptable; I’d call it required! This **aioli sandwich spread** takes any plain burger or turkey wrap and gives it that luxurious, satisfying flavor found in high-end restaurants. Honestly, once you try swapping out plain mayonnaise for this stuff, you’ll never look back. It pairs beautifully with crunchy lettuce and sharp cheese, too.
How important is the chilling time for this condiment recipe?
It’s crucial! When you’re making a quick aioli, the chilling time isn’t just for cooling things down; it’s when the magic happens. That 30 minutes (or ideally longer!) allows the sharp flavor of the raw garlic to marry into the creamy base. If you need bread baskets for dipping this, by the way, I have a fantastic recipe for easy homemade soft bread bowls!
Estimated Nutritional Data for This Garlic Aioli Recipe
Now, I always like to give you a heads up on what’s going onto your plate! Remember that since ingredients like mayo can vary wildly in fat content, these numbers are just my best estimate based on standard pantry items used per that serving size.
- Serving Size: 2 tablespoons
- Calories: About 180
- Total Fat: 20g
- Sodium: 250mg
- Carbs and Protein: Both very low, near 0.5g each.
It’s rich, that’s for sure, which is why this **garlic aioli** is best used as a powerful flavor booster rather than something you eat by the spoonful!
Share Your Garlic Aioli Creations
Wow, I hope you’re already planning what you’ll dip into this magic sauce! This **garlic aioli** is seriously addictive. After you make your first batch of these **flavorful homemade dips**, please, please come back and let me know how you used it! Did you smother it on chicken, or did you use it with some gorgeous seafood? Don’t forget to give the recipe a solid 5 stars if it helped you ditch the bland condiments!
Drop a comment below telling me your favorite way to use this spread—I’m always looking for new inspiration to pair with my garlic parmesan chicken and potatoes!
PrintEasy Creamy Garlic Aioli Sauce (Mayo-Based)

Make restaurant-style creamy garlic aioli at home in minutes. This easy, mayonnaise-based sauce is perfect for dipping fries, spreading on burgers, or serving with seafood.
- Prep Time: 5 min
- Cook Time: 0 min
- Total Time: 35 min
- Yield: About 1 cup 1x
- Category: Condiment
- Method: Mixing
- Cuisine: American/French Inspired
- Diet: Vegetarian
Ingredients
- 1 cup good quality mayonnaise
- 3 large cloves fresh garlic, minced very fine or pressed
- 1 tablespoon fresh lemon juice
- 1 teaspoon Dijon mustard
- 1/4 teaspoon salt, or to taste
- 1/8 teaspoon black pepper
- 1 tablespoon olive oil (optional, for richness)
Instructions
- Prepare the garlic: Mince the fresh garlic cloves very finely or use a garlic press to extract the pulp. You want the garlic flavor strong but no large pieces remaining.
- Combine base ingredients: In a small bowl, combine the mayonnaise, minced garlic, lemon juice, and Dijon mustard.
- Whisk until smooth: Whisk the mixture thoroughly until all ingredients are fully incorporated and the sauce is smooth and creamy.
- Season: Add the salt and black pepper. Whisk again. Taste the aioli and adjust salt or lemon juice as needed for your preference.
- Add oil (optional): If you desire a richer texture, slowly whisk in the olive oil until fully emulsified into the sauce.
- Chill: Cover the bowl and refrigerate the garlic aioli for at least 30 minutes before serving. This allows the garlic flavor to meld into the sauce.
- Serve: Use this best garlic aioli dipping sauce for fries, sandwiches, or as a versatile sauce for burgers.
Notes
- For a deeper flavor, substitute 1 tablespoon of the fresh garlic with 1 teaspoon of roasted garlic puree.
- If you want a lemon garlic aioli, increase the lemon juice to 1.5 tablespoons.
- Store leftover aioli in an airtight container in the refrigerator for up to one week.
Nutrition
- Serving Size: 2 tablespoons
- Calories: 180
- Sugar: 0.5
- Sodium: 250
- Fat: 20
- Saturated Fat: 3.5
- Unsaturated Fat: 16.5
- Trans Fat: 0
- Carbohydrates: 0.5
- Fiber: 0
- Protein: 0.5
- Cholesterol: 15