
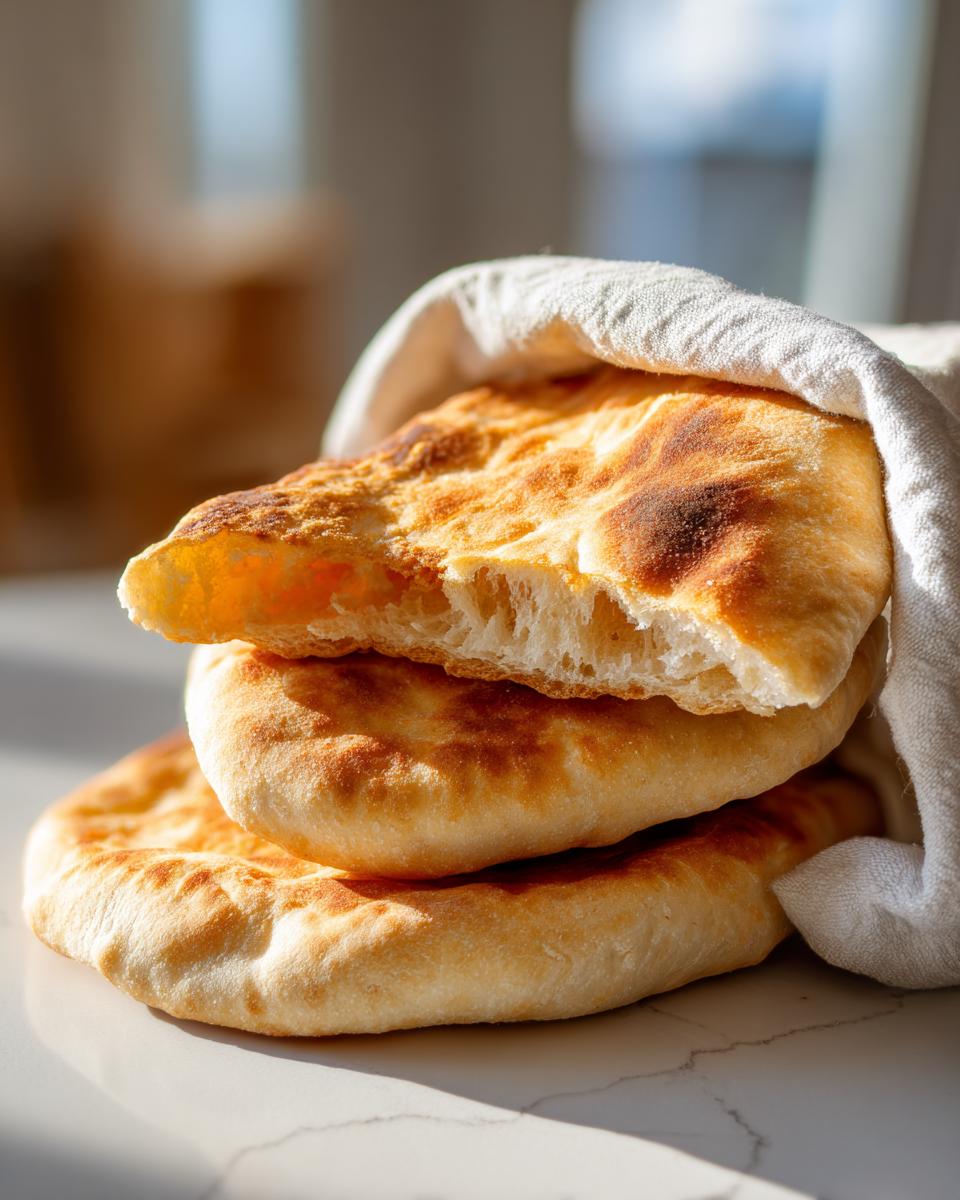
If you’re still buying those dry, sad, flat discs from the grocery aisle, stop right now! I’m here to tell you that making truly incredible, soft, fluffy homemade pita bread that balloons into those perfect, edible beach balls is completely within your reach, even if you feel intimidated by bread baking. Honestly, I used to think making authentic pita bread was reserved for restaurant cooks with secret ovens, but this incredibly simple stovetop method proves that belief is totally wrong! We’re talking about Mediterranean flatbread perfection, achievable tonight, and I can’t wait for you to try it. Check out my own journey when you get a minute: this is where my ‘I can cook’ mindset started.
- Why This is the Best Pita Bread Recipe You Will Ever Make
- Ingredients for Soft Fluffy Pita Bread
- How to Make Pita Bread at Home: Step-by-Step Instructions
- Tips for Perfect Pita Bread Pockets Every Time
- Serving Suggestions for Your Homemade Pita Bread
- Storage and Reheating Instructions for Pita Bread
- Frequently Asked Questions About Making Pita Bread
- Estimated Nutritional Data for Pita Bread
- Share Your Homemade Pita Bread Creations
Why This is the Best Pita Bread Recipe You Will Ever Make
So many recipes promise perfection, but they leave you with stiff discs or flat crackers. Not this one! This homemade pita bread recipe is designed for real life and real results. Trust me, this is the benchmark for soft fluffy pita bread.
- It uses accessible, pantry-staple ingredients—no special flours needed!
- It creates those beautiful, unmistakable pita bread pockets almost every single time.
- You get professional flavor without needing a pizza stone or a big oven.
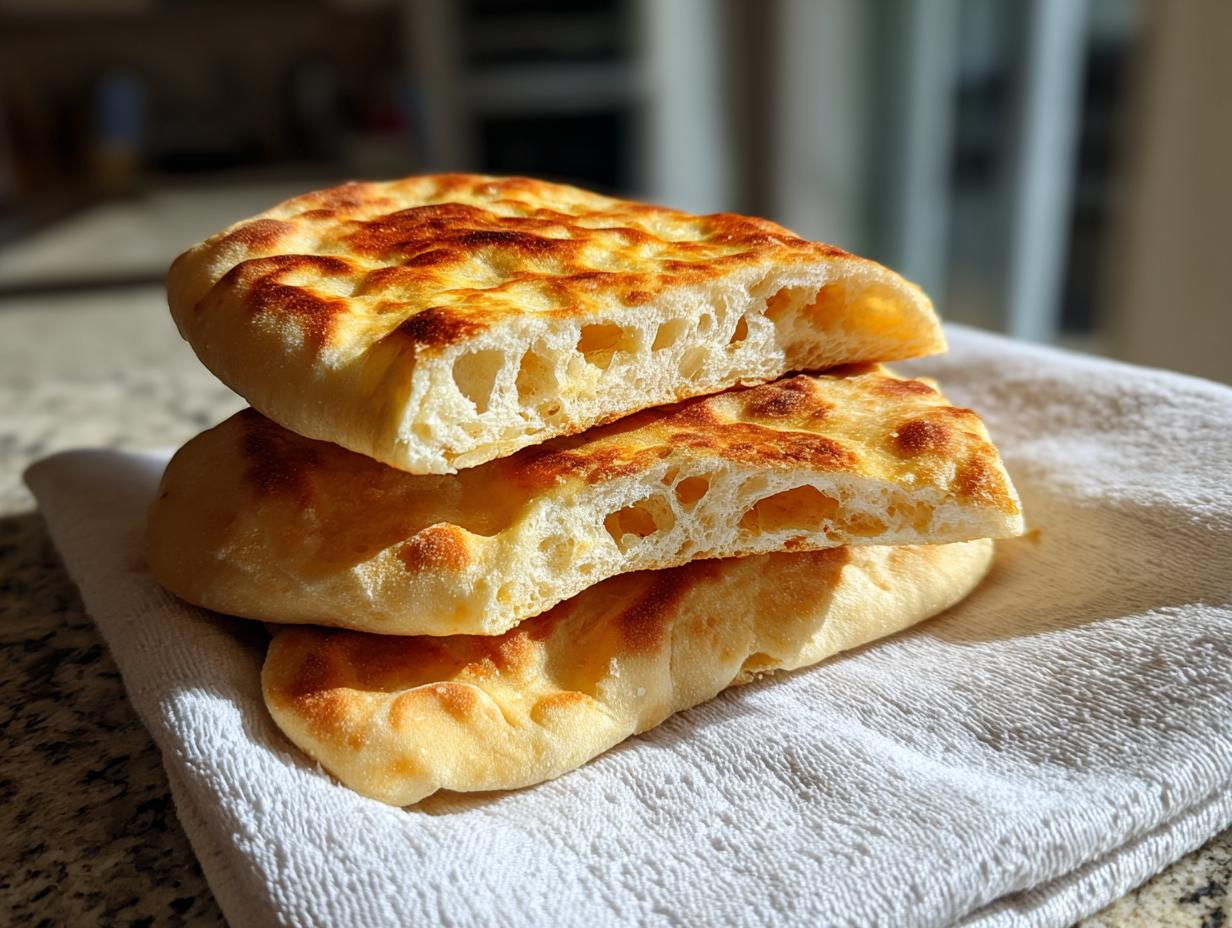
Achieving the Signature Pita Bread Pocket
The pocket is everything, right? It happens because we roll the dough thin—about 1/8 inch—and hit it with intense heat. That sharp temperature shock instantly turns the moisture inside the dough into steam, forcing the two sides apart. It’s simple science, and we nail it every time!
Quick Bread Recipe Ready for Weeknights
I get it, you’re busy. That’s why I love this method. Including the rise time, the whole process is wrapped up in under two hours. That makes this a fantastic quick bread recipe for when you realize at 5 PM you forgot to get bread for dinner. Who needs the store?
Ingredients for Soft Fluffy Pita Bread
I know ingredient lists can look stressful, but this one is super simple. Everything here is designed to maximize that soft texture and help those pockets form beautifully. For this homemade pita bread recipe, you likely already have most items in your pantry right now!
- 3 cups all-purpose flour
- 1 cup warm water (aim for about 105°F to 115°F—it should feel warm, not hot, to your wrist)
- 2 1/2 teaspoons active dry yeast
- 1 teaspoon sugar
- 1 teaspoon salt
- 1 tablespoon olive oil
- 2 tablespoons Greek yogurt (this is optional, but trust me, it makes the soft fluffy pita bread even better!)
Ingredient Notes and Substitutions for Your Pita Bread
Let’s talk about two key players here: the yeast and the yogurt. For the yeast, when you mix it with the sugar and warm water, you’re waiting for foam! If it gets nice and foamy, it’s alive and ready to make your dough rise. If it just sits there looking sad, your water was probably too hot or too cold, and you’ll need to try again with fresh yeast.
Now, that yogurt. Since this recipe is so simple, that little bit of tangy yogurt really tenderizes the dough, giving you that lovely, pillowy texture that makes Greek pita bread recipe fans obsessed. If you skip it, you still get fantastic bread, but you’ve made yourself a perfectly good vegan pita bread recipe!
Stick with all-purpose flour for this one. It gives you the best balance of structure and softness for the pocket to puff.
How to Make Pita Bread at Home: Step-by-Step Instructions
This is where the magic happens! Don’t let these steps rush you. For how to make pita bread at home successfully, patience in these first few stages pays off tenfold later when you see those perfect puffs. If you get stuck or have questions along the way, please don’t hesitate to reach out to me! You can always drop me a message here.
Activating the Yeast and Mixing the Pita Bread Dough
First things first: wake up that yeast! In a small bowl, gently whisk the yeast and sugar into your warm water. Just let it sit there on the counter for about 5 to 10 minutes. You need that beautiful foam on top—that’s proof that your yeast is happy and ready to do the hard work. While you wait for the foam, mix your flour and salt together in a big bowl.
Once foamy, pour that yeast mixture, the olive oil, and that optional yogurt right into your dry ingredients. Stir it all together with a wooden spoon until you get a ‘shaggy dough.’ It won’t look pretty, and that’s exactly how it should be before you move to the next step.
Kneading and Rising: Building Structure for Soft Fluffy Pita Bread
Now we need to build some elasticity! Turn that shaggy lump onto a lightly floured surface. You’ve got to knead this dough for a solid 5 to 7 minutes. Keep working it until it feels smooth, springy, and less sticky. That kneading develops the gluten structure needed for a great rise and those eventual pockets in your soft fluffy pita bread.
Pop the dough into an oiled bowl, turn it once to coat, cover it tightly, and find a warm spot in your kitchen. I usually use the top of the fridge or a slightly warm, turned-off oven. Let it proof for about 1 hour, or until it’s doubled in size. Don’t rush this—the rise is key for texture!
Rolling and Cooking the Pita Bread on the Stovetop
Once risen, gently deflate the dough and divide it into 8 equal pieces. Roll each one into a smooth ball, cover them (they dry out fast!), and let them rest for 10 minutes. This rest is important so the dough relaxes for rolling.
Now, the moment of truth! Get your heavy cast-iron skillet screaming hot over medium-high heat—no oil in the pan! Roll each ball thin, about 1/8 of an inch. Lay one pita on that scorching surface. You’ll see bubbles pop up in a minute or two. Flip it immediately! If the pan is hot enough, the whole thing should puff up like a balloon right before your eyes. This is the success of the stovetop pita bread method! Cook the second side for just a minute until it has those light brown spots, then immediately wrap it in a clean kitchen towel to keep it soft.
Tips for Perfect Pita Bread Pockets Every Time
You see those pockets form, and honestly, nothing beats that feeling! But sometimes they don’t puff, and that’s usually just a technique thing, not a dough thing. Since achieving that perfect puff is the goal when making this homemade flatbread, I want to give you my best troubleshooting secrets right here. Don’t get discouraged if the first one lays flat—it’s usually just preheating or rolling thickness! If you need a visual reference for troubleshooting, check out some great tips here: this guide has some extra helpful info.
Heat Management for Great Pita Bread
Listen, the pan temperature is your secret weapon here. It needs to be screaming hot when that dough hits it, which is why I specify cast iron. If you notice your pitas are just flattening without bubbles, your pan needs more time to heat up. Don’t overcrowd the pan either! Cook your pitas one or two at a time max. If you put too much cold dough in at once, the temperature drops, and you lose that crucial steam explosion needed for the pocket.
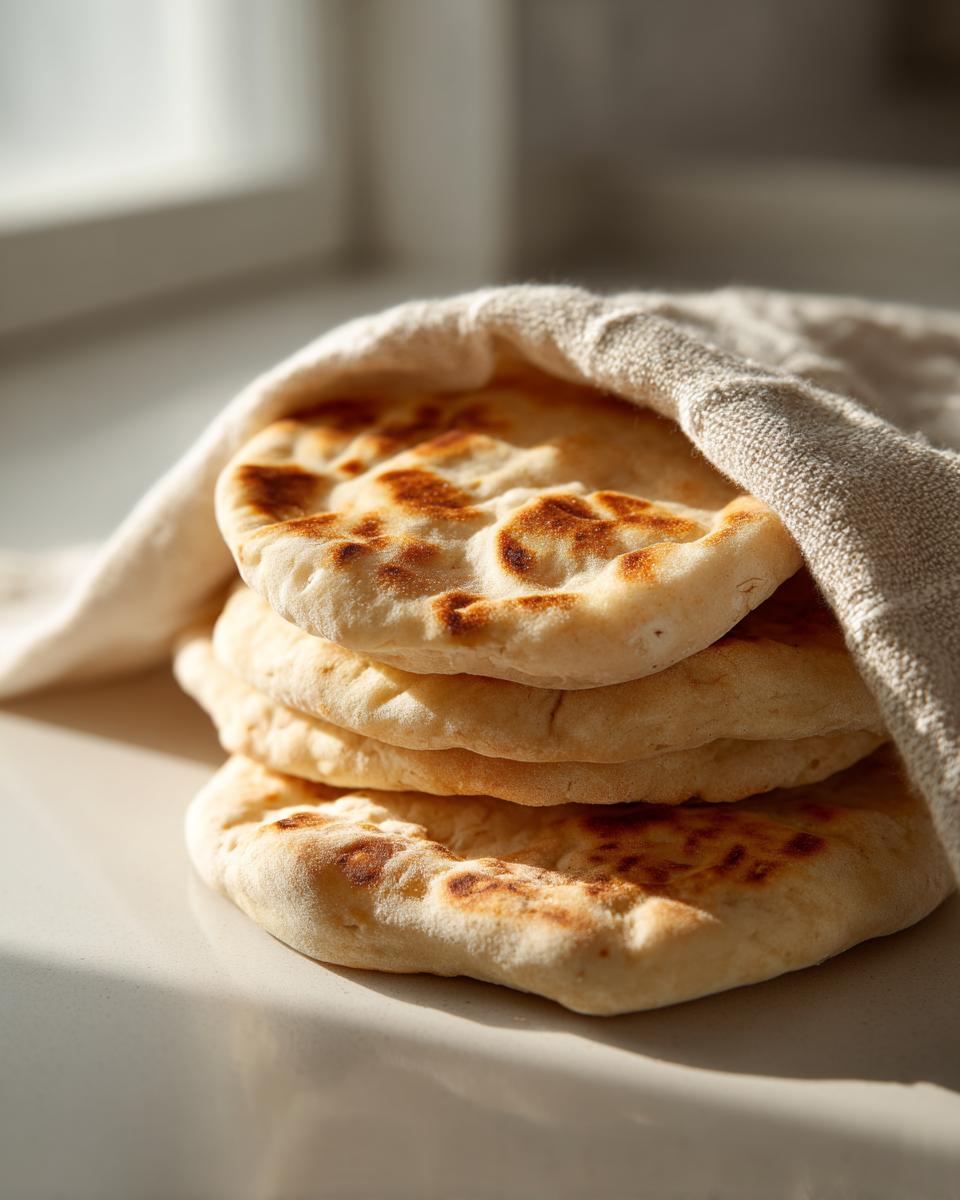
Keeping Your Pita Bread Warm and Pliable
This is arguably as important as the cooking itself! As soon as a pita comes off that skillet—whether it puffed gloriously or not—it needs to go straight into a clean kitchen towel. You fold the towel over it completely. That trapped steam is what keeps the bread flexible, soft, and bendy rather than letting it stiffen up into cardboard. Keep stacking them in the towel as they cook; they steam each other perfectly.
Serving Suggestions for Your Homemade Pita Bread
Okay, you’ve made the most amazing, pillowy pita bread! Now what? Honestly, you can just rip off a piece while it’s still warm and dip it in good olive oil—that’s perfection right there. But if you want to incorporate these beauties into a full meal, you are in luck, because they are so versatile!
These fresh, warm pitas are absolutely essential for making incredible pita bread for gyros. I swear, a store-bought pita just can’t hold up to the seasoned meat, tomatoes, and tzatziki sauce the way these homemade ones do. If you’re looking for inspiration for the filling, I found a great roundup of ideas for wonderful Mediterranean meals right here.
And don’t forget dipping! They are your perfect partner for hummus, baba ghanoush, or even just a thick Greek yogurt seasoned with dill. If you happen to have any leftovers, they make the best quick chips. Halve them, toss with a little oil and salt, and bake for about 8 minutes until crisp—perfect for guacamole or salsa! They elevate even the simplest of recipes with pita bread.
Storage and Reheating Instructions for Pita Bread
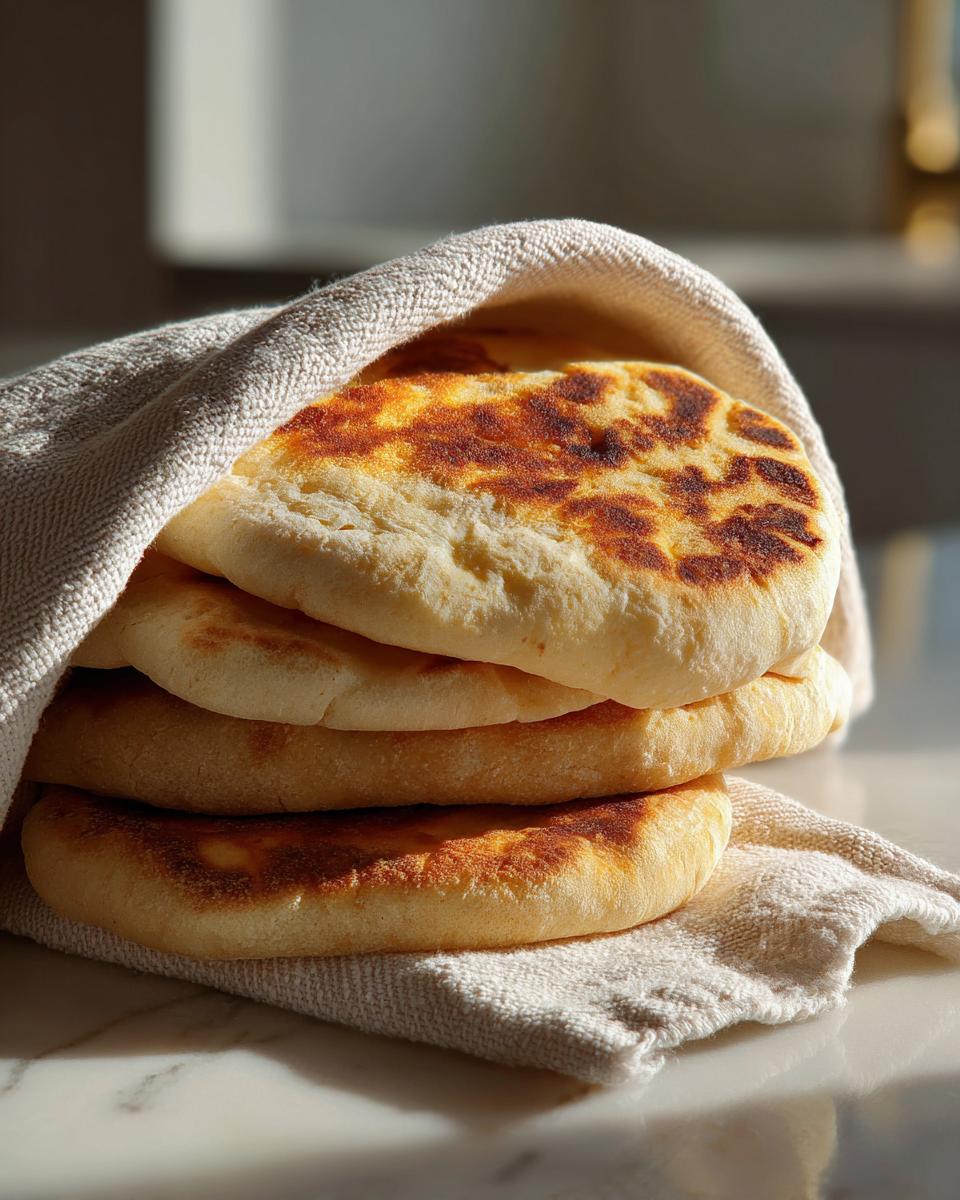
The best part about making a big batch of this homemade pita bread recipe is having leftovers for quick lunches later in the week! But if you store them wrong, they turn stiff fast. The absolute key to keeping that soft texture is trapping the steam, which we talked about after they came off the skillet. Don’t skip this step!
For short-term storage—say, the next day or two—keep the pitas stacked up and tightly wrapped in a clean kitchen towel, and then place that whole bundle inside a zip-top bag or an airtight container. Putting them directly into plastic without the towel makes them a little gummy, but the towel absorbs just enough moisture while keeping the bulk of the steam in. They should stay wonderfully soft for at least 48 hours this way.
If you’re planning ahead because you’re a master meal prepper, freezing is your best bet. Once they are completely cool, stack about 4 or 5 pitas together with a small square of parchment paper between each one—this stops them from sticking together in a giant dough ball. Seal them tightly in a freezer bag, pressing out all the air. They store beautifully for up to two months!
Bringing Your Pita Bread Back to Life
When it’s time to eat those frozen or refrigerated pitas, you need heat to reactivate that fluffiness! You absolutely cannot microwave them alone; they get tough and chewy. We need quick, aggressive heat to mimic that first time they puffed up.
My personal favorite way to reheat is throwing them back into that scorching hot, dry cast-iron skillet for just 20 to 30 seconds per side over medium-high heat. You’ll see them start to soften and even puff up again a little! If you’re in a rush, a quick zap in the microwave wrapped in a damp paper towel (about 15 seconds) will revive them enough to use for a quick wrap, but the skillet always tastes better.
Frequently Asked Questions About Making Pita Bread
I get so many fantastic questions about this homemade pita bread recipe! Bread baking can seem tricky when you’re just starting out, but honestly, once you get this dough down, it’s one of the easiest things you’ll ever make. This recipe is absolutely a fantastic beginner bread recipe because it’s so quick and forgiving.
Can I make this pita bread recipe without yeast?
Unfortunately, no, you can’t skip the yeast for this specific recipe if you want the classic puff! The yeast is what produces the carbon dioxide gas needed to create that signature hollow inside—the pocket. Without that trapped gas expanding rapidly when it hits the hot pan, you just get a dense flatbread. Yeast provides the necessary lift and structure for the pocket to form.
How long does this homemade pita bread stay fresh?
When stored correctly—meaning wrapped tightly in a clean kitchen towel inside an airtight bag—these pitas are wonderfully fresh for about 1 to 2 full days. After that, they start to stiffen up a bit. That’s why I always recommend freezing any extras! If you need the full rundown on how to freeze them so they arrive back in one piece, go back and check out the Storage section above.
My pita bread didn’t puff up! What went wrong?
Oh, I hate that! Don’t worry, this happens to everyone, especially on the first few tries. Nine times out of ten, it comes down to the heat of your pan—it just wasn’t hot enough when the dough hit it. You need that skillet screaming hot before that first piece goes in. The second reason could be rolling too thick; if it’s too thick, the steam can’t push the two sides apart fast enough. Aim for that thin 1/8-inch circle and make sure that skillet is smoking slightly before you place the dough down!
Can I use Bread Flour instead of All-Purpose Flour?
You certainly can! Bread flour has a higher protein content, which means more gluten development. If you use bread flour, you might notice the dough is a tiny bit stiffer, and you should check your kneading time—you might need 30 seconds less. Using bread flour can make your pita bread feel slightly chewier, which some people love, but All-Purpose is what gives us that signature soft, fluffy texture we are aiming for here.
Estimated Nutritional Data for Pita Bread
Okay, now that you’ve made this fantastic pita bread, let’s talk fuel! I want to be super clear: the nutritional information below is what I calculated based on the recipe ingredients I listed, assuming you’re using standard measurements and NOT adding the optional Greek yogurt. Since we are all using different brands of flour and oil, these numbers are definitely just a helpful guideline, not a strict guarantee.
If you decide to toss in that extra Greek yogurt for maximum softness, you will see the protein and fat content tick up slightly—it’s all part of dialing in the recipe to work perfectly for your kitchen! I always appreciate the transparency when I’m cooking, so here is what we are working with per single, beautiful, pocketed pita:
- Calories: 180
- Fat: 3g
- Carbohydrates: 34g
- Protein: 6g
- Sugar: 1g
- Sodium: 250mg
Keep in mind that most delicious homemade flatbread recipes like this are naturally low in fat, especially if you skip out on brushing them with butter or olive oil right after cooking. For full details on my site policies, you can always review my privacy policy here: Kitchenican Privacy Policy. Happy eating!
Share Your Homemade Pita Bread Creations
Seriously, I’ve poured all my best tips into this guide so you can master this homemade pita bread recipe, but the best part of cooking isn’t just the secret technique—it’s sharing the success! I want to see those perfect, fluffy pockets you created on your stovetop!
Don’t keep that bread-baking triumph to yourself! Please hit the star rating below and let me know how this recipe worked for you. A simple 5-star review really helps other novice bakers see that making amazing pita bread at home isn’t scary at all. It’s all about that confidence to begin!
If you made these for gyros or dipped them immediately into hummus, snap a picture and tag me in the comments below. Seeing your kitchen creations and hearing how excited you are about your new favorite easy pita bread recipe is what keeps me sharing secrets here at Kitchenican. Go enjoy that warm, delicious bread!
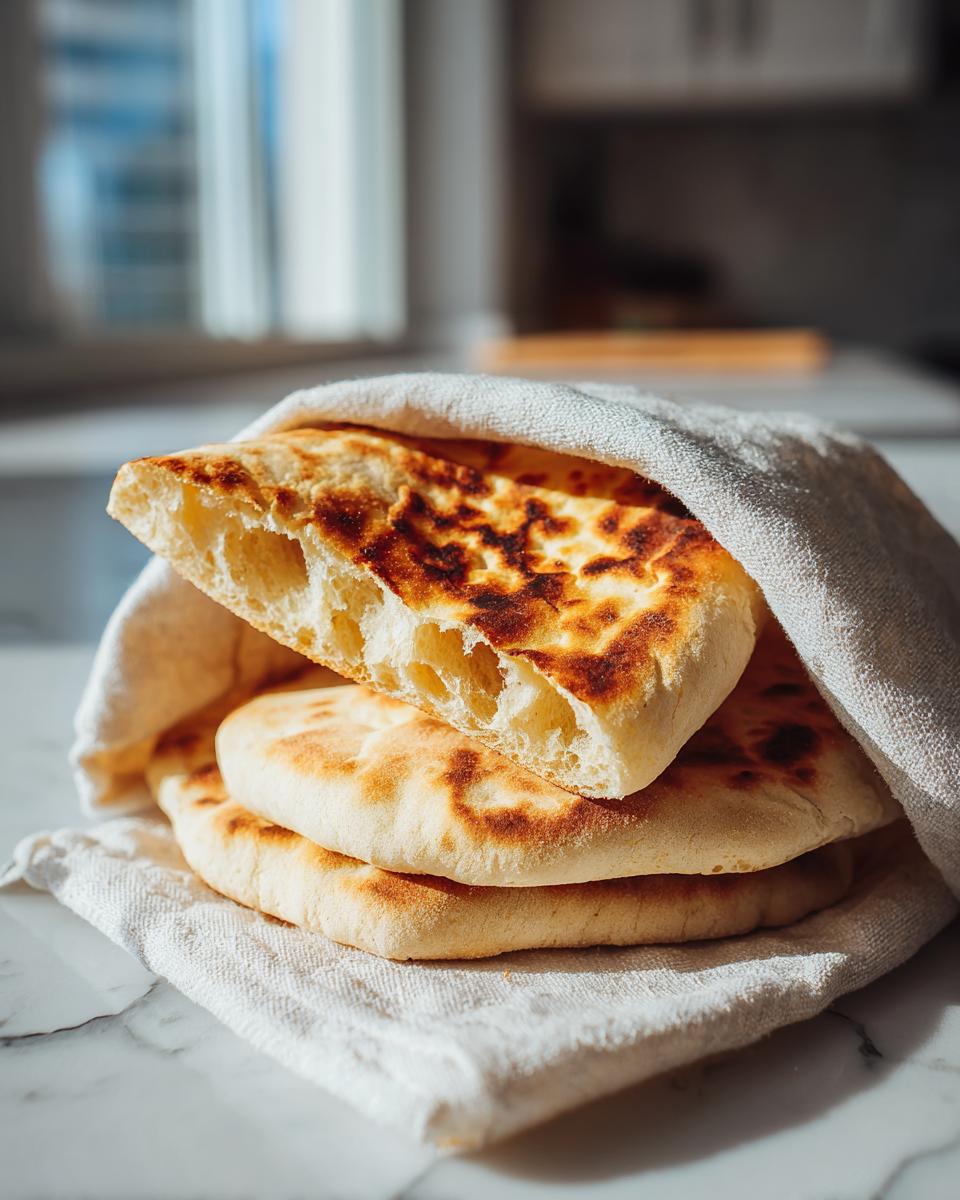
PrintSoft and Fluffy Homemade Pita Bread with Perfect Pockets
You can make incredibly soft, fluffy homemade pita bread that puffs into perfect pockets using basic pantry ingredients. This straightforward recipe works well for stovetop cooking and is ideal for gyros, wraps, or dipping.
- Prep Time: 20 min
- Cook Time: 20 min
- Total Time: 1 hour 40 min
- Yield: 8 servings 1x
- Category: Bread
- Method: Stovetop Cooking
- Cuisine: Mediterranean
- Diet: Vegetarian
Ingredients
- 3 cups all-purpose flour
- 1 cup warm water (about 105°F to 115°F)
- 2 1/2 teaspoons active dry yeast
- 1 teaspoon sugar
- 1 teaspoon salt
- 1 tablespoon olive oil
- 2 tablespoons Greek yogurt (optional, for extra softness)
Instructions
- In a small bowl, combine the warm water, sugar, and yeast. Let this mixture sit for 5 to 10 minutes until it becomes foamy. This shows the yeast is active.
- In a large bowl, mix the flour and salt. Add the foamy yeast mixture, olive oil, and Greek yogurt (if using) to the dry ingredients.
- Mix everything until a shaggy dough forms. Turn the dough out onto a lightly floured surface.
- Knead the dough for 5 to 7 minutes until it becomes smooth and elastic.
- Place the dough in a lightly oiled bowl, turning it once to coat. Cover the bowl with plastic wrap or a clean towel. Let the dough rise in a warm place for 1 hour, or until it has doubled in size.
- Gently punch down the risen dough. Divide it into 8 equal pieces. Roll each piece into a smooth ball.
- Cover the dough balls and let them rest for 10 minutes.
- Working with one ball at a time, roll it out into a thin circle, about 1/8 inch thick and 6 to 7 inches in diameter. Keep the other balls covered while you work.
- Heat a heavy-bottomed skillet or cast-iron pan over medium-high heat until it is very hot; do not add oil to the pan.
- Carefully place one rolled pita into the hot, dry pan. Cook for 1 to 2 minutes until bubbles appear on the surface.
- Flip the pita. It should puff up almost immediately, creating the pocket. Cook the second side for about 1 minute until lightly golden spots appear.
- Remove the pita from the pan and immediately wrap it in a clean kitchen towel to keep it soft while you cook the remaining pitas.
- Serve your homemade pita bread warm.
Notes
- For the best pocket formation, make sure your pan is very hot before cooking each pita.
- If you are not serving the pitas right away, keep them wrapped tightly in a towel to trap the steam, which keeps them soft.
- This recipe makes a great vegan pita bread recipe if you omit the optional Greek yogurt.
Nutrition
- Serving Size: 1 pita
- Calories: 180
- Sugar: 1
- Sodium: 250
- Fat: 3
- Saturated Fat: 0.5
- Unsaturated Fat: 2.5
- Trans Fat: 0
- Carbohydrates: 34
- Fiber: 2
- Protein: 6
- Cholesterol: 0