
Let’s be honest: traditional sourdough can be intimidating. You see those gorgeous, blistered boules, and you think, “That looks amazing, but I need something for my kid’s school lunch that slices without tearing apart.” I know that feeling! I spent years feeling like I couldn’t conquer sourdough until I stopped trying to bake rustic bread and focused on what I actually needed: a **Beginner Sourdough Sandwich Bread**. Trust me, my own journey from being someone who burned toast to mastering this **Perfect Sourdough Loaf** taught me that there’s a specific formula for softness. As I share on my About page, finding that confidence changed everything in the kitchen. This recipe cracks the code for that wonderfully soft, fluffy, and perfectly sliceable loaf. You are going to absolutely love making this easy **sourdough sandwich bread**!
- Why This is the Best Sourdough Sandwich Recipe for Beginners
- Gathering Ingredients for Your Easy Sourdough Loaf
- How to Make Sourdough Sandwich Bread: Step-by-Step Instructions
- Baking the Perfect Sourdough Loaf
- Tips for Success with Homemade Sandwich Bread Sourdough
- Storage and Serving Suggestions for Sourdough Sandwich Bread
- Frequently Asked Questions About This Sourdough Sandwich Bread
- Understanding the Nutrition of This Long Fermented Sandwich Bread
- Share Your Kitchenican Sourdough Sandwich Bread Success
Why This is the Best Sourdough Sandwich Recipe for Beginners
If your previous sourdough attempts resulted in dense bricks or loaves that are too sour for your family, I get it. We aren’t going for a chewy, rustic boule here, friend. This recipe is specifically engineered for fluffiness—it’s the ultimate **Picky Eater Sourdough Bread**! It balances the tang of sourdough with straightforward steps so anyone can achieve that beautiful lift.
- We use just enough water to keep the dough workable by hand, which is crucial for a beginner.
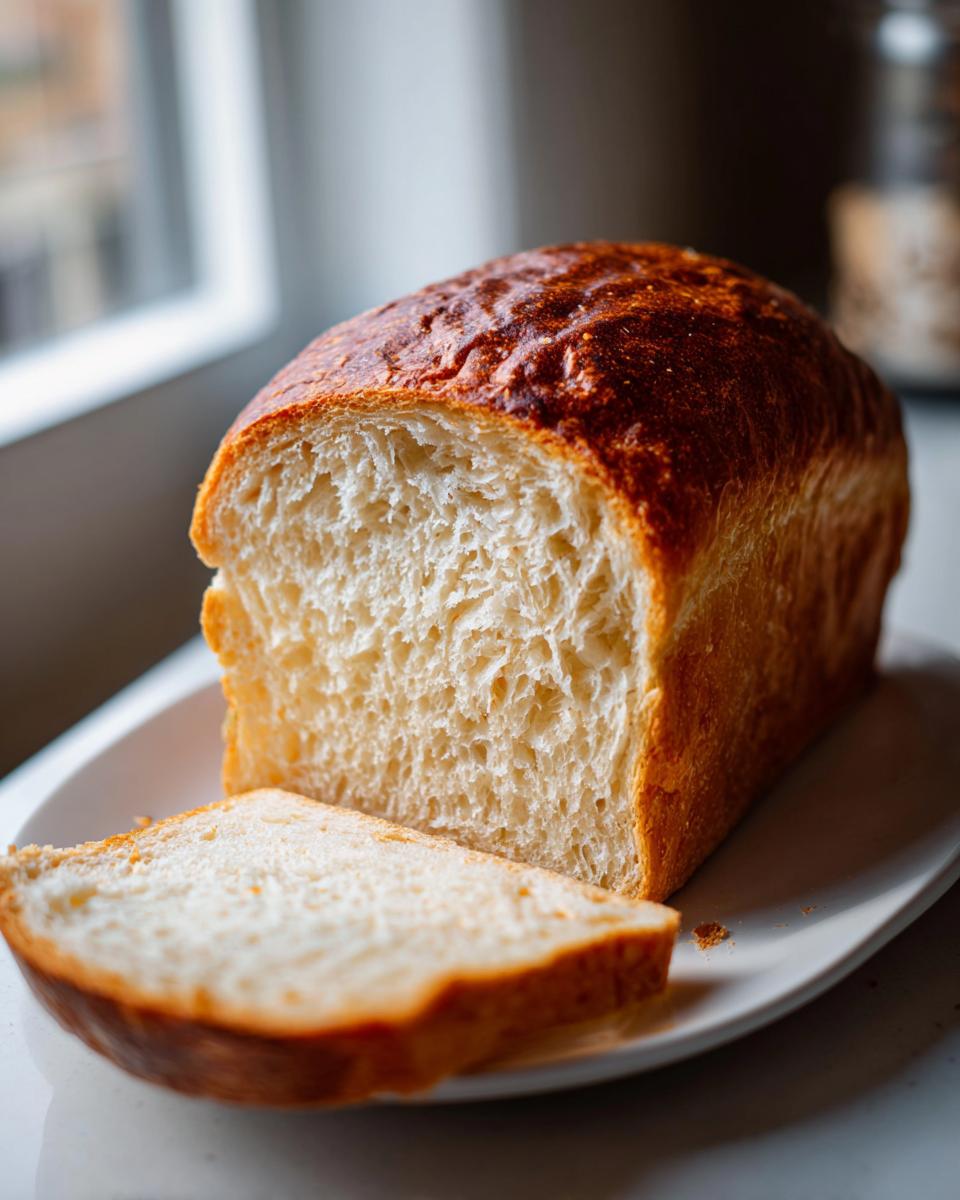
- The final loaf has a tender structure that holds up perfectly for slicing.
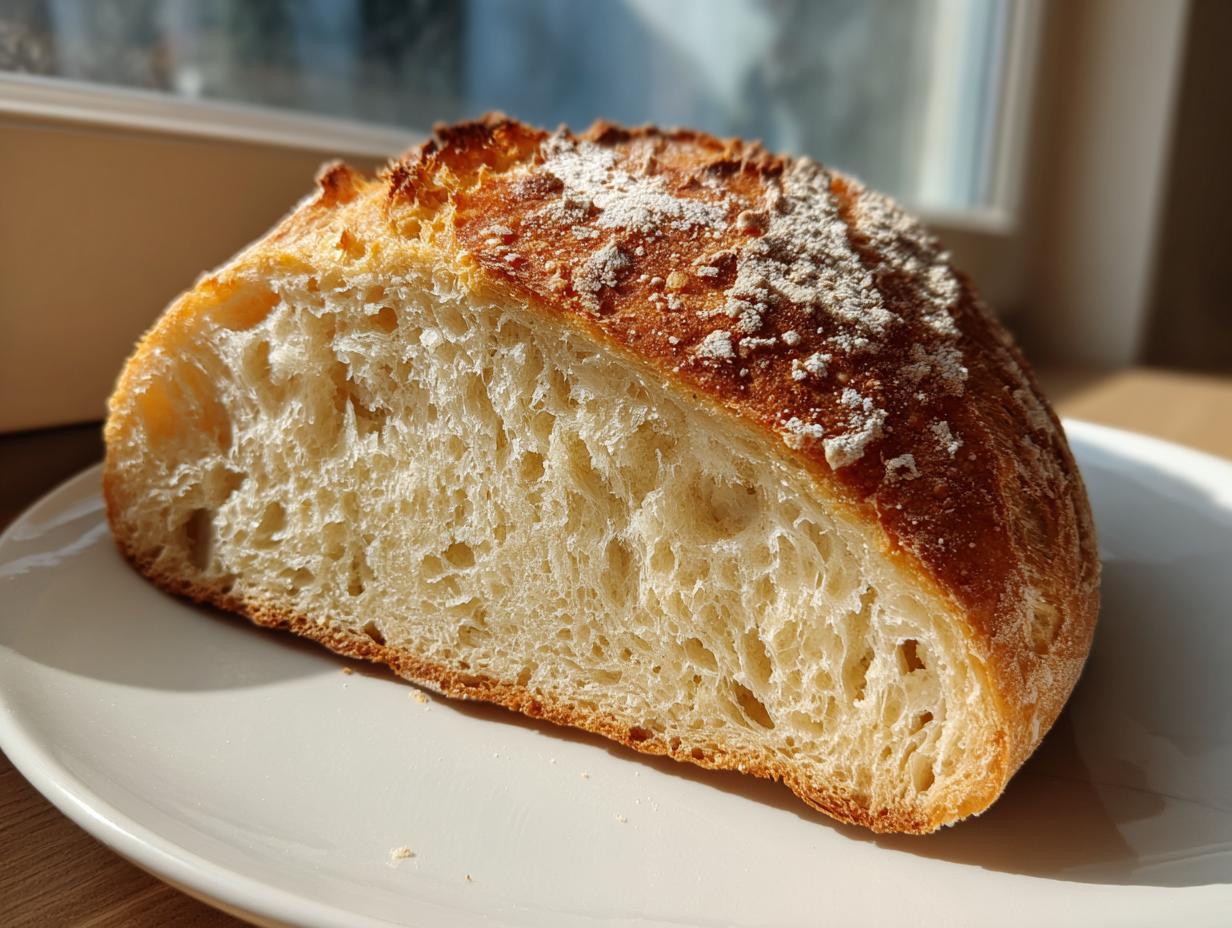
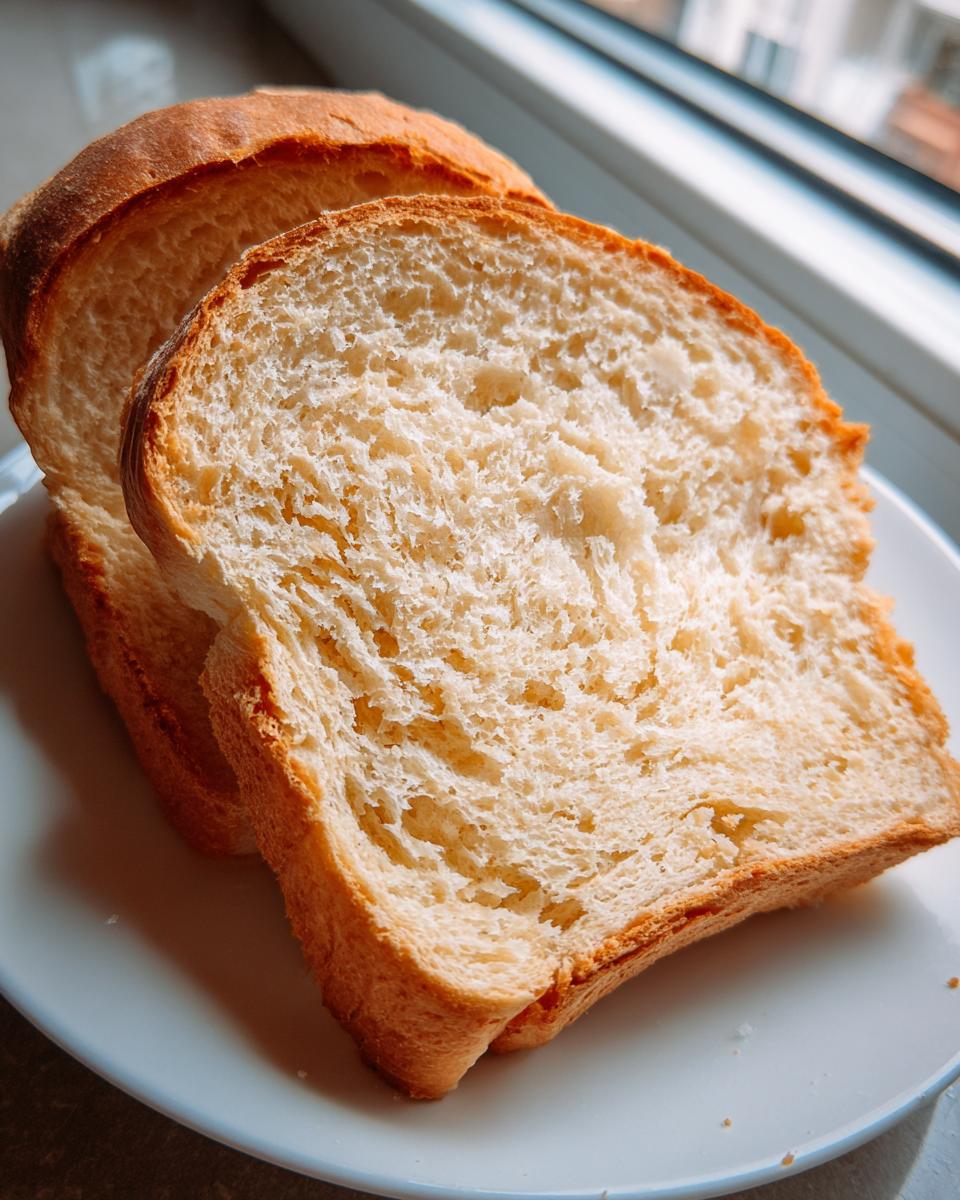
- It creates a soft, almost **buttery sourdough crumb**, making it perfect for everyday eating or toasting.
Achieving That Soft Sourdough Sandwich Bread Texture
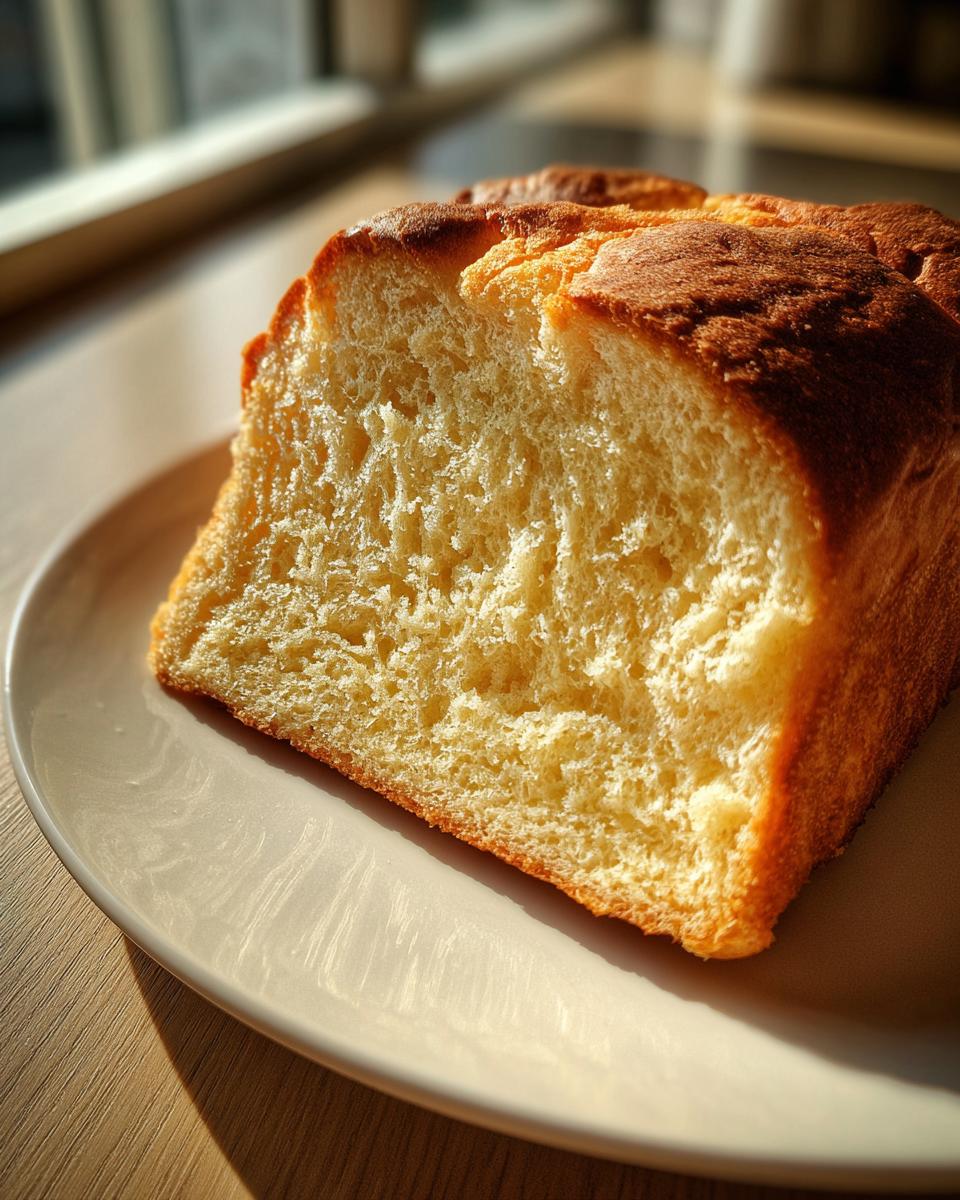
What sets this apart from a standard sourdough? It’s the fat and the sugar! Rustic loaves rely on just flour and water, leading to a chewier bite. Here, the avocado oil adds richness and tenderness, while the honey gives the crumb a wonderful softness and feeds the yeast just enough for a predictable rise. This combination is the secret ingredient that stops your loaf from being too tight or too sour.
Gathering Ingredients for Your Easy Sourdough Loaf
Okay, getting everything ready is step one, and trust me, the ingredient list here is super straightforward—no weird specialty flours needed! Having the right components is essential for making sure this is a truly **fluffy sourdough recipe** that works the very first time you try it. Since we aren’t using commercial yeast, the health of your starter is everything. I cannot stress this enough: make sure your starter is active, bubbly, and has doubled in size within four to six hours before you mix!
- 150g active sourdough starter
- 325g warm filtered water
- 20g avocado oil
- 25g honey
- 500g unbleached bread flour
- 10g salt
Ingredient Notes and Substitutions for Sourdough Sandwich Bread
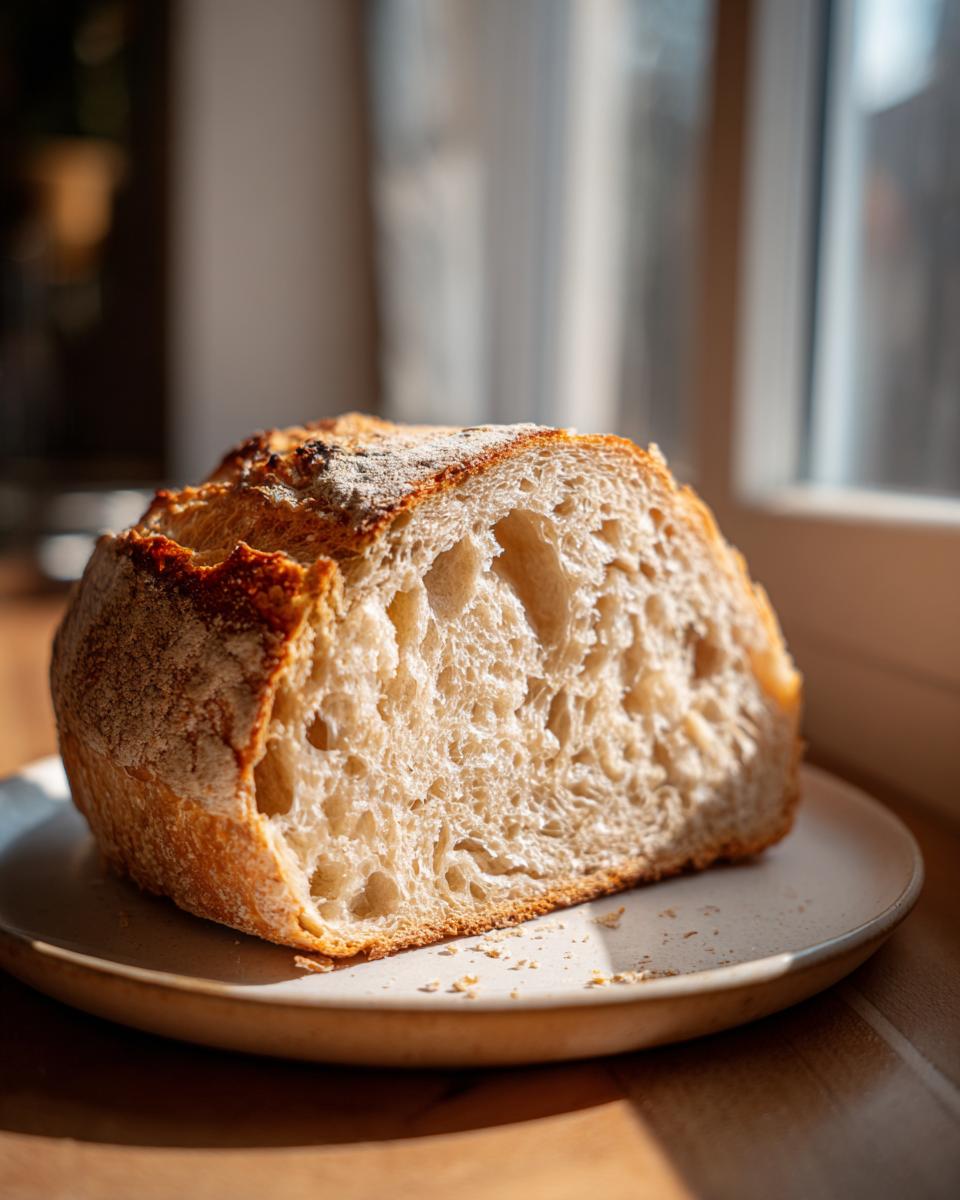
For the best structure in this kind of sandwich bread, you really need bread flour. Its higher protein content gives you the strength to trap those gases, which leads to that high, **sliceable sourdough loaf**. All-purpose flour just won’t hold up as well in this process. Also, if you want to deviate slightly, you absolutely can swap that honey out for maple syrup; it gives a slightly different sweetness that plays beautifully with the sour notes, almost leaning into a **Honey Wheat Sourdough** type of flavor without the wheat!
How to Make Sourdough Sandwich Bread: Step-by-Step Instructions
This is where the magic happens, and I promise, it’s much easier than kneading a heavy rustic dough for an hour! Because this is a **No Knead Sourdough Sandwich** loaf, we let time and gentle handling do all the heavy lifting. Follow these steps closely, especially the timing, and you’ll be seeing that beautiful rise you need for a successful **sourdough sandwich bread** loaf. If you ever need to reach out for help, remember you can always check my contact page! I even checked out some great inspiration on making this recipe ultra-soft, like the advice found over at Muscle Momma Sourdough.
Mixing and Autolyse for a Smooth Dough
First things first, get your wet ingredients busy. Mix that active starter, warm water, avocado oil, and honey together until it looks slightly milky. Then, toss in your bread flour and salt. Just mix it until there are no dry patches left—it will look shaggy, and that’s perfect! Cover it up and let it rest for a full hour. This resting time, called autolyse, makes the dough super relaxed and ready to work with, setting up the structure needed for a perfect, **sliceable sourdough loaf**.
Developing Strength with Stretch and Folds
After the rest, we build strength very gently. You’ll do four rounds of stretch and folds, spaced 30 minutes apart. After the first rest, gently pull one side of the dough up and fold it over the center, then turn the bowl and repeat until you’ve folded all four sides. You only need to do this about four times per set! Letting it rest 30 minutes between each set lets the gluten relax. This gentle work is what makes this recipe accessible for **Sourdough for Beginners**.
Shaping and Final Proofing for Your Sourdough Sandwich Bread
Once the bulk fermentation is done—the dough should look jiggly and way bigger—it’s time to shape. Gently form the dough into a log shape. This is important to get that classic uniform sliceable shape! Place the log seam-side down into your greased 9×5 inch loaf pan. Now, we wait for the final proof. You want the dough to look puffy and rise about one inch over the rim of the pan. If your kitchen is cold, this might take longer, so watch the dough, not the clock!
Baking the Perfect Sourdough Loaf
This is the moment we wait for! Getting the oven hot is crucial for that initial spring we need, even in a sandwich loaf. Set your oven to 375°F (190°C). Since we want that beautiful golden crust that signals the **Best Sourdough Sandwich Recipe** has succeeded, I always rely on an internal temperature check rather than just time. Stick a thermometer right into the center—when it hits between 205°F and 210°F (about 96°C to 99°C), pull that beauty out immediately. Don’t leave it in one second longer because that internal heat keeps cooking! As soon as it’s out, tip the loaf right out of the pan onto a wire rack. Seriously, don’t leave it in the metal pan, or the bottom will get soggy. Check out how others are finishing their loaves over at Super Golden Bakes, but remember, cooling is non-negotiable!
Tips for Success with Homemade Sandwich Bread Sourdough
Achieving a consistent loaf every time is mostly about feeling the dough, not watching the clock. Since we are making **homemade sandwich bread sourdough**, we need that good fermentation, but temperatures can really throw things off! If it’s a chilly day in my kitchen, I have to plan for the longer end of the bulk fermentation time. Remember that one of the huge benefits of using sourdough is that long fermentation can really help the bread become more **gut healthy sourdough bread**! I rely on watching the dough’s volume increase, not just staring at the timer for my **Simple Sourdough Bread Recipe**.
Managing Bulk Fermentation Time
When I say bulk fermentation can take anywhere from four to eight hours, it’s because it depends entirely on how warm your kitchen is. If your starter is strong and your dough is happy in a warm spot, you might only need four hours. If it’s cool, aim for that eight-hour mark or longer! For this specific recipe, look for the dough to increase by about 50 to 75 percent and look visibly puffy before you move on to shaping. Don’t let it double, or the shaping will be tricky!
For more thoughts on how others manage these long fermentation timings, I always check out what’s working for bakers over at The Duvall Homestead.
Storage and Serving Suggestions for Sourdough Sandwich Bread
You’ve waited patiently, and now you have this incredible, fluffy loaf. But hold on! The absolute hardest part of making any homemade bread is letting it cool completely. If you slice this **sourdough sandwich bread** while it’s still warm, I’m warning you now, the tight, soft crumb you worked so hard for will end up gummy. Give it at least two hours on a wire rack so the steam can escape properly.
Once it’s totally cool, this loaf is best stored wrapped tightly at room temperature for three to four days. It doesn’t love the fridge because that makes bread go stale faster! The best part about this recipe is how versatile it is. It’s strong enough for hearty deli slices but soft enough to be amazing when turned into thick-cut French toast in the morning. Honestly, it’s just as good as **sourdough bread for toasting** with a smear of butter.
Frequently Asked Questions About This Sourdough Sandwich Bread
Can I make this a Quick Sourdough Sandwich recipe using a warmer proofing box?
You sure can speed things up if you need your **sourdough sandwich bread** faster! A warmer environment will definitely decrease those bulk fermentation times, sometimes cutting them in half. But be careful—rushing the rise can lead to a weak dough structure. If you rush, you risk turning your dream **sliceable sourdough loaf** into something that collapses a bit in the pan.
How do I ensure my loaf is not dense when making this Soft Sourdough Sandwich Bread?
Density is the enemy of soft bread, right? The biggest thing is making sure your starter is super active and that you see at least a 50% increase in volume during that main bulk rise. If you start with a lazy starter, you’ll end up with a disappointing result, even if you follow every other step perfectly. That volume lets you know you have enough gas for that **fluffy sourdough recipe**!
Understanding the Nutrition of This Long Fermented Sandwich Bread
When we talk about making **long fermented sandwich bread** like this, people often want to know what they are actually eating, and I totally support that transparency! Because we are using whole ingredients and letting the fermentation do its work, this loaf carries a lot of good things. Please keep in mind, like with all my recipes, these are just estimates as everyone’s starter composition varies, but it gives you a solid ballpark figure for one slice. If you ever want to check out our site guidelines, you can review our privacy policy over at Kitchenican’s Privacy Policy.
Here is the estimated nutritional breakdown for one slice of this **sourdough sandwich bread**:
- Serving Size: 1 slice
- Calories: 220
- Protein: 8g
- Carbohydrates: 42g
- Fat: 3g
I always encourage folks to look at the ingredients list rather than stressing over macros, but knowing that you are getting a good boost of protein compared to most commercial loaves is always a nice bonus.
Share Your Kitchenican Sourdough Sandwich Bread Success
Wow, you made it! If you followed all those steps, you should have a stunning, **soft sourdough sandwich bread** cooling on your counter right now. I sincerely hope this recipe makes it onto your regular rotation—it certainly did for me when I stopped worrying about rustic crusts and focused on soft slices!
Now, I need to see it! Did it come out fluffy? Was it perfect for toast? Please, take a picture of your **easy sourdough loaf** and tag me on social media. I absolutely love seeing your creations and celebrating those small wins in the kitchen. It makes all the difference in building that confidence!
If you found this recipe helpful, take a moment to leave a rating below—five stars if it earned it! And if you tried a fun variation, maybe you swapped the honey for maple syrup or added some herbs? Drop those notes in the comments! I read every single one, and your questions help me make sure this is the best **sourdough for beginners** resource out there.
PrintThe Best Soft Sourdough Sandwich Bread for Beginners

This recipe shows you how to make a soft, fluffy, and sliceable sourdough sandwich bread loaf. It is easy enough for beginners and produces a perfect loaf for everyday sandwiches and toasting.
- Prep Time: 30 min
- Cook Time: 45 min
- Total Time: 7 hours 45 min
- Yield: 1 loaf 1x
- Category: Baking
- Method: No Knead
- Cuisine: American
- Diet: Vegetarian
Ingredients
- 150g active sourdough starter
- 325g warm filtered water
- 20g avocado oil
- 25g honey
- 500g unbleached bread flour
- 10g salt
Instructions
- Combine the starter, warm water, avocado oil, and honey in a bowl. Mix until the liquid looks milky.
- Add the bread flour and salt to the wet ingredients. Mix everything until just combined into a shaggy dough.
- Cover the bowl and let the dough rest for 1 hour. This is the autolyse period.
- Perform four sets of stretch and folds, spaced 30 minutes apart. After mixing, let the dough rest for 30 minutes, then gently stretch and fold the dough over itself, repeating this four times with 30-minute rests in between each set.
- After the final stretch and fold, let the dough complete its bulk fermentation. This can take 4 to 8 hours at room temperature, or you can place it in the refrigerator for a longer, cold fermentation. The dough should increase in volume significantly.
- Gently shape the dough into a log and place it into a greased 9×5 inch loaf pan.
- Proof the dough in the pan until it is puffy and has risen about 1 inch above the rim of the pan. This final proof can take 2 to 4 hours depending on your kitchen temperature.
- Preheat your oven to 375°F (190°C).
- Bake the loaf for 35 to 45 minutes, or until the crust is golden brown and the internal temperature reaches 205-210°F (96-99°C).
- Remove the bread from the pan immediately after baking and let it cool completely on a wire rack before slicing.
Notes
- Using active, bubbly starter is key for a good rise in this soft sourdough sandwich bread recipe.
- For a gut healthy sourdough bread, allow the dough to cold ferment in the refrigerator for 12 to 24 hours after the initial bulk fermentation.
- If you want a slightly sweeter loaf, you can substitute the honey with maple syrup.
Nutrition
- Serving Size: 1 slice
- Calories: 220
- Sugar: 2
- Sodium: 250
- Fat: 3
- Saturated Fat: 0.5
- Unsaturated Fat: 2.5
- Trans Fat: 0
- Carbohydrates: 42
- Fiber: 2
- Protein: 8
- Cholesterol: 0