
Don’t you just hate that moment? You’ve spent hours rolling, cutting, and baking the perfect sugar cookies, you put on your beautiful icing, and then… the dreaded stickiness. You try to stack them for the fridge or box them up for a party, and it’s just one big, colorful mess. Who has time for that frustration? I certainly don’t! That’s why I developed this specific sugar cookie icing that hardens completely. Trust me when I say this recipe delivers that smooth, shiny coat you see in bakeries, dries rock solid, and makes your cookies absolutely perfect for stacking and gifting. We’re ditching the tacky tops for good!
At Kitchenican, we believe everyone deserves kitchen wins, and mastering this glaze builds huge confidence. If you’ve been searching for the best icing for cut out cookies that actually sets firm, you’ve found it. This is less about complicated techniques and more about knowing the right balancing act between sugar and liquid. You’re going to love how easy this glaze is to mix up, and honestly, the payoff when you peel one off the drying rack rock-hard is amazing! I figured this out after realizing I needed something reliable for the holidays—something that wouldn’t smear if I looked at it wrong. If you want to know more about why we focus on these empowering fixes, check out my story on my journey.
- Why This Sugar Cookie Icing That Hardens Is Your New Go-To Recipe
- Ingredients for Your Sugar Cookie Icing That Hardens
- How to Prepare Easy Sugar Cookie Frosting That Sets
- Tips for Success with Your No Fail Cookie Decorating Icing
- Serving Suggestions for Your Decorated Cookies
- Storage and Reheating Instructions for Durable Sugar Cookie Topping
- Frequently Asked Questions About This Sugar Cookie Icing That Hardens
- Understanding the Nutrition of This Simple 3 Ingredient Cookie Icing
- Share Your Creations Using This Perfect Hard Icing Recipe for Cookies
Why This Sugar Cookie Icing That Hardens Is Your New Go-To Recipe
Okay, let’s talk specifics. Why am I so absolutely sure this is the recipe you need? It’s because it solves all those decorating headaches we all deal with. You don’t need professional skills to get professional results here, I promise. This formula is all about reliability, so you can finally decorate without worrying they’ll turn into mush!
- It dries completely hard—no more tacky fingers!
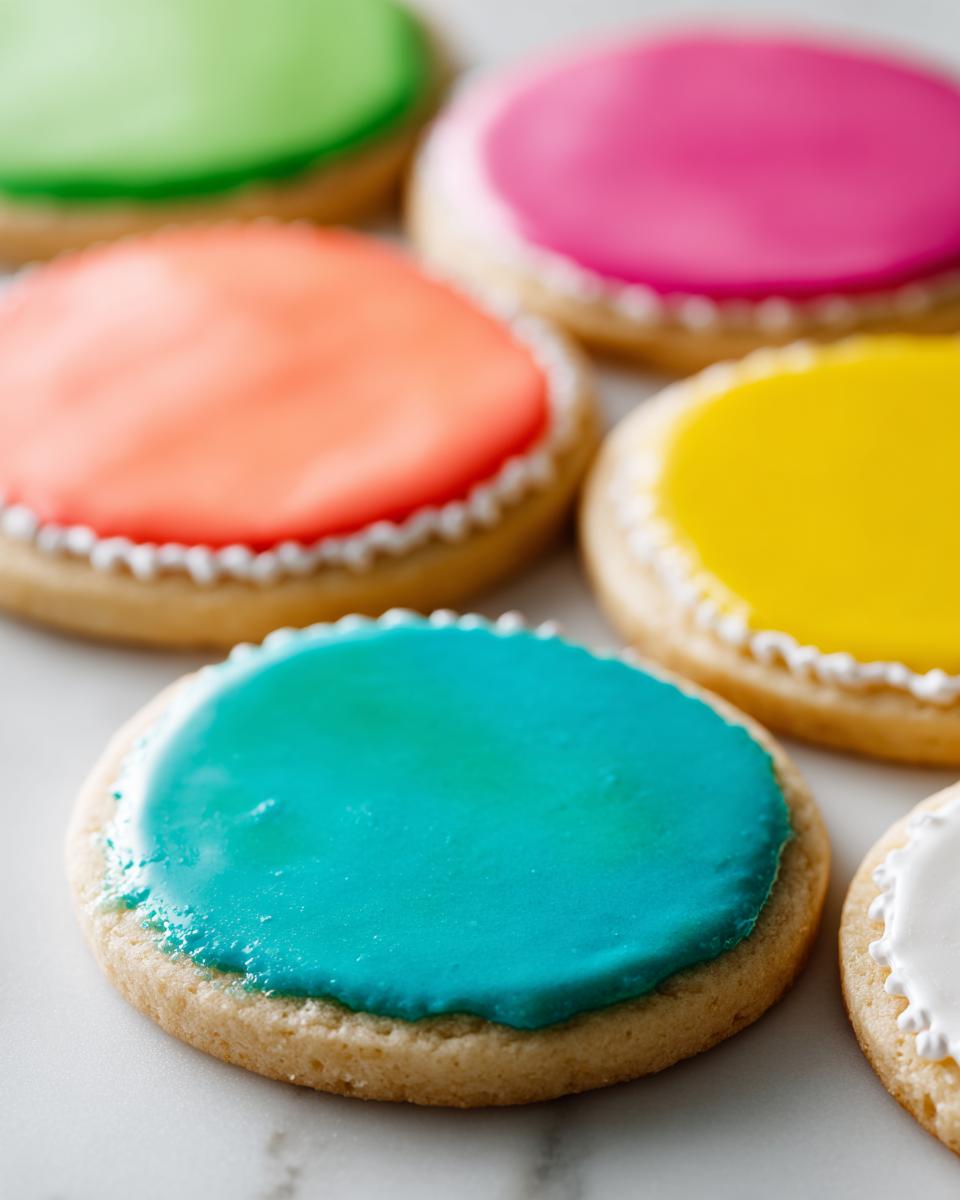
- It sets with a beautiful, mirror-like shine.
- It’s ridiculously easy—prep time is only about 10 minutes.
- The texture is incredibly smooth, covering any bumps on your cookie base.
Achieving a Durable, Stackable Sugar Cookie Topping
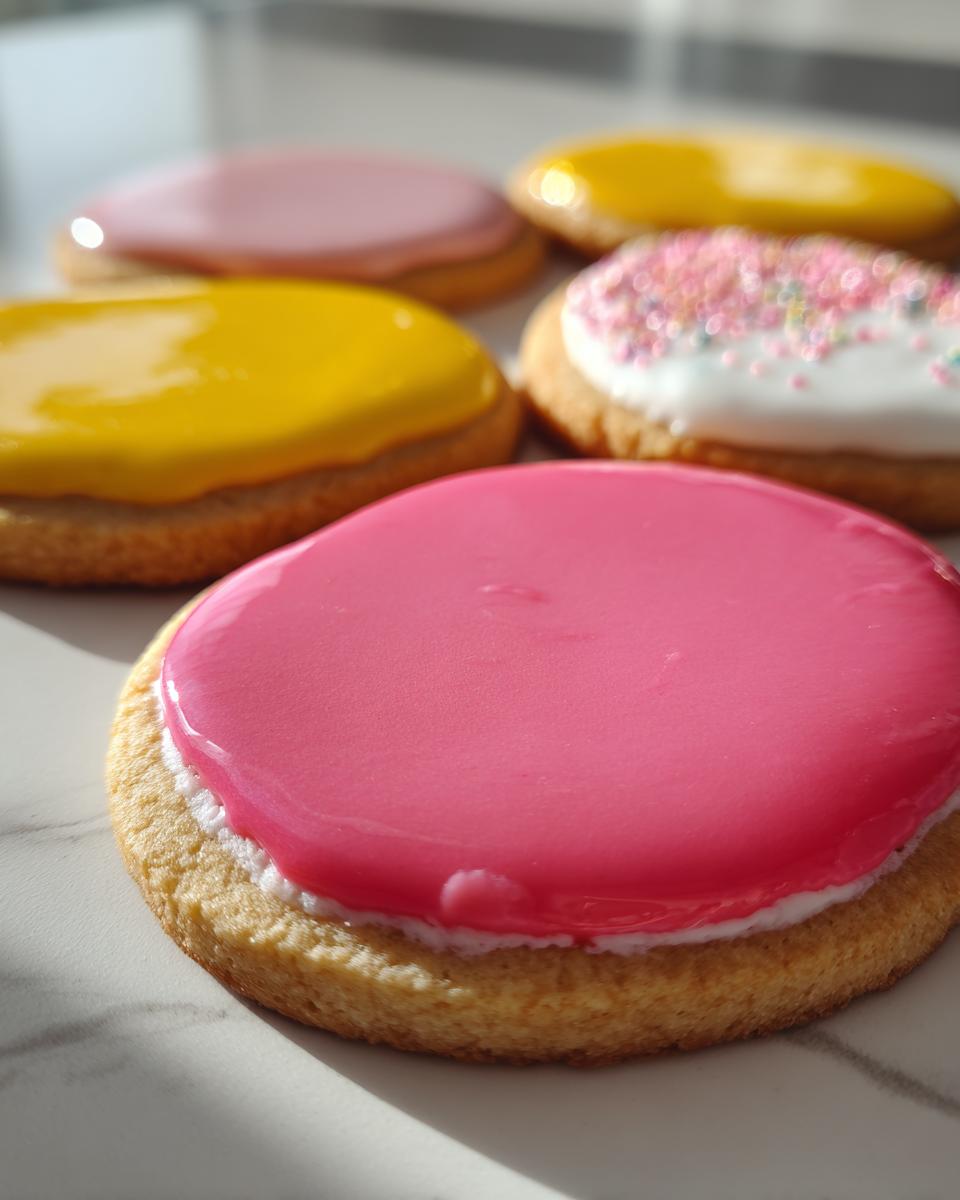
The game-changer here is the light corn syrup. Seriously, don’t skip it! This is what keeps your icing from being crumbly or soft. Corn syrup is what provides the structure that allows us to create a durable sugar cookie topping. Once this dries, you can stack those beauties high, put them in a tin, and ship them across the country without a single bit of worry about smearing.
The Secret to a Glossy Cookie Glaze Recipe
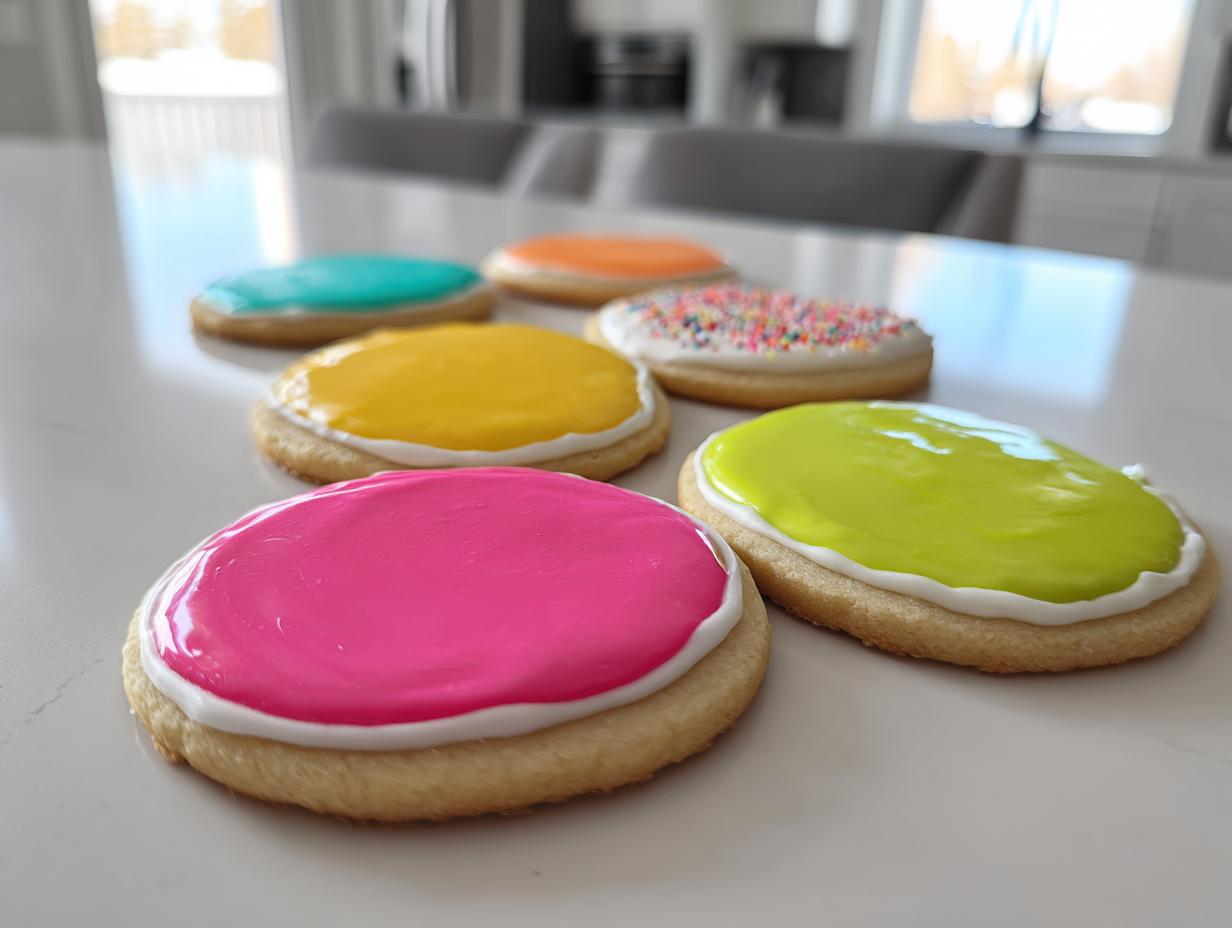
Anyone can make powdered sugar look white, but making it look glassy is a different story. The precise combination of sugar, liquid, and corn syrup ensures the surface flows flat and smooth before it sets. When it dries, you get that high-end, glossy cookie glaze recipe look that screams ‘bakery quality’ right out of your home kitchen. It’s the shine that makes people stop and ask where you bought them!
Ingredients for Your Sugar Cookie Icing That Hardens
When relying on a recipe to set perfectly hard, the quality and preparation of your ingredients matter a ton! Good news: this recipe is ridiculously simple and uses stuff you probably already have in your pantry. We are keeping the fuss down because I want you focused on the beautiful decorating, not hunting down specialty items. This batch will coat about two dozen medium cookies, and you can mix it up in about 10 minutes flat (not counting dry time, of course!).
- 2 cups powdered sugar, sifted
- 3 tablespoons milk or water
- 1 tablespoon light corn syrup
- 1 teaspoon vanilla extract
- Gel food coloring (optional)
Ingredient Notes and Substitutions for Hard Icing Recipe for Cookies
Let’s chat about the non-negotiables and the little tricks that make this hard icing recipe for cookies shine. First, that powdered sugar must be sifted. If you skip this, you’ll spend ages whisking out lumps, and we want our surface smooth, right?
Now, for the real star: the light corn syrup. This is not just for sweetness; it’s the structural glue that ensures your icing dries completely hard. It keeps that nice, durable sugar cookie topping from cracking or staying tacky when the humidity spikes. If you are trying to get that classic, bright white look for holiday cookies, listen to this expert tip: trade out regular vanilla for clear vanilla extract. It gives you the lovely pure vanilla flavor without adding any yellow tint!
Regarding the liquid (milk or water), both work fine. Milk yields a slightly richer, softer set, while water gives you a slightly harder, perhaps marginally glossier set. If you use water and find the mixture too thin? No worries! You can always adjust stiffness with a tiny sprinkle more of powdered sugar later on.
How to Prepare Easy Sugar Cookie Frosting That Sets
Alright, here is where we take our beautiful ingredients and turn them into magic! This process is sequential, so just follow along step-by-step. My biggest goal here is to make sure you get that perfect consistency right away so you can get decorating without any fuss. Remember, this easy sugar cookie frosting that sets relies on you mixing it just right!
Achieving Outline and Flood Consistency for Best Results
Before you pipe a single shape, you need to nail the consistency. Start by whisking your sifted sugar, corn syrup, vanilla, and 2 tablespoons of liquid. If it’s too stiff to pour, add the last bit of liquid, just a teaspoon at a time. Once the icing coats the back of your spoon when you pull it out, you have the ‘outline consistency.’ This is perfect for piping borders.
Now, if you plan to fill in those borders—which I highly recommend for that bakery look—you need a thinner batch. Take some of your outline icing and thin it down with just a few drops of water until it flows easily off your whisk. That’s your ‘flood consistency.’ If you’re coloring, do it now by mixing in gel coloring until it’s vibrant.
The Crucial Steps for Sugar Cookie Icing That Hardens Completely
Decorating starts with piping your thick outline first. Once that border is done, let it sit for about five to ten minutes—just until it forms a slight crust. This is super important because it keeps your flood icing from running everywhere! Then, carefully fill in the middle with your thinner flood icing. Gently tap the cookie on the counter a few times; this makes those annoying air bubbles pop right on the surface.
Now for the waiting game, which is non-negotiable for getting that hard set! Let the cookies dry uncovered at room temperature. Seriously, don’t try to rush it in the fridge—that traps moisture. For the best results, overnight is the way to go. When you wake up and the surface is totally firm to the touch, you’ve succeeded! You can check out our privacy policy if you have questions about how we handle recipes and user data.
Tips for Success with Your No Fail Cookie Decorating Icing
Even with the perfect recipe, external factors can mess with your perfect set. Don’t panic if you run into trouble; it just means we know exactly what to tweak next time! The absolute biggest enemy of any sugar cookie icing that hardens is a humid day. If it’s raining, things might take longer to dry, just be patient and let the air do its job.
When coloring, always use gel colors, not liquid drops from those little plastic bottles. Liquid coloring adds extra moisture, which sabotages that hard set you’re aiming for! Use a toothpick to add a tiny dot of gel color and mix it in completely. Trust me, a little bit of gel goes a very long way toward intense color.
If you notice tiny cracks forming after it dries, it usually means you added too much liquid when thinning it for the flood coat. Keep the flood icing just thin enough to flow easily; remember, we want smooth, not runny! This approach keeps your no fail cookie decorating icing looking professional and flawless every single time.
Serving Suggestions for Your Decorated Cookies
Okay, now the fun part is over, and you have these gorgeous, durable cookies ready to go! Since you trusted this formula, and your sugar cookie icing that hardens is perfectly solid, you have so many display options that weren’t possible with sticky icing.
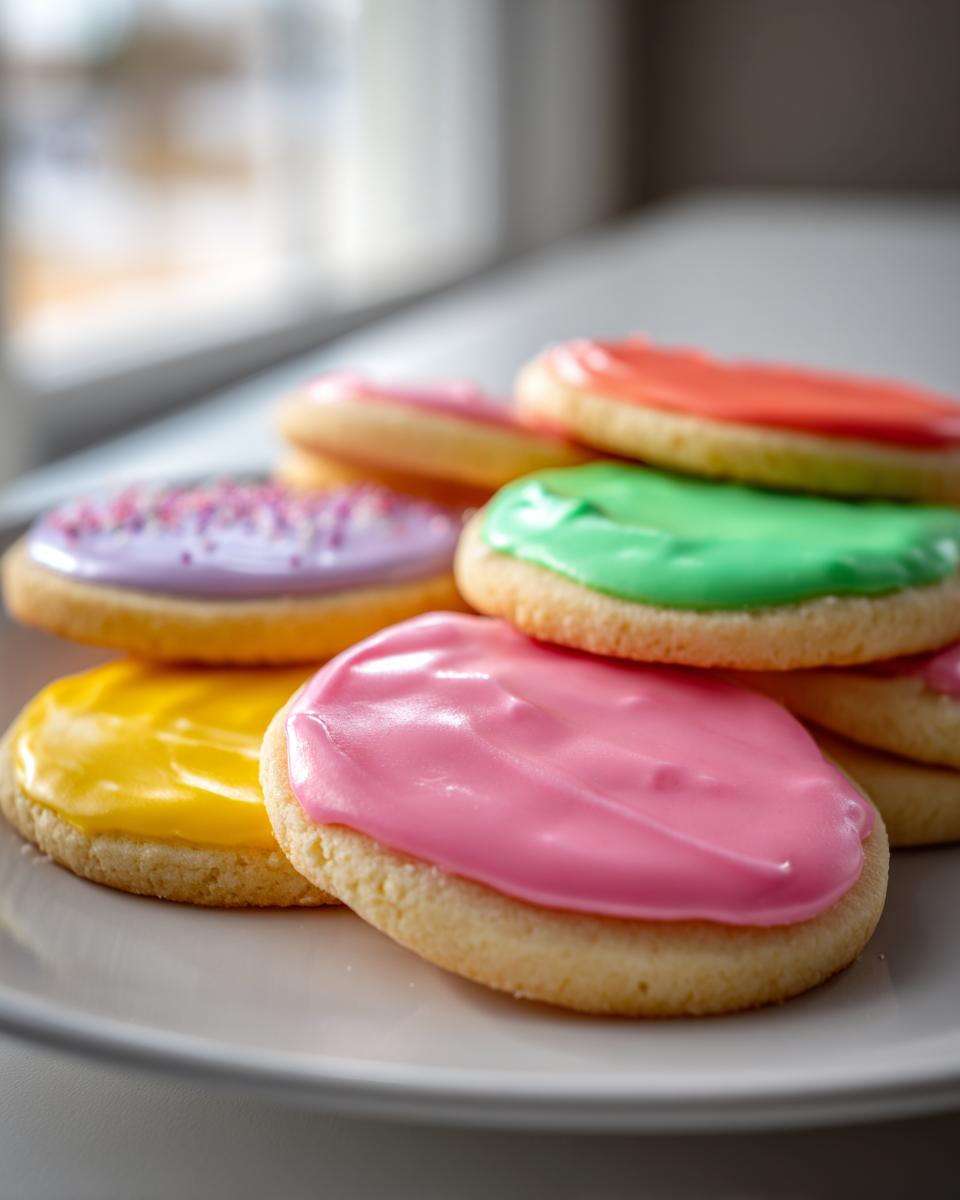
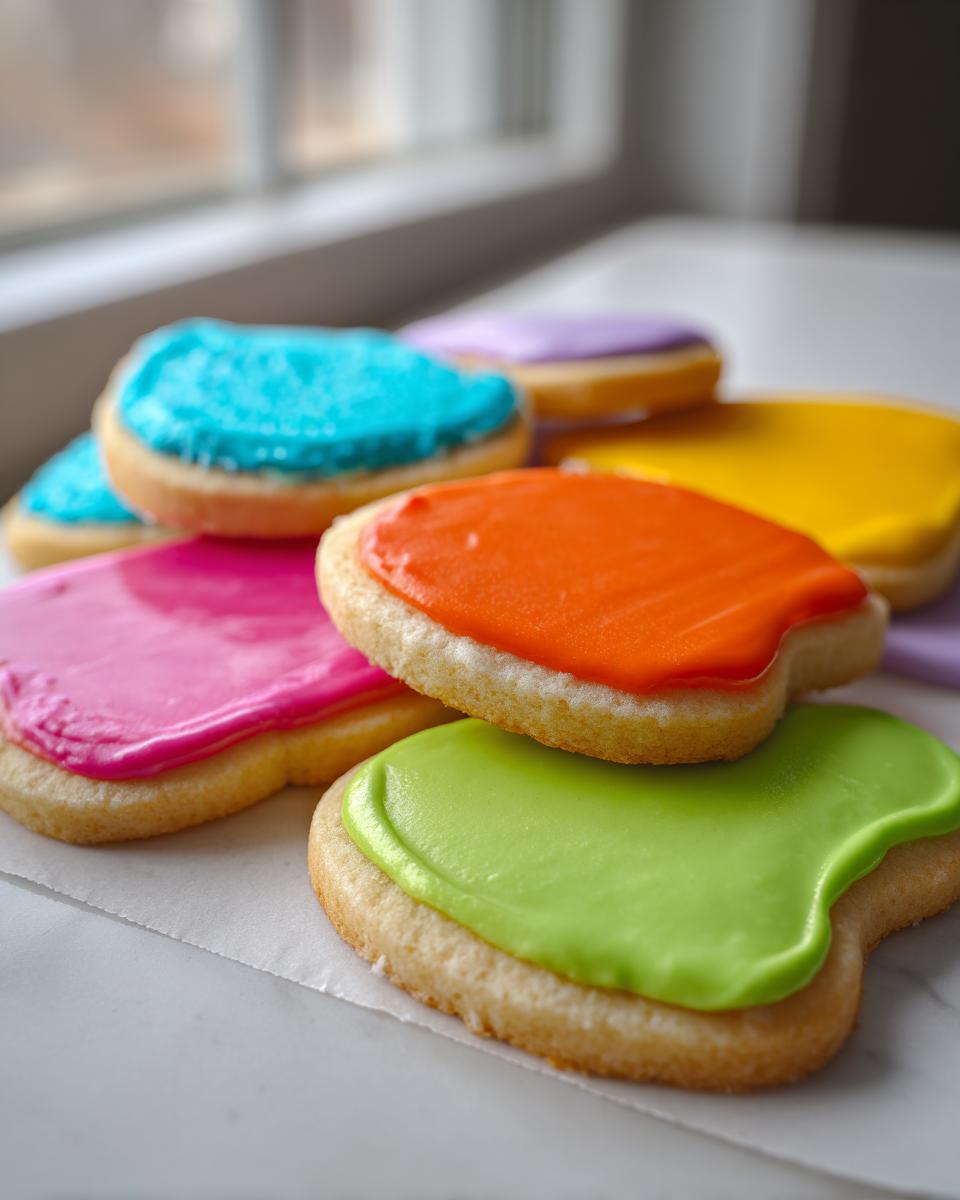
First thing’s first: cookie platters. Because these are stackable sugar cookie icing jewels, you can pile them up like little edible mosaics. Layer stars on top of rounds, or alternate colors. They won’t stick together, which is a decorator’s dream!
These also transform beautifully into edible gifts. Think about slipping a few carefully wrapped cookies into a cellophane bag and tying them with a silk ribbon. They hold up so well during transport, making them perfect for teacher gifts, cookie exchanges, or just dropping off a cheerful treat for a neighbor. Seriously, wrapping up cookies that feel completely solid and smooth is such a satisfying feeling.
If you’re using them for a holiday centerpiece, make some simple cut-outs like wreaths or ornaments, poke a small hole in the corner before you flood them, and once they are totally dry, you can thread a piece of baker’s twine through. Instant, beautiful, edible tree decorations that won’t melt or smear!
Storage and Reheating Instructions for Durable Sugar Cookie Topping
Whew! You’ve achieved that perfect, rock-hard finish—now the job isn’t quite done. We need to keep them that way! The beauty of this sugar cookie icing that hardens is that once it’s totally set, it’s incredibly stable. You don’t need to worry about keeping these cookies cold like you might with soft buttercream.
The biggest danger to fully hardened icing isn’t heat; it’s humidity. Moisture loves to try and sneak into that shiny surface and turn it tacky again. Because of this, forget the refrigerator unless you live somewhere super hot and humid already. Refrigerators are condensation traps, and that moisture will absolutely soften your hard work.
Instead, store your finished, completely dry cookies in a single layer or separated by wax paper or parchment paper inside a truly airtight container. Think Tupperware or a nice cookie tin with a tight lid. Keeping them sealed up at room temperature is the trick. This protects them from spills and, more importantly, from ambient moisture in the air.
If you have stacked them using the durability from the corn syrup, just make sure you place a piece of parchment between each layer to prevent any minor friction from dulling that lovely shine. I’ve kept cookies iced this way for over a week, and they still look and feel as if they just came off the drying rack!
And reheating? That’s easy—you don’t! Since this icing is sugar-based and doesn’t contain dairy or eggs that need warming up, you just serve them as is. They are ready to go anytime you need a beautifully decorated treat!
Frequently Asked Questions About This Sugar Cookie Icing That Hardens
It happens! When you tackle cookie decorating, sometimes questions pop up right when you need the answer most. Trust me, I’ve been there, staring at a bowl of icing thinking, “Is it too runny? Will it ever set?!” That’s why these FAQs focus on getting you the most reliable results for that perfect sugar cookie icing that hardens.
How long does sugar cookie icing that hardens truly take to dry?
This is the most common question, and the answer depends on what you mean by ‘dry’! If you need to pipe a second layer onto a cookie, you only need about 5 to 10 minutes for the first layer to form a slight crust—that’s when it feels just barely tacky, not wet. However, for the icing to be truly ready for stacking, travel, or gift boxes, you need it completely hard. I always recommend letting them sit overnight, uncovered, at room temperature. That ensures every bit of moisture has evaporated and you get that durable, bakery-perfect finish.
Can I use water instead of milk for this glossy cookie glaze recipe?
Absolutely, yes! You can certainly use water instead of milk, making this even closer to a simple 3 ingredient cookie icing if you skip the vanilla. Water tends to dry slightly faster and result in a marginally harder, shinier finish because there’s less fat content interfering with the crystallization. Milk gives the icing a slightly softer set, which is still hard but maybe feels a little less brittle. Both options work beautifully for that glossy cookie glaze recipe look!
Why is my cookie icing still sticky after 24 hours?
If you’ve waited a full 24 hours and it’s still giving you that tacky finger-print test, we have a couple of culprits to check on first. Nine times out of ten, this is due to high humidity in your kitchen. Seriously, a rainy day can ruin the best technique! Also, double-check that you used the corn syrup; that is the number one component that ensures the sugar cookie icing that hardens properly. If you forgot that, it might never get fully firm. If your environment is humid, the best fix is just patience—give it another 12 hours in a dry spot, or try placing the cookies near a dehumidifier or fan (but not blowing directly at them!).
If you have any other burning questions about technique or need help troubleshooting your next batch, feel free to reach out to us on the contact page. We are here to boost your kitchen confidence!
Understanding the Nutrition of This Simple 3 Ingredient Cookie Icing
Okay, I know what you’re thinking. When you’re making something this delicious and decorative, you probably aren’t worried about the label, but I always like to give you all the facts so you can bake with full knowledge. Since this is all sugar and flavoring, we know this isn’t a ‘superfood,’ but it’s helpful to see the breakdown, especially if you’re making a huge batch for a party!
Here are the estimated nutrition facts for this sugar cookie icing that hardens. Remember, nutrition is always an estimate, especially since we’re dealing with powdered sugar and whether you used milk or water. These numbers are based on a serving size of about 1/4 cup of the mixed icing, which honestly is a generous amount for one cookie!
- Serving Size: 1/4 cup
- Calories: 450
- Sugar: 110g
- Fat: 0g
- Protein: 1g
- Carbohydrates: 112g
I want to be super clear about something important here: these figures are based on a standard calculation for the ingredients listed. If you use a different brand of powdered sugar, or decide to swap out the vanilla for almond, those numbers shift slightly. Think of this as a helpful guideline rather than a strict scientific measurement. The most important takeaway is that this beautiful, glossy coating is pure, delightful sugar, and we’re enjoying every bit of it!
Share Your Creations Using This Perfect Hard Icing Recipe for Cookies
Now the hard part is done—literally! You’ve mixed up the best sugar cookie icing that hardens, you’ve decorated your cookies until your arm is tired, and they are sitting there, beautiful and solid. This is the moment I live for as a home cook, the moment you see your vision come to life without any sad, sticky setbacks!
This is where the Kitchenican philosophy kicks in: I truly want to see what you’ve made! Once you’re done glazing, please come back down here and tell me how it went. Did you try clear vanilla? How long did your cookies take to dry in your specific humidity? Your feedback helps me and others build even more confidence in this foolproof method.
Leave a review for this perfect hard icing recipe for cookies right below this section! A quick star rating helps other home cooks see that this recipe is reliable, and a comment sharing a decorating tip is always treasured by our community. Knowing that you tackled cookie decorating and won is the biggest reward.
And please, if you’re sharing photos online, tag us! Seeing your colorful, glossy, stackable creations based on this simple glaze is what makes all the testing and tweaking worthwhile. Remember, every time you successfully master a technique like this, you are proving that you absolutely *can* create beautiful food at home. If you want to see what others are making and maybe get inspired for your next decorating session, take a peek at some other user favorites here!
PrintGlossy Sugar Cookie Icing That Hardens Perfectly

You need a reliable recipe for sugar cookie icing that hardens completely, dries smooth, and gives your decorated cookies a professional, durable finish perfect for stacking and gifting.
- Prep Time: 10 min
- Cook Time: 0 min
- Total Time: 8 hours
- Yield: Coats about 2 dozen medium cookies 1x
- Category: Dessert
- Method: No Bake
- Cuisine: American
- Diet: Vegetarian
Ingredients
- 2 cups powdered sugar, sifted
- 3 tablespoons milk or water
- 1 tablespoon light corn syrup
- 1 teaspoon vanilla extract
- Gel food coloring (optional)
Instructions
- In a medium bowl, combine the sifted powdered sugar and light corn syrup.
- Add the vanilla extract and 2 tablespoons of the milk or water.
- Whisk the mixture until it is smooth. If the icing is too thick to pour or spread easily, add the remaining tablespoon of liquid, one teaspoon at a time, until you reach a consistency that coats the back of a spoon. This is the ‘outline consistency.’
- If you plan to flood the cookies, thin the icing slightly more by adding a few drops of liquid until it flows smoothly off the whisk. This is the ‘flood consistency.’
- Divide the icing into separate bowls if you want multiple colors. Stir in gel food coloring until the color is uniform.
- Use the icing to outline your cut-out sugar cookies. Let the outline set for 5 to 10 minutes until it forms a slight crust.
- Fill in the outlined areas with the thinner flood consistency icing. Gently tap the cookie on the counter to release air bubbles.
- Allow the cookies to dry uncovered at room temperature for several hours, or preferably overnight, until the icing is completely hard and no longer tacky.
Notes
- For the brightest white icing, use clear vanilla extract instead of standard vanilla extract.
- If you want a very hard, glossy finish suitable for stacking, ensure you use the corn syrup; it helps the icing set firm and shiny.
- If the icing becomes too thick while you are decorating, stir in a few drops of water to restore the correct consistency.
Nutrition
- Serving Size: 1/4 cup
- Calories: 450
- Sugar: 110g
- Sodium: 5mg
- Fat: 0g
- Saturated Fat: 0g
- Unsaturated Fat: 0g
- Trans Fat: 0g
- Carbohydrates: 112g
- Fiber: 0g
- Protein: 1g
- Cholesterol: 0mg