
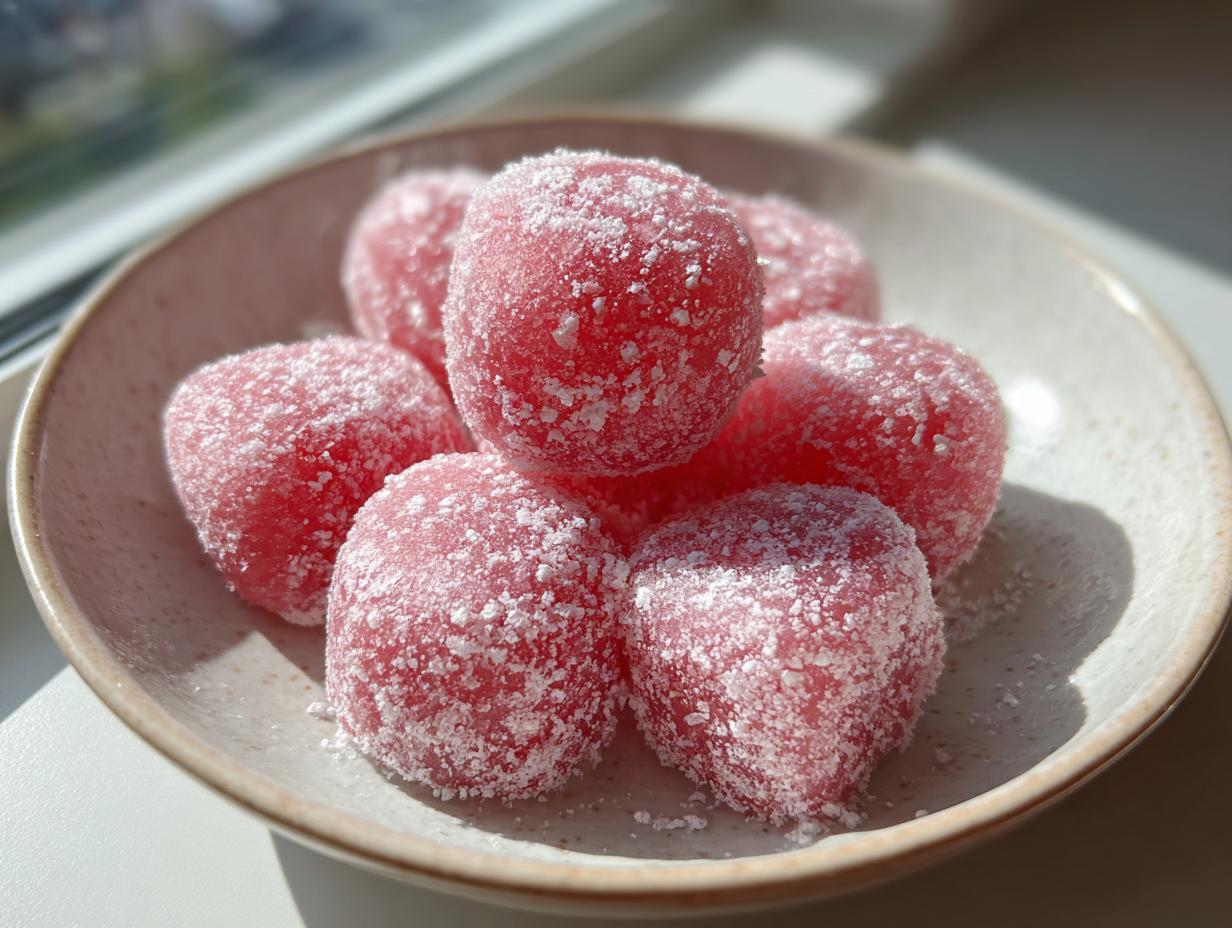
If the summer heat is making you wilt, you absolutely have to try the secret weapon I’ve been keeping under wraps: watermelon mochi! I know, I know—Asian desserts seem intimidating, right? Maybe you think you need special tools or some deep, hidden knowledge to get that perfect, pillowy texture. I totally used to feel that way! I actually spent weeks trying different flours before I landed on this simple method. You can read a bit more about my philosophy on building kitchen confidence over at Kitchenican.
But listen, I figured out how to make this incredibly soft, chewy delight with just a few simple ingredients, and trust me, it’s a game-changer. We are going to skip the complicated steps and give you a super easy recipe for this vibrant, Chewy Summer Treat. You’ve got this, and I’m here to prove that anyone can master this fun, bite-sized snack. Let’s conquer that kitchen doubt together!
- Why This Watermelon Mochi Recipe Builds Home Cook Confidence
- Gathering Ingredients for Your Watermelon Mochi
- Step-by-Step Instructions for Homemade Mochi Bites
- Tips for Success When Making Watermelon Mochi
- Serving Suggestions for Refreshing Asian Desserts
- Storage & Reheating Instructions for Watermelon Mochi
- Frequently Asked Questions About This Fruity Mochi Recipe
- Estimated Nutritional Data for Watermelon Mochi Bites
- Share Your Vibrant Food Ideas
Why This Watermelon Mochi Recipe Builds Home Cook Confidence
I want you to ditch the idea that making any Easy Mochi Dessert is reserved only for experts. That’s simply not true! This recipe leans heavily on the microwave, which means less stress and virtually no failure points once you get the timing down. That accessibility is huge, right? Plus, we’re focusing on one incredible Fruity Mochi Recipe where the texture is the star. When you pull off that perfect chewiness, you’ll feel like you can master anything in the kitchen!
Achieving the Perfect Soft Dough Desserts Texture
Listen up, this is where we build expertise: you cannot substitute regular rice flour here. If you want that signature soft, springy texture of real watermelon mochi, you absolutely must use glutinous rice flour, usually labeled as Mochiko. It contains the right level of amylopectin, which is what makes the dough stretchy and soft when cooked. Regular rice flour just won’t melt correctly; it ends up grainy. So, make sure you grab the right bag!
Gathering Ingredients for Your Watermelon Mochi
Okay, let’s get our supplies ready. We are keeping this ridiculously simple so you can whip up these Watermelon Mochi Bites fast. The best part? This totally works as a Gluten Free Mochi treat right off the bat! You just need four main components for the dough itself, plus that essential cornstarch for shaping.
- 1 cup Watermelon Juice (make sure you strain out all the chunky bits!)
- 1 cup Glutinous Rice Flour (Mochiko is what you need)
- 1/4 cup Granulated Sugar
- 1/4 cup Water
- 1 tablespoon Cornstarch (this is your non-stick magic dust)
Ingredient Notes and Substitutions for Watermelon Mochi
Remember what I said about Mochiko? Seriously, don’t cheat on the flour; it’s the secret to that delightful chew. If you want your watermelon mochi to look super vibrant and pink without adding anything artificial, I tried reducing the watermelon juice slightly and simmering it for a few minutes first. This concentrates the color and flavor before you even start mixing. But honestly, the pure juice works wonderfully too! Just make sure you measure that juice exactly after straining.
Step-by-Step Instructions for Homemade Mochi Bites
Are you ready to see the magic happen? This whole process moves lightning-fast once you get started. We’re using the microwave for speed, but we have to be attentive to the texture changes. Remember, my goal is to get you confident with this watermelon mochi, and that means nailing the cooking stage! I usually have these ready to eat faster than ordering takeout, especially since I learned the microwave timing trick. If you’re looking for other quick wins in the kitchen, check out some of my favorite easy weeknight dinners.
Mixing and Microwaving the Watermelon Mochi Base
First things first: grab a bowl that’s safe for the microwave. Whisk your glutinous rice flour and sugar together before adding any liquid—that keeps things lump-free! Now pour in that strained watermelon juice. Whisk until it looks like smooth, pink paint. Cover it loosely (a paper towel works great too!) and zap it for exactly one minute. Take it out, stir it really well—it’ll look gloppy, that’s fine!—and then repeat the 1-minute zaps and stirrings until it’s thick, glossy, and pulling away from the sides. Look for that translucent, chewy look; that means the watermelon mochi is cooked through.
Kneading and Shaping Your Chewy Summer Treat
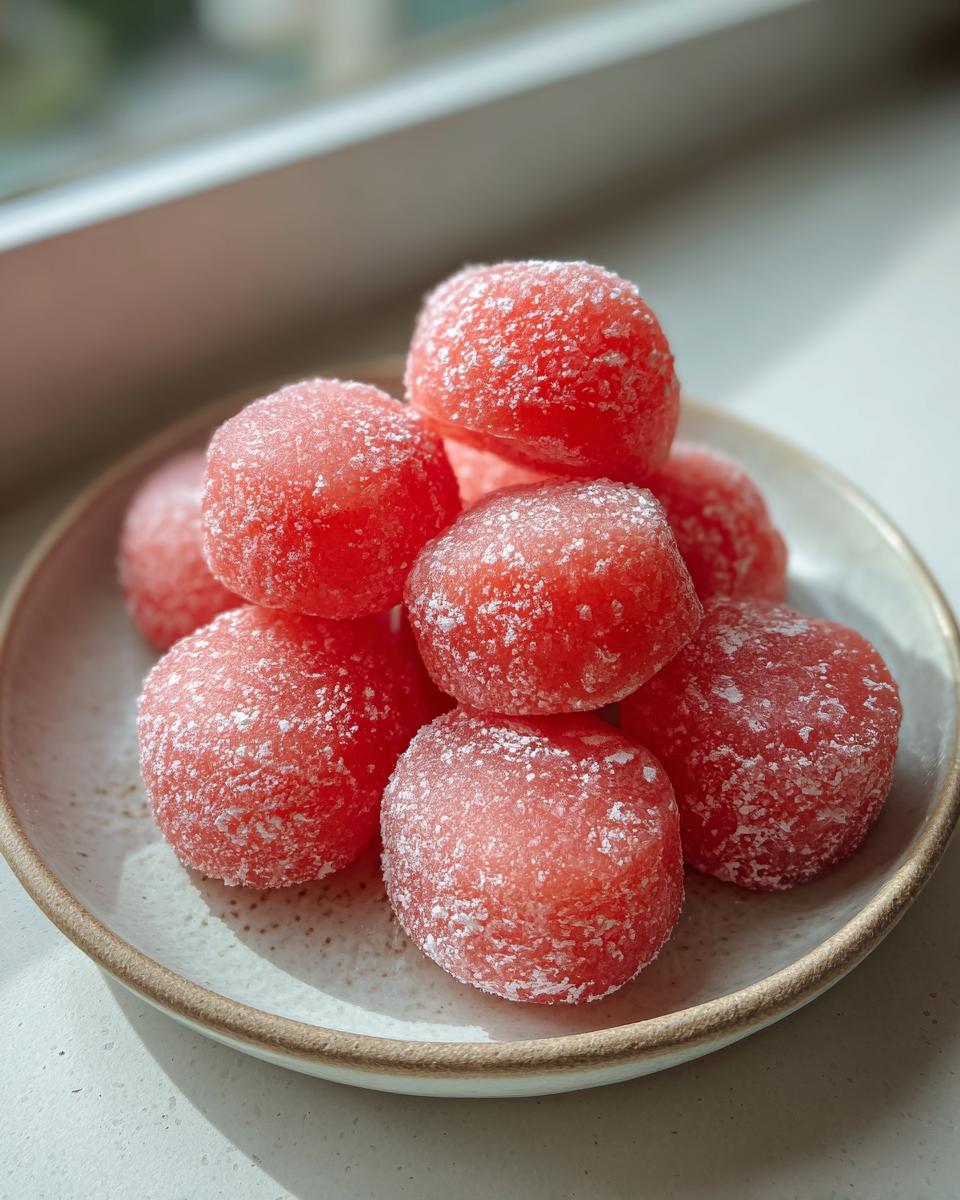
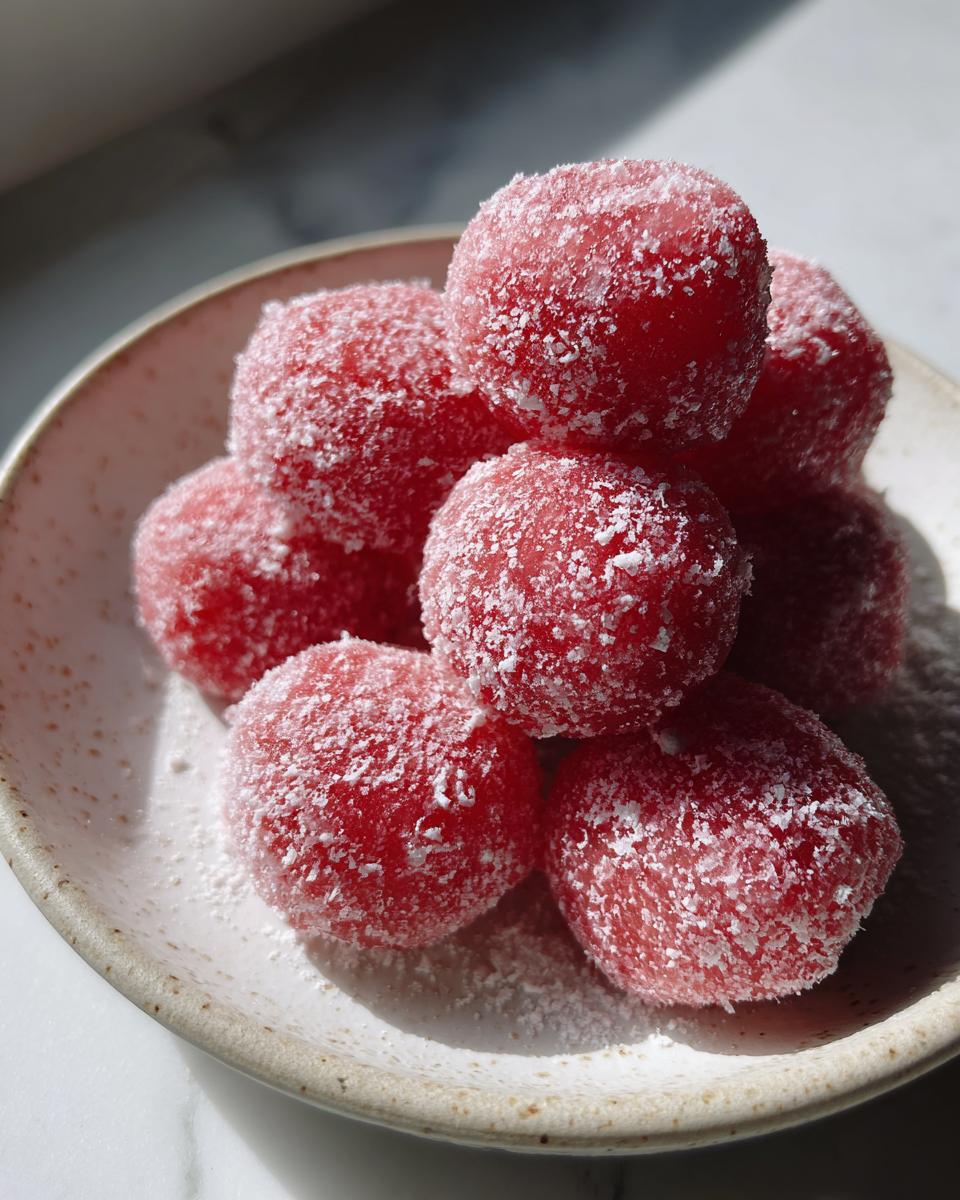
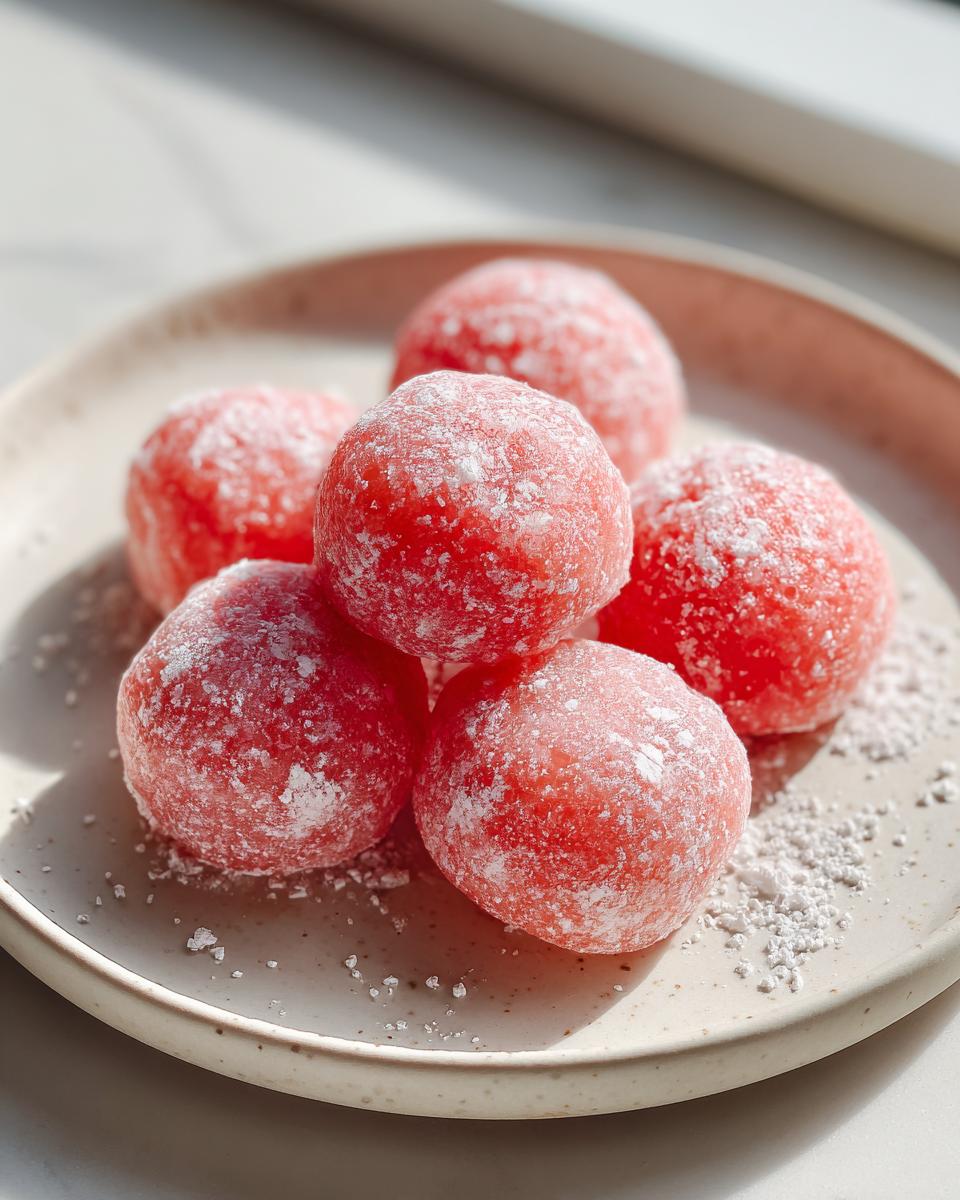
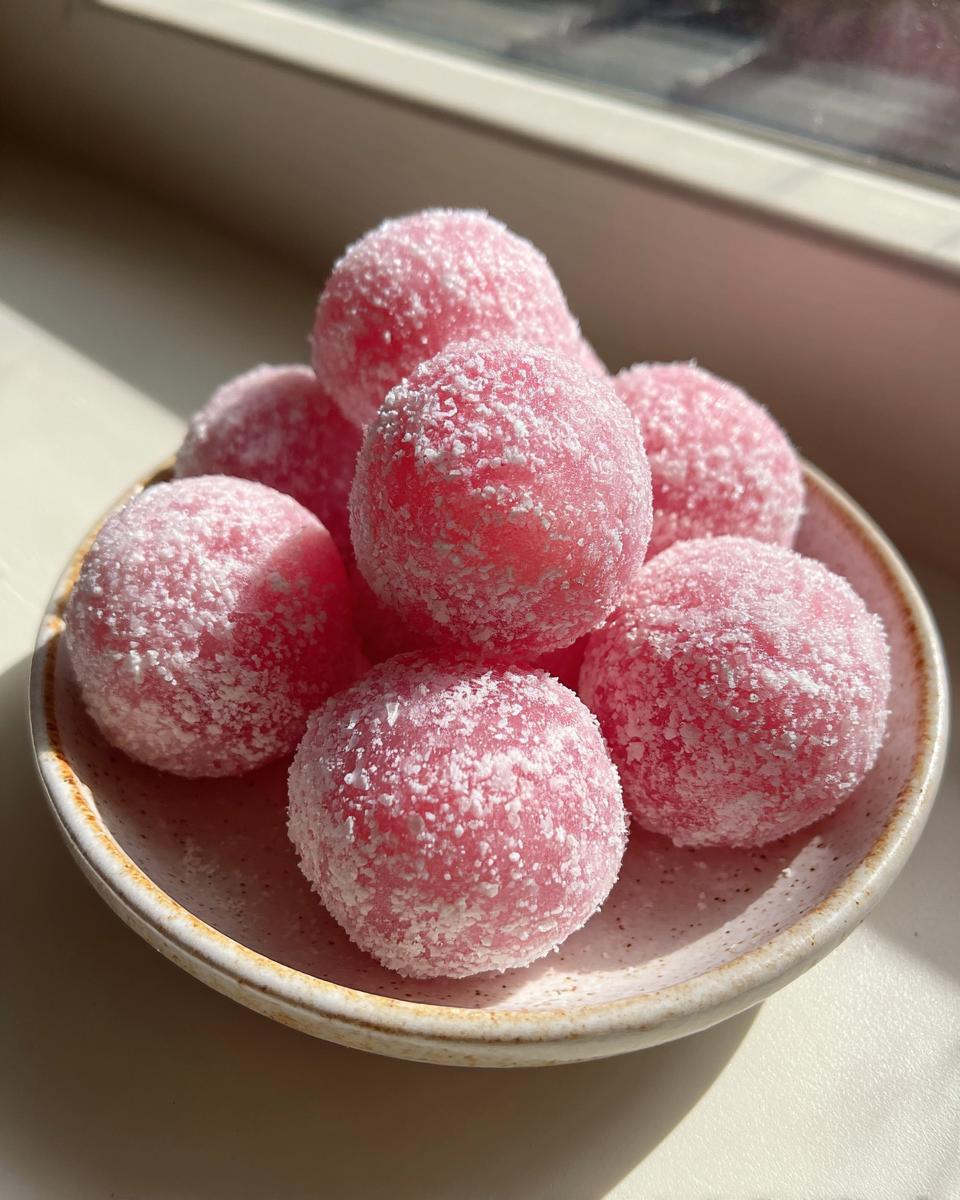
This part gets sticky, so do not skip the cornstarch! Dust your counter liberally with cornstarch—I mean, really build a protective layer. Scrape that hot dough out onto the starch. Dust the top of the dough too, then let it cool down for about ten minutes until you can comfortably touch it. Once it’s cool enough, gently knead it just until it smooths out a bit. Roll that dough into a log shape, about an inch thick, and then use a bench scraper or a sharp knife to cut it into your perfect Homemade Mochi Bites. Roll each piece gently between your palms into a little ball, and you’re done!
Tips for Success When Making Watermelon Mochi
Even though this is such an easy recipe, I always give a couple of crucial pointers to my friends when they try it for the first time. We want every batch of your watermelon mochi to turn out beautifully soft, not dried out or brittle! These little tricks are what separate a good batch from a truly amazing, chewy batch, especially if you are new to making doughs like this. Mastering these steps will really boost your confidence as Mochi for Beginners.
- Strain, Strain, Strain: I cannot stress this enough—get every tiny piece of pulp out of that watermelon juice! Any solid bits left behind will interfere with the smooth, cooked texture of the mochi dough, leading to inconsistencies when you chew it. A fine-mesh sieve is your best friend here.
- Handle the Cooling Time Right: Once you move the hot dough onto the cornstarch, you must let it cool enough to touch—about ten minutes. If you try to knead it when it’s too hot, the dough structure breaks down. But if you wait too long, it gets sticky and hard to work with, so find that sweet spot where it’s warm but firm.
- Use Cornstarch Generously: When you’re kneading and shaping, don’t be shy with the cornstarch! It’s going to look like too much, but watermelon mochi is sticky by nature. Dust your hands, dust the board, and dust the tops of the pieces. If you skimp, you end up fighting a tacky mess. If you have leftovers, give them a fresh toss in cornstarch before storing.
- Keep it Room Temp: This is perhaps the most important rule for long-term enjoyment. Never put finished mochi in the refrigerator! The cold temperature dries it out and makes it rock hard almost immediately. If you have leftovers, keep them airtight at room temperature. If you ever want to see how I handle other creamy items, check out my favorite easy whipped ricotta dip recipe—it shares some similar texture principles!
Serving Suggestions for Refreshing Asian Desserts
Now that you have these beautiful, bite-sized watermelon mochi looking perfect, we need to think about how to serve them! Since they are so light and refreshing, you don’t want to overwhelm them with heavy flavors. They are fantastic just as they are, but a little something extra feels special, right?
For drinks, skip the heavy sodas and go for something equally light. A simple pitcher of lightly brewed iced green tea or even just sparkling water with a lime wedge is perfect. If you want a fun dip for them—which makes them even more vibrant for sharing—try using a simple sweet yogurt dip; I have a recipe for an easy creamy fruit dip recipe that pairs so nicely!
A final garnish idea: sprinkle just a tiny bit of finely chopped mint over the finished platter. It looks elegant and adds the freshest little pop to this Refreshing Asian Desserts experience.
Storage & Reheating Instructions for Watermelon Mochi
This is the information that trips up so many people when they make mochi for the first time! We put all this work into getting that perfectly soft, chewy texture, and then we stick them in the fridge, only to find hockey pucks the next day. Nope! We are not letting that happen to your beautiful watermelon mochi.
The absolute, number one, most important rule: Do not refrigerate your mochi! The cold air messes with the starches in the glutinous rice flour and sucks all the moisture right out of them. They’ll technically be shelf-stable for a couple of days because of the sugar, so we’re going to keep them at room temperature. Make sure you store them in an airtight container. If you’re just making a small batch, putting them in a zip-top bag and squeezing out all the air works wonders.
If you must store them for longer than two days, or if your kitchen is just brutally hot and humid, you can freeze them. But there’s a catch! Freeze the little watermelon mochi bites separated on a tray dusted with cornstarch first, so they don’t freeze into one big lump. Once they are solid, transfer them to a freezer bag. When you want to eat one, just let it thaw on the counter for about 20–30 minutes. It usually comes right back to that lovely, soft state!
As for reheating? Honestly, you shouldn’t need to! This is supposed to be a refreshing, cool snack. If you are absolutely desperate and they seem a little stiff right out of the container, you can give a single piece a 5-second zap in the microwave, but be careful—too long and you’ll turn it into a hot, chewy blob. Keep them cool, keep them covered, and they’ll be perfect for enjoying.
Frequently Asked Questions About This Fruity Mochi Recipe
I get so many questions about this recipe—which is great because it means you’re going to make it! It’s totally normal to worry about texture when you’re experimenting with Watermelon Flavored Sweets for the first time. Here are the most common things people ask me so you can feel totally prepped before you start rolling out those pretty little snacks.
Can I use fresh watermelon puree instead of strained juice for my watermelon mochi?
Oh, please don’t! I know it seems easier, but if you use the puree—the stuff with all the pulp and extra water content—you mess up the ratio of liquid to starch. That leads to a dough that doesn’t set right, and it just won’t have that signature chewiness we love. For the best results in our watermelon mochi, you have to strain that juice really well. We need that liquid consistency to activate the glutinous rice flour properly!
Is this recipe suitable for a no bake summer dessert?
Yes, absolutely! That’s one of the major perks of using the microwave method here. We are not turning on the oven at all, which is perfect when it’s already blazing hot outside and you want something cool and delicious. It slides right into the category of No Bake Summer Desserts. You get the cooked texture of the dough in minutes without adding any extra heat to your kitchen. Enjoy that perfectly cool, Chewy Summer Treat!
How do I make sure my mochi is dairy-free and gluten-free?
Good news! The basic structure of this Fruity Mochi Recipe is naturally both dairy-free and **Gluten Free Mochi** friendly. Watermelon, sugar, water, and rice flour—no dairy there! You just need to double-check the package of your glutinous rice flour. While it is naturally gluten-free (it comes from a different plant than wheat), sometimes cross-contamination happens during processing. Look for a clear ‘Gluten Free’ label on that Mochiko package just to be 100% certain before you start whipping up these adorable Bite Sized Fruit Snacks.
If you run into any trouble or have other questions while baking, feel free to reach out to me directly through the contact page!
Estimated Nutritional Data for Watermelon Mochi Bites
I always like to show you what we’re working with nutritionally, even though these little spheres of joy are mostly here for fun and flavor! Remember, since we are using fresh watermelon juice and keeping everything natural, these are wonderfully light for a sweet snack. These numbers are just an estimate based on the measurements provided in the recipe, so take them as a good guideline for enjoying your Watermelon Mochi Bites!
Here’s the breakdown, based on approximately 18 pieces:
- Serving Size: 1 piece
- Calories: About 55
- Carbohydrates: 13g
- Sugar: 4g
- Fat: Less than 0.5g (practically none!)
- Protein: Around 0.5g
See? Isn’t that great? When you are looking for Vibrant Food Ideas that satisfy that sweet craving without weighing you down, these little treats are seriously hard to beat. They’re delightfully low in fat, which is what you expect for a dessert made mostly from rice flour and fruit juice. Enjoy them guilt-free!
Share Your Vibrant Food Ideas
Now that you’ve rolled your very own perfect, chewy watermelon mochi, I absolutely want to see them! Seriously, jump over to Instagram or Facebook and tag me when you make these. I live for seeing your creations, especially those vibrant pink domes! Nothing makes me happier than knowing I helped demystify making fun, fruity Asian desserts right in your own home.
Did this recipe turn out to be a keeper on your list of Vibrant Food Ideas? Please let me know down in the comments section below. Give this recipe a star rating—it helps other cooks who might be feeling that initial doubt know that this is a recipe worth making. Was the texture exactly what you hoped for? Tell me how you served them!
If you’re sticking around for more simple, confidence-building recipes, check out our privacy policy to see how we manage site interactions. But first, go snap some pictures of those sweet, cooling treats! I can’t wait to see your **Homemade Mochi Bites**!
PrintUltimate Soft & Chewy Watermelon Mochi (Easy Summer Treat)

Make soft, chewy Watermelon Mochi at home. This recipe provides clear steps for a refreshing, bite-sized summer dessert that uses simple ingredients to achieve authentic fruity flavor.
- Prep Time: 15 min
- Cook Time: 10 min
- Total Time: 25 min
- Yield: About 18 pieces 1x
- Category: Dessert
- Method: Microwave
- Cuisine: Japanese Inspired
- Diet: Vegetarian
Ingredients
- 1 cup Watermelon Juice (strained, fresh is best)
- 1 cup Glutinous Rice Flour (Mochiko)
- 1/4 cup Granulated Sugar
- 1/4 cup Water
- 1 tablespoon Cornstarch (for dusting)
Instructions
- Prepare the Watermelon Juice: Blend fresh watermelon and strain the pulp through a fine-mesh sieve to get clear juice. Measure out 1 cup of juice.
- Mix the Dough: In a microwave-safe bowl, whisk together the glutinous rice flour and sugar. Gradually add the 1 cup of watermelon juice, mixing until you have a smooth, lump-free batter.
- Cook the Mochi Base: Cover the bowl loosely with plastic wrap. Microwave on high for 1 minute. Remove and stir the mixture. Cover again and microwave for another 1 minute. Stir well. Repeat this process (1 minute on high, then stir) until the mixture is thick, translucent, and pulls away from the sides of the bowl, usually 3 to 4 minutes total cooking time.
- Knead and Cool: Dust a clean surface or cutting board generously with cornstarch. Scrape the hot mochi dough onto the cornstarch. Dust the top of the dough lightly with more cornstarch. Let it cool for about 10 minutes until it is safe to handle.
- Shape the Mochi: Once cool enough to touch, gently knead the dough briefly to smooth it out. Roll the dough into a long log shape, about 1 inch thick. Cut the log into small, bite-sized pieces (about 1 inch each).
- Serve: Gently roll each piece into a small ball. Serve immediately or chill briefly for a firmer texture. Keep leftovers dusted with cornstarch in an airtight container.
Notes
- For the best soft and chewy texture, use true glutinous rice flour (Mochiko), not regular rice flour.
- If you want a deeper pink color without artificial dye, use a small amount of concentrated watermelon reduction or a drop of natural red food coloring.
- Store leftover mochi at room temperature, not in the refrigerator, to prevent hardening.
Nutrition
- Serving Size: 1 piece
- Calories: 55
- Sugar: 4
- Sodium: 1
- Fat: 0.1
- Saturated Fat: 0
- Unsaturated Fat: 0
- Trans Fat: 0
- Carbohydrates: 13
- Fiber: 0.1
- Protein: 0.5
- Cholesterol: 0