
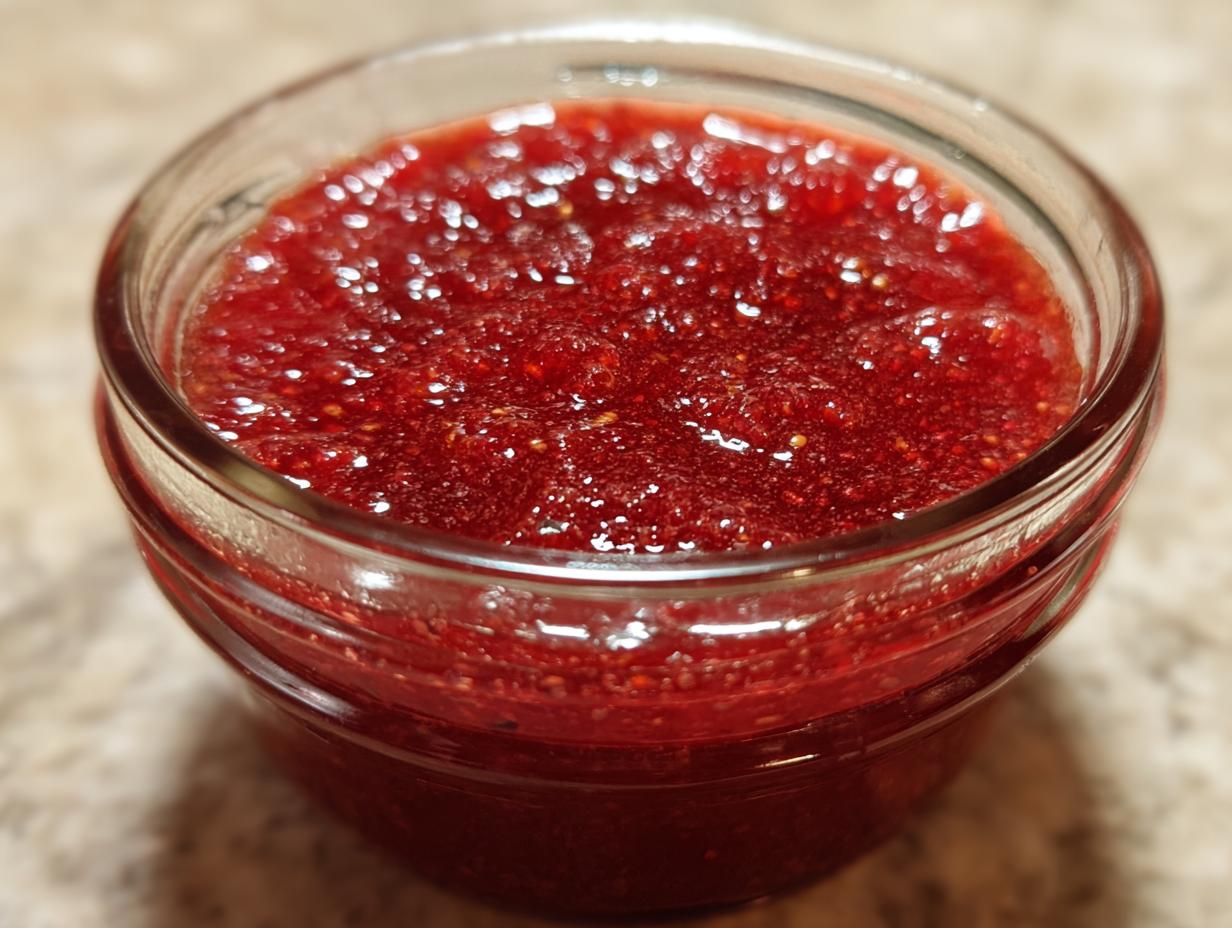
When summer strawberries are at their absolute peak—you know, those berries that smell like actual sunshine? You have to capture that flavor before it vanishes! That’s exactly why I’m obsessed with this simple, beginner-friendly strawberry freezer jam recipe. Seriously, you don’t need any complicated equipment or hours of standing over a hot stove. I’m Ava Sinclair, and if you’ve ever felt intimidated by making preserves, I get it. I spent years believing that great food required professional know-how, but this jam changed everything for me. It’s proof that you can create magic with just a few ingredients. This no-cook method is the easiest way to get incredible homemade jam onto your toast tomorrow! If you want to know more about my journey from novice to confident cook, you can always check out my page.
- Why This Easy Strawberry Freezer Jam Recipe Works for You
- Gathering Ingredients for Your Strawberry Freezer Jam
- Equipment Needed for This Beginner Freezer Jam Guide
- Step-by-Step Instructions: How to Make Strawberry Freezer Jam
- Ingredient Notes and Substitutions for Strawberry Freezer Jam
- Tips for Success with Your No Boil Jam Recipe
- Serving Suggestions for Your Homemade Fruit Spreads
- Storage and Shelf Life for Strawberry Freezer Jam
- Frequently Asked Questions About Making Freezer Jam
- Share Your Summer Fruit Recipe Ideas
Why This Easy Strawberry Freezer Jam Recipe Works for You
I know you want that perfect, vibrant berry flavor but maybe not the commitment of full canning. Trust me, this recipe cuts straight to the good stuff. It’s what I turn to when I have a huge haul of strawberries and need a fast solution. It’s genuinely the best way to preserve them without fuss.
- This is a quick homemade jam, period. You are only looking at about 15 minutes of active work before they go into the freezer.
- It is true no cook fruit preserves. We skip the messy stovetop and the temperature fears entirely.
Speed and Simplicity: The No-Cook Advantage
The 15-minute prep time? That’s real, folks. Because there’s no cooking involved, you aren’t waiting for things to boil or thicken. You crush, stir, jar, and you’re done! For beginners, this is brilliant because you eliminate the chance of scorching the bottom of the pan or burning the sugar. It’s super forgiving.
Pure Flavor: Capturing Fresh Fruit Preservation
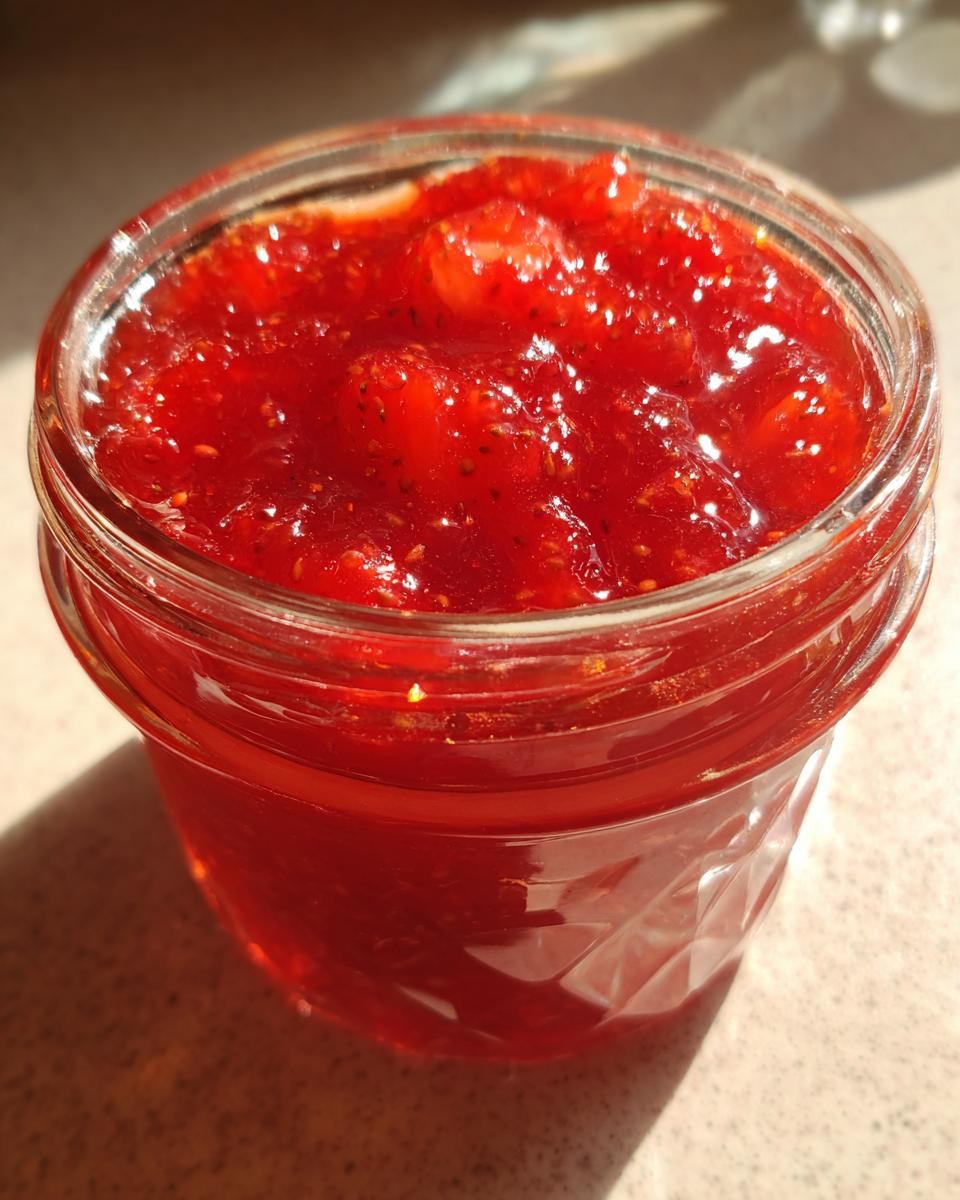
When you don’t cook the fruit down for 30 minutes, the berries taste spectacularly fresh. Freezing is truly the best method for fresh fruit preservation if you crave that bright, raw berry taste. It tastes exactly like you just picked the strawberries this morning!
Gathering Ingredients for Your Strawberry Freezer Jam
Okay, stop what you’re doing and look at your fruit bowl. Because we are skipping the pectin, pectin substitutes, and any weird gelling agents, the flavor here relies entirely on using quality fruit and the right ratio of sugar. It makes following the instructions so straightforward!
Essential Components for Perfect Strawberry Freezer Jam
This recipe keeps things minimal—just three things you need! Trust me on these quantities; they are set to capture that amazing flavor right when we mix everything. Make sure you source the freshest fruit you can find, which is the real secret weapon.
- 4 cups fresh strawberries, hulled and crushed (Don’t skip the crushing! It releases the juices.)
- 4 cups granulated sugar (Yes, that is a lot, but it’s what helps it set without pectin!)
- 1/4 cup fresh lemon juice (Don’t grab that dusty bottle from the back of the fridge; fresh is essential here for brightness.)
Equipment Needed for This Beginner Freezer Jam Guide
Since this is all about simplicity, you don’t need to dust off any fancy canning equipment. I love that this process feels accessible. Seriously, if you’ve got a few basic kitchen staples, you are good to go. You just need places to mix, mash, and store!
Here is the short list of what you’ll need on hand before you start crushing those berries:
- A large mixing bowl—make sure it’s deep because we are going to stir vigorously!
- A sturdy potato masher or a heavy-duty fork if you prefer to mash by hand.
- Four to five clean, half-pint freezer-safe jars with tight-fitting lids. Sterilization isn’t necessary for freezer jam, but they must be clean and dry.
- Rubber spatula or wooden spoon for stirring everything together.
That’s it! No water baths, no complicated funnels, just standard stuff you probably already have. It makes cleanup a total breeze, which is always a win in my book when I’m working with sticky fruit.
Step-by-Step Instructions: How to Make Strawberry Freezer Jam
This is where we move fast! Remember, we aren’t cooking, so efficiency is our friend here. Follow these steps exactly, and you’ll have perfect strawberry freezer jam ready to chill out in the deep freeze before you know it. I like to put on some music while I work because this part flies by! If you’re looking for more tips on fast fruit preservation, check out this great resource: 30-Minute Strawberry Freezer Jam.
Preparing Jars and Crushing the Strawberries
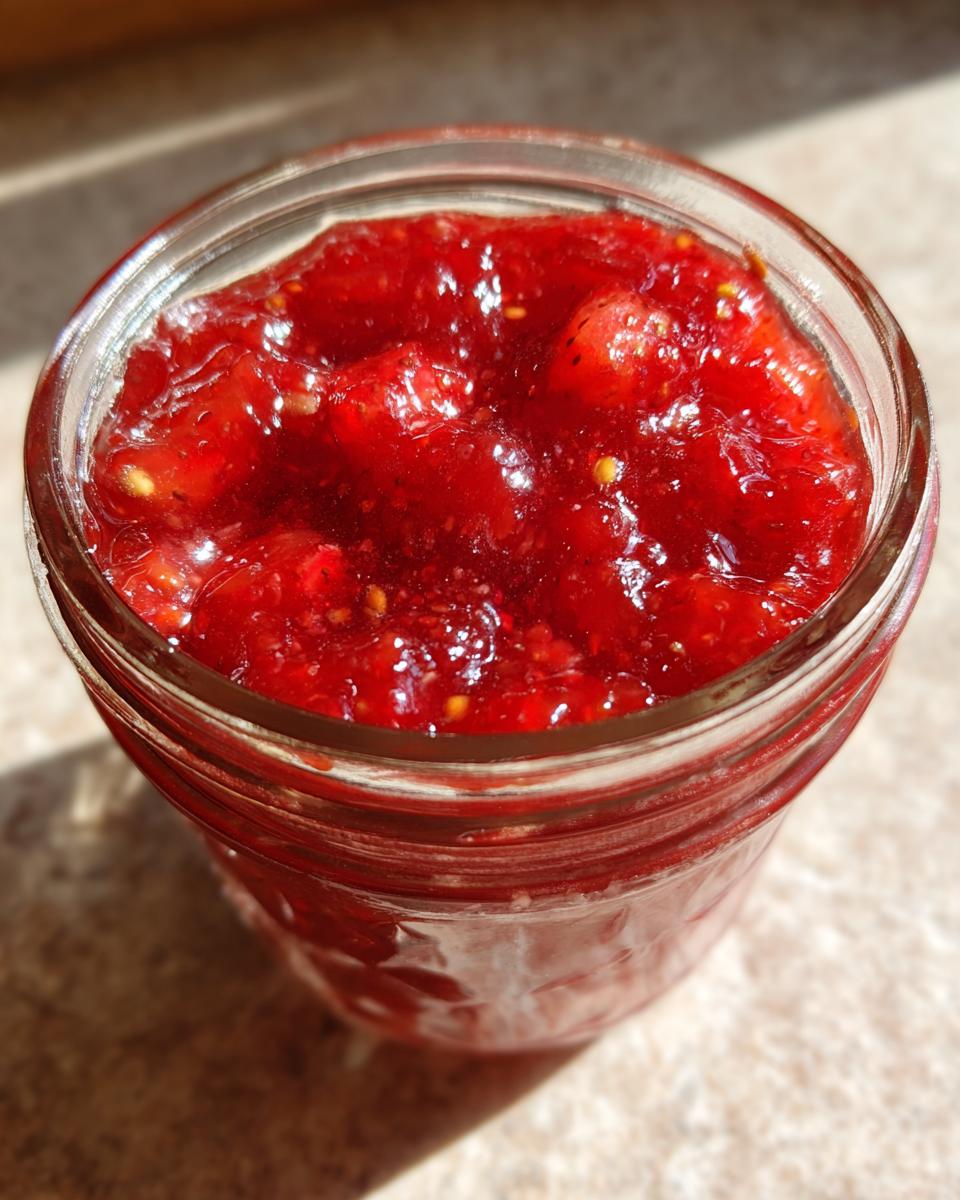
First things first, make sure your jars are spotless—wash them well and ensure they are completely dry before you start loading them up. Next, take those hulled strawberries and get crushing! I love using a potato masher for this. Do you prefer a jam that’s just slightly chunky, or do you want it smooth like a sauce? Mash away until you hit your personal sweet spot. Remember to keep these clean jars handy!
Mixing, Resting, and Filling Your Strawberry Freezer Jam
Now for the magic. Add all four cups of sugar to your crushed fruit. You have to stir this like you mean it until every bit of sugar is dissolved—you shouldn’t feel any grit when you rub a bit between your fingers. Let this mixture sit for exactly 10 minutes. Next, stir in that fresh lemon juice. When filling the jars, leave a clean half-inch of space right below the rim—this is called headspace, and it’s necessary because the jam expands slightly when it gets rock solid in the freezer.
Sealing and Freezing for Quick Homemade Jam
Before we cap these, you must wipe the rims clean with a damp paper towel. Any sticky residue up there means your lid won’t seal properly later. Put the rings on finger-tight, but here is the key step: leave them slightly loose! Place the jars on the counter at room temperature for about 30 minutes. This lets any trapped air escape. After that rest, tighten those lids completely, and they are ready to go into the freezer. See? That was so easy! You’ve just made a phenomenal quick homemade jam.
Ingredient Notes and Substitutions for Strawberry Freezer Jam
Since this is my favorite strawberry pectin free jam recipe, I know people get nervous about the set. They ask, “Ava, if I skip the commercial pectin, will it turn out soupy?” The short answer is: maybe a little looser than what you are used to, but the flavor is worth it! The sugar and lemon juice do a lot of the heavy lifting in this no-cook method, making it incredibly simple to manage.
Adjusting Consistency: Tips for Thicker Strawberry Freezer Jam
If you are nervous and wanting just a touch more body without diving into commercial pectin (which complicates things!), I have a little trick. After you stir the sugar in, let that sugary fruit mixture sit on the counter for up to one full hour instead of just 10 minutes. Stir it a few times while it rests. That extra time lets the fruit release more of its natural juice, which interacts with the sugar to create a marginally thicker set. It’s all natural goodness!
Also, don’t stress if you have to use frozen strawberries! It happens, especially if you find a great sale out of season. If you use frozen berries, you absolutely must thaw them completely first. Once thawed, drain off any little pool of liquid that gathered at the bottom of the container, and then measure out your 4 cups before proceeding with the recipe. We don’t want watery jam!
If you are curious about other easy recipes that use minimal ingredients, you might enjoy my quick protein bar recipe—it follows a similar philosophy of keeping things clean and simple. For more inspiration on getting that perfect no-boil set, check out this great tutorial on making amazing strawberry freezer jam without pectin.
Tips for Success with Your No Boil Jam Recipe
Even with a super simple no boil jam recipe like this one, a couple of little checks make all the difference between deliciousness and disappointment. The biggest thing to watch out for is mold, which happens if you don’t seal correctly or if you leave any fruit residue on the jar rims. Always wipe those rims clean before capping!
Now, if you do notice your jam is a little runnier than you expected after freezing—don’t panic! It happens, especially if your strawberries weren’t super ripe. You can actually stir in a teaspoon of cornstarch mixed with a tablespoon of lemon juice, let it sit for an hour, and refreeze it. Better yet, accept the runnier consistency and use it as a gorgeous topping for yogurt!
Also, this jam is absolutely beautiful for gifting, particularly during the summer months. I love attaching a simple strip of brown paper or cardstock to the lid with the date written on it. It gives it a super professional, yet wonderfully homemade, look. If you’re sending these off, make sure you tell people they must stay frozen! For more excellent tips on preventing runny jam, peek at this guide here. If you ever have questions about technique, feel free to reach out to me via my contact page!
Serving Suggestions for Your Homemade Fruit Spreads
So, you’ve got these beautiful jars of vibrant, flavorful simple spread recipes sitting in your freezer. What now? While toast is a classic for a reason, this jam is so intensely flavorful because we didn’t cook it, so it deserves to shine in a few other spots around the kitchen too!
Don’t just save this for emergencies or special brunches; make it a part of your daily routine. It’s the easiest way to dress up something plain!
Here are a few of my favorite ways to use this fantastic, quick homemade jam:
- Inside-Out French Toast: Instead of just spreading it on top, use this jam as a filling between two slices of bread before you pan-fry your French toast. It gets warm and gooey inside, which is just heavenly. Try my simple method for perfect French toast!
- Power-Up Your Yogurt: Forget those sugary tubs of fruit yogurt. Swirl a big spoonful of this into plain Greek yogurt for instant flavor. It’s one of my go-to options for quick breakfast toppings when I’m running out the door.
- Dip It Good: Mix a jar of your jam—slightly thawed—with a block or two of softened cream cheese and a tiny splash of vanilla. Instant, gorgeous fruit dip! It’s perfect for serving with graham crackers or fresh apple slices. I have a recipe for a similar creamy fruit dip that pairs wonderfully with this spread.
- Dessert Swirl: Warm it up for just 15 seconds in the microwave until it’s pourable, and drizzle it over vanilla ice cream or cheesecake. It’s instant dessert elevation!
Honestly, once you see how much better this tastes compared to the stuff in the store, you’ll be looking for excuses to use your homemade fruit spreads!
Storage and Shelf Life for Strawberry Freezer Jam
This is the best part about making freezer jam: you don’t have to eat it all right away! Since we aren’t doing a traditional water-bath can, the texture and flavor are sustained by the deep freeze. You get to capture the entire season and enjoy that incredible fresh taste all year long.
My rule of thumb is that this strawberry freezer jam maintains its absolute peak flavor and texture for about 10 to 12 months in a stable freezer. That’s nearly a whole year of perfect jam! Honestly, it usually disappears long before that—it’s just too good to keep hiding in the back!
When you are ready to use a jar, pull it out of the freezer and just let it thaw in the refrigerator overnight. Usually, it thaws perfectly into that spreadable consistency we love. You shouldn’t need to do any re-heating at all, but if you *must* use it right away, you can place the sealed jar safely in a bowl of warm water for about 20 minutes. Never try to microwave or boil the jam once it’s jarred, okay?
I always make sure to jot down the date I put the jar in the freezer on the jar itself. It helps keep things organized, especially when you make a big batch of homemade fruit spreads. Keeping track ensures you’re always using the oldest one first!
Frequently Asked Questions About Making Freezer Jam
I get so many questions after people try this recipe for the first time, usually because they are so shocked at how easy it was! Because this is designed to be your new go-to for preserving strawberries, let’s clear up any lingering doubts about this simple method right here. If you have other questions after trying it, feel free to check out my guide on creamy garlic sauce—sometimes basic techniques apply everywhere!
Can I use pectin if I want a firmer strawberry freezer jam?
That is a totally fair question, especially if you’ve only ever made jam using those commercial packets. Listen, you absolutely can add pectin if you prefer a very firm set, like preserves you buy on the shelf. If you choose to add pectin, you will need to follow the package directions exactly, which usually means bringing the fruit and pectin mixture to a specific temperature on the stove. But honestly, that defeats the purpose of our quick, no boil jam recipe! For this version, we rely on the sugar and the natural acidity. If it’s a little looser, just enjoy it as a beautiful *sauce* or use it as a dessert topping!
How long does this easy strawberry jam recipe last in the freezer?
The beauty of keeping it frozen is that you are basically pausing time! When properly sealed, your easy strawberry jam recipe will taste just as bright and fresh for up to a full year in the freezer. Seriously, a whole year! Now, once you pull a jar out and it starts to thaw, treat it like fresh jam. Pop it in the fridge the moment it’s ready to spread, and try to eat it within three to four weeks. That way, you’re always enjoying your best stuff first!
What is the best way to crush strawberries for this recipe?
I always recommend going old-school with a potato masher or a fork right in the mixing bowl. It gives you total control over the texture you end up with, which is important for that perfect chewiness. If you are *really* in a rush and don’t mind a super smooth texture, you can pulse the strawberries in a food processor or blender for just a couple of quick pulses. Don’t overdo it, though! A little chunkiness makes for the best looking homemade fruit spreads once they thaw.
Share Your Summer Fruit Recipe Ideas
Okay, now that you’ve got your hands on this magic batch of strawberry freezer jam, I desperately want to know how it turned out! Did you end up eating it all on toast in one weekend? Did you use it to top pancakes? Cooking is all about sharing the joy, and your feedback really helps other cooks feel confident trying this out, too.
Please do me a huge favor: take a minute to leave a rating right here on the recipe card. Five stars if you loved the no-cook simplicity, but be honest if you had trouble getting the fruit mashed right!
And if you snapped a picture of your jars looking gorgeous on your counter, tag me on social media! I love seeing where this homemade treasure ends up. Did you try blending some raspberries into the mix? Hearing about your successes is the fuel that keeps me sharing these super simple guides. If you need to review the general rules for using the site, you can always check the Terms of Use, but mostly I just want to hear about your jam!
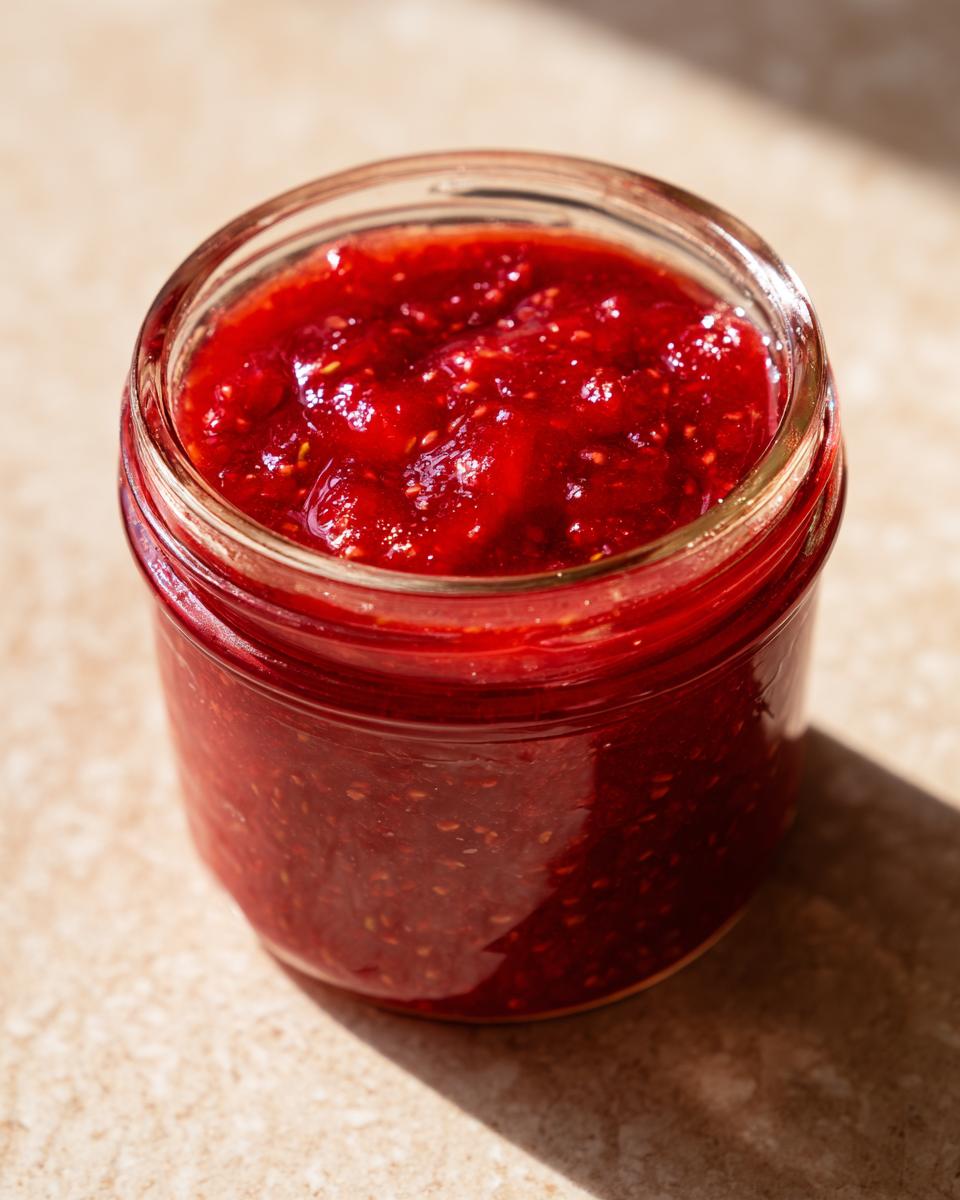
PrintEasy No-Cook Strawberry Freezer Jam: Capture Summer Flavor Fast
You can make this beginner-friendly strawberry freezer jam in under 30 minutes with no cooking required. This simple recipe captures the fresh taste of summer fruit preserves and is perfect for busy cooks.
- Prep Time: 15 min
- Cook Time: 0 min
- Total Time: 15 min
- Yield: 4 half-pint jars 1x
- Category: Preserves
- Method: No Cook
- Cuisine: American
- Diet: Vegetarian
Ingredients
- 4 cups fresh strawberries, hulled and crushed
- 4 cups granulated sugar
- 1/4 cup fresh lemon juice
Instructions
- Prepare your jars: Wash and dry 4 to 5 half-pint freezer-safe jars and lids. Set them aside.
- Crush the strawberries: Place the hulled strawberries in a bowl. Use a potato masher or a fork to crush them to your desired consistency. Some prefer a smoother texture, others like more chunks.
- Mix sugar and fruit: Add the granulated sugar to the crushed strawberries. Stir well until the sugar is completely dissolved. Let this mixture sit for 10 minutes.
- Add lemon juice: Stir in the fresh lemon juice. The acid helps the jam set slightly and brightens the flavor.
- Fill the jars: Spoon the jam mixture into the prepared jars, leaving 1/2 inch of headspace at the top of each jar.
- Seal and cool: Wipe the rims clean. Place the lids on the jars but do not tighten them fully. Let the jars sit on the counter at room temperature for about 30 minutes to allow any air bubbles to escape.
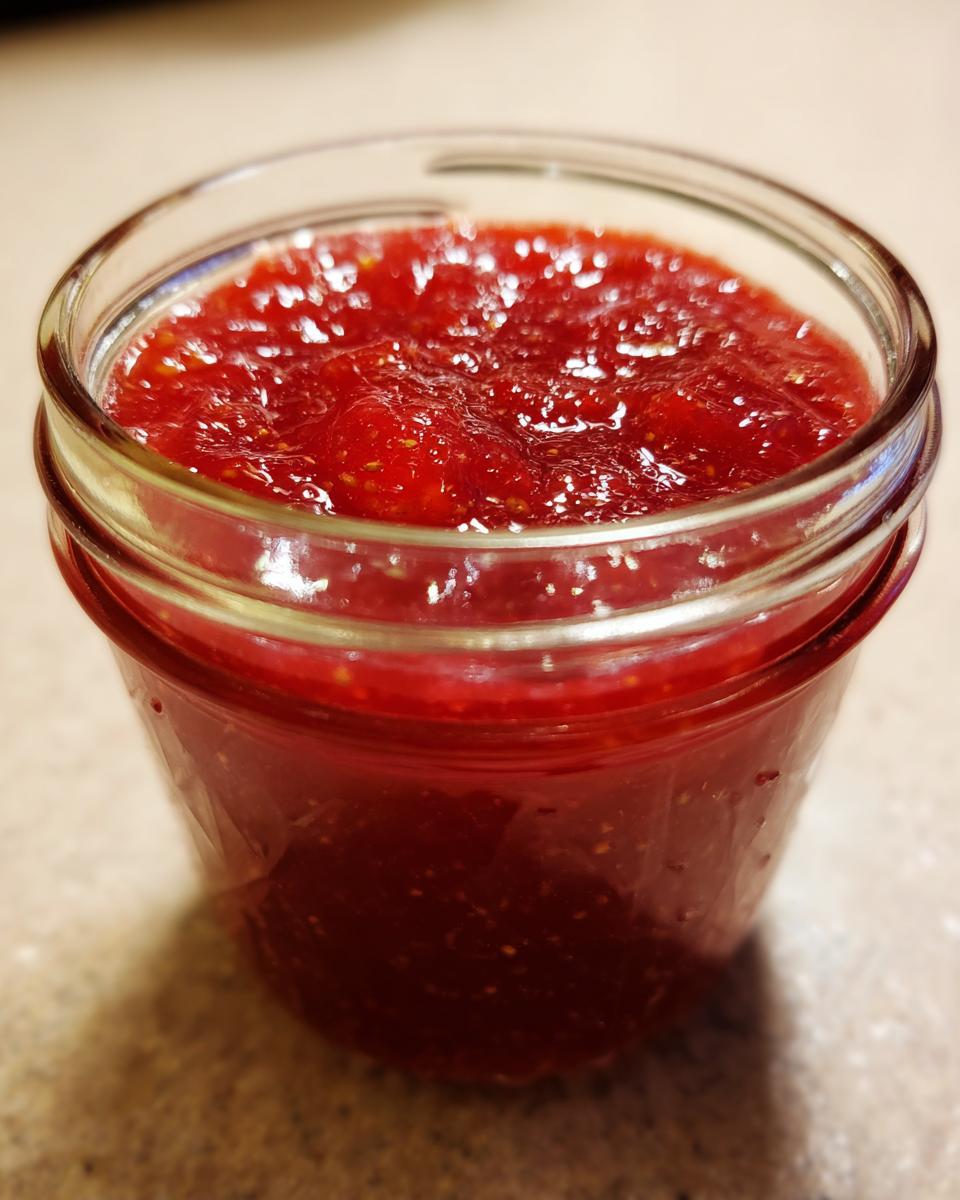
- Freeze: Tighten the lids fully. Place the jars in the freezer. The jam is ready to eat once frozen, usually within 24 hours. It keeps well in the freezer for up to one year.
Notes
- For a slightly thicker set without pectin, you can let the sugared fruit mixture sit for up to 1 hour before jarring.
- If you want to use frozen strawberries, thaw them completely first, drain off any excess liquid, and then proceed with the recipe.
- This recipe is excellent for gifting; attach simple, handwritten labels for a personal touch.
Nutrition
- Serving Size: 2 Tbsp
- Calories: 55
- Sugar: 14
- Sodium: 1
- Fat: 0
- Saturated Fat: 0
- Unsaturated Fat: 0
- Trans Fat: 0
- Carbohydrates: 14
- Fiber: 0
- Protein: 0
- Cholesterol: 0