
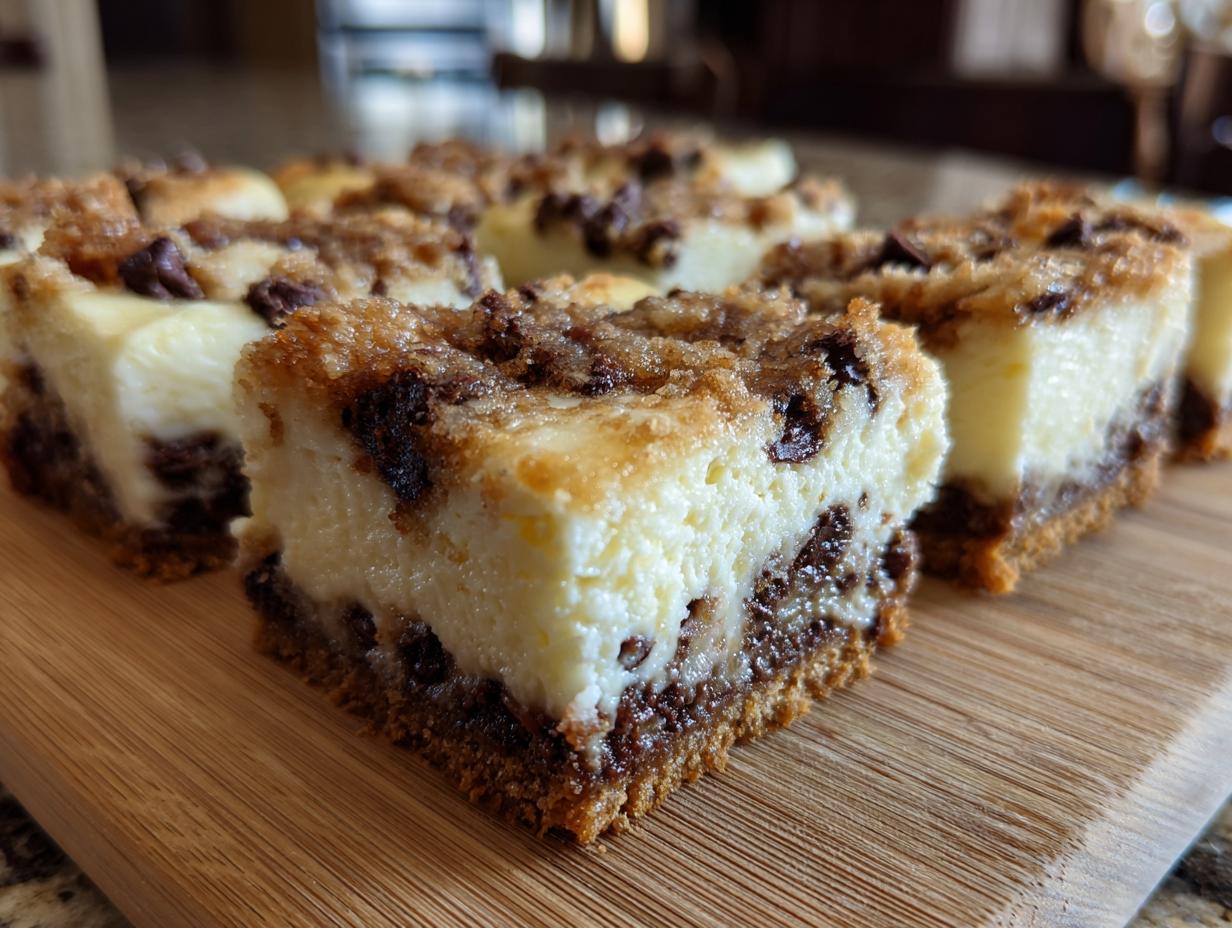
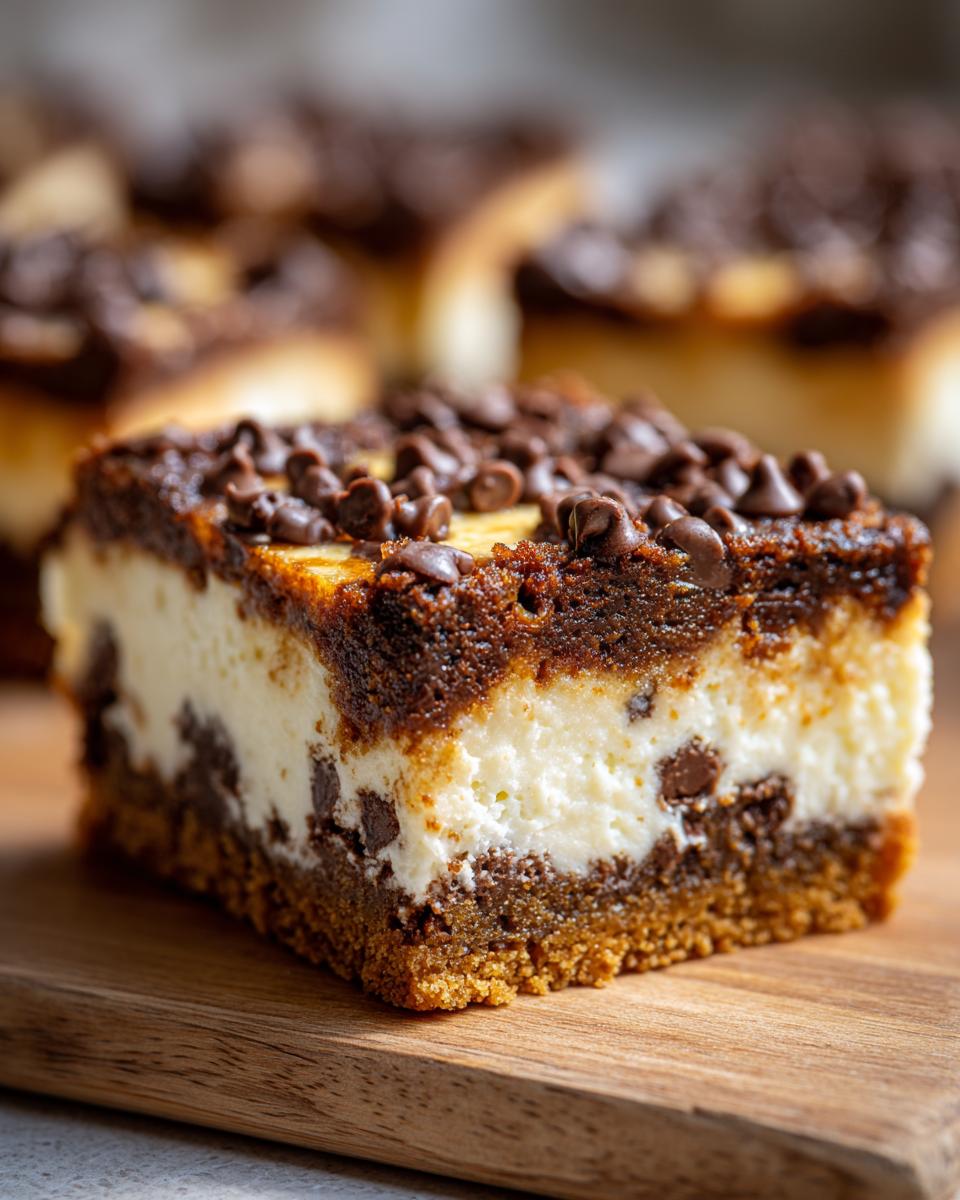
Sometimes, the craving hits, right? You want something utterly decadent, something that tastes like it took all day and required some fancy chef magic, but honestly, who has that kind of time? I completely get it! That’s why I’m sharing my absolute go-to—the chocolate chip cheesecake recipe that never fails me and lets even the newest cook shine. Forget wrestling a tricky round cake; we’re making easy bars that slice perfectly every single time. If you’ve ever doubted your baking skills, trust me, this recipe is the confidence boost you need.
We aren’t using complicated water baths or fussy techniques here. This recipe proves that you can capture that rich, creamy flavor we all dream about without stressing in the kitchen. If you are looking for more amazing dessert ideas to tackle next, check out my full collection of delicious dessert recipes!
- Why This Easy Chocolate Chip Cheesecake Recipe Works for Everyone
- Gathering Your Ingredients for Chocolate Chip Cheesecake Bars
- Simple Cheesecake Baking: Step-by-Step Instructions for Your Chocolate Chip Cheesecake
- Tips for the Best Chocolate Chip Cheesecake Texture
- Variations for Your Creamy Baked Cheesecake
- Serving Suggestions for Party Ready Cheesecake
- Storing and Reheating Your Chocolate Chip Cheesecake
- Frequently Asked Questions About This Chocolate Chip Cheesecake Recipe
- Share Your Ultimate Chocolate Chip Dessert Creation
Why This Easy Chocolate Chip Cheesecake Recipe Works for Everyone
When I transitioned from takeout to home cooking, cheesecake felt like the Mount Everest of desserts. Seriously intimidating! But shifting to bars changed everything. You get all that incredible, rich flavor, but suddenly, it’s manageable, sliceable, and frankly, much more friendly when serving a group. This is honestly one of my favorite Crowd Pleaser Desserts because it just *delivers*.
- It uses a simple, sturdy graham cracker base that holds up beautifully.
- It doesn’t require a tricky water bath, which means less worry about everything going wrong!
- The 9×13 format cooks evenly, guaranteeing great texture throughout the entire pan.
If you want to know more about my journey into building kitchen confidence, you can read all about it on my About Page.
Achieving Rich and Creamy Desserts Without the Hassle
The main hassle with traditional round cheesecakes is that giant dome in the middle and the potential for deep cracks when it cools. Since we’re making bars in a sheet pan, the depth is much more shallow. This is key! It cooks faster, yes, but more importantly, it sets much more uniformly. That controlled environment lets us easily achieve that stunningly creamy texture we’re after without that scary risk of the filling sinking or weeping when it comes out of the oven. It’s all about making smart choices when you’re busy!
Gathering Your Ingredients for Chocolate Chip Cheesecake Bars
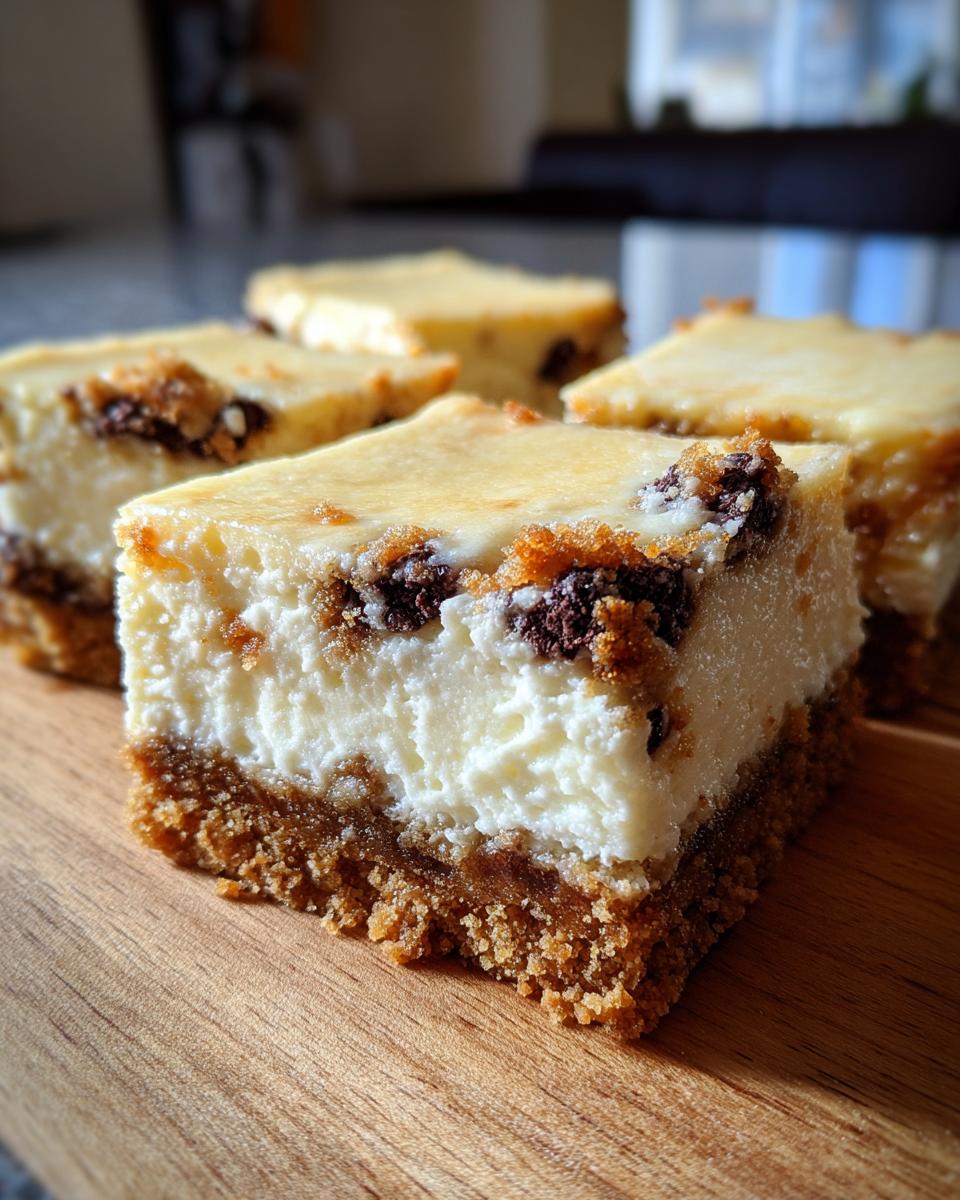
Okay, gathering supplies is almost as fun as baking, right? Since this is an easy recipe, you won’t need to run to a specialty store. We’re focusing on simple items to create a truly decadent dessert. Having everything ready to go makes the mixing process such a breeze! This quick setup is why this Graham Cracker Crust Cheesecake is such a reliable favorite.
For the Graham Cracker Crust
- 1 1/2 cups graham cracker crumbs
- 1/4 cup granulated sugar
- 6 tablespoons of unsalted butter, melted (Make sure it’s fully melted!)
For the Creamy Cheesecake Filling
- 2 (8 ounce) packages of cream cheese, softened fully (This is crucial!)
- 1 cup granulated sugar
- 1 teaspoon vanilla extract
- 3 large eggs
- 1 cup semi-sweet chocolate chips
Simple Cheesecake Baking: Step-by-Step Instructions for Your Chocolate Chip Cheesecake
This is where the magic happens, and honestly, it’s so much simpler than you think. Remember, we’re focused on getting that bakery-worthy result without the tears over cracks! We start by preheating the oven to 350 degrees F. Please, whatever you do, line that 9×13 inch baking pan with parchment paper, making sure you leave a good overhang on the sides. This overhang is your secret handle for lifting the whole thing out later—don’t skip it!
Preparing and Pre-Baking the Crust
In a bowl, just mix those graham cracker crumbs, the crust sugar, and the melted butter until it all looks damp, almost like wet sand. Press that mixture *really* firmly into the bottom of your prepared pan. I like to use the bottom of a measuring cup to really pack it down tight. Pop that crust into the oven for just 8 minutes to set it up. Once it’s done, pull it out and let it cool down just a touch while you move on to the fun part.
Mixing the Ultimate Chocolate Chip Dessert Filling
Alright, here’s the key to a smooth chocolate chip cheesecake. Get your mixer out and beat that softened cream cheese and the main cup of sugar until it’s totally smooth—we aren’t looking for lumps, so scrape down the bowl well! Now, the eggs! Add the eggs one at a time, and I mean *one at a time*. Mix just until the yellow disappears after each addition. If you beat them too much, you introduce too much air, and that’s what causes cracks later on. I promise, gentle is better here! Once they are barely incorporated, gently fold in all those chocolate chips. Remember that our goal is a creamy filling, not a fluffy, foamy one.
Baking and Cooling for Perfect Slicing Cheesecake
Pour that gorgeous filling right over your slightly cooled crust. It’ll bake for about 30 to 35 minutes. You know it’s ready when the edges look set, but the very center still has a tiny bit of a jiggle when you gently tap the pan. Now for the big secret for a Perfect Slicing Cheesecake: when it’s done, turn the oven OFF. Prop the door open a tiny crack and just leave the cheesecake inside for 30 minutes to slowly acclimate. After that, let it cool on the counter, and then—and this is the hardest part—chill it in the fridge for at least 4 hours, but overnight is truly best for that ultimate texture. You can find some other great tips for quick home meals over at Easy Weeknight Dinners while you wait!
Tips for the Best Chocolate Chip Cheesecake Texture
Getting that amazing texture in your Homemade Cheesecake really comes down to just a couple of little details, but they make such a huge difference between good and great. We are aiming for that beautiful, dense structure—that truly Perfect Slicing Cheesecake slice, and it starts before you even turn the mixer on.
Ingredient Temperature and Mixing Guidance
I can’t stress this enough: your cream cheese has to be truly softened at room temperature. If it’s cold, you’ll end up with lumps because you’ll be tempted to overbeat it trying to smooth it out. Also, remember when we talked about adding eggs? Keep that rule sacred: one at a time, mixing *just* until you can’t see the yolk anymore. Anything more is asking for trouble!
Adjusting Pan Size for Thicker or Thinner Bars
If you decide you want super thick bars—maybe you’re making this just for yourself and a couple of close friends—you can switch down to an 8×8 inch pan. Since the filling will be deeper, you’ll need to keep an eye on it. You’ll likely need to bake it for about 10 minutes less than the 9×13 recipe calls for, so start checking early around the 25-minute mark. If you want thinner bars, just use a larger dish, but the 9×13 is the sweet spot for me. You can find my favorite chewy cookie recipe here if you need another easy win!
Variations for Your Creamy Baked Cheesecake
One thing I absolutely love about baking is how easy it is to tweak things once you master the base recipe. You’ve already nailed the Graham Cracker Crust Cheesecake, but let’s talk about making this Cheesecake with Chocolate Chips truly *yours*! Don’t be afraid to experiment a little bit now that you have the confidence from nailing the original recipe successfully.
Crust Swaps: Beyond the Graham Cracker Crust Cheesecake
If you’re feeling bold, ditch the graham crackers next time and make an Oreo crust! It’s shockingly easy and ramps up the chocolate factor beautifully. Just crush up about two sleeves of Oreos—no need to remove the filling, that’s just extra flavor—and bind it with that same melted butter. It bakes up darker and richer, giving you a totally different starting point for your creamy filling. For another fun bar idea that changes up the flavor profile completely, you might want to check out my apple cheesecake bars recipe!
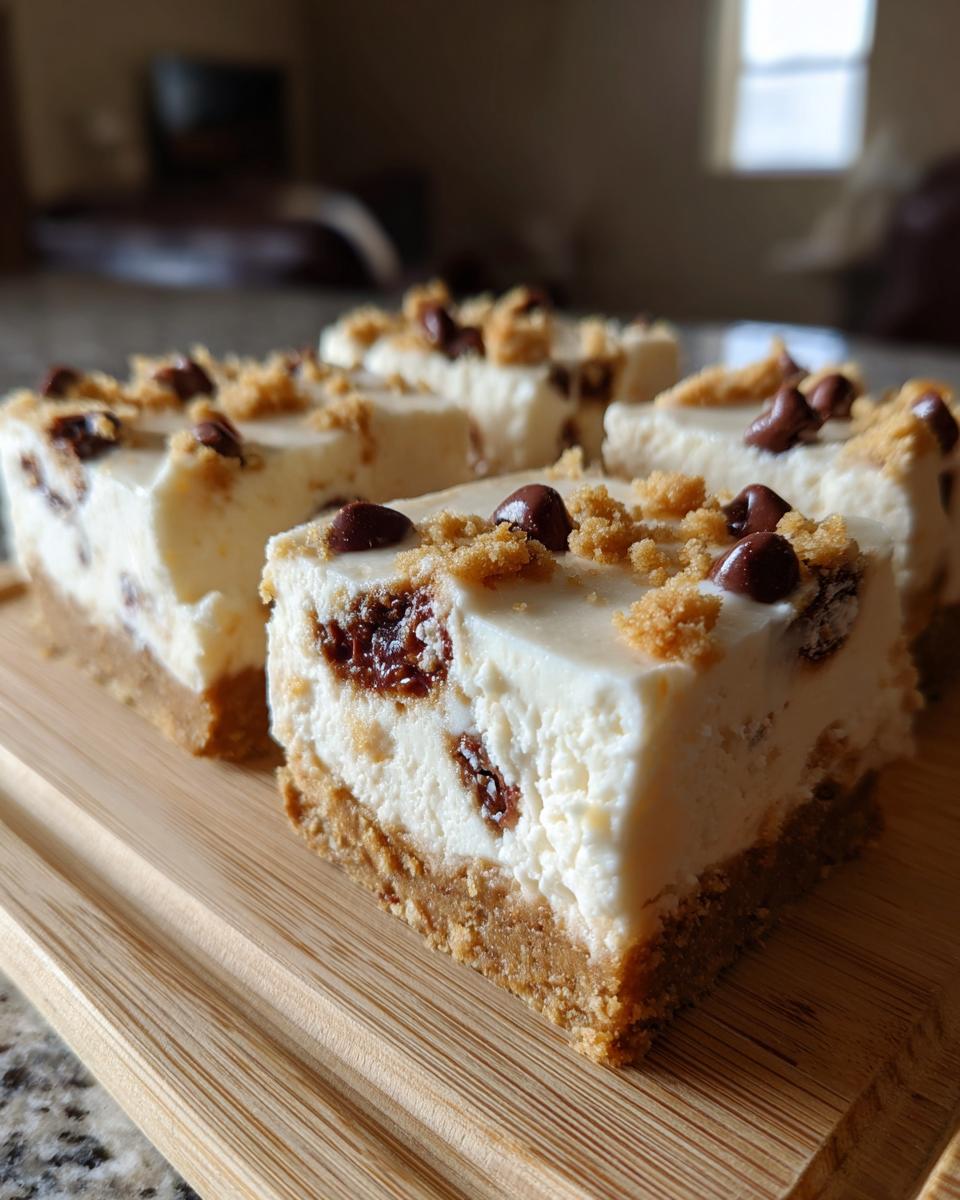
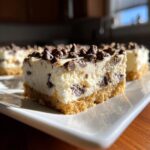
Serving Suggestions for Party Ready Cheesecake
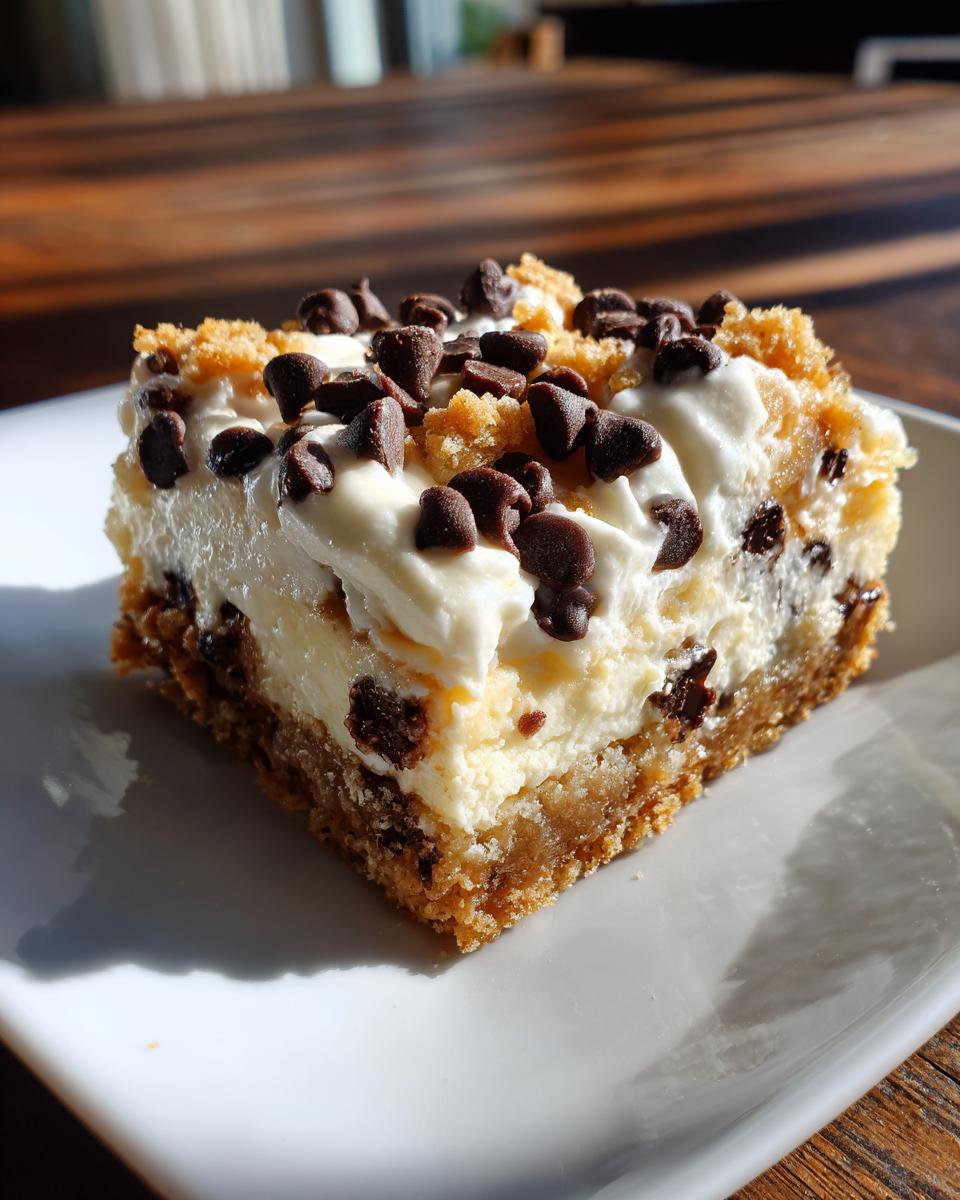
Once your chocolate chip cheesecake bars are perfectly chilled, they look amazing all on their own, but presentation is everything when you’re serving a crowd! Since they are already so rich, you don’t need much fuss. I love cutting them into smaller squares so guests can sample other treats too. A tiny dollop of homemade whipped cream elevates things instantly. If you need a great base for dipping fruit or just want something simple but elegant, you absolutely have to try my fail-proof vanilla buttercream frosting recipe for piping on top!
Storing and Reheating Your Chocolate Chip Cheesecake
Now for the hard part: saving some for later! Luckily, keeping these leftovers great is super simple because they are bars, not a delicate whole cake. The absolute best way to store your chocolate chip cheesecake is in an airtight container in the fridge. Four hours chilling wasn’t just for slicing; it keeps them firm and fresh too. They easily last a solid five to seven days this way. I often find they taste even better on day two!
If you can’t get them eaten that fast, don’t worry! You can freeze these beauties. Wrap individual bars tightly in plastic wrap, then foil, and they keep well in the freezer for about a month. When you want one, just let it thaw on the counter for about an hour, and it’s ready to go. Simple storage means less stress for your next party planning session!
Frequently Asked Questions About This Chocolate Chip Cheesecake Recipe
It’s natural to have questions when trying a new recipe, especially something as beloved as cheesecake! I’ve pulled together the things I get asked every time I bring this chocolate chip cheesecake to a gathering. Don’t hesitate to ask if you run into trouble; that’s why I’m here!
Can I make this a No Bake Chocolate Chip Cheesecake?
That’s a great question! While this specific recipe relies on eggs and baking to achieve that perfectly dense, creamy baked cheesecake texture, you absolutely can pivot to a no-bake version. To do that, you’d skip the eggs and baking time entirely. Instead, you’d mix the softened cream cheese with something stabilizing like stabilized whipped cream or even a bit of gelatin dissolved per package instructions. It yields a lighter, mousse-like treat, but trust me, this baked version is worth the oven time!
What is the secret to preventing cracks in my baked chocolate chip cheesecake?
If you want that flawless top for your homemade cheesecake, it all comes down to two things: how you mix and how you cool. First, don’t overbeat those eggs; mix just until they disappear! Second, and this is huge, use the cool-down trick we discussed: turn the oven off after baking, prop the door open, and let it sit inside for half an hour. That slow transition prevents the sudden temperature shock that causes cracks. If you need something super easy for dipping snacks afterwards, check out my guide to creamy fruit dip!
Share Your Ultimate Chocolate Chip Dessert Creation
Now that you’ve conquered this amazing chocolate chip cheesecake, I truly want to cheer you on! That’s what Kitchenican is all about—building confidence one delicious dish at a time. If you made these bars and they turned out beautifully, please snap a picture and share it. Seeing your success is the best part of my day! You can always reach out with questions or just to say hello on my Contact Page. Go ahead, be proud of what you made!
PrintEasy Chocolate Chip Cheesecake Bars with Graham Cracker Crust
Make this simple, creamy chocolate chip cheesecake recipe. These bars use an easy graham cracker crust and bake up rich and decadent, perfect for parties or sharing.
- Prep Time: 20 min
- Cook Time: 35 min
- Total Time: 4 hours 55 min
- Yield: 18 servings 1x
- Category: Dessert
- Method: Baking
- Cuisine: American
- Diet: Vegetarian
Ingredients
- 1 1/2 cups graham cracker crumbs
- 1/4 cup granulated sugar (for crust)
- 6 tablespoons unsalted butter, melted
- 2 (8 ounce) packages cream cheese, softened
- 1 cup granulated sugar (for filling)
- 1 teaspoon vanilla extract
- 3 large eggs
- 1 cup semi-sweet chocolate chips
Instructions
- Preheat your oven to 350 degrees F. Line a 9×13 inch baking pan with parchment paper, leaving an overhang on the sides for easy removal.
- Prepare the crust: In a medium bowl, mix the graham cracker crumbs, 1/4 cup sugar, and melted butter until evenly moistened. Press this mixture firmly into the bottom of the prepared pan.
- Bake the crust for 8 minutes. Remove from the oven and let it cool slightly.
- Prepare the filling: In a large bowl, use an electric mixer to beat the softened cream cheese and 1 cup of sugar until the mixture is smooth and creamy. Scrape down the sides of the bowl.
- Beat in the vanilla extract and eggs, one at a time, mixing just until combined after each addition. Do not overmix the batter.
- Gently fold in the chocolate chips.
- Pour the cheesecake filling evenly over the warm crust.
- Bake for 30 to 35 minutes, or until the edges are set and the center has only a slight jiggle.
- Turn off the oven, prop the oven door open slightly, and let the cheesecake cool inside the oven for 30 minutes. This prevents cracking.
- Remove the cheesecake from the oven and let it cool completely on a wire rack.
- Once cool, cover the pan and chill in the refrigerator for at least 4 hours, or preferably overnight, for the best texture.
- Lift the cheesecake out of the pan using the parchment paper overhang. Cut into bars before serving.
Notes
- For a richer crust flavor, you can substitute 1/2 cup of the graham cracker crumbs with finely crushed vanilla wafers.
- If you prefer a thicker bar, use an 8×8 inch pan instead, but adjust baking time down by about 10 minutes.
- Chilling overnight results in a firmer, perfect slicing cheesecake texture.
Nutrition
- Serving Size: 1 bar
- Calories: 310
- Sugar: 25
- Sodium: 210
- Fat: 19
- Saturated Fat: 11
- Unsaturated Fat: 8
- Trans Fat: 0.2
- Carbohydrates: 31
- Fiber: 1
- Protein: 5
- Cholesterol: 65