
There’s nothing more disheartening than spending time cutting out adorable shapes, only to have them bake into sad, puffy little puddles. I know that frustration because, for years, my attempts at perfect sugar cookie cutouts ended in spreading disasters. But trust me, after countless batches in my own small kitchen, I finally cracked the code! I’m Ava Sinclair, and I built this whole platform because I struggled with recipes, just like you probably do. This isn’t some fussy bakery formula—this is The Best Soft and Chewy Sugar Cookie Recipe That Holds Its Shape for Decorating. It’s reliable, perfectly buttery, and it stays exactly where you put it on the sheet. Let’s ditch the spreading drama!
- Why This Is the Best Sugar Cookie Recipe for Cutouts
- Gathering Ingredients for Your Perfect Sugar Cookie
- How to Prepare Your Rolled Sugar Cookie Dough
- Baking Tips for Soft Sugar Cookies That Hold Shape
- Decorating Your Homemade Sugar Cookies
- Storage and Reheating Instructions for Your Sugar Cookie Batch
- Troubleshooting Common Sugar Cookie Issues
- Frequently Asked Questions About This Sugar Cookie Recipe
- Estimated Nutritional Data for One Sugar Cookie
Why This Is the Best Sugar Cookie Recipe for Cutouts
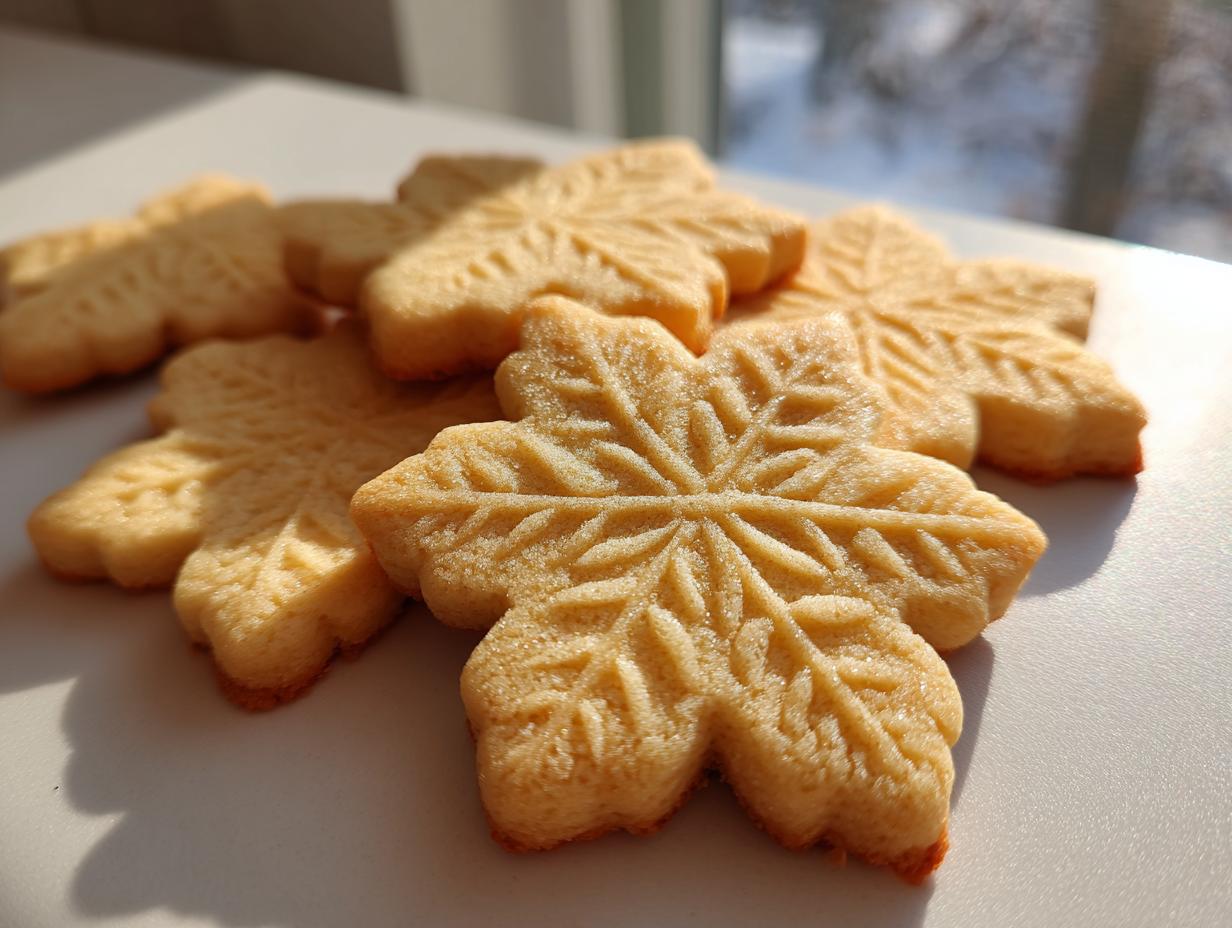
If you’ve ever searched for the perfect cut out sugar cookies that don’t spread, then you know it feels like searching for a unicorn. Most recipes promise soft cookies, but they turn into thin, crisp wafers once they hit the oven. Not this one. What makes this the absolute best sugar cookie recipe is the balance we strike: incredible flavor from the buttery sugar cookie recipe base, yet it maintains structure.
I figured out early on that butter quality really matters here. Use real, unsalted butter—it gives you that rich flavor that makes people ask for the recipe later. But the real secret, the one thing I never skip, is chilling the dough. Seriously, don’t even think about skipping it! Chilling locks the butter solids into a firm state. When those cold lumps hit the heat of the oven, they melt slowly, which means the dough stays put. You get that lovely, slightly thick, soft texture without letting the edges bleed out into sad, flat cookies.
My own journey from novice to confident baker taught me that patience in this one step (chilling!) gives you reliability every single time. If you want to know more about my journey learning to trust my own instincts in the kitchen, you can check out my story here.
Gathering Ingredients for Your Perfect Sugar Cookie
Okay, before we even touch the mixer, let’s talk ingredients. Because this is a buttery sugar cookie recipe at heart, every single element needs to be good quality. Don’t try to sneak margarine in here; we need that real butter flavor and structure! Everything needs to be measured correctly because we are aiming for those clean cutouts—no guesswork allowed.
Here is what you need ready to go:
- 2 1/4 cups all-purpose flour
- 1 teaspoon baking soda
- 1/2 teaspoon salt
- 1 cup unsalted butter, softened (make sure it’s actually soft, not melted!)
- 1 1/2 cups granulated sugar
- 1 large egg
- 1 teaspoon vanilla extract
- 1/2 teaspoon almond extract
Ingredient Notes and Substitutions for Your Sugar Cookie
I get asked all the time about the extracts. That half teaspoon of almond extract is my little secret weapon—it wakes up the vanilla and gives the cookie a little bakery sparkle. If you really hate almond, go ahead and swap it for another half teaspoon of vanilla, but try the almond once! Also, that egg? It has to be room temperature. It mixes in way better with the creamed butter that way, giving you a smoother starting base. Cold eggs can actually cause your beautiful creamed butter mixture to curdle a bit, and we absolutely don’t want that lumpiness!
How to Prepare Your Rolled Sugar Cookie Dough
Alright, now we get to the fun part: mixing! But remember, we’re building structure here, not developing gluten like we would for bread. We start with the dry stuff. In a medium bowl, just give yourself a quick whisk of the flour, baking soda, and salt. Set that aside for a minute.
Now for the creaming step—this is important! In your big bowl, beat that softened butter and the granulated sugar until it looks light and fluffy, almost pale. I usually run the mixer for about three full minutes. This process traps air, which is what gives you those lovely, light pockets inside the cookie later. Don’t rush this; it’s the foundation of those chewy sugar cookies!
Next, toss in your egg and those extracts—vanilla and almond—just mix until it comes together. Then, and this is where you slow down, gradually add those dry ingredients. Mix only on low speed until you see the dough almost fully combined. If you mix past the point where you see flour streaks, you risk making these tough. We want that beautiful, smooth rolled sugar cookie dough ready for the next vital step.
The Essential Chill Time for No Spread Sugar Cookies
Here is where the magic happens for getting those no spread sugar cookies. Divide that soft dough into two equal disks, wrap them up TIGHTLY in plastic wrap, and send them straight to the fridge. I always tell people they *must* chill for at least two hours. Seriously, you cannot skip this if you want a perfect shape. Why? Because that chilled dough means the butter is solid again. When it hits the hot oven, that solid butter takes its sweet time melting, holding the edges of your star or gingerbread man perfectly intact. You can leave it wrapped in the fridge for up to two whole days, too, which is fantastic for holiday prep!
Baking Tips for Soft Sugar Cookies That Hold Shape
The dough is chilled, the suspense is building—it’s time to bake! This is where we make sure all that prep work pays off and you end up with beautiful, melt-in-your-mouth results. First things first: get your oven preheated to 375°F (190°C). An oven that isn’t fully hot means the butter starts melting before the cookie sets, and that’s how you get spreading.
Line those baking sheets with parchment paper. I learned my lesson too many times dealing with stuck cookies before I embraced parchment paper; it saves cleanup time and prevents bottoms from burning. Lightly flour your surface—just a dusting!—and take one disk of dough out at a time. Roll it out evenly to about 1/4 inch thick across the surface. Dust your cookie cutters lightly if they stick, but don’t press down too hard on the cookie while cutting, or you compress the air we worked so hard to beat into the butter!
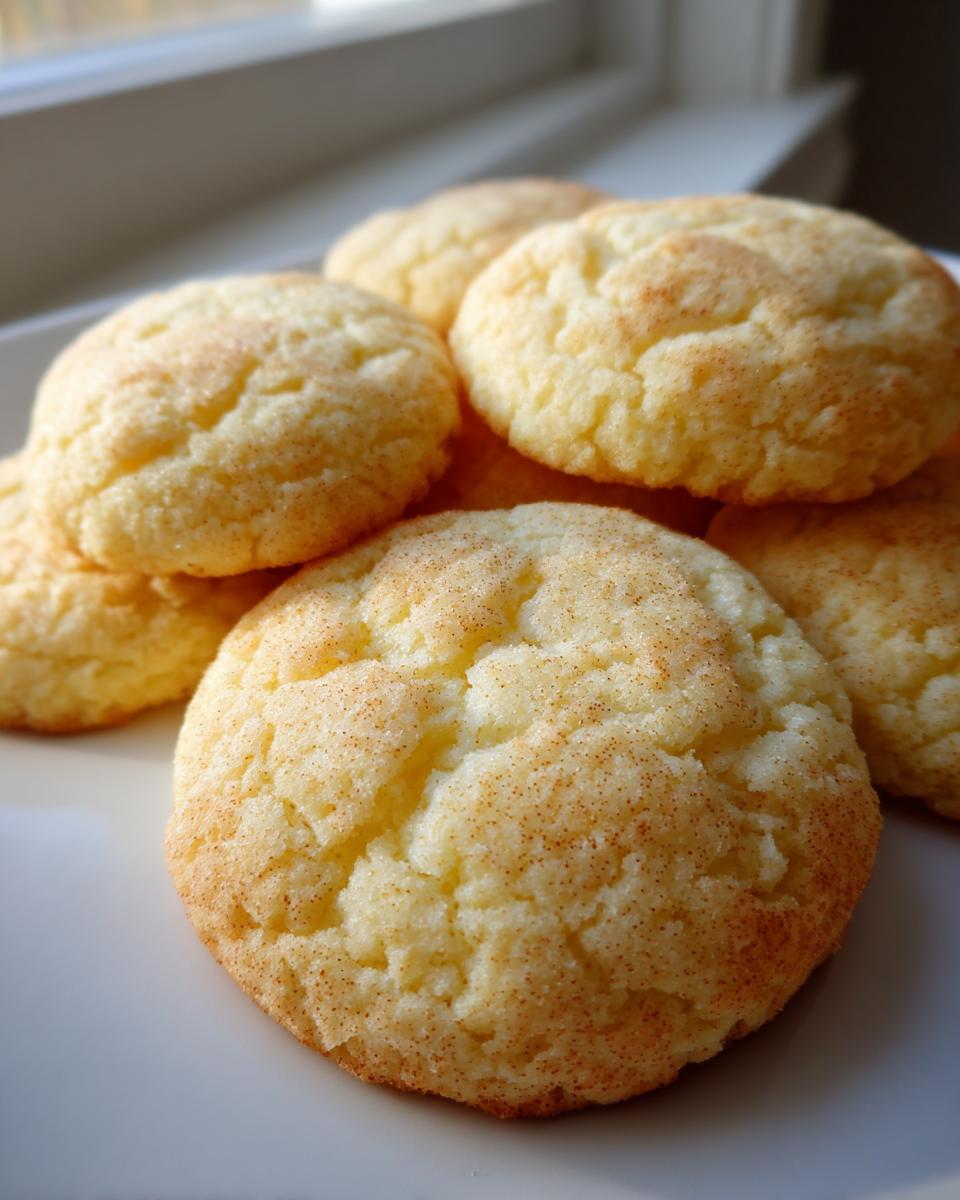
Place your shapes onto the lined sheets, giving them an inch of space so they don’t run into each other. Now, here’s my trick for making these the soft sugar cookies everyone craves: time them for 8 to 10 minutes, but pull them just shy of golden brown. Seriously, if you see light gold around the edge, pull them immediately. They continue baking on the hot sheet for a few minutes after you pull them out. If you wait until they look perfectly done in the oven, they’ll be crispy when they cool down.
Let them sit on that hot pan for five full minutes before carefully sliding them onto a rack to cool completely. If you rush this transfer, they can break! If you have any questions about the final steps or just want to connect, feel free to reach out to me here. Happy baking!
Decorating Your Homemade Sugar Cookies
Now comes the part that makes these truly special: the decoration! But listen close, because this is crucial if you want that amazing texture and don’t want your beautiful icing to slide off: your homemade sugar cookies absolutely must be stone cold. I mean room temperature, maybe even slightly cool to the touch. If you try to frost a warm cookie, even slightly warm, the butter in the icing melts instantly, and you end up with a watery mess.
For the best frosting for sugar cookies, I usually stick to a simple American buttercream because it’s quick and tastes fantastic with this buttery cookie base. If you’re aiming for those super sharp edges you see online, you’ll want to look into royal icing, which dries hard. I found a great guide on different frosting options that might help you decide when you’re ready to start decorating here.
Once they are cool, just have fun! Don’t worry about perfection; just enjoy making something beautiful and delicious!
Storage and Reheating Instructions for Your Sugar Cookie Batch
Phew! You made it! Now you have a mountain of delicious, perfect sugar cookies. You definitely don’t want to waste a single one, so let’s talk storage. How you keep them depends entirely on whether you’ve frosted them or not. Keep the plain, unfrosted cookies away from anything damp!
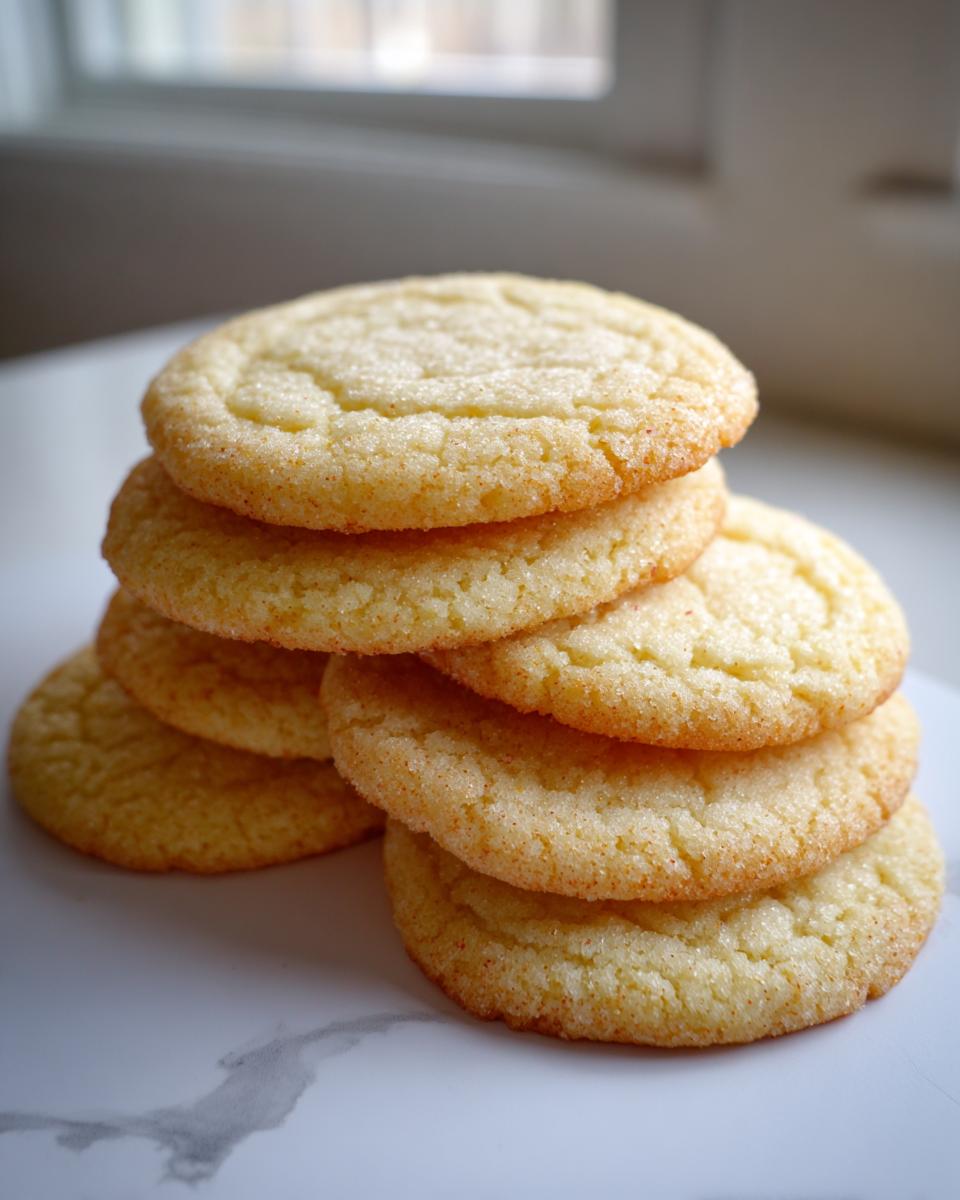
For cookies you plan to decorate later—or if you just couldn’t wait and baked them all immediately—keep them stacked in a single layer in an airtight container at room temperature. I usually put a piece of wax paper between layers just to be safe. Honestly, these classic sugar cookie recipe beauties stay perfectly soft and chewy for about four to five days this way. Trust me, they’ll probably be gone before day three, but it’s nice to know you have a buffer!
If your cookies are fully decorated with hardened icing, you still want an airtight container, but be a little gentler. Try to stack them with a sheet of parchment or wax paper *between* each layer. If you use a heavily water-based icing, like royal icing, keep them sealed but don’t put them in the fridge unless your kitchen is super humid. Cold air can sometimes make the cookie texture turn slightly weird or soften the icing.
If you’re making these weeks ahead of a big event, freezing is your best friend! You can freeze the un-iced cookies beautifully. Just wrap the cooled disks together tightly, or wrap the final baked cookies in plastic wrap and then foil. They last great in the freezer for nearly three months. When you’re ready to eat them again, just let them thaw slowly on the counter inside their wrapping. It keeps all that buttery moisture locked right in!
Troubleshooting Common Sugar Cookie Issues
Even with the best sugar cookie recipe, sometimes things just don’t go exactly to plan. Don’t sweat it! That’s just part of the learning process every home cook goes through. When I was first mastering these, I ran into a few hurdles that had me ready to toss the whole bowl. Here are the three biggest issues I see rookies run into, and my tried-and-true fixes.
Problem One: My Cookies Stick to the Cutter!
This is so frustrating, especially when you’ve made gorgeous shapes. You dip the cutter, press down, and when you lift it, the dough is still stuck to the metal. My fix is twofold. First, use a cutter that has a slightly thinner edge—thick cutters don’t slice cleanly. Second, dip your cutter into a small bowl of flour quickly between every third or fourth cut. This minor action removes surface stickiness. If you want more tips on clean cutting, check out some great advice tailored for cutouts here.
Problem Two: The Dough Tears When I Lift It.
This almost always means the dough is too cold or you rolled it too thin. If the dough is straight out of the fridge after chilling, let it sit on the counter for about five minutes before you even attempt to roll it out. If it’s tearing like wet paper, it means the butter hasn’t softened just enough—it needs a little give. If you rolled it thin (under 1/4 inch), the gluten structure is too weak to support the lift. Always stick to that 1/4-inch thickness for these specific easy sugar cookie recipe cutouts.
Problem Three: My Cookies Puffed Up Too Much and Lost Their Sharp Edges.
If you baked them and they look more like puffy mounds than flat shapes, that means one of two things happened. Either you didn’t chill the dough long enough (remember, we need rock-hard butter to prevent spreading), or your oven wasn’t hot enough when they went in. If the oven is too cool, the cookie spreads outward before the edges have a chance to set. Make sure you give your oven at least 15 minutes to fully preheat to 375°F. That initial blast of heat seals those edges right up!
Frequently Asked Questions About This Sugar Cookie Recipe
I get so many wonderful messages from folks who’ve made these, and a lot of excellent questions pop up repeatedly. Since you’re aiming for the gold standard of homemade sugar cookies, let’s clear up a few final details that can make all the difference between a good batch and a truly great one. Don’t worry about perfection; we just want reliable results!
Can I skip the chilling time and make these quick cookies?
Oh, I wish I could tell you yes, because who doesn’t love a quick sugar cookie fix? But absolutely not, not if you want cutouts that hold their shape! The chilling is non-negotiable for this best sugar cookie recipe. If you bake the dough immediately, that butter is too soft, and you’ll end up with sheets of melted butter and thin cookies that spread right into each other. Give it the two hours, or even chill those wrapped disks overnight. That waiting period is what guarantees you get those sturdy, beautiful shapes perfect for holiday decorating.
Are these supposed to be fluffy sugar cookies or flatter cookies?
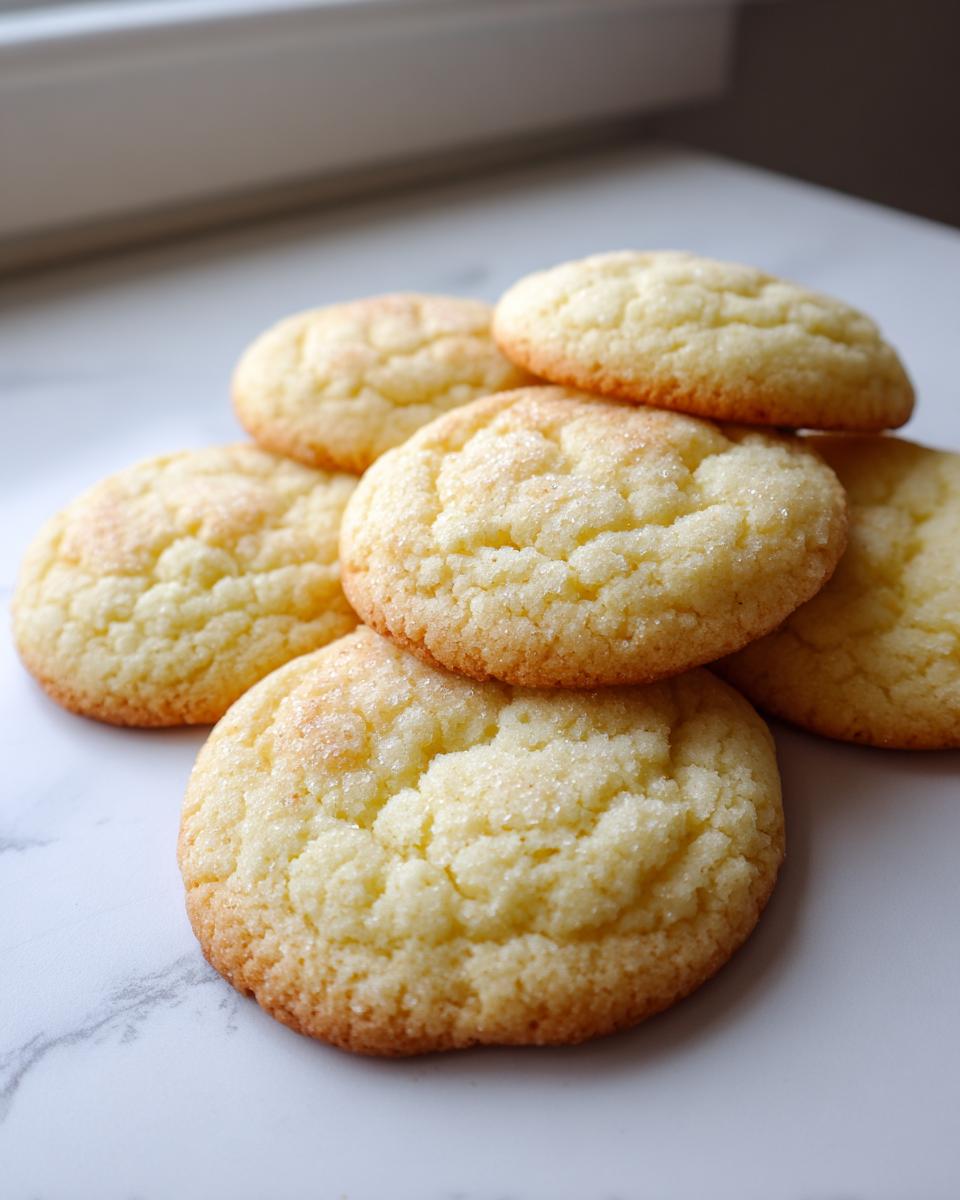
That’s a great question! These are absolutely designed to be soft sugar cookies that are wonderfully tender and slightly thick—think bakery style, not delicate, thin wafers. They aren’t necessarily “fluffy” like a cake or a traditional drop cookie; they have a delightful chew and density because of the creaming method and the specific flour ratio. They rise just enough to be substantial but stay flat enough around the edges so your decorations don’t slide off. They are the perfect texture!
How long will these buttery sugar cookies stay fresh?
The great thing about this recipe is how well it keeps its texture! Kept in an airtight container at room temperature, these buttery sugar cookies delights stay wonderfully soft and chewy for almost a week. If you’ve frosted them, just use parchment paper between layers, and they hold up great too. Check out my privacy policy if you have any concerns about how I handle user data linked to my site here: Kitchenican Privacy Policy.
Can I freeze the dough for later?
Yes, you absolutely can freeze the dough! This is how I manage my baking during busy holiday seasons. After dividing the dough into the two flat disks and wrapping them tightly in plastic wrap, toss them into a freezer-safe bag or container. They last perfect for up to three months! When you’re ready to bake, just pull one disk out and let it thaw slowly in the refrigerator overnight, or leave it on the counter for about an hour until it’s pliable enough to roll again. It’s the easiest way to have your holiday sugar cookies ready whenever you need them.
Estimated Nutritional Data for One Sugar Cookie
I always get asked about the healthy side of things, right? While these are definitely a fantastic treat, I want you to know what you’re working with! I’ve pulled together the general estimates for one of our perfect, buttery sugar cookies based on the ingredient amounts we used. Remember, since everyone’s exact ingredients differ—and one person rolls their dough thicker than another—these are just guidelines, not scientific guarantees.
This breakdown helps you stay mindful, but never let the numbers take the joy out of baking something wonderful for yourself or your family. Cooking should be about nourishment in every sense of the word!
- Serving Size: 1 cookie
- Calories: 150
- Sugar: 14g
- Sodium: 95mg
- Fat: 7g
- Saturated Fat: 4g
- Unsaturated Fat: 3g
- Trans Fat: 0g
- Carbohydrates: 21g
- Fiber: 0g
- Protein: 2g
- Cholesterol: 30mg
Just a quick note on accuracy: These figures are based on standard recipe component calculations. If you swap butter brands or use a different type of flour, the final numbers will shift slightly. So, take these as a helpful snapshot of what makes these delicious homemade sugar cookies tick!
PrintThe Best Soft and Chewy Sugar Cookie Recipe That Holds Its Shape for Decorating

This is the go-to recipe for homemade sugar cookies that stay soft and chewy while holding their shape perfectly for cutouts. You get buttery flavor and reliable results every time you bake.
- Prep Time: 25 min
- Cook Time: 10 min
- Total Time: 155 min
- Yield: 3 dozen 1x
- Category: Dessert
- Method: Baking
- Cuisine: American
- Diet: Vegetarian
Ingredients
- 2 1/4 cups all-purpose flour
- 1 teaspoon baking soda
- 1/2 teaspoon salt
- 1 cup unsalted butter, softened
- 1 1/2 cups granulated sugar
- 1 large egg
- 1 teaspoon vanilla extract
- 1/2 teaspoon almond extract
Instructions
- In a medium bowl, whisk together the flour, baking soda, and salt. Set aside.
- In a large bowl, beat the softened butter and granulated sugar with an electric mixer until light and fluffy, about 3 minutes.
- Beat in the egg, vanilla extract, and almond extract until just combined.
- Gradually add the dry ingredients to the wet ingredients, mixing on low speed until the dough just comes together. Do not overmix.
- Divide the dough in half, flatten each half into a disk, wrap tightly in plastic wrap, and chill in the refrigerator for at least 2 hours, or up to 2 days. Chilling is key for cut out sugar cookies that don’t spread.
- Preheat your oven to 375°F (190°C). Line baking sheets with parchment paper.
- On a lightly floured surface, roll out one disk of dough to about 1/4 inch thickness. Use your favorite cookie cutters to cut out shapes.
- Place the cutouts onto the prepared baking sheets, leaving about 1 inch between them.
- Bake for 8 to 10 minutes, or until the edges are lightly golden. For soft sugar cookies, err on the side of underbaking slightly.
- Let the cookies cool on the baking sheet for 5 minutes before transferring them to a wire rack to cool completely before frosting.
Notes
- For the best results when decorating, allow the cookies to cool completely before applying royal icing or buttercream.
- If your dough feels too soft while rolling, return it to the refrigerator for 15 minutes.
- You can substitute the almond extract with more vanilla if you prefer a classic sugar cookie flavor.
Nutrition
- Serving Size: 1 cookie
- Calories: 150
- Sugar: 14g
- Sodium: 95mg
- Fat: 7g
- Saturated Fat: 4g
- Unsaturated Fat: 3g
- Trans Fat: 0g
- Carbohydrates: 21g
- Fiber: 0g
- Protein: 2g
- Cholesterol: 30mg