
If you’ve ever had that moment—that deep, undeniable craving for something sweet, fast, and utterly decadent—I totally get it. That used to be my emergency signal to order takeout, but now? Now I turn to my secret weapon: the Easy No-Bake Buckeye Fudge Recipe. Trust me when I say this is the pinnacle of chocolate and peanut butter bliss, created with almost zero effort. I’m Ava Sinclair, and when I started my kitchen journey, I certainly didn’t think I’d be mastering homemade candy. But this recipe proves that simple ingredients, handled correctly, result in something extraordinary. If you’re looking for that confidence boost along with an incredible treat, you’ve landed in the right spot. You can find plenty more recipes designed for real life over in my collection of delicious dessert recipes.
- Why You Will Love This Easy No-Bake Buckeye Fudge Recipe
- Gather Your Ingredients for Buckeye Fudge
- Step-by-Step Instructions for Perfect Buckeye Fudge
- Tips for Success Making Homemade Candy Recipes
- Variations for Your Buckeye Fudge Dessert
- Storage and Reheating Instructions for Rich Chocolate Fudge
- Frequently Asked Questions About Buckeye Fudge Recipe
- Estimated Nutritional Data for Decadent Fudge Dessert
- Share Your Simple Fudge Recipe Experience
Why You Will Love This Easy No-Bake Buckeye Fudge Recipe
I’ve made a ton of treats in my kitchen, and this one always rises to the top—especially when time is tight. You don’t need an oven, and frankly, you don’t even need much skill! It’s pure, straightforward deliciousness. Here’s why I think this Buckeye Fudge is about to become your go-to fudge:
- Seriously No-Bake: We’re skipping the stove fuss for the most part! The peanut butter base comes together with just a mixer, and the topping involves gentle melting. It’s honestly one of the fastest homemade candy recipes you can tackle.
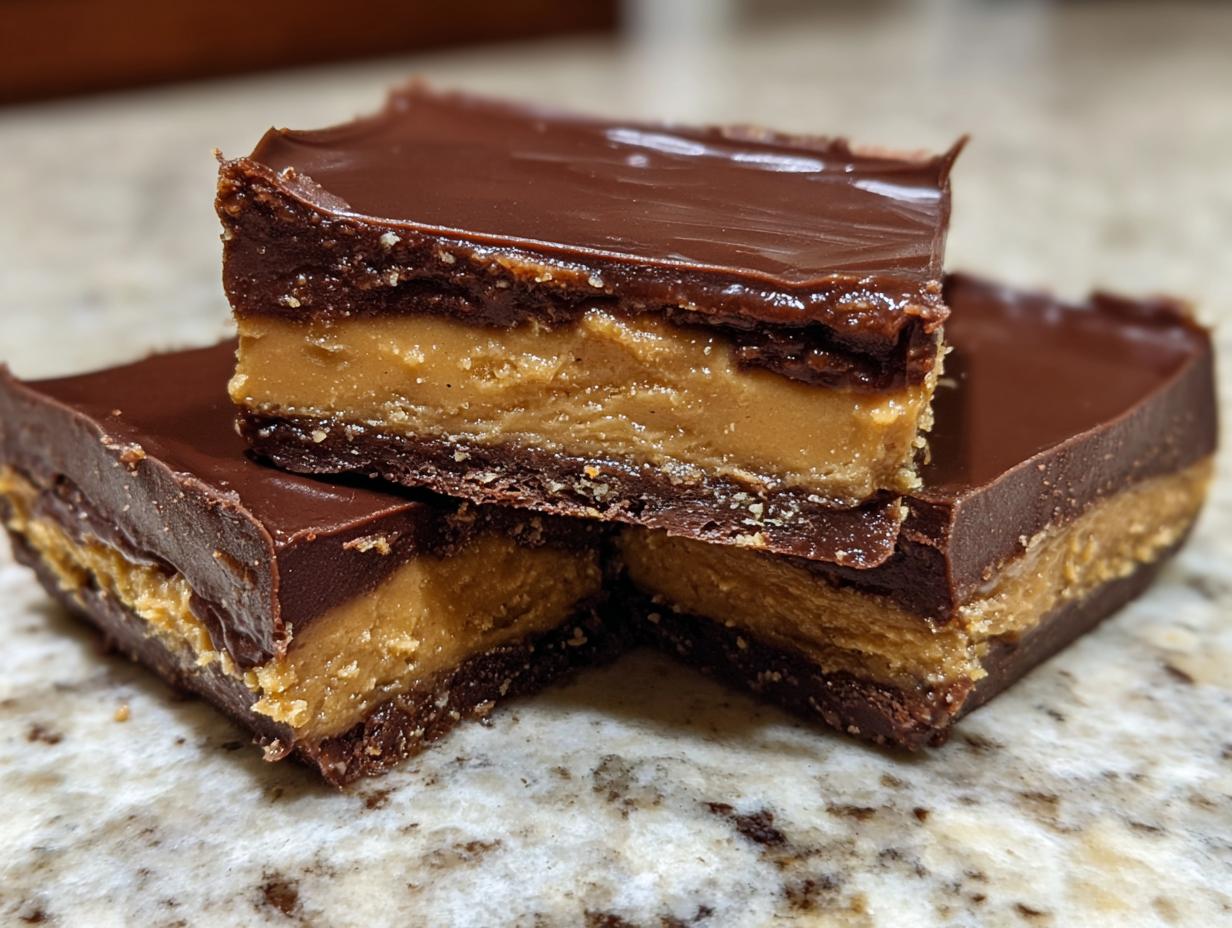
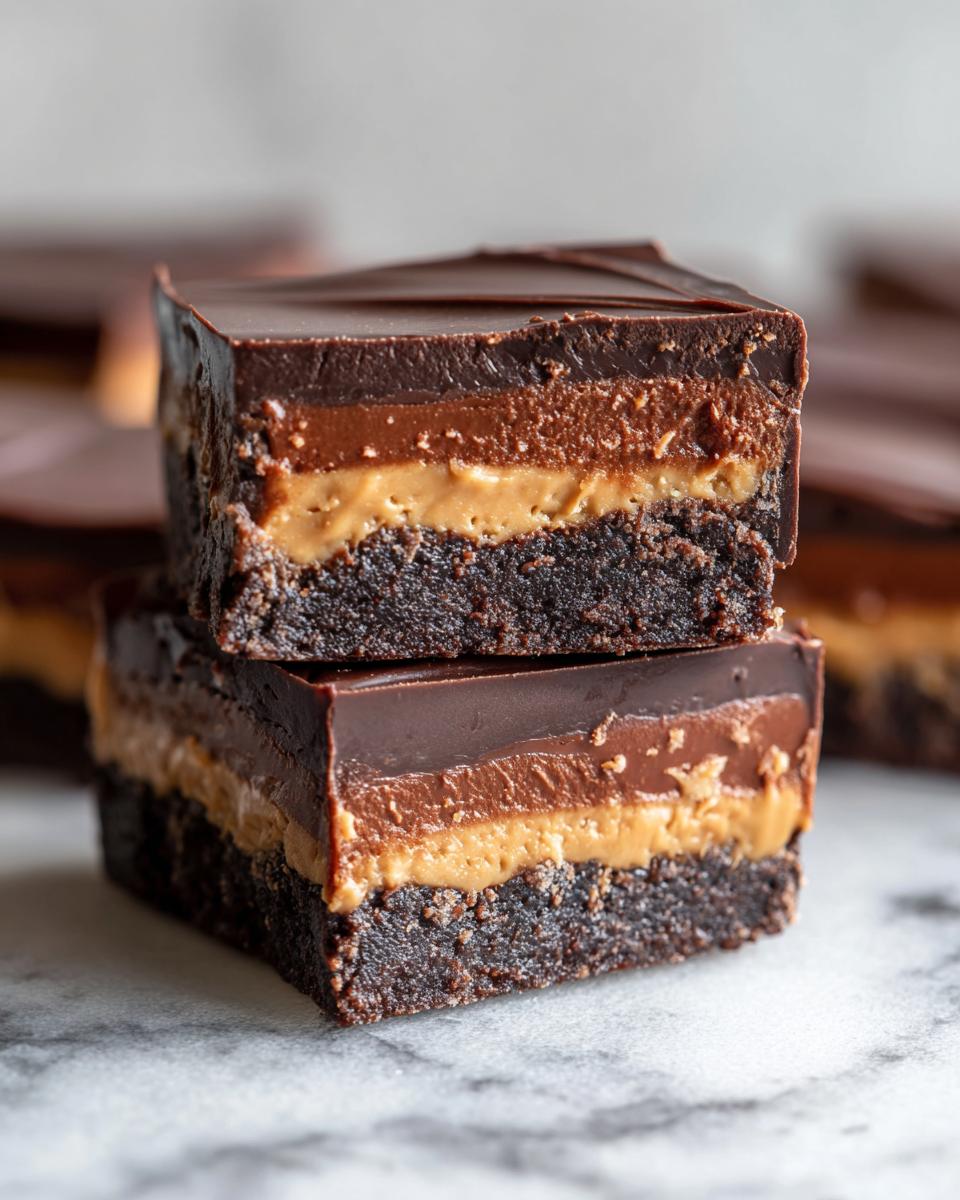
- Flavor Check: You get that absolute classic combination—rich, slightly bitter chocolate topping melting into a sweet, salty, unbelievably creamy peanut butter layer. It’s comfort food squared!
- Quick Prep Time: With only about 20 minutes of actual work before it hits the fridge, you can whip this up after dinner and have it ready for a snack the next day. It’s the ultimate quick fudge treat for last-minute party needs.
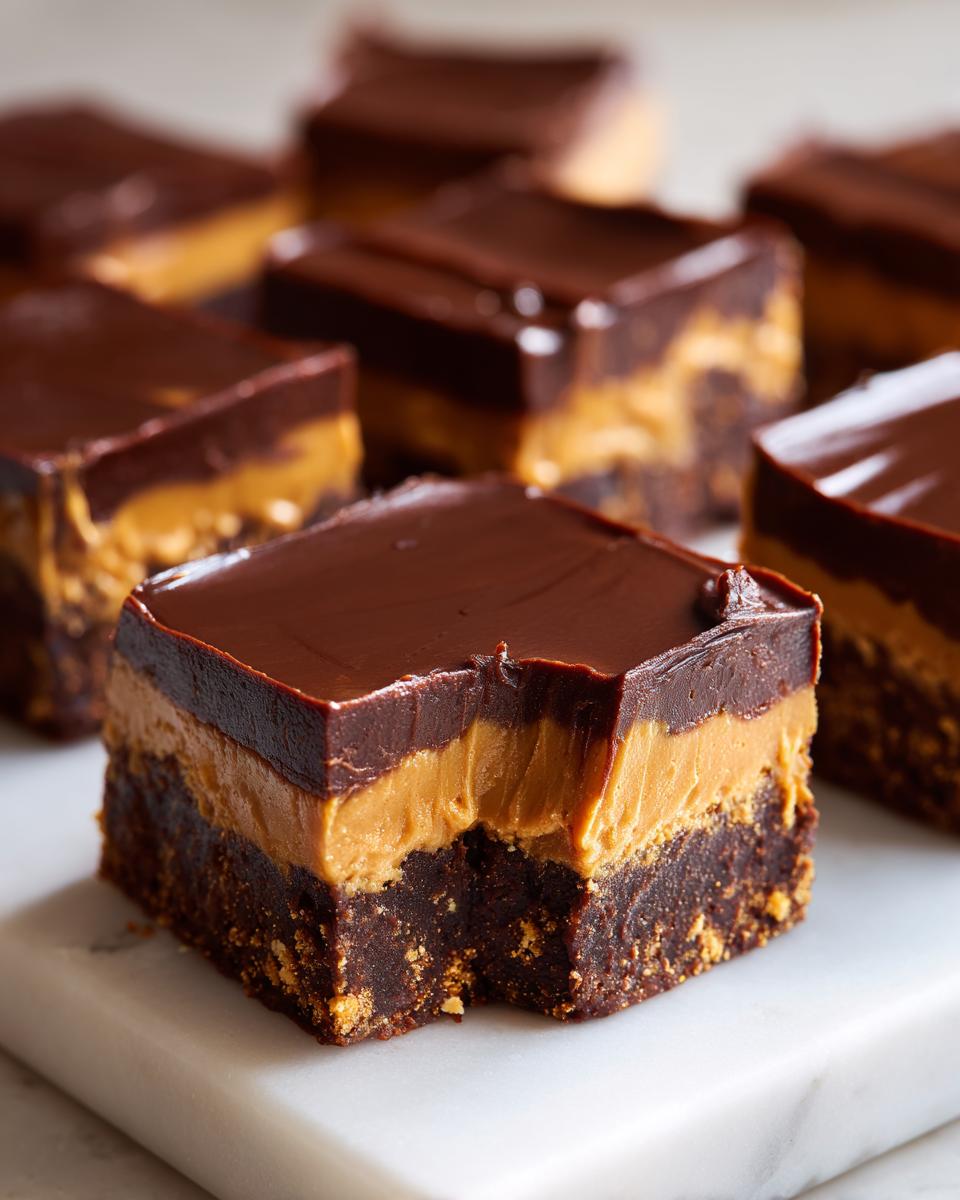
- Perfect for Sharing: Since it sets up beautifully firm, you get neat, gorgeous squares that look impressive when you serve them. These make fantastic holiday fudge ideas or simple gifts for neighbors.
- Minimal Ingredients: Most of what you need—butter, sugar, peanut butter, chocolate chips—you probably already have in your pantry right now. No trekking to specialty stores needed here!
Gather Your Ingredients for Buckeye Fudge
Okay, let’s get organized! Since this is a no-bake recipe, the prep is all about making sure your ingredients are ready to go. This is where we build that incredible, creamy peanut butter layer everyone raves about. Just a friendly heads-up right at the start: to guarantee that smooth, decadent fudge texture, you absolutely have to stick with creamy peanut butter. Those natural, stir-it-yourself kinds just don’t work the same way here!
Peanut Butter Base Ingredients
- 1 cup unsalted butter, softened (make sure it’s truly soft!)
- 1 1/2 cups creamy peanut butter
- 3 1/2 cups powdered sugar, sifted (sifting stops lumps, trust me)
- 1 teaspoon vanilla extract
Chocolate Topping Ingredients
This part gets poured right over the top to create that perfect chocolate shell. It’s simple but so rich!
- 7 ounces sweetened condensed milk
- 1 1/2 cups semi-sweet chocolate chips
- 2 tablespoons butter (this helps everything melt down beautifully)
Step-by-Step Instructions for Perfect Buckeye Fudge
Don’t let the word “fudge” scare you! This is officially a No Bake Fudge miracle. We keep the mess minimal and the payoff huge. Just follow these steps closely, and you’ll have the most delicious homemade candy ready for the fridge in about 20 minutes of active work. Once chilled, you’ll be amazed at how easily these decadent squares slice!
Preparing the Pan and Peanut Butter Layer
First things first, you need a home for your fudge. Line that 8×8 inch baking pan with parchment paper, making sure you leave an overhang on two opposite sides. These dangly sides are your handles later—don’t skip them! Now, grab your softened butter and the creamy peanut butter. Beat those two together until they look nice and unified. Next, we add the powdered sugar and vanilla. Mix this slowly at first because powdered sugar likes to fly everywhere! Keep going until it looks like a thick, stiff dough. That’s your base ready for action.
Creating the Rich Chocolate Ganache Topping
This topping is what truly makes it a Buckeye Fudge experience. In a small saucepan, you’ll stir together the sweetened condensed milk, the chocolate chips, and that extra two tablespoons of butter. Keep the heat low—low and slow is the game here. You must stir constantly until everything melts into a gleaming, smooth pool. Seriously, do not let this boil or even simmer aggressively! If it gets too hot, it can seize up or make your fudge grainy, and we want pure silkiness.
Assembling and Chilling the Buckeye Fudge
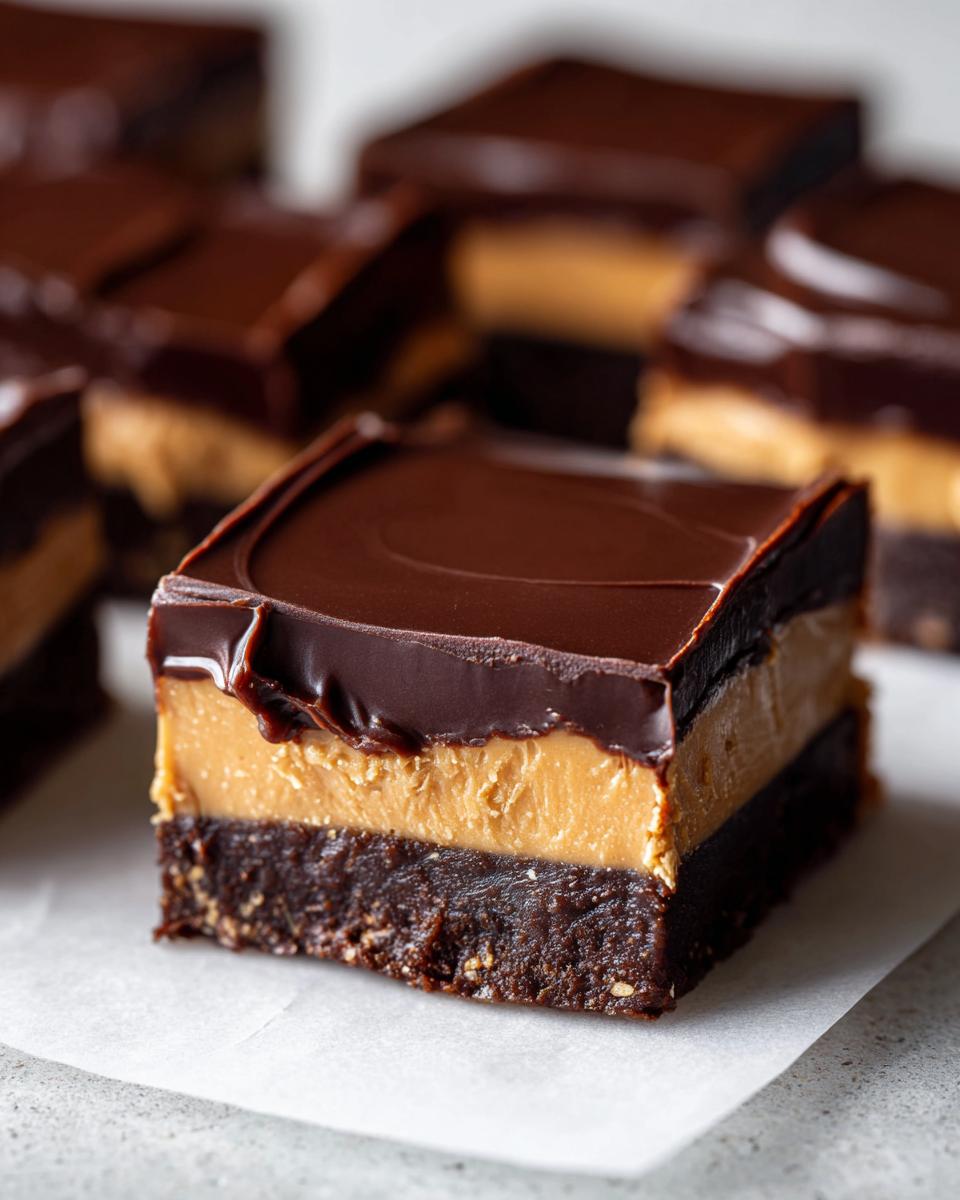
Take that lovely, stiff peanut butter mixture and press it firmly and evenly into your prepared pan. It needs to be flat so the top layer sits nicely. Now, gently pour that beautiful melted chocolate topping—it needs to cover every corner of the peanut butter layer. Spread it out carefully so you don’t drag the peanut butter up into the chocolate. That’s it for assembly! Now, be patient. Pop the whole thing into the refrigerator for at least three hours. Trust me, trying to cut it before it’s firm results in a sticky mess. If you want clean cuts for serving, chilling is crucial. You can find inspiration for sweet treats like this when learning how to make peanut butter rice krispie treats too!
Tips for Success Making Homemade Candy Recipes
Since this is one of those simple fudge recipes that relies so much on texture, mastering just a couple of details can take you from “good” to “I need to hide this from my family.” Part of building kitchen confidence, as I learned, is knowing *when* to deviate and when to stick exactly to the plan. These little pointers are what I picked up over failed batches before landing on perfection.
Peanut Butter Texture Matters
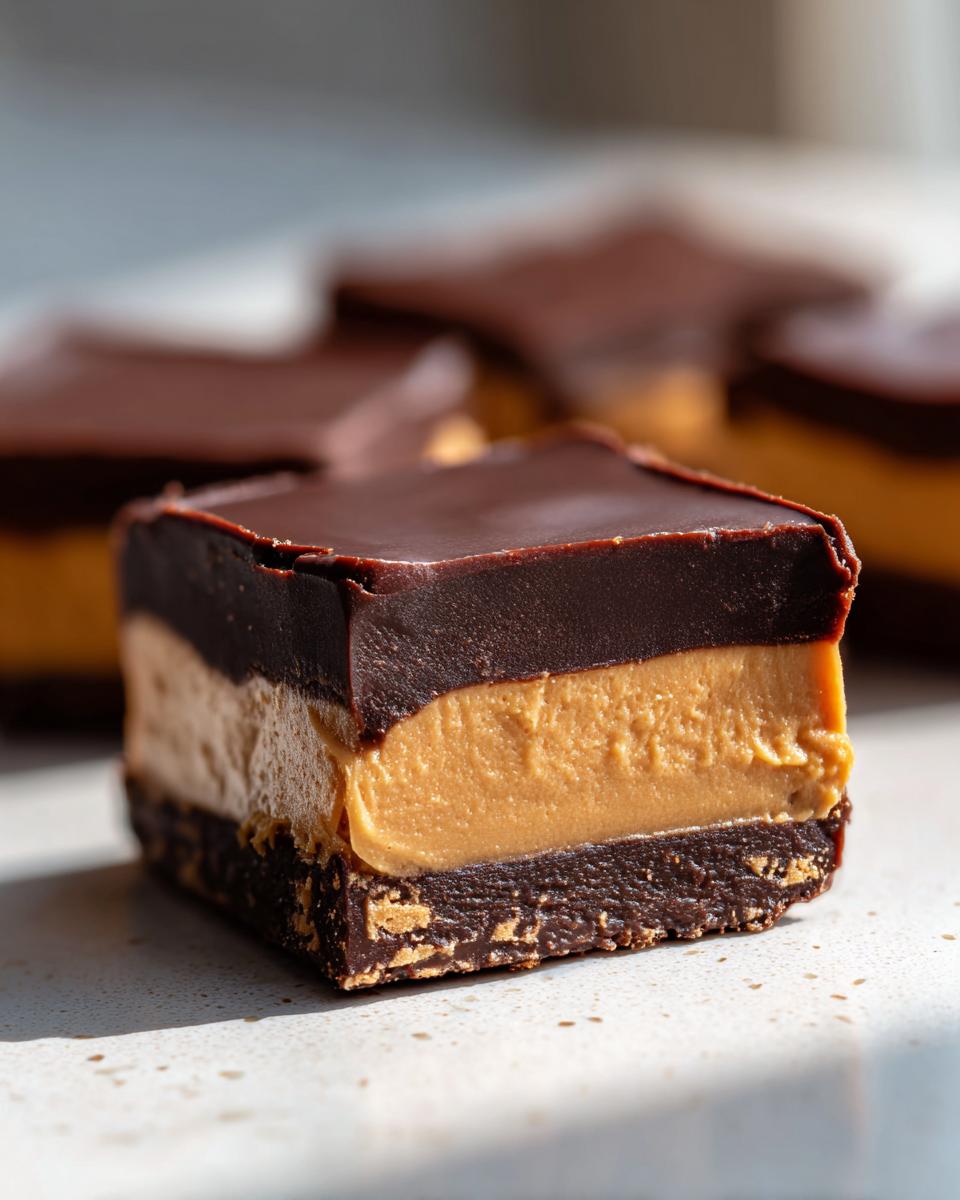
I stressed this before, but it bears repeating: put down the natural peanut butter. When you use that kind—the one where the oil separates—you throw off the whole structural balance of the peanut butter layer. Natural peanut butter tends to be runnier and doesn’t hold up as well when mixed with all that powdered sugar. It makes the base softer, almost greasy, and it won’t set firm enough when chilled. We need that distinct, slightly crumbly, yet super creamy texture that only stabilized, creamy peanut butter can provide. It’s the foundation of this whole delicious treat!
Achieving a Smooth Chocolate Layer
When you make the topping, you’re mixing sugar (from the condensed milk) and milk solids with melting chocolate. If your heat is too high, the milk solids scorch, and the whole thing can seize up into a grainy, stiff mess instead of that shiny, pourable ganache we want. My trick is always to melt the chocolate half-off the heat. I stir the chips, milk, and butter together until the chocolate is about 80% melted, then I take the saucepan completely off the burner. The residual heat is almost always enough to finish the job while keeping everything silky smooth. If you’re ever worried about it seizing, you can add half a teaspoon of good vegetable oil during this stage—it helps stabilize that chocolate.
If you want to explore other successful baking projects after conquering this, check out some ideas for creamy garlic white sauce—it’s savory, but it’s built on that same principle of making simple things taste gourmet!
Variations for Your Buckeye Fudge Dessert
I love recipes that are super flexible, and this Buckeye Fudge is definitely one of them! Once you have mastered the basic rich chocolate and creamy peanut butter layers—which, let’s be honest, is already halfway to dessert heaven—you can start playing around a little bit. Don’t worry, these little tweaks still respect that no-bake simplicity we love. When you’re ready to move beyond the basic version, try these ideas to customize your Creamy Peanut Butter Dessert creation.
Chocolate Chip Swaps
The recipe calls for semi-sweet chocolate chips for the topping, which I think balances the sweetness of the peanut butter layer perfectly. But sometimes I crave something different! If you like things sweeter—maybe you’re making this for a kid’s party—feel free to swap in milk chocolate chips instead. They melt down just as easily and give the top layer a softer, sweeter profile. On the flip side, if you want to cut through the richness even more, use a good quality dark chocolate chip. That deeper cocoa flavor really elevates the whole square.
Adding a Salty Crunch to Your Buckeye Fudge
This is probably my favorite small addition, especially if you’re serving the fudge at a big gathering. Right after you pour that warm, glossy chocolate topping over the peanut butter base (before you put it in the fridge!), go ahead and sprinkle the top lightly with flaky sea salt. Don’t use the stuff you shake over pretzels, either—get those nice, delicate flakes! The slight crunch and the burst of salty flavor against the sweet chocolate and peanut butter duo is just heavenly. It turns this simple treat into something that feels just a little bit gourmet.
It’s amazing how small changes can keep a Simple Fudge Recipe feeling fresh batch after batch. If you’ve tried sneaking some of your own ideas into the dough, I’d love to hear about them below! You can see how I play around with classic flavors over in my post about brown butter sugar cookies, too!
Storage and Reheating Instructions for Rich Chocolate Fudge
Dealing with leftovers of this amazing Buckeye Fudge is the best kind of problem to have, right? Because it’s a no-bake treat relying on butter and chocolate setting up firm, storage is actually super straightforward. The main thing to remember is that temperature is key to keeping those layers perfectly defined and chewy, not messy!
For the best results and longest life, you need to keep this rich chocolate fudge refrigerated. Pop your cut squares into an airtight container. I like to put a piece of parchment paper between the layers if I’m stacking them up—this prevents the chocolate top from sticking to the peanut butter base below. In the fridge, tightly covered, this glorious candy stays perfectly delicious for a good week, maybe even ten days! I’ve found that if you don’t hide it well, it disappears much faster than that.
Now, what happens if you leave a piece out on the counter? Since this recipe uses real butter in both layers, it gets quite soft at warm room temperature, especially if your kitchen runs hot. It will soften up nicely, making it almost fudgy-gooey for immediate eating, but it loses that clean square shape. If you plan to serve it the same day, that’s fine! Just don’t leave the whole batch sitting out for hours, or you’ll end up with a slab of chocolatey goo instead of neat squares.
And reheating? Since this is a cold dessert, “reheating” means letting it warm up just a tiny bit if it comes straight from a deep chill—maybe 10 minutes on the counter. That slight softening makes it melt-in-your-mouth perfect without getting sloppy. Enjoy every last bite!
Frequently Asked Questions About Buckeye Fudge Recipe
I always get so many questions when my readership tries making a new Homemade Candy Recipe for the first time, and that’s wonderful! It shows you’re invested in getting great results. Since this is a no-bake treat, people often wonder about ingredient substitutions or the best way to handle the chilling process. Let’s clear up some of the most common things I hear about making this Creamy Peanut Butter Dessert!
Can I use natural peanut butter in this No Bake Fudge?
Oh, I know it’s tempting to use the healthier option, but please, stick to creamy peanut butter for this one! If you use natural peanut butter—the kind where the oil separates at the top—the fudge layer just won’t hold its structure. The oil separates out during mixing and chilling, leaving you with a greasy, unstable peanut butter base that basically collapses into a puddle. For the perfect density in this No Bake Fudge, you need that processed, homogenized creamy style.
How long does this homemade candy recipe last?
This is one of the great benefits of making a Simple Fudge Recipe like this one! Because it is stored cold, it lasts quite a while. If you keep your Homemade Candy Recipes squares in an airtight container in the refrigerator, they should stay perfectly fantastic for about a week to ten days. If you manage to keep them that long, that is! They freeze well too, if you need to make them far in advance for the holidays.
What is the best way to cut the fudge cleanly?
Cutting cleanly is all about patience! You must let the fudge chill completely—I mean, rock hard—for at least three hours, maybe even four if your kitchen is warm. Once it is rock hard, pull the whole slab out using the parchment paper overhang and set it on a cutting board. For the cleanest cuts that make those beautiful squares, use a long, sharp knife that you’ve dipped in hot water and wiped dry in between every single slice. That gentle heat cuts straight through the chocolate topping without cracking it or dragging the peanut butter layer.
If you’ve successfully mastered this batch, you might also want to try my recipe for an easy creamy fruit dip—it’s another great way to use up that sweet, creamy base flavor!
Estimated Nutritional Data for Decadent Fudge Dessert
Okay, let’s talk nutrition for our Decadent Fudge Dessert. I know some of us watch the numbers, and while this is definitely an indulgence, it’s helpful to see what’s in a square of that rich chocolate and peanut butter goodness. Remember, I’m a home cook, not a registered dietitian, so these numbers are estimates based on the exact ingredients listed in the recipe above, assuming we get the full 36 small squares!
These estimates are based on an average serving size of one small square. If you decide to make your fudge squares bigger—which I completely understand, who can use restraint?—the numbers obviously change!
- Serving Size: 1 square
- Calories: 185
- Total Fat: 11g
- Saturated Fat: 5g
- Carbohydrates: 20g
- Sugar: 18g (Yep, it’s sweet!)
- Protein: 3g
- Cholesterol: 15mg
See? It’s a satisfying treat! The fat content mostly comes from that lovely butter and peanut butter, which gives it that amazing melt-in-your-mouth texture we worked so hard for. Don’t let the numbers stop you from enjoying this incredible Buckeye Fudge when the craving hits!
Share Your Simple Fudge Recipe Experience
So, that’s it! That’s the entire process for creating what I consider the absolute easiest, most decadent Buckeye Fudge around. It truly is a testament to how simple, quality ingredients can achieve what feels like gourmet results. I put my heart into stripping away the intimidation factor from making beautiful homemade candy, and I really hope you feel empowered to try this!
Now that you’ve made it, I desperately want to hear about your experience! Did you manage to keep your hands off the pan during that three-hour chill time? Did you try swapping out the chocolate chips? Or maybe you found an even better way to cut the squares?
Please, leave me a rating below—five stars if it solved your sweet craving crisis as perfectly as it solved mine! If you have any questions about substitutions or storage, drop them in the comments too; someone else probably has the exact same question. You can always learn more about my philosophy on simple cooking over on my About page, but honestly, the best part of this community is seeing your kitchen successes!
If you’re looking for more easy treats that pack a massive flavor punch, don’t forget to check out this simple recipe for fudge that other cooks swear by here: Quick & Easy Homemade Buckeye Fudge.
Happy baking—or, in this case, happy chillin’!
PrintEasy No-Bake Buckeye Fudge Recipe
Make this easy no-bake Buckeye Fudge for a rich chocolate and creamy peanut butter dessert. This simple recipe delivers decadent flavor perfect for holidays or quick treats.
- Prep Time: 15 min
- Cook Time: 5 min
- Total Time: 35 min
- Yield: 36 small squares 1x
- Category: Dessert
- Method: No Bake
- Cuisine: American
- Diet: Vegetarian
Ingredients
- 1 cup unsalted butter, softened
- 1 1/2 cups creamy peanut butter
- 3 1/2 cups powdered sugar, sifted
- 1 teaspoon vanilla extract
- 7 ounces sweetened condensed milk
- 1 1/2 cups semi-sweet chocolate chips
- 2 tablespoons butter (for topping)
Instructions
- Line an 8×8 inch baking pan with parchment paper, leaving an overhang on two sides for easy removal.
- In a large bowl, beat the softened butter and creamy peanut butter together until smooth.
- Gradually add the sifted powdered sugar and vanilla extract, mixing on low speed until fully combined and the mixture forms a thick dough.
- Press the peanut butter mixture evenly into the prepared pan.
- In a small saucepan over low heat, combine the sweetened condensed milk, chocolate chips, and 2 tablespoons of butter. Stir constantly until the chocolate is completely melted and the mixture is smooth. Do not let it boil.
- Pour the melted chocolate mixture evenly over the peanut butter layer in the pan. Spread carefully to cover the entire surface.
- Refrigerate the fudge for at least 3 hours, or until firm enough to cut.
- Use the parchment paper overhang to lift the fudge from the pan. Cut into small squares before serving.
Notes
- For the best texture, use creamy peanut butter, not natural style.
- You can substitute dark chocolate chips for semi-sweet in the topping if you prefer a less sweet fudge.
- Store leftover fudge in an airtight container in the refrigerator.
Nutrition
- Serving Size: 1 square
- Calories: 185
- Sugar: 18
- Sodium: 75
- Fat: 11
- Saturated Fat: 5
- Unsaturated Fat: 6
- Trans Fat: 0
- Carbohydrates: 20
- Fiber: 1
- Protein: 3
- Cholesterol: 15