
We’ve all been there, right? It’s 5:30 PM, the fridge looks questionable, and the last thing you want is some fussy, complicated dinner that takes a million steps. I know that feeling well! Back when I first started Kitchenican, I used to think real, satisfying meals required some secret technique only professional chefs knew. I spent years substituting takeout menus for actual cooking. But you know what I discovered? The absolute best comfort food—the kind that instantly makes everyone happy—is often the simplest.
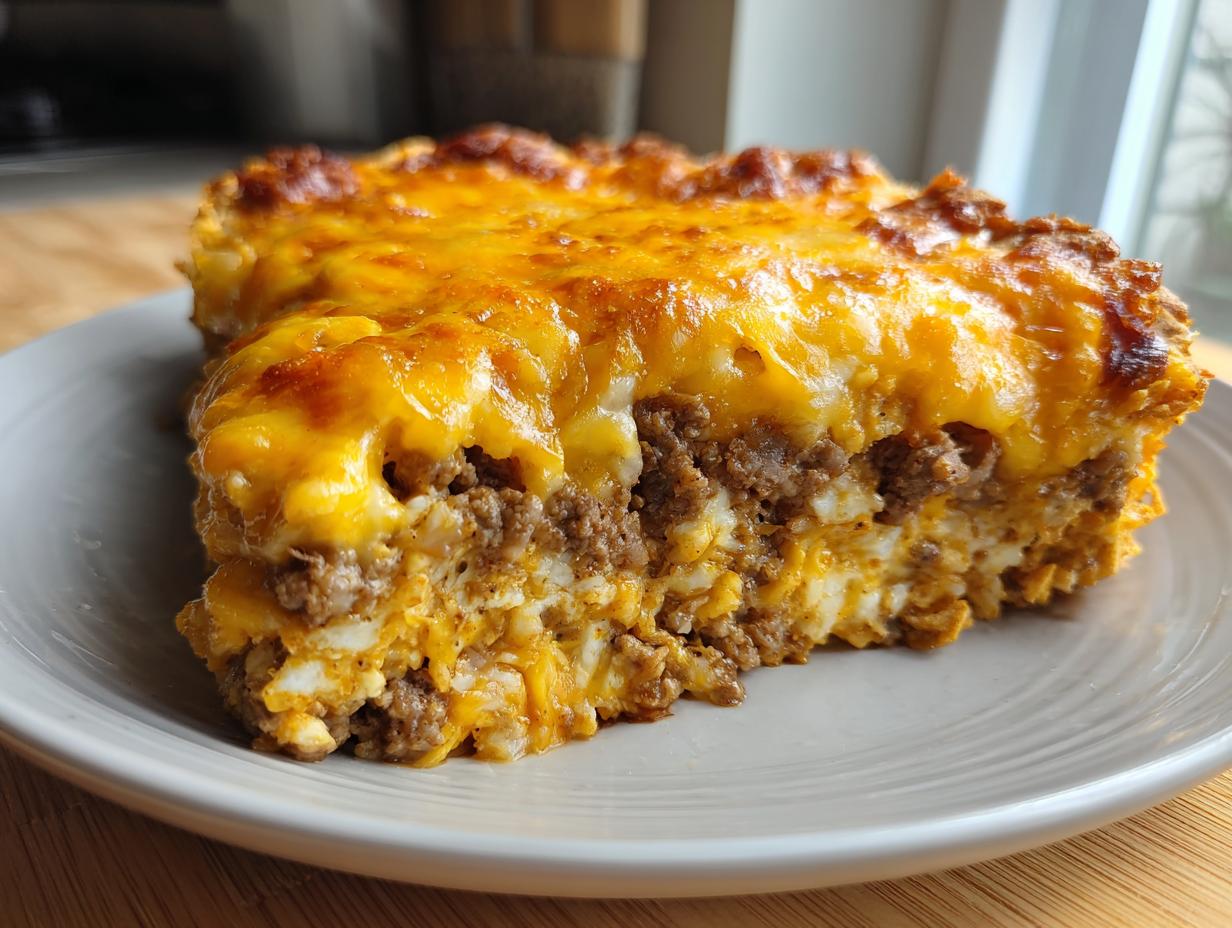
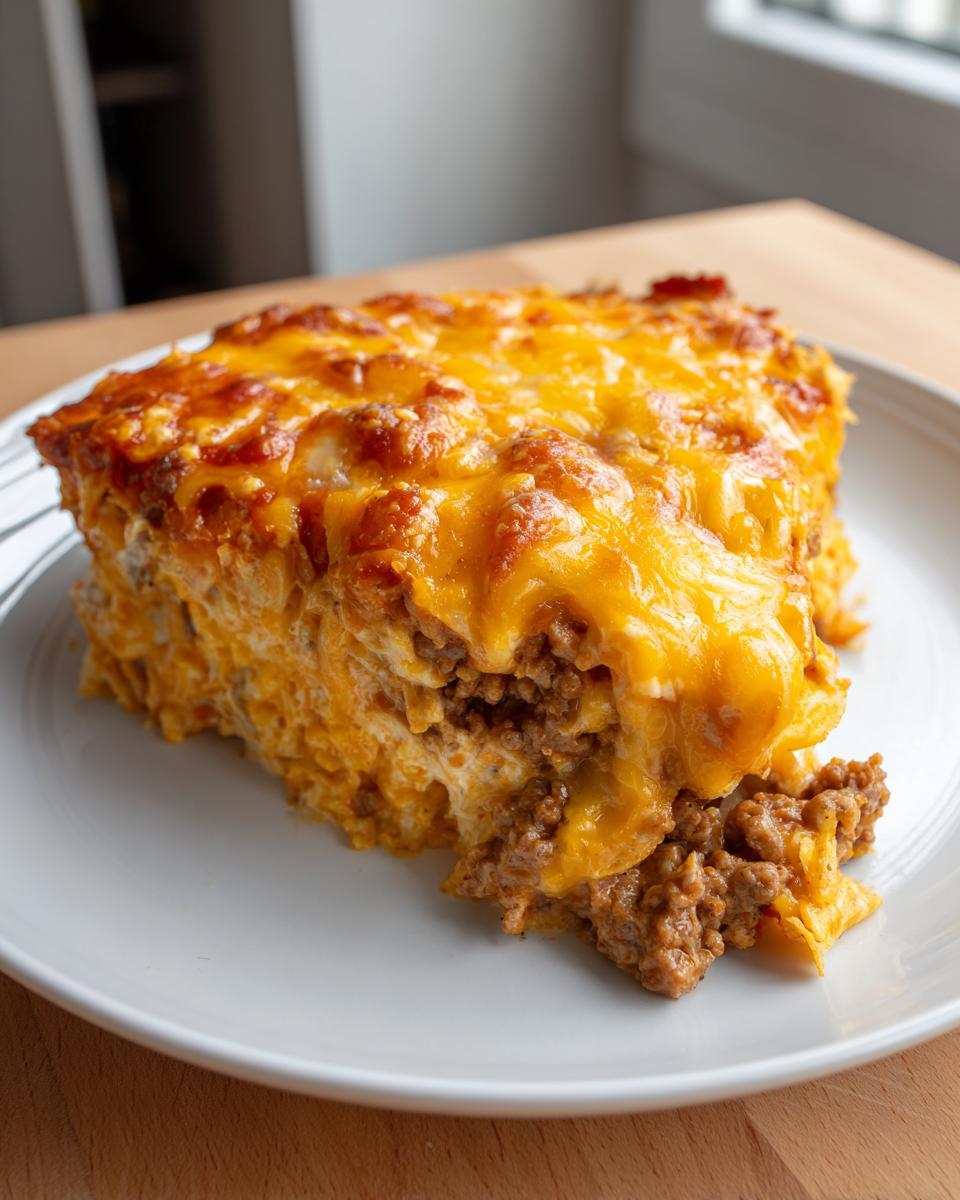
That’s why I am so excited to share this ultimate comfort food champion with you: the Dorito Casserole. This isn’t just dinner; it’s a hug in a 9×13 dish. It’s cheesy, it’s crunchy, and everyone in my house—even the pickiest eaters—asks for this recipe by name. If you’re looking for a complete turnaround from intimidating cooking to total weeknight confidence, this **Easy Dorito Casserole Recipe** is where we begin our journey together. It truly proves that you can create something amazing without spending hours in the kitchen.
- Why This Easy Dorito Casserole Recipe Works for Busy Cooks
- Gathering Ingredients for Your Ultimate Nacho Cheese Casserole
- Step-by-Step Instructions for the Ground Beef Dorito Bake
- Tips for Success When Making a Cheesy Dorito Bake
- Serving Suggestions for Your Family Favorite Casserole Dinner
- Storage and Reheating Instructions for Leftover Dorito Casserole
- Frequently Asked Questions About This Comfort Food Casserole Ideas
- Estimated Nutritional Data for One Serving
- Share Your Kitchenican Creations
Why This Easy Dorito Casserole Recipe Works for Busy Cooks
When my schedule gets heavy, I lean hard on recipes that deliver massive flavor without requiring me to camp out at the stove. Honestly, this **Easy Dorito Casserole Recipe** is my secret weapon for those chaotic days. It’s proof that you don’t need complicated steps or loads of fancy gadgets to make a *really* satisfying meal.
This recipe cuts straight to the good stuff. It’s accessible, deeply comforting, and it always disappears first at potlucks!
Quick Prep and Bake Times
You’re looking at maybe 15 minutes of active prep time, and then it just goes into the oven to bubble away. We’re talking a total time commitment of only about 40 minutes from start to finish! That’s why I call it my go-to **Quick Weeknight Casserole**. You can use that baking time to set the table or finally relax for a second.
Kid Approved Dinner Recipes Staple
This is where this bake truly shines for me. It hits every single checkmark for what kids love: cheese, meat, and a seriously crunchy topping. If you are trying to get dinner on the table that requires zero negotiation, this is it. The combination of creamy sauce and savory chips just works so well. It’s a total **Kid Approved Dinner Recipes** winner around here, guaranteed.
Gathering Ingredients for Your Ultimate Nacho Cheese Casserole
Okay, let’s talk about what goes into this amazing Dorito Casserole. The beauty of this recipe is that it uses things you probably already have lurking in the pantry, which keeps the stress level super low. We’re building layers of flavor here, starting with the base! You’ll need one full pound of ground beef and one medium onion, finely chopped, to get things started. For that signature creamy sauce—the heart of this dish—we rely on two cans of soup, specifically one 10.5 ounce can of cream of mushroom and one 10.5 ounce can of cream of chicken.
Don’t forget the tang! We mix in one cup of sour cream and one 10 ounce can of Ro-Tel diced tomatoes and green chilies, and make sure you pour that whole can in, juices and all. For seasoning, keep it classic with one teaspoon of chili powder and just half a teaspoon of cumin, plus half a cup of water to help everything blend smoothly. And of course, the cheese—we call for two cups of regular shredded cheddar cheese for the main mix, but we save a little bit for the end!
Ingredient Notes and Substitutions for Dorito Casserole
Now, about those Doritos. You need one bag, specifically the 9.25 ounces of the Nacho Cheese flavor, because that’s the classic flavor explosion we are aiming for. You’ll want to lightly crush these before adding them!
I highly recommend crushing them the old-fashioned way: dump them into a sturdy zip-top bag, seal it up tight, and then gently crush them with a rolling pin or even the flat bottom of a heavy saucepan. You don’t want powder, you want varied crumbles—some big chunks for texture, some finer bits for binding. This is key for that perfect Crunchy Topping Casserole finish!
If ground beef isn’t your thing, you can absolutely swap it out. This tastes fantastic as a Chicken Dorito Casserole variation if you use cooked, shredded chicken instead. Just remember, whatever protein you use, make sure you drain off every bit of grease after browning unless you want the casserole to turn out a little oily later!
Step-by-Step Instructions for the Ground Beef Dorito Bake
Alright, let’s get this **Dorito Casserole** assembled! This is where we take those beautiful ingredients and turn them into dinner magic. I always tell people that the confidence to cook comes from breaking down the steps, and this bake is straightforward—just follow along, and you can’t mess it up. Before you even touch the stove, remember to get your oven preheated to 375 degrees Fahrenheit, and grab that 9×13 dish to give it a quick grease job.
If you want to learn more about my own journey from kitchen novice to someone who actually enjoys this process, you can read a bit about my story right here. But for now, let’s cook!
Preparing the Creamy Meat Base
First things first: we need to brown that pound of ground beef along with your chopped onion in a big skillet over medium heat. Once it’s cooked through, you absolutely must drain off any excess grease. Trust me on this—if you skip draining, you end up with a watery, sad bottom layer instead of a firm, flavorful base. Once drained, reduce the heat a little bit.
Now, into the same skillet goes the creamy element: stir in both cans of soup (mushroom and chicken), the sour cream, the entire can of undrained Ro-Tel, your chili powder, cumin, and water. Keep stirring everything over medium heat until the mixture gets hot and starts bubbling just slightly around the edges. That visual indicator tells you it’s ready. Take the skillet *off* the heat immediately so it doesn’t scorch.
Assembling and Baking the Dorito Casserole
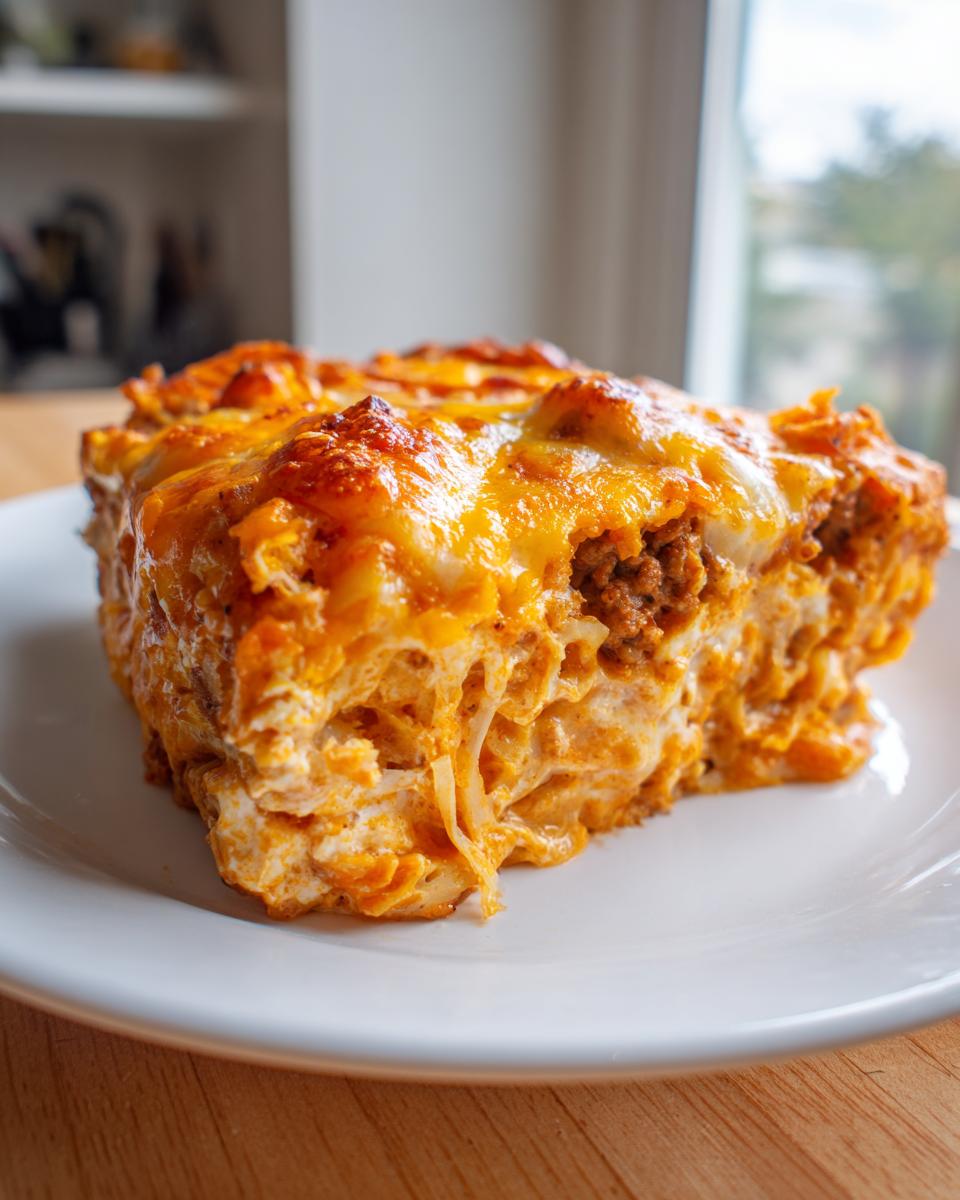
This is the fun part where we layer! Stir in one and a half cups of your shredded cheddar cheese right into that hot meat mixture until it melts in beautifully. Then, gently fold in *half* of your crushed Doritos. We want some crunch inside the casserole, but we need the other half for the topping!
Spread that entire, glorious mixture evenly into your greased baking dish. Now, take the remaining crushed Doritos and sprinkle them over the top evenly. Pop it into the 375-degree oven for about 20 to 25 minutes. You’re looking for it to be bubbly all over. The final trick for maximum richness? As soon as you pull it out, immediately sprinkle that final half-cup of cheddar cheese right onto the hot chips. Let the whole thing rest for just five minutes so it sets up before you serve!
Tips for Success When Making a Cheesy Dorito Bake
Listen, anyone can follow the steps, but what separates a good casserole from a *fantastic* one is controlling the texture. Nobody wants a soggy chip! Since this **Cheesy Dorito Bake** is all about that crunch factor—especially on top—I’ve learned a few tricks over the years to make sure the base stays firm and the topping stays crisp.
The biggest enemy we fight in any casserole, especially one this rich, is excess moisture. If you follow the recipe exactly, you should be fine, but if you like your **Layered Nacho Bake** to have a bit more structure, I have one specific spot you need to check.
Controlling Moisture in Your Layered Nacho Bake
The main liquid culprits here are the Ro-Tel tomatoes and the water we add to thin the sauce slightly. If, for instance, your can of Ro-Tel seemed extra watery, or maybe you used a different kind of diced pepper mix, you might have a looser sauce than intended.
My trick? Before you stir in the Ro-Tel, pour the contents of the can through a fine-mesh strainer. Use a spoon to gently press down on the tomatoes and peppers to push out that excess liquid. You still add the tomatoes, but you leave most of the watery juice behind. Also, if you find yourself at Step 4 and the mixture still looks slightly too soupy even after cooking down for a minute, just skip adding the half-cup of water entirely. The sour cream and condensed soups are usually enough binder. This simple adjustment ensures your homemade **Dorito Casserole** holds its shape beautifully when you slice into it!
Serving Suggestions for Your Family Favorite Casserole Dinner
Okay, so this **Dorito Casserole** is rich. It’s absolutely loaded with cheese, beef, and creamy sauce, which is exactly why we love it, right? But because it’s such a hearty, savory centerpiece, you need something bright and fresh on the side to balance out all that deliciousness. If you just serve a giant slab of this bake with nothing else, you might feel a little heavy afterward. I always aim for contrast!
Think simple—nothing that requires its own long recipe. We want easy sides that require minimal cleanup since the main dish already did the heavy lifting. These pairings make this an amazing Family Favorite Casserole Dinner without turning your oven into a five-course meal production!
- Simple Shredded Lettuce Salad: This is my #1 go-to. Just use iceberg or romaine, super thinly shredded. A splash of zesty vinaigrette—maybe lime juice, olive oil, salt, and pepper—cuts right through the cheese beautifully. It adds that necessary crunch that isn’t chip-based!
- Steamed or Roasted Broccoli: If you prefer a warm side, keep it super light. Toss broccoli florets with just a drizzle of olive oil, salt, and garlic powder, and give them a quick roast. They offer a nice, slightly bitter green counterpoint. If you want to keep it strictly simple, steamed broccoli with just a tiny squeeze of lemon juice works wonders, too.
- Quick Black Bean and Corn Salsa: This isn’t a heavy dip; it’s more like a cool side salad. Mix together canned black beans (rinsed well!), one cup of frozen corn (thawed), a little chopped red onion, and maybe some cilantro if you’re feeling fancy. A little vinegar and salt is all you need. It feels festive without adding more melted cheese to the equation!
Stick to fresh sides, and you’ve built the perfect, balanced meal around this incredible bake. Enjoy!
Storage and Reheating Instructions for Leftover Dorito Casserole
I kind of hope you have leftovers, because you know what? This Dorito Casserole tastes even better the next day once all those creamy, cheesy flavors have really married in the fridge! But storing it correctly is crucial, especially if you want to keep that integrity of the layers. Remember, we are fighting sogginess even in storage!
When saving your beautiful bake, you need to be mindful of the chips. If you leave the entire top layer of Doritos exposed to the refrigerated air, they will absolutely lose their crunch by morning. That leads to chewy disappointment, and we don’t want that!
How to Store It Properly
If you know you’re going to have leftovers—maybe you deliberately made it larger for meal prep—I highly suggest you modify Step 9 slightly. If you reserved that final half-cup of cheese (which you should have!), then use that to strategically cover the exposed chips before putting it away. Or, even better, use plastic wrap pressed directly onto the surface of the casserole.
Transfer any remaining casserole into an airtight container. If you have a lot left, sometimes cutting the remaining portion into serving squares first helps it pack down better. You can safely keep this in the refrigerator for up to three to four days. Seriously, any longer than that and the moisture from the base starts to migrate too much into the crispy bits.
Reheating for the Best Next-Day Texture
Now, for reheating—this is where you build up that reader trust because you’re giving them the best method. I know the microwave is faster, but the microwave is the fastest way to turn those delicious Nacho Cheese chips into sad, limp sponges. We avoid that at all costs!
For the best texture—where you get warmth *and* some of that crunch back—you absolutely must reheat this in the oven. Preheat your oven—and yes, this is a bit unusual for leftovers—to about 325 degrees Fahrenheit. Place your serving portion (or the whole dish if you want to reheat it all at once) in an oven-safe dish. Cover it loosely with aluminum foil. This traps the steam just enough so the inside reheats gently without drying out the beef mixture.
Let it heat slow and low for about 15 to 20 minutes. If you pulled it straight from the fridge, it might need 25. Once it’s hot all the way through, take that foil off for the final five minutes. This lets the direct heat hit the topping and revive some of that glorious crispiness we worked so hard to achieve in the first place. The microwave is fine in a pinch for a single square, but trust me: the oven makes this Comfort Food Casserole worth the extra five minutes of waiting!
Frequently Asked Questions About This Comfort Food Casserole Ideas
When I first posted this recipe, my inbox just exploded with questions! It’s funny how a simple bake can inspire so much curiosity. People always want to know how to tweak it for different tastes or how to squeeze it into their busy routines. I gathered up the most common ones right here so you feel totally empowered before you even start assembling. I’m not a chef, but I’ve tested this thing enough times to know the answers!
Can I make this Dorito Casserole ahead of time?
Yes! This is a lifesaver when you have company coming or you just want to dump something in the oven after work. If you want to prep this as a true Make Ahead Casserole, you can assemble everything up until the final topping goes on. Mix your beef base, stir in the cheese and the first half of the chips, and spread it into your dish. Cover it tightly with plastic wrap and stick it in the fridge for up to 24 hours.
Here is the crucial part, though: Do NOT add the remaining Dorito topping yet! The moment that crunch hits moisture, it starts to soften. Keep the final layer of chips separate in a zip-top bag on the counter. When you are ready to bake, uncover the base, top it with the fresh chips, and then bake as directed—you might need an extra 5 minutes or so since it’s going in cold.
What is the best type of Dorito for this recipe?
If you look at the recipe card, I specify the classic Nacho Cheese flavor because that’s what I used when I developed this basic, comforting version. If you taste the classic, you know exactly what I mean!
However, you have total freedom here to turn this into your own creation, like a truly Loaded Nacho Casserole. My husband loves it when I swap in Cool Ranch Doritos for about half of the Nacho Cheese chips. It adds a totally different, slightly tangier flavor profile, which is really fun! Even the Spicy Sweet Chili ones work if you’re looking for a little kick without going full-on Hot & Spicy. It’s your kitchen, make it taste how *you* want it to taste!
My casserole always comes out soupy on the bottom, what am I doing wrong?
Oh, I battled this ghost for months when I was figuring out the perfect balance! Soupy bottoms usually mean two things: you didn’t drain the fat from the beef well enough, or you didn’t let the sauce cook down enough before you added the cheese and the chips. Remember when we talked about draining the grease? That’s step one. Step two is making sure that when you cook the soup/Ro-Tel mixture, you let it simmer until you see small bubbles and it looks thick—like a heavy chili consistency. If you pour it too runny into the pan, that liquid spreads out and steams the bottom layer of chips instead of baking them firmly. Always cook that sauce until it’s nice and thick!
Can I use shredded chicken instead of ground beef?
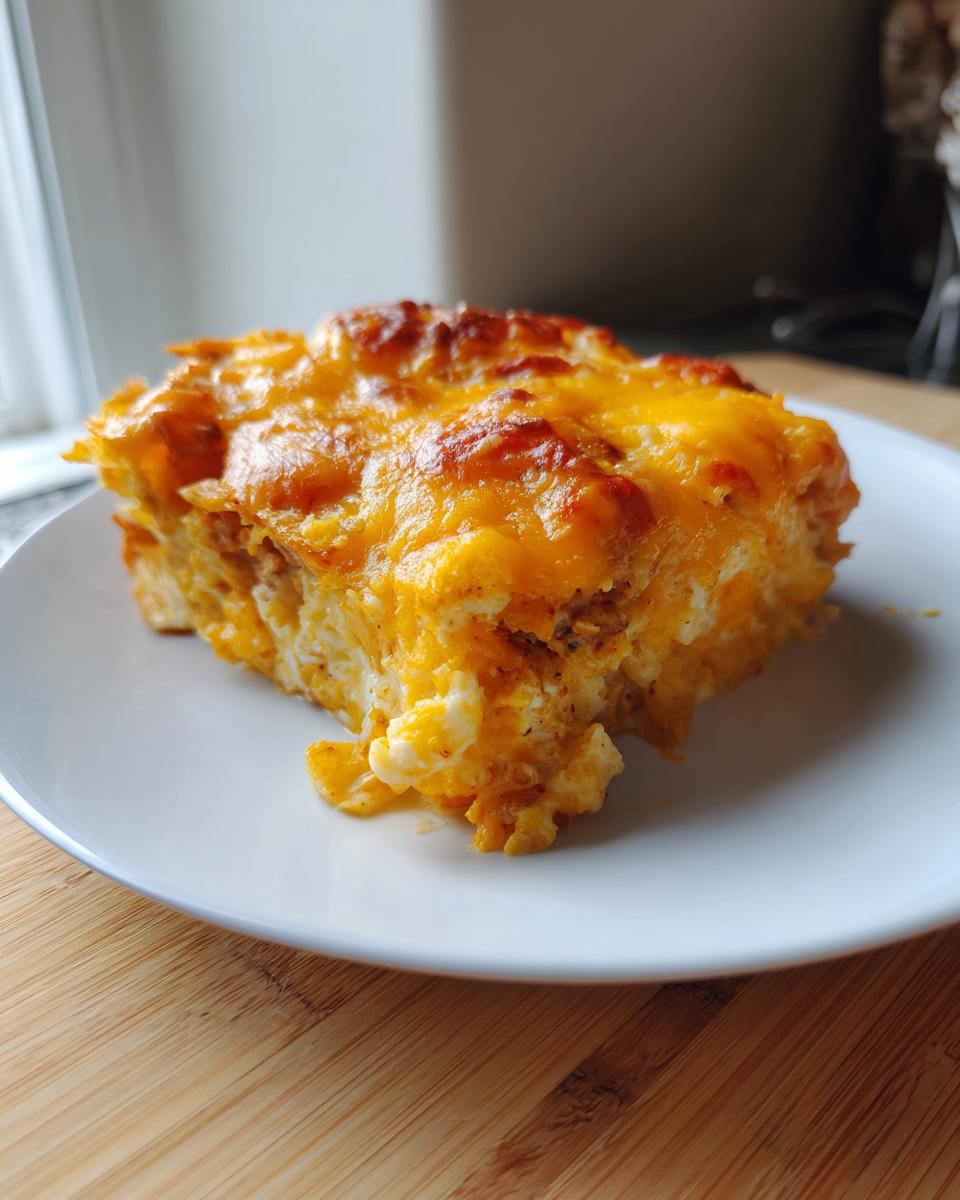
Absolutely! That’s one of my favorite variations for a lighter meal. If you use pre-cooked chicken, just shred it up and toss it into the skillet after you drain the beef grease. Then, dump everything else right on top as normal. You skip the browning step for the meat itself, so really this just streamlines your prep time even more! It makes for a gorgeous Chicken Dorito Casserole.
Estimated Nutritional Data for One Serving
Okay, let’s get real for a minute. We all know that when we are pulling out a big, cheesy, crunchy Dorito Casserole for a cozy weeknight dinner, we aren’t exactly aiming for diet food. And that is totally fine! Sometimes, you just need that satisfying, comforting meal, and this bake delivers flavor in spades.
Because I want you to feel totally in control of what you’re feeding your family, I figured out the estimates for a standard serving size based on the ingredients listed above. This information is super helpful if you are balancing out the rest of the week’s meals. Just remember that these numbers are coming to you from my home kitchen test batches, not a fancy lab, so they are estimates!
For one serving of this Ultimate Nacho Cheese Casserole (based on 6 servings total):
- Calories: Approximately 550 per serving
- Total Fat: Around 35 grams (with about 15 grams being saturated fat)
- Carbohydrates: Roughly 30 grams
- Protein: A hefty 32 grams! That’s good news for keeping everyone feeling full.
This is hearty food, plain and simple. It’s full of flavor and satisfies that craving for something rich and familiar. Knowing the numbers lets you plan the sides—like that fresh salad we talked about earlier—to make sure your dinner balances out perfectly. Don’t stress about the numbers too much; just enjoy the fact that you made something delicious completely from scratch!
Share Your Kitchenican Creations
And there you have it! We’ve moved from total cooking doubt to a beautiful, bubbling **Dorito Casserole** fresh out of the oven. Now comes my favorite part of the whole process, which has nothing to do with measuring ingredients or preheating the oven. It’s about connection!
For me, Kitchenican is built on that feeling of “I DID IT!” I want to celebrate every single person who tried this recipe, whether you followed every step perfectly or you added your own flair (like using those random Spicy Sweet Chili Doritos—I see you!). Your success is what keeps me excited to share my kitchen secrets.
So, please, don’t just close this page and walk away! Come back and tell me how it went. Did your kids devour it? Did your significant other give you a high-five across the kitchen? Let me know!
- Rate It! If you made this, please leave a quick rating at the top of the page when you get a chance. A couple of stars helps other folks who are feeling that initial cooking doubt know that this recipe is worth the attempt.
- Leave a Comment: Drop a note below telling me your favorite part. Was it the creamy sauce? The crunch on top? Did you add sour cream on top afterward? I read every single comment and I really enjoy seeing how you customize things!
- Share a Pic: If you snapped a photo of your finished casserole, I absolutely want to see it! You can tag me on social media so I can see your amazing **Cheesy Dorito Bake**.
Building this kitchen confidence together is why I share everything I learn. I’m not a professional chef; I’m just someone who figured out that delicious food doesn’t have to be hard. If you have any questions about future recipes or just want to say hi, you can always check out my contact page or read up on how I handle your details on my privacy policy page. If you ever need to reach out directly, my contact page is always open!
Thanks so much for cooking with me today. I hope this recipe becomes a permanent, easy addition to your own rotation. Happy baking!
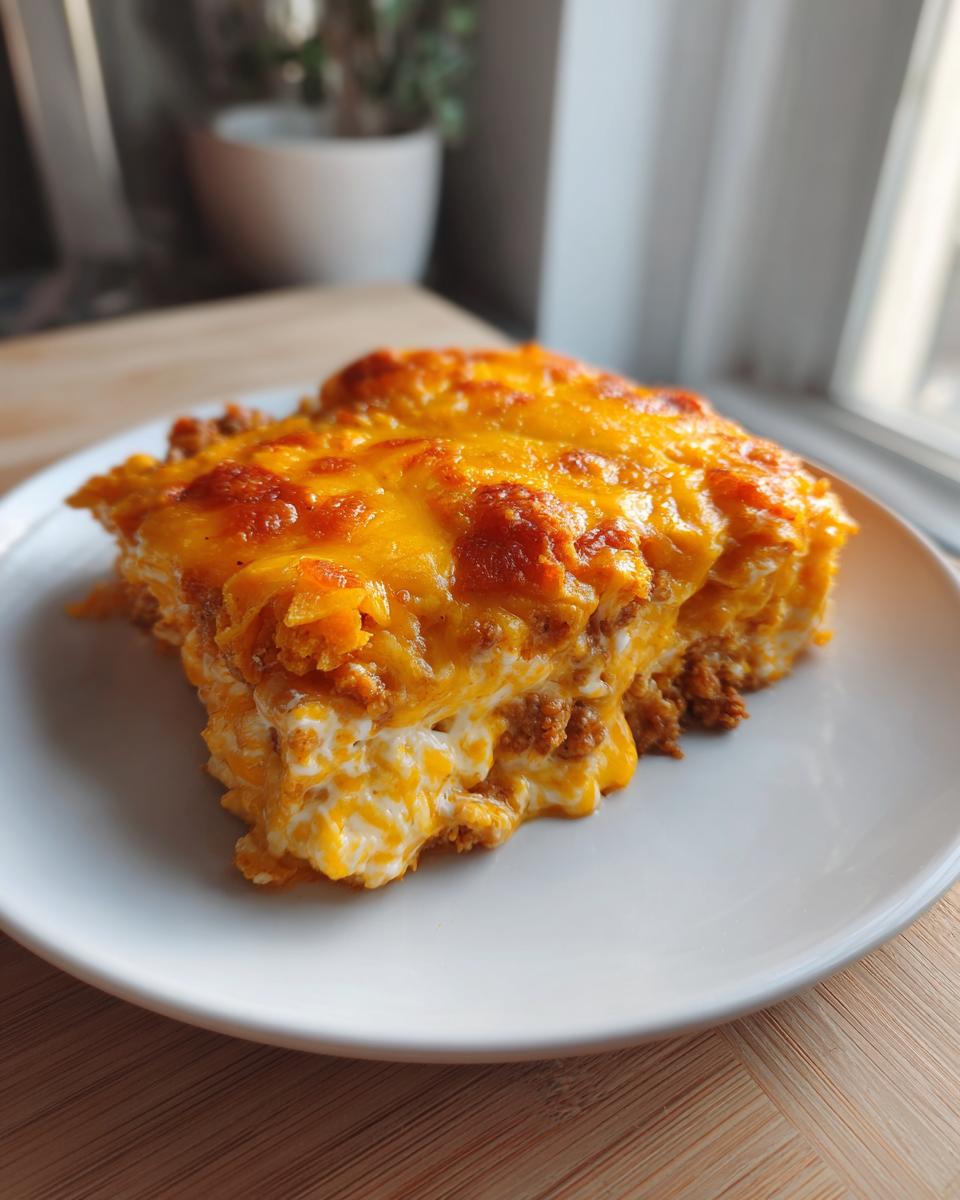
PrintEasy Ground Beef Dorito Casserole Recipe

You can make this simple, cheesy Dorito Casserole using ground beef and common pantry items for a quick weeknight dinner. It is a family favorite comfort food casserole.
- Prep Time: 15 min
- Cook Time: 25 min
- Total Time: 40 min
- Yield: 6 servings 1x
- Category: Dinner
- Method: Baking
- Cuisine: American
- Diet: Vegetarian
Ingredients
- 1 pound ground beef
- 1 medium onion, chopped
- 1 (10.5 ounce) can cream of mushroom soup
- 1 (10.5 ounce) can cream of chicken soup
- 1 cup sour cream
- 1 (10 ounce) can Ro-Tel diced tomatoes and green chilies, undrained
- 1 teaspoon chili powder
- 1/2 teaspoon cumin
- 1/2 cup water
- 2 cups shredded cheddar cheese, divided
- 1 bag (9.25 ounces) Nacho Cheese flavored Doritos, lightly crushed
Instructions
- Preheat your oven to 375 degrees Fahrenheit. Lightly grease a 9×13 inch baking dish.
- Brown the ground beef and chopped onion in a large skillet over medium heat. Drain off any excess grease.
- In the same skillet, stir in the cream of mushroom soup, cream of chicken soup, sour cream, Ro-Tel, chili powder, cumin, and water. Mix until combined.
- Cook the mixture over medium heat until it is hot and bubbling slightly. Remove the skillet from the heat.
- Stir in 1 and 1/2 cups of the shredded cheddar cheese until it melts into the sauce.
- Fold in about half of the crushed Doritos into the meat mixture.
- Spread the entire mixture evenly into your prepared baking dish.
- Top the casserole evenly with the remaining crushed Doritos.
- Bake for 20 to 25 minutes, or until the casserole is bubbly and the topping is lightly browned.
- Remove from the oven and let it stand for 5 minutes before serving. Sprinkle the remaining 1/2 cup of cheddar cheese over the top immediately after removing it from the oven so it melts slightly.
Notes
- For a spicier version, use the Hot & Spicy Doritos or add a dash of hot sauce to the meat mixture.
- You can substitute ground turkey or cooked shredded chicken for the ground beef to make a Chicken Dorito Casserole variation.
- Crush the Doritos by placing them in a large zip-top bag and rolling over them with a rolling pin or the bottom of a heavy glass.
Nutrition
- Serving Size: 1 serving
- Calories: 550
- Sugar: 5
- Sodium: 950
- Fat: 35
- Saturated Fat: 15
- Unsaturated Fat: 20
- Trans Fat: 1
- Carbohydrates: 30
- Fiber: 2
- Protein: 32
- Cholesterol: 90