
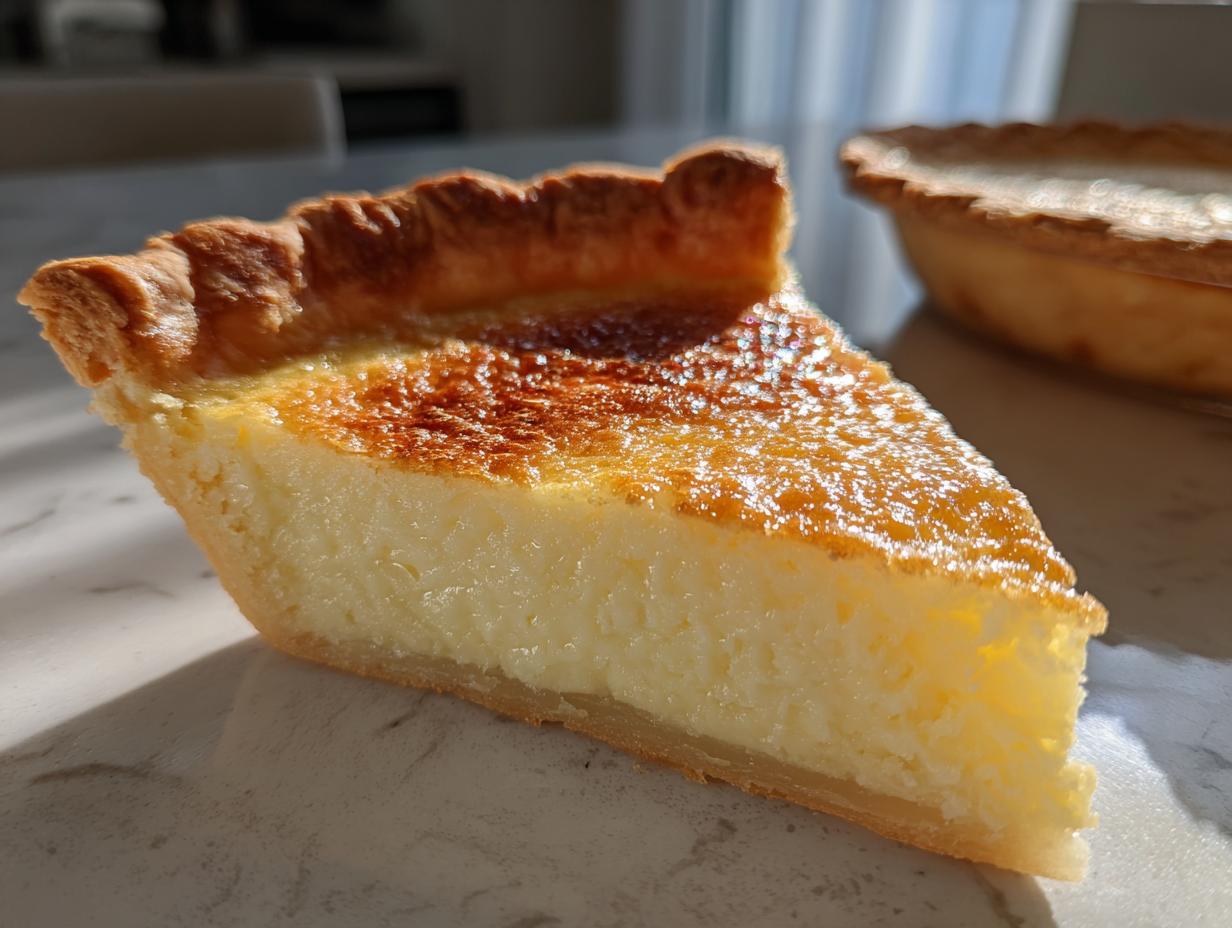
There is something truly special about desserts that have stood the test of time, isn’t there? They don’t rely on fancy techniques or hard-to-find extracts; they just rely on simple, honest ingredients singing together. That’s exactly what we have here with this **buttermilk pie**. Honestly, this is the most reliable, fail-proof recipe I’ve ever developed for that classic, tangy custard filling. You likely have everything you need for this Southern Dessert Pie sitting in your pantry right now. I’m Ava Sinclair, and I built Kitchenican because I spent years feeling intimidated by recipes. But trust me, when you see how easy this pie is, you gain such confidence! I’ve worked out the kinks so you don’t have to.
- Why This Easy Buttermilk Pie Recipe Works (Comfort Food Desserts)
- Ingredients for Your Homemade Buttermilk Pie
- Step-by-Step Instructions for the Best Buttermilk Pie
- Tips for Achieving a Perfect Flaky Crust Pie
- Serving Suggestions for Your Classic Buttermilk Pie
- Storage and Reheating Instructions for Buttermilk Pie
- Frequently Asked Questions About Buttermilk Pie
- Nutritional Information Estimate for Buttermilk Pie
- Share Your Homemade Buttermilk Pie Creation
Why This Easy Buttermilk Pie Recipe Works (Comfort Food Desserts)
I get it. Sometimes you just need that slice of absolute comfort without spending hours fussing over your ingredients. That’s why I love hauling this **Classic Buttermilk Pie** out when I need a guaranteed win. It’s the definition of a **Simple Pie Recipe** that delivers huge flavor.
Here’s what makes this pie truly essential for any home cook:
- It produces that perfectly **Creamy Custard Filling** every single time without scrambling, I promise!
- The characteristic sweet and **Tangy Custard Pie** flavor shines through beautifully.
- We’re sticking almost entirely to **Pantry Staple Desserts**—no specialty runs needed.
- It’s one of the best **Holiday Pie Recipes** because it actually tastes better the next day!
If you struggle with complicated baking but crave that nostalgic taste, this pie is your golden ticket to feeling like a total Southern baking pro. You can find more quick, stress-free meals over at my easy weeknight dinners section when you’re done with dessert!
Ingredients for Your Homemade Buttermilk Pie
When I say this is an easy **buttermilk pie**, I mean it. Look at this list—it’s all about simple ingredients coming together harmoniously. Don’t let a short ingredient list fool you though; this is where that classic Southern flavor really packs a punch!
- 1 (9-inch) unbaked pie crust (keep that crust butter cold if you made it yourself!)
- 1 1/2 cups granulated sugar
- 3 large eggs
- 1 cup buttermilk
- 1/4 cup all-purpose flour
- 1/4 cup unsalted butter, melted
- 1 teaspoon vanilla extract
- 1/4 teaspoon ground nutmeg (this is totally optional, but I love how it warms up the top!)
Buttermilk Substitute for Your Buttermilk Pie
Okay, so what if you didn’t rush to the store for buttermilk? Don’t panic! This is a crucial tip for building confidence in the kitchen. If you’re missing it, you can whip up a fast substitute. Just take 1 cup of whole milk and stir in 1 tablespoon of white vinegar or fresh lemon juice. Let it sit on the counter for five minutes until it looks slightly curdled. Voila! Instant buttermilk for that perfect **Tangy Custard Pie** finish.
Step-by-Step Instructions for the Best Buttermilk Pie
Now for the fun part! Making this **Old Fashioned Buttermilk Pie** filling is so straightforward, you’ll wonder why you ever thought pie baking was hard. First things first: get that oven preheating to 350 degrees Fahrenheit (175 degrees Celsius) right now. You need that unbaked 9-inch crust ready and waiting in the pie plate.
Mixing the Creamy Custard Filling for Buttermilk Pie
The secret to that smooth, **Creamy Custard Filling** is how you introduce the ingredients. Start by whisking your sugar and the flour together in a bowl until they look perfectly combined—no flour clumps allowed! Then, whisk in your eggs. Once they’re smooth, you slowly stream in the buttermilk, melted butter, and vanilla. You want to mix it just until everything comes together. Seriously, stop whisking when it’s uniform. Overmixing the fragile custard is what leads to bubbles and cracks later on, and we absolutely don’t want that disappointment!
Baking and Setting Your Old Fashioned Buttermilk Pie
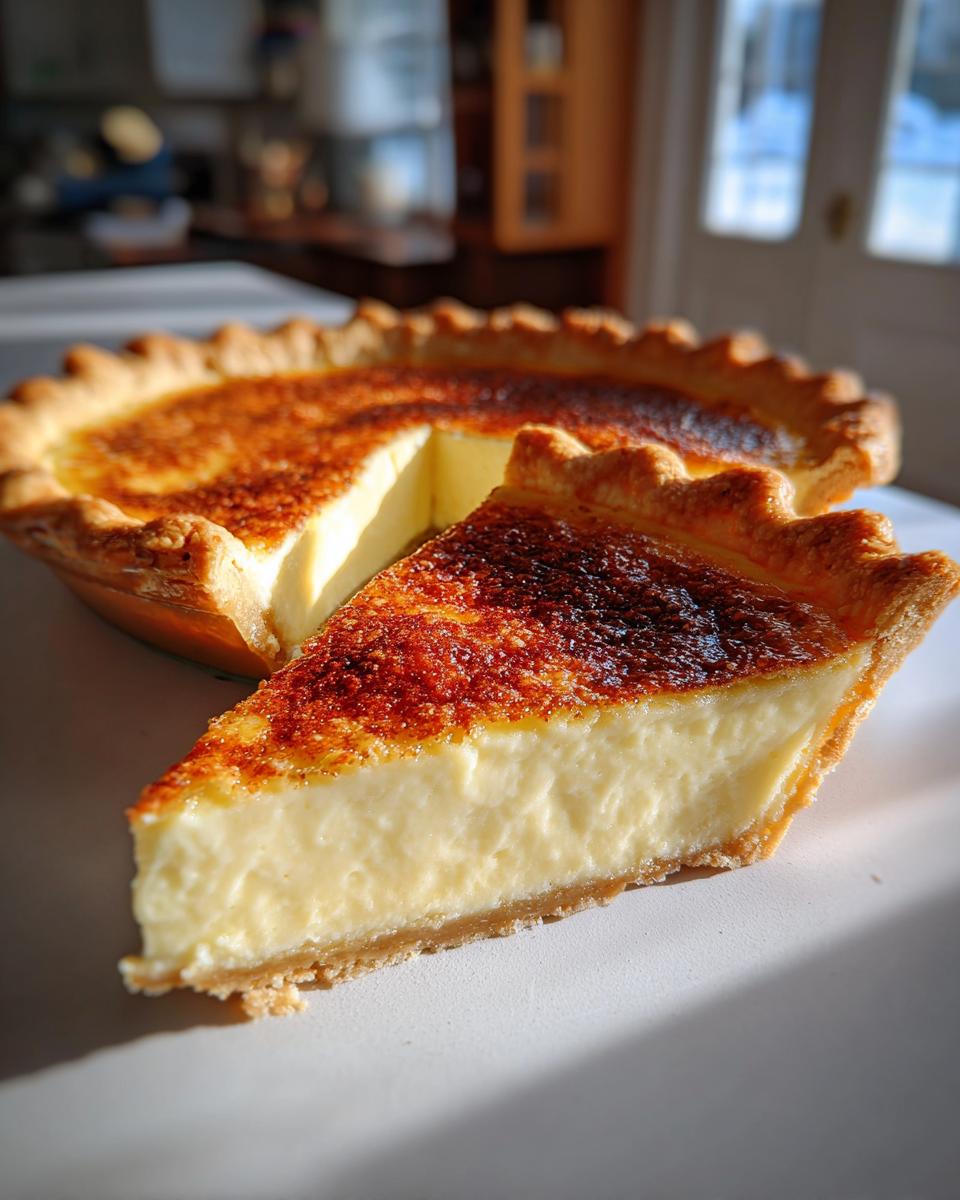
Pour that gorgeous, creamy mixture right into your prepared crust. Slide it carefully into the hot oven. You’re looking for about 40 to 50 minutes of baking time. How do you know when it’s done? Don’t wait until it’s rock solid! The center should still have a tiny, nervous little jiggle when you gently nudge the pan. If the edges of your crust look like they are getting too dark halfway through, grab some aluminum foil and loosely tuck it around the edges as a shield—it’s a super simple trick.
Once it passes that jiggle test, pull the whole pie out. If you want that classic finish, lightly dust the top with nutmeg immediately. Then, place it on a rack and just let it sit calmly for at least two hours. That resting time is essential; the custard firms up as it cools down. You can check out some of my simple baking inspiration, like these easy blueberry scones, while you wait for it to set!
Tips for Achieving a Perfect Flaky Crust Pie
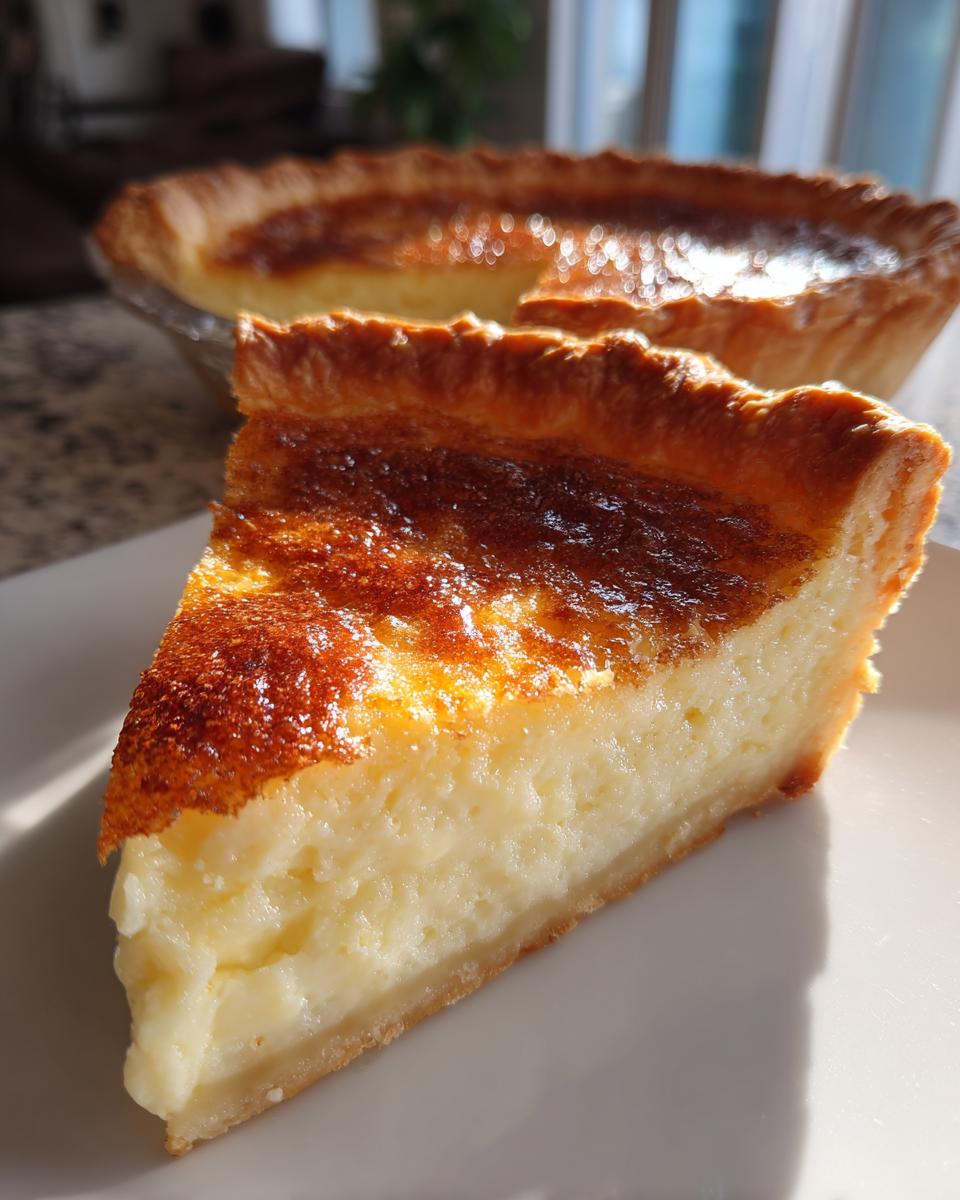
Okay, so the filling is the star attraction with this **buttermilk pie**, but honestly, you need a sturdy, flaky home for that custard! A soft or soggy bottom can ruin the whole experience, and we are aiming for perfection here. This is where keeping your cool pays off, literally.
My absolute biggest secret for getting that beautiful **Flaky Crust Pie** texture, whether you use store-bought or homemade pastry, is temperature control. Seriously, even if you buy the shell ready-made, try to keep it chilled right up until the moment it goes into the oven. If you are making your own, keep that butter ice cold—I mean, cube it cold and even toss it in the freezer for ten minutes before you cut it into your flour.
If you are using a pre-made shell, make sure it’s *very* cold before adding the filling. If you end up needing a quick crust recipe inspiration, you can always check out what other home cooks are doing over at Melissa’s Southern Style Kitchen. But the goal here is just to make sure that pastry shell has enough structure to hold up to that yummy, wet filling!
Serving Suggestions for Your Classic Buttermilk Pie
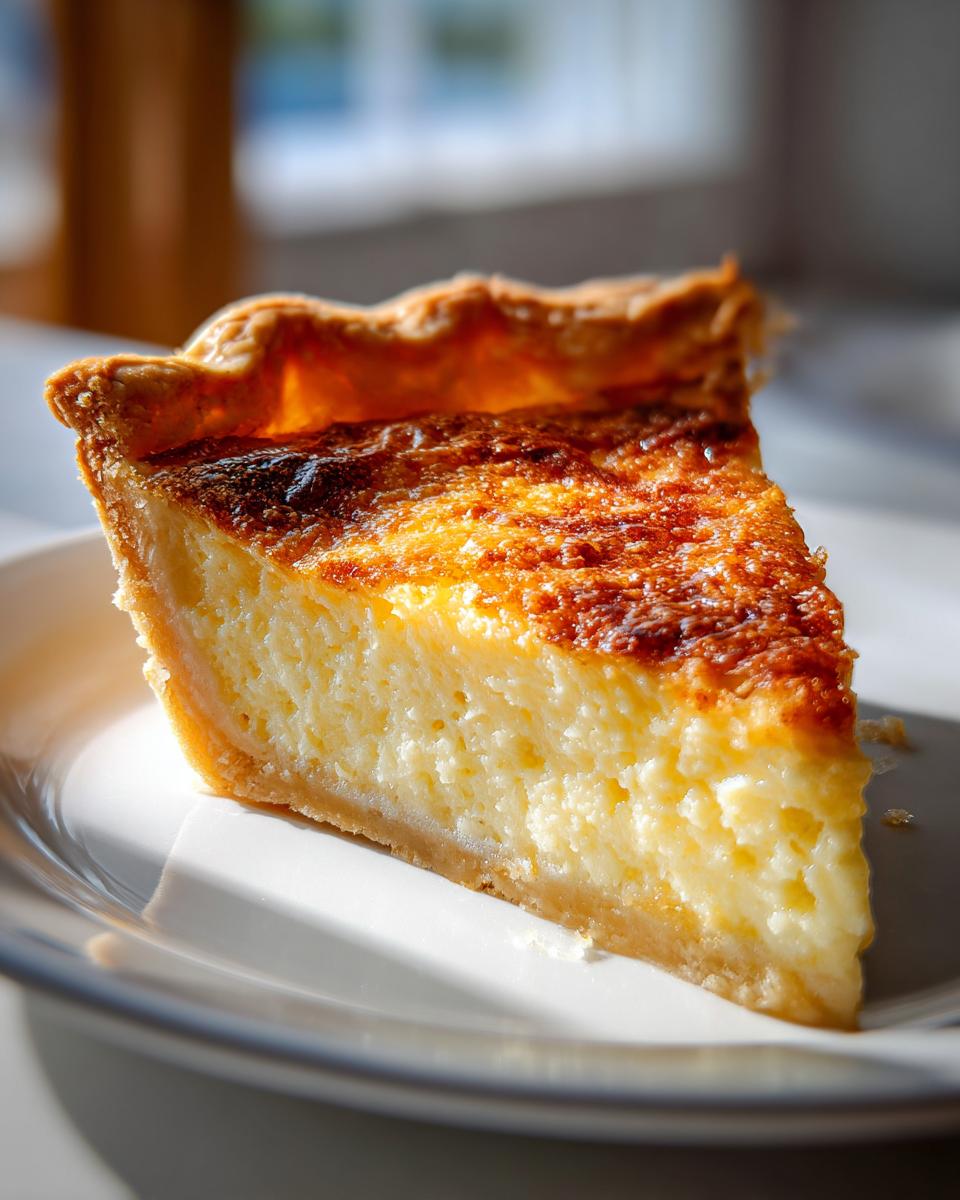
This **Southern Dessert Pie** is so versatile! Since the custard sets up beautifully, you have options for serving temperature, which is great for managing holiday schedules. I think it shines best served either at cool room temperature or slightly chilled from the fridge. It just brings out that lovely salty-sweet balance.
If you need an extra touch, keep it simple—this pie doesn’t need heavy layering. A big dollop of fresh, slightly sweetened whipped cream is just perfect. Sometimes, I’ll take a few fresh berries—strawberries or blackberries, maybe—and just scatter them around the plate for a little color. It looks fancy but takes zero effort, which is my favorite kind of baking.
If you’re looking for something lighter to serve alongside your pie next time, maybe for an appetizer course, you have to check out my recipe for easy whipped ricotta dip. It’s another one of those pantry staple winners!
Storage and Reheating Instructions for Buttermilk Pie
Alright, you’ve made the **best buttermilk pie**, and now you have leftovers! Good news: this pie keeps really well, which is fantastic for parties when you need to bake ahead. Because it has that luscious custard interior, we need to treat it a little differently than a double-crust apple pie.
If you are serving it right away, leave it on the counter covered loosely with foil or plastic wrap at room temperature. It should be perfectly fine for a few hours while everyone digs in. But once you start thinking about day two or three, the fridge is your friend. Storing your **Homemade Buttermilk Pie** covered in the refrigerator will easily keep it fresh for about 3 to 4 days.
Now, about reheating—honestly, I rarely reheat it! This pie is genuinely divine when served slightly chilled or brought up to room temperature for about 30 minutes before serving. If you absolutely insist on serving it warm, don’t stick the whole thing in the microwave! That will make the crust soggy fast. Instead, just take a single slice, microwave it for about 15 to 20 seconds total, checking frequently. You just want it barely warmed through so the custard softens up a little bit again.
Frequently Asked Questions About Buttermilk Pie
We all have those little sticking points when we bake something traditional for the first time, right? That’s totally normal! I’ve gathered up some of the specific questions I get asked most often about making this **Easy Buttermilk Pie Recipe** so you feel ready to bake with total confidence.
Why is my buttermilk pie filling cracking?
This is usually a texturizing issue, and it’s almost always down to heat. If you overbake the pie, the custard gets too firm and shrinks as it cools, which causes those ugly fissures on top. Remember what I said about the ‘slight jiggle’? That means it’s cooked! Another culprit is rapid temperature change. If you pull a piping hot pie straight from the oven and put it into the fridge, the sudden chill can stress the surface. Let it cool down slowly on the counter first for that beautiful, smooth finish.
Can I make this Easy Buttermilk Pie Recipe without a pie crust?
Yes, you absolutely can! If you’re wanting a more intense hit of that **Tangy Custard Pie** flavor, ditching the crust is a great move. You can bake this filling right in a buttered pie dish—just treat it like a big, delicious baked custard cup. If you want something crunchy on the bottom instead of flaky pastry, you could even press a mix of graham cracker crumbs and melted butter into the bottom of your dish before pouring in the filling. While I don’t have a dedicated graham crust recipe right now, you can find inspiration for that kind of base over in my easy French toast recipe section for ideas on binding crumbs!
What is the difference between Buttermilk Pie and Chess Pie?
People mix these up all the time because they are cousins in the world of Southern baking! The main difference comes down to one ingredient: buttermilk. A classic Chess Pie relies mostly on sugar, butter, and eggs (often with lemon or vanilla flavoring). Buttermilk Pie, on the other hand, uses that sour liquid. The buttermilk is what gives our beloved **buttermilk pie** that signature subtle tanginess that cuts through the sweetness, making the whole **Creamy Custard Filling** feel lighter and brighter. It’s the tang that sets it apart!
Nutritional Information Estimate for Buttermilk Pie
We’ve talked about flavor and technique, but I know some of you are also keeping track of the macros! Because this **buttermilk pie** is a classic, old-fashioned delight, it definitely leans toward the decadent side, so take these numbers as a general guide rather than a strict absolute.
I ran the numbers based on the ingredients for a standard slice, but remember, this is an estimate! The final count depends a lot on the exact brand of butter or sugar you use. For my standard recipe, here is what you are likely looking at per slice:
- Serving Size: 1 slice
- Calories: 350
- Sugar: 35g
- Sodium: 250mg
- Fat: 15g
- Saturated Fat: 8g
- Carbohydrates: 50g
- Protein: 7g
Just a friendly reminder, because this recipe is made at home and uses standard pantry items, these numbers are calculated averages. If you used a low-fat buttermilk or left off the optional nutmeg dusting, your final count will shift slightly. It’s proof that the true richness of a **Southern Dessert Pie** comes from enjoying every bite, no stressing about exact measurements!
Share Your Homemade Buttermilk Pie Creation
You did it! You mastered the sweet, tangy magic of this **buttermilk pie**, and I am so incredibly proud of you for stepping into the kitchen and making something so wonderfully traditional. Now that you’ve brought this **Classic Buttermilk Pie** to life, I genuinely want to see it and hear all about your experience!
Did it set perfectly smooth? Did you stick with the dusting of nutmeg, or did you jazz it up with whipped cream? Jump down below and leave a star rating for the recipe—it really helps other home cooks build the confidence to try this amazing dessert, too.
If you took a picture of your golden-topped, perfectly set pie, please tag me on social media! Seeing your creations reminds me every day why I do this—to help people realize that amazing, comforting baking is totally within reach. If you have any questions about the process or need help troubleshooting for your next bake, please don’t hesitate to reach out through my contact page. Happy baking, friends!
PrintClassic Southern Buttermilk Pie Recipe

You can make this creamy, tangy, and sweet buttermilk pie using simple pantry staples. This old-fashioned dessert delivers a silky custard filling and a flaky crust, proving that great baking does not require complex techniques.
- Prep Time: 15 min
- Cook Time: 50 min
- Total Time: 2 hours 5 min
- Yield: 8 servings 1x
- Category: Dessert
- Method: Baking
- Cuisine: American Southern
- Diet: Vegetarian
Ingredients
- 1 (9-inch) unbaked pie crust
- 1 1/2 cups granulated sugar
- 3 large eggs
- 1 cup buttermilk
- 1/4 cup all-purpose flour
- 1/4 cup unsalted butter, melted
- 1 teaspoon vanilla extract
- 1/4 teaspoon ground nutmeg (optional, for topping)
Instructions
- Preheat your oven to 350 degrees Fahrenheit (175 degrees Celsius). Place your unbaked pie crust into a 9-inch pie plate.
- In a medium bowl, whisk together the granulated sugar and the flour until they are fully combined.
- Add the eggs to the sugar and flour mixture. Whisk until the mixture is smooth.
- Gradually whisk in the buttermilk, melted butter, and vanilla extract until the filling is uniform. Do not overmix.
- Pour the buttermilk filling into the prepared pie crust.
- Bake for 40 to 50 minutes. The center should be mostly set but still have a slight jiggle when gently shaken. The top should be golden brown.
- If the crust edges start to brown too quickly, cover them loosely with aluminum foil halfway through baking.
- Remove the pie from the oven. If desired, lightly dust the top with ground nutmeg immediately after removing it.
- Let the pie cool completely on a wire rack for at least 2 hours before slicing. The custard will continue to set as it cools.
Notes
- For a truly flaky crust, keep your butter cold when preparing the pastry.
- If you do not have buttermilk, you can make a substitute by adding 1 tablespoon of white vinegar or lemon juice to 1 cup of whole milk and letting it sit for 5 minutes.
- This pie is excellent served at room temperature or slightly chilled.
Nutrition
- Serving Size: 1 slice
- Calories: 350
- Sugar: 35g
- Sodium: 250mg
- Fat: 15g
- Saturated Fat: 8g
- Unsaturated Fat: 7g
- Trans Fat: 0g
- Carbohydrates: 50g
- Fiber: 1g
- Protein: 7g
- Cholesterol: 90mg