
There’s a whole world of sweet temptation hiding just behind a heavy saucepan and a little bit of courage! I used to think making candy from scratch was reserved for professionals—you know, the kind of highly technical stuff where just one degree off ruins the whole batch. But trust me, when you nail that perfect batch of homemade caramel, it’s a real confidence booster. This isn’t some thin, runny sauce; this is the best caramel recipe for achieving that soft, delightfully chewy perfection that melts in your mouth. I’m Ava, and I’m here to tell you that you absolutely can conquer candy making. Forget the doubt—today, we’re making magic. If this goes well, don’t forget to check out some of my other favorite delicious dessert recipes later on!
- Why This is the Best Caramel Recipe for Soft Caramel Candy
- Gathering Your Simple Ingredients for Homemade Caramel
- How To Make Caramels: Step-by-Step Instructions for Homemade Caramel
- Tips for Success When Making Homemade Caramel Candy
- Variations on Your Homemade Caramel Recipe
- Storage and Gifting Your Chewy Homemade Caramels
- Frequently Asked Questions About Homemade Caramel
- Nutritional Estimates for This Homemade Caramel
- Share Your Homemade Candy Making Journey
Why This is the Best Caramel Recipe for Soft Caramel Candy
So many recipes out there promise caramel but deliver a sauce that’s too thin or a candy that shatters when you bite it. Not ours! This method is specifically designed for that perfect, nostalgic chewiness. We focus intensely on hitting the precise soft-ball temperature, which is the secret weapon for creating soft caramel candy that holds its shape but still yields beautifully.
Mastering this ensures you get genuinely chewy homemade caramels every single time. Seeing that perfect piece of candy set up after you followed the steps—that’s the kind of accomplishment that builds real kitchen confidence. We’re bridging the intimidation gap!
Simple Ingredients for Rich Buttery Caramels
When I talk about making something accessible, I mean it. You won’t need any specialty molasses or exotic thickeners here. This easy homemade caramel relies on basic pantry staples—sugar, cream, and plenty of butter—to deliver that deep, satisfying flavor. We aren’t overcomplicating it, which really shows off these simple caramel ingredients. They speak for themselves!
Don’t forget to check out my guide for my easy homemade garlic butter recipe if you want to see another simple staple done right.
Gathering Your Simple Ingredients for Homemade Caramel
Okay, let’s look at what we need for this batch of homemade caramel. Precision matters when you’re making candy, so having these out before you even turn the stove on is my number one tip. We’re keeping the ingredient list short but mighty; we only need six things!
Make sure your butter and cream are ready to go because once that sugar hits the heat, things move quickly. This clarity in setup is what separates a stressful cook from a confident one!
Ingredient Clarity and Preparation Notes
You’ll need one cup of granulated sugar and one cup of light corn syrup. The corn syrup is key here; it stops the sugar from crystalizing on us, which is never fun. Measure out one cup of heavy cream and half a cup of unsalted butter—I like to cut my butter into a few cubes just so it melts faster when it goes in at the end.
Don’t forget the flavor powerhouses: a full teaspoon of pure vanilla extract and half a teaspoon of salt. That salt cuts through the richness perfectly. That’s it! See? So simple!
How To Make Caramels: Step-by-Step Instructions for Homemade Caramel
This is where you put on your brave face! Making homemade caramel candy for the first time can feel intimidating because of the heat, but honestly, once you trust your thermometer, you’ll feel totally in control. Think of this as the ultimate beginner caramel recipe—we just need patience while cooking and then speedy work when adding the liquids!
Remember, precision is our friend here. We are looking for that perfect texture, and that only comes from hitting our temperature targets exactly right. When you’re done, you’ll have the richest, meltiest sweets!
Preparing the Pan and Initial Sugar Cook
First things first: prep that pan! Grease an 8×8 inch pan and line it with parchment paper, making sure that paper hangs over the sides—this overhang is your handle for lifting the finished candy out later. Seriously, don’t skip that overhang! Next, grab your heavy-bottomed saucepan. Combine the sugar and corn syrup and turn the heat to medium. Stir gently until that sugar is totally dissolved. You’ll know it’s ready when you can’t feel any gritty sugar left on the bottom of the pan. Right after it dissolves, STOP STIRRING. If you keep stirring, it messes with the crystal structure, and that’s how you get grainy caramel. Now, bring it up to 245 degrees Fahrenheit. This is where that candy thermometer becomes your best friend!
Achieving the Soft-Ball Stage for Chewy Homemade Caramels
Once you hit 245°F, very slowly and carefully pour in that heavy cream. Be ready—it’s going to bubble up like a volcano! Keep stirring gently until it calms down. We need to bring the temperature up again, this time just to 240°F. That 240°F mark is the magic soft-ball stage. It’s the temperature that guarantees your soft caramel candy ends up chewy, not hard. I remember my first time, I panicked because the mixture looked too thin at 235°F, but I forced myself to wait for that 240°F mark, and wow, the payoff was huge!
Finishing and Setting Your Classic Caramel Sweets
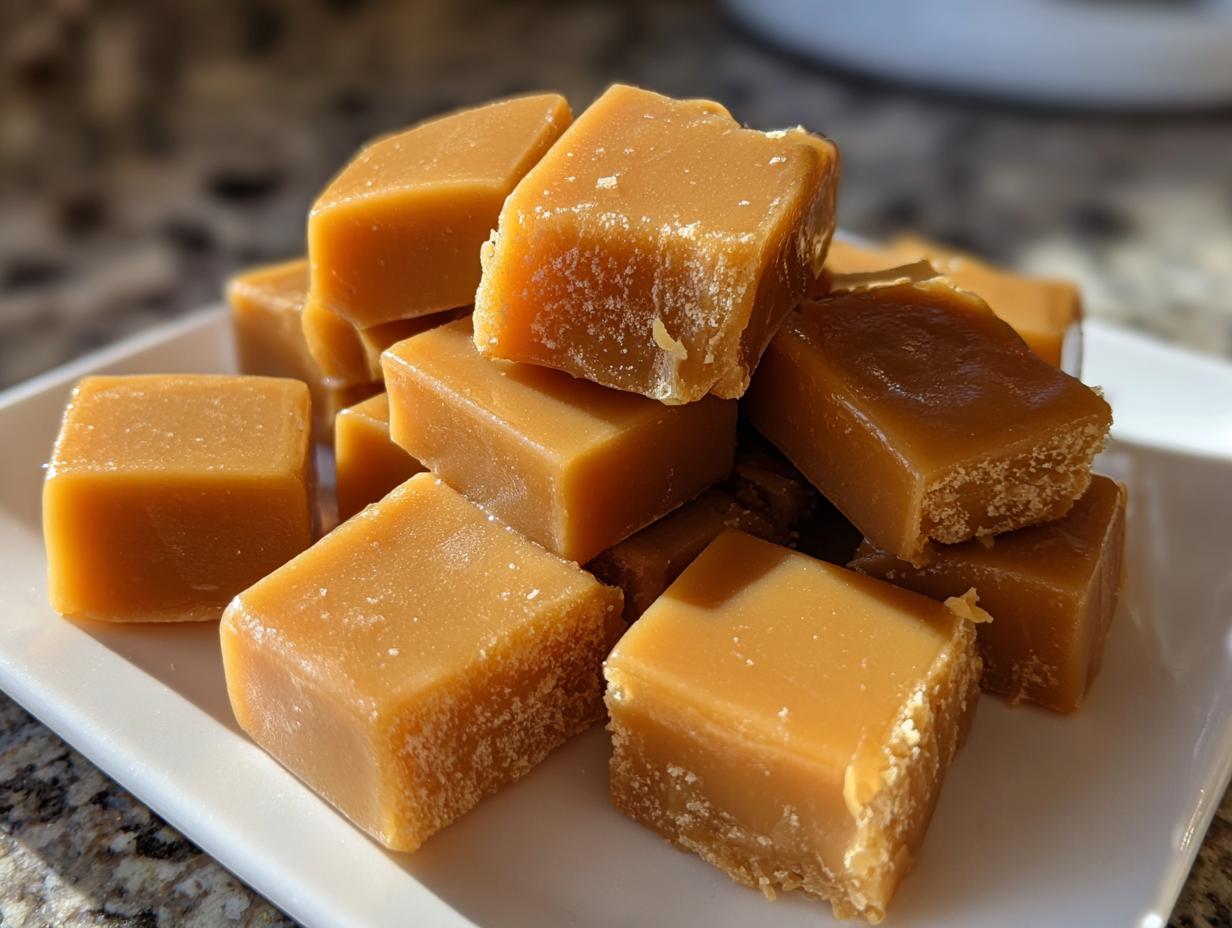
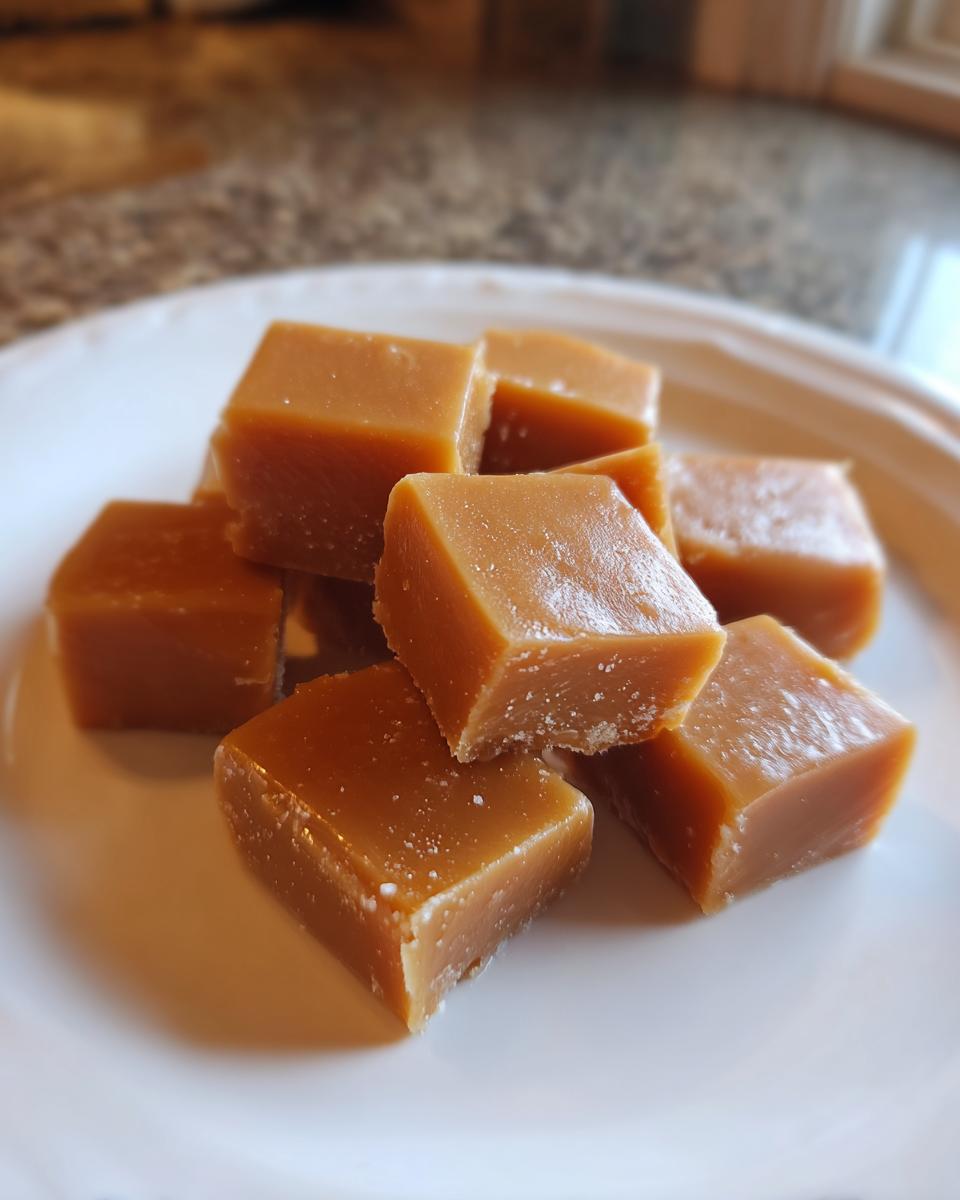
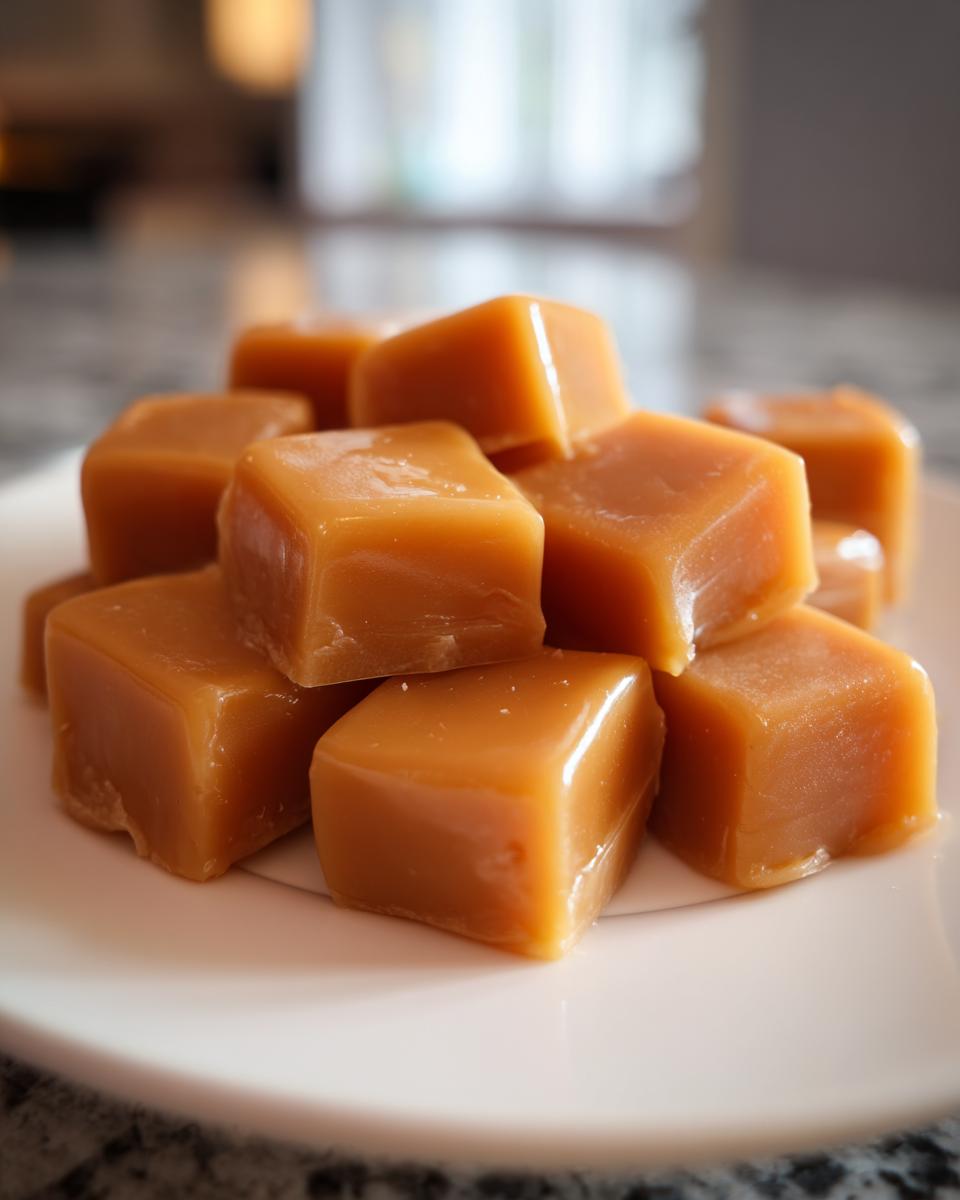
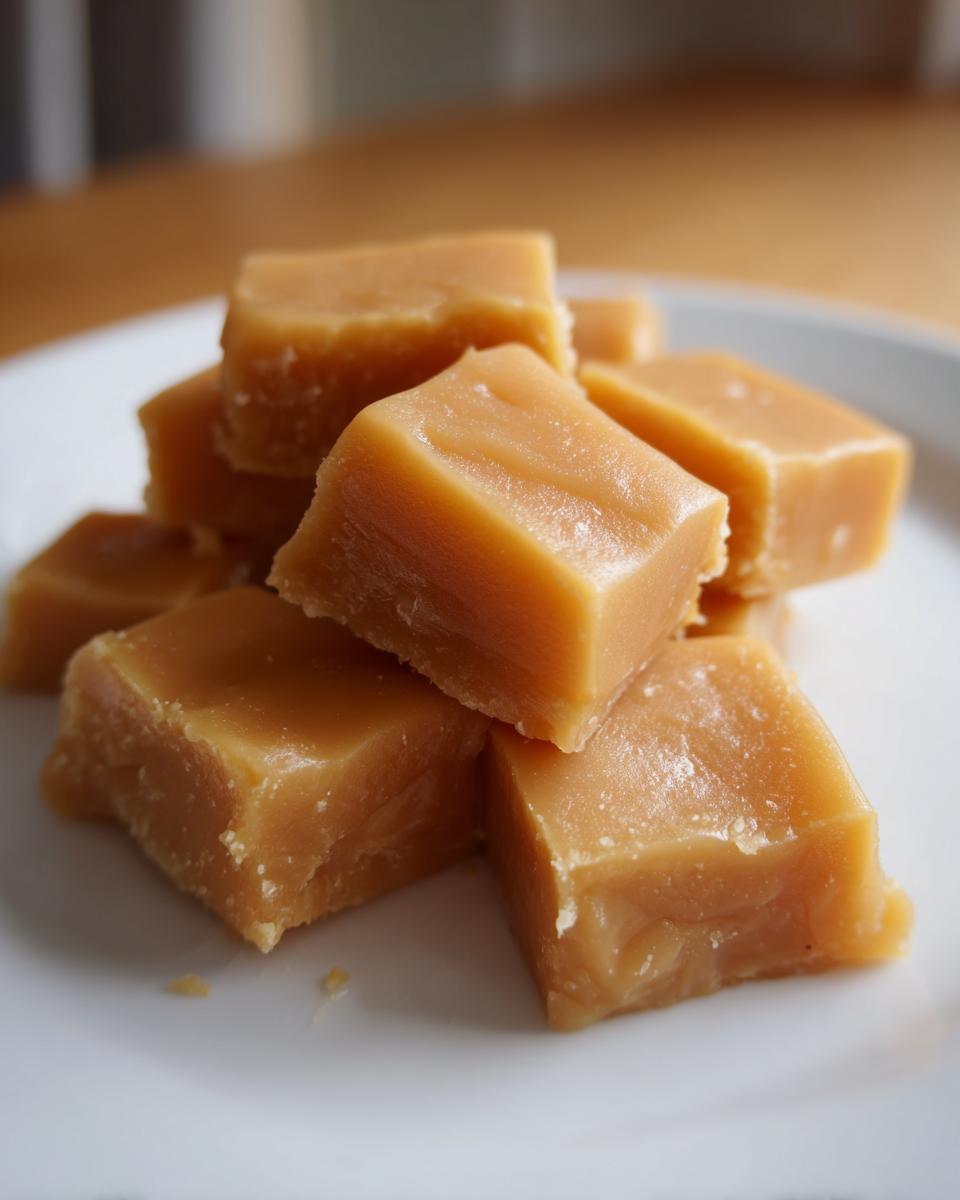
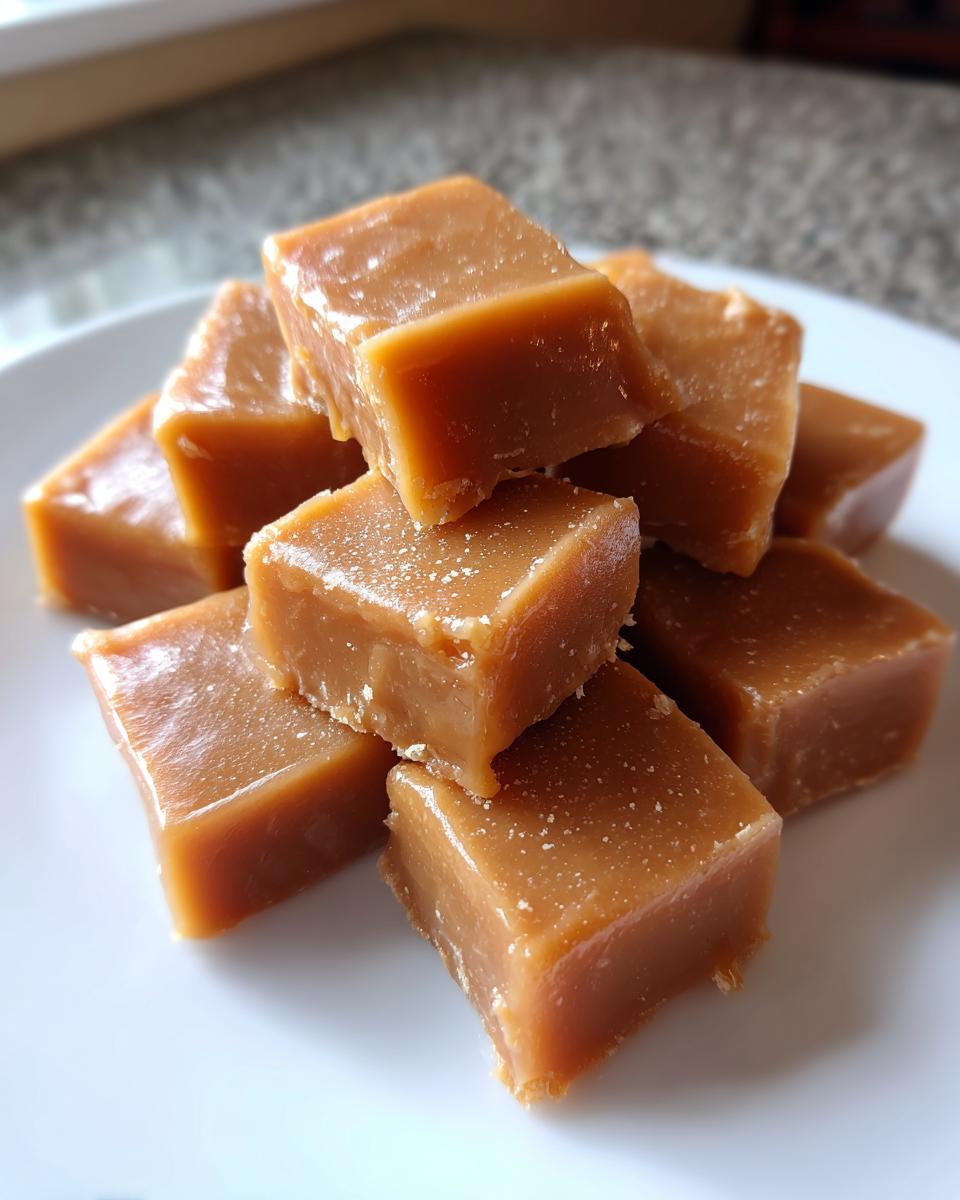
As soon as you see 240°F, yank that pan right off the heat! Quickly stir in your butter, salt, and vanilla until everything melts smoothly together. Be careful not to scrape the sides of the pan when you pour it into your prepared dish—we only want the smooth stuff in the middle. Then, the hardest part: waiting! Let it cool completely, untouched, for at least three hours at room temperature. I know it’s tough, but do not put it in the fridge, or you might mess up the texture of these classic caramel sweets. Once it’s set, use those parchment handles to lift it out and slice it up!
You can find tips on how to make a killer easy homemade salad dressing if you need a savory break after all that sugar work!
Tips for Success When Making Homemade Caramel Candy
Look, making from scratch caramel is a dance, and the music is temperature. If you truly want to nail these treats—making them perfectly old fashioned caramels that are chewy and unforgettable—you have to respect the thermometer. This isn’t the time to guess; this is when we build confidence through precision!
I’ve had batches that came out slightly off because I thought I knew better. Don’t make that mistake! For truly rich buttery caramels, the tool is non-negotiable.
Temperature Control: The Key to Perfect Homemade Caramel
I need you to use a reliable candy thermometer. Period. Getting that mixture to exactly 240°F ensures we are in that sweet spot where the sugar structure provides chewiness, not hardness. Also, because we live in the real world, remember that altitude matters! If you’re way up high, you might need to cook it a degree or two hotter, or adjust your timings slightly. Humidity can play a role too. Trust the tool, use the temperature listed, and you’ll pull off incredible results every time. For more foundational techniques, check out my guide on the easy hollandaise sauce in a blender; precision matters there too!
Variations on Your Homemade Caramel Recipe
Now that you’ve mastered the base—the absolute best caramel recipe for soft candy—you have to play around with it, right? The vanilla caramel candy we made is perfect, but it’s also a fantastic canvas! If you love that sweet-and-salty combination, sprinkle flaky sea salt over the top right after you pour the mixture into the pan before it cools. It looks so gourmet, just like those gourmet homemade salted caramel bites.
You can also try folding in a half-cup of high-quality chocolate chips right after you incorporate the butter. Let them sit for about five minutes off the heat, then stir gently for a marbled effect. This is how you turn this simple treat into something truly special for your next baking project, maybe alongside my gooey pecan pie cookies!
Storage and Gifting Your Chewy Homemade Caramels
The absolute best part about making homemade caramel is sharing it! Since these are such fantastic holiday caramel treats, you’ll want to know how to wrap them up nicely for caramel for gifting. Once they are completely cut into squares (remember, we wait until they are firm!), you need to wrap them individually. Wax paper or small cellophane squares work perfectly—this keeps them from sticking to each other in the container.
Store your wrapped beauties in an airtight container at cool room temperature. They stay perfectly soft and delicious for up to two weeks. If you want some more easy treat ideas for holidays, check out my recipe for easy cool whip candy!
Frequently Asked Questions About Homemade Caramel
It’s totally normal to have questions when you’re stepping into the world of candy making! These homemade caramels are pretty forgiving if you follow the temperatures, but sometimes people wonder about tweaks. I’ve collected the questions I get asked most often when folks are trying to master this from scratch caramel.
My goal here is to help you skip the failures and go straight to the success, guaranteeing those melt in your mouth caramels we talked about!
Can I make this without a candy thermometer for an Easy Homemade Caramel?
Oh, I really, *really* advise against it. Seriously, if you want that guaranteed easy homemade caramel texture, the thermometer is non-negotiable. If you absolutely cannot find one, you can try the cold water test—you drop a tiny bit of the hot syrup into ice water, and if it forms a soft ball you can pinch (not run through your fingers), it’s done. But honestly, that test is wildly unreliable compared to the certainty of a thermometer. Trust me, buying one is worth it to make sure you get those perfect cubes!
What if my homemade caramel turned out too hard?
If you bite into your finished candy and it’s way too hard—like you need a tooth extraction—it means your mixture cooked past that 245°F mark, probably hitting 250°F or higher. Too hot equals hard candy! Don’t toss it, though! That high-temp caramel is amazing when slightly warmed up and used as a thick homemade caramel sauce to pour over ice cream or brownies. It’s just a different product! We save it instead of scrapping it.
If you’re looking for more helpful guides, maybe take a peek at my thoughts on an easy bean soup recipe—a nice savory contrast to all this sugar!
Nutritional Estimates for This Homemade Caramel
If you’re tracking macros or just curious about what’s in these delectable homemade caramels, I’ve put together the estimated nutritional breakdown right here. Remember, because we are making things completely from scratch caramel, these numbers are based on the classic recipe ingredients using standard measurements. They aren’t laboratory results, just a handy guide for you!
This information is based on a single, one-inch square piece of caramel candy, which is about 1/64th of the big batch. It’s good to know what you are enjoying, especially when you’re tempted to eat the whole batch in one sitting!
- Serving Size: 1 piece
- Calories: 85
- Total Fat: 3g (Saturated Fat: 2g)
- Total Carbohydrates: 14g (Sugar: 14g)
- Protein: 0g
- Sodium: 25mg
I want to be clear: treat these figures as helpful estimates! If you substitute brown sugar for granulated sugar or use salted butter, that sodium count might shift a little. But hopefully, this gives you a good visual of what makes these rich buttery caramels such a satisfying treat!
Share Your Homemade Candy Making Journey
Well, if you made it this far and you’ve got a tray of beautifully squared, soft, and chewy homemade caramel cooling on the counter, you deserve a huge pat on the back! You just conquered stovetop candy making—that’s a huge step in building your kitchen confidence. I truly hope you love the results of this vanilla caramel candy!
Now, I absolutely need to hear about it! Did you nail that 240°F mark on your first try? Did you go for the salted topping? Leave me a comment below and tell me how it went. If you share pictures online, tag me so I can see your gorgeous treats!
Every successful recipe you complete makes you a stronger cook. If you’re ready for another challenge—or maybe just something savory next time—feel free to browse my About page to see what other adventures I’ve been on in the kitchen lately. Happy cooking, friend!
Don’t forget to rate this recipe right here on the page once you’ve had a taste. Your feedback helps others feel confident enough to try making their own best caramel recipe!
PrintSimple Homemade Soft and Chewy Caramel Candy
Make rich, buttery, soft caramel candy from scratch. This easy recipe uses simple ingredients and gives you chewy perfection ideal for gifting or enjoying immediately.
- Prep Time: 15 min
- Cook Time: 30 min
- Total Time: 225 min
- Yield: About 64 pieces 1x
- Category: Candy
- Method: Stovetop Cooking
- Cuisine: American
- Diet: Vegetarian
Ingredients
- 1 cup granulated sugar
- 1 cup light corn syrup
- 1 cup heavy cream
- 1/2 cup unsalted butter
- 1 teaspoon vanilla extract
- 1/2 teaspoon salt
Instructions
- Lightly grease an 8×8 inch baking pan and line it with parchment paper, leaving an overhang on the sides for easy removal. Set aside.
- In a heavy-bottomed saucepan, combine the granulated sugar and corn syrup. Heat over medium heat, stirring constantly until the sugar dissolves.
- Stop stirring once the sugar dissolves. Continue to cook the mixture until it reaches 245 degrees Fahrenheit on a candy thermometer. This is the soft-ball stage.
- Carefully pour the heavy cream into the sugar mixture. Stir gently until combined. The mixture will bubble up significantly.
- Return the pan to medium heat and cook, stirring occasionally, until the mixture reaches 240 degrees Fahrenheit.
- Remove the pan from the heat. Stir in the butter, salt, and vanilla extract until the butter is completely melted and incorporated.
- Pour the hot caramel mixture into the prepared baking pan. Do not scrape the sides of the pan.
- Let the caramel cool completely at room temperature for at least 3 hours, or until firm. Do not refrigerate.
- Once firm, use the parchment paper overhang to lift the caramel block from the pan. Peel off the paper.
- Lightly grease a sharp knife or pizza cutter. Cut the block into 1-inch squares.
- Wrap each piece individually in wax paper or cellophane for storage. Store in an airtight container.
Notes
- Use a candy thermometer for accuracy; this is key for achieving the correct chewy texture.
- If you want salted caramels, sprinkle flaky sea salt over the top immediately after pouring the mixture into the pan.
- For a richer flavor, substitute brown sugar for the granulated sugar, but monitor the temperature closely as it can burn faster.
Nutrition
- Serving Size: 1 piece
- Calories: 85
- Sugar: 14
- Sodium: 25
- Fat: 3
- Saturated Fat: 2
- Unsaturated Fat: 1
- Trans Fat: 0
- Carbohydrates: 14
- Fiber: 0
- Protein: 0
- Cholesterol: 10