
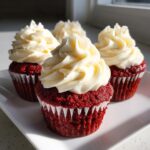
There’s just something about walking into a bakery and seeing those perfect little domes of deep red cake topped with impossibly creamy frosting, isn’t there? For years, I thought achieving those bakery style cupcakes at home was reserved for professional bakers. I used to stress over dry, crumbly results, but not anymore! I’m Ava Sinclair, and I’ve spent enough time in my own kitchen turning mistakes into magic to finally crack the code on the best, most reliable recipe for red velvet cupcakes you’ll ever try.
This isn’t just some random recipe I pulled off the internet. As I share in my own story about building confidence in the kitchen, I learned through trial and error that the most important ingredient is truly knowing the technique. This recipe nails that signature velvety cupcake texture combined with a tangy cream cheese frosting that truly sings. Trust me, if you once felt like you “couldn’t bake,” this easy, step-by-step guide is here to change your mind and fill your house with the amazing smell of classic red velvet cake.
- Why These Are The Best Moist Red Velvet Cupcakes
- Gathering Ingredients for Classic Red Velvet Cupcakes
- Step-by-Step Instructions for Moist Red Velvet Cupcakes
- Crafting the Best Cream Cheese Frosting Recipe
- Expert Baking Tips for Perfect Red Velvet Cupcakes
- Storage and Reheating Instructions for Red Velvet Cupcakes
- Serving Suggestions for Your Decadent Sweet Treats
- Frequently Asked Questions About Red Velvet Cupcakes
- Share Your Homemade Cupcake Recipes Experience
Why These Are The Best Moist Red Velvet Cupcakes
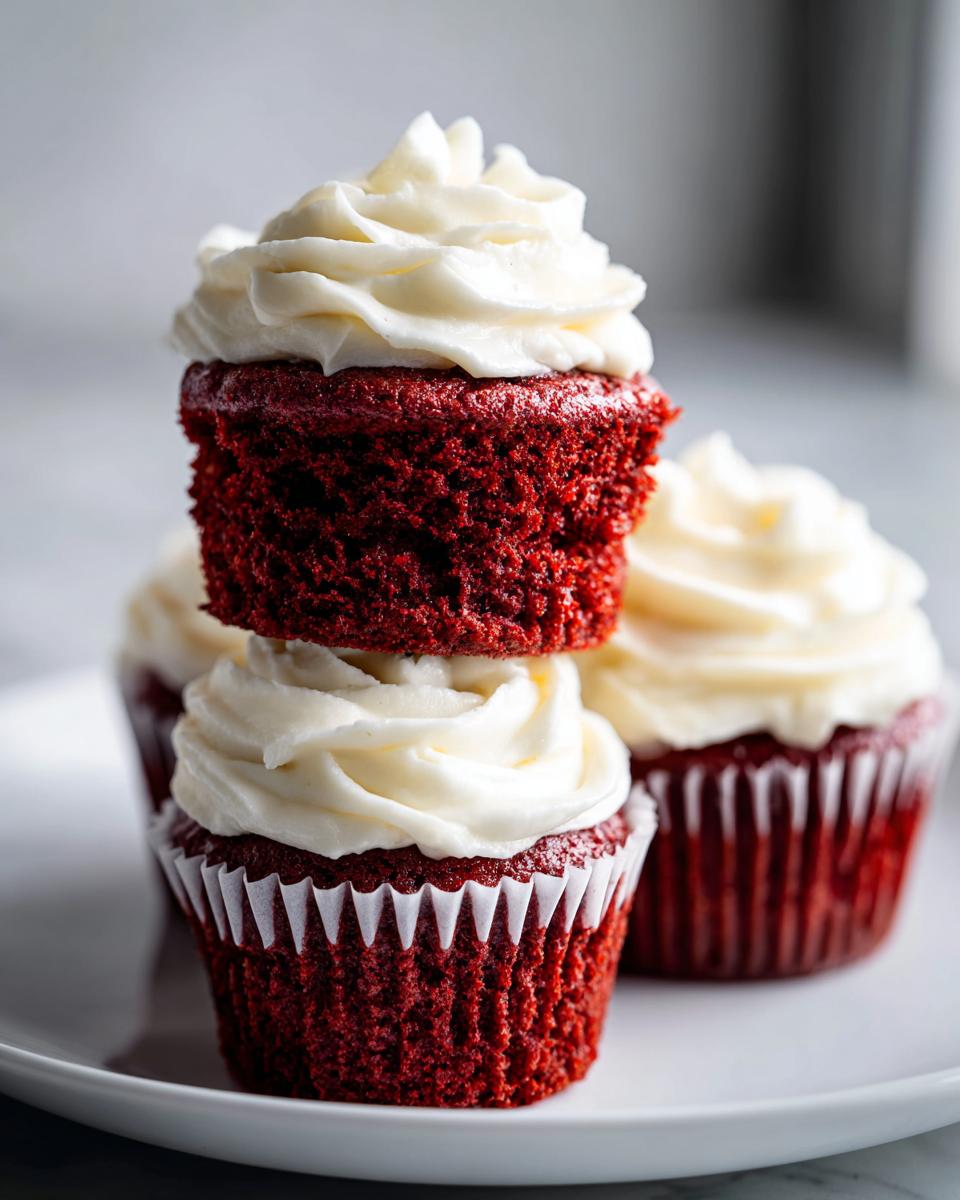
Okay, I’m going to tell you straight up why this recipe beats almost everything else out there. Forget dry cakes! We are aiming for that sought-after, impossibly moist red velvet cupcakes result every single time. The flavor is rich with just a hint of cocoa, making the flavor pop against the frosting.
- Unbeatable tenderness that truly melts in your mouth.
- Perfectly balanced sweet and slightly tart flavor profile.
- Reliable results, even if you’re new to baking cupcakes.
Achieving the Perfect Tender Red Velvet
The secret sauce for that amazing crumb is simple chemistry! We use buttermilk, which is slightly acidic. When it hits the baking soda, it creates bubbles that make the batter wonderfully light. This reaction is crucial for the velvety cupcake texture you want. Don’t worry if you’ve never made a classic red velvet cake before; this truly is an easy red velvet recipe to master!
Gathering Ingredients for Classic Red Velvet Cupcakes
Alright, let’s talk supplies! The beauty of these red velvet cupcakes is that you don’t need to hunt down fancy specialty ingredients. We’re using standard pantry items to build maximum flavor and that unbeatable structure. Just make sure you pay attention to the temperature of your dairy items—that’s half the battle won right there!
Get everything set out on the counter before you start mixing. This whole process moves fast once you get going, so you want everything measured and ready to combine!
Essential Ingredients for the Cake Batter
The cake base needs flour, sugar, a dash of cocoa for that classic hint of chocolate, along with leavening agents. The real stars are the liquids. You absolutely need that acidic component to react with the baking soda for that tender result. If you don’t have buttermilk on hand, don’t panic! You can easily make your own by mixing 1 cup of whole milk with 1 tablespoon of white vinegar or lemon juice and letting it sit for five minutes before using it in your batter.
Oh, and for the color? Please use a good quality gel food coloring if you can. A tiny bit goes a long way to give you that true, vibrant red without watering down your batter.
- 1 1/2 cups all-purpose flour
- 1 1/2 cups granulated sugar
- 1 teaspoon baking soda
- 1 teaspoon unsweetened cocoa powder
- 1/2 teaspoon salt
- 1 large egg
- 1 cup buttermilk (with substitution note above!)
- 1/2 cup vegetable oil
- 1 teaspoon white vinegar
- 1 teaspoon vanilla extract
- 1 tablespoon red food coloring (gel preferred)
Making the Tangy Cream Cheese Frosting Recipe
A red velvet cupcake simply isn’t finished without a luscious, tangy topping. For the cream cheese frosting recipe to be flawless, your butter and cream cheese must be genuinely soft. I mean soft enough that you could barely press your finger into them without sinking right through. If they are even slightly cool, your frosting will look lumpy, and we don’t want that!
- 4 ounces cream cheese, softened
- 1/2 cup (1 stick) unsalted butter, softened
- 3 cups powdered sugar, sifted
- 1 teaspoon vanilla extract
Step-by-Step Instructions for Moist Red Velvet Cupcakes
Now we get to the fun part—bringing it all together! Don’t let the steps intimidate you; this is a very straightforward, one-bowl style method once you get organized. We’re aiming for that gorgeous, rich color and that super tender crumb that makes these the best red velvet cupcakes around. Even if you’re new to beginner cupcake baking, follow these simple steps exactly, and you’ll be fine!
First things first: get your oven preheated to 350°F (175°C). You want it ready to go when the batter is mixed. Line your 12-cup muffin tin with those cute paper liners so cleanup is a breeze!
Mixing the Batter for Velvety Cupcake Texture
I always start by whisking all my dry stuff—flour, sugar, cocoa, baking soda, and salt—together in the biggest bowl I have. This just guarantees everything is evenly distributed before we add the wet ingredients. In a separate bowl, I whisk together the egg, that all-important buttermilk, oil, vinegar, vanilla, and *all* the red food coloring until it’s vividly bright.
Then, pour the wet into the dry. Use your mixer on low speed, just until everything is *barely* combined. Seriously! I’m talking about scraping down the sides and mixing for maybe 30 more seconds. If you mix until it’s perfectly smooth, you’re developing gluten, and that guarantees tough cupcakes. A few small lumps are your friends here, keep that velvety cupcake texture intact!
Baking and Cooling Your Red Velvet Cupcakes
Carefully scoop the batter into your lined cups—you want them about two-thirds full, no more. Pop them into that preheated oven and bake them for about 18 to 20 minutes. You know they’re done when a toothpick inserted right in the middle comes out clean, maybe with a few moist crumbs clinging to it. That’s perfection right there!
Once they’re baked, let them sit in that warm tin for about 5 minutes—this helps them firm up slightly. After that short rest, gently move them over to a wire rack to cool completely. And I mean *completely*! If you try to frost them while they are even slightly warm, that beautiful cream cheese frosting melts into a sad, sugary puddle. Want more baking insights? Check out my tips for this easy buttermilk pie recipe while you wait!
Crafting the Best Cream Cheese Frosting Recipe
Okay, the cupcakes are cooling—time for the star of the show, the tangy topping! This cream cheese frosting recipe is what elevates these from good to absolutely unforgettable. Remember how I stressed that the butter and cream cheese needed to be soft? Well, this is where that really matters!
You need to whip those two ingredients together until they look absolutely pristine and fluffy—no lumps allowed if you want that bakery style cupcakes finish. Once you have that smooth base, you add your sifted powdered sugar gradually. If you dump it all in at once, you’ll end up with a sugar cloud in your kitchen! Beat it until it’s light and airy, then mix in that vanilla extract. If you’re looking for other amazing frosting ideas, you might love my guide on easy creamy buttercream, but honestly, this tangy one is perfection for red velvet.
This frosting whips up quickly, and because it’s so rich, you really don’t need a ton to cover the tops beautifully. Just make sure you wait until those cakes are fully cooled, or it won’t cling right!
Expert Baking Tips for Perfect Red Velvet Cupcakes
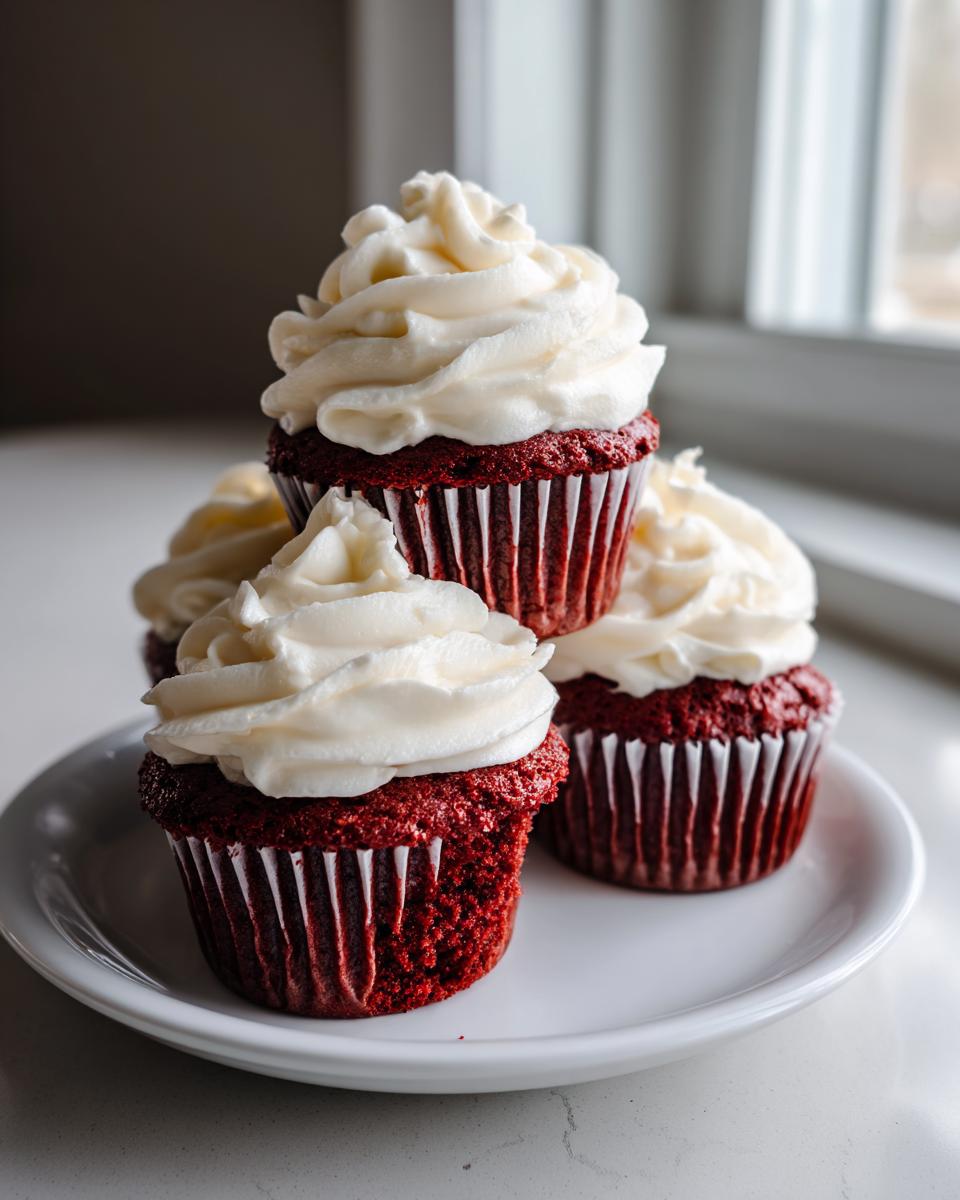
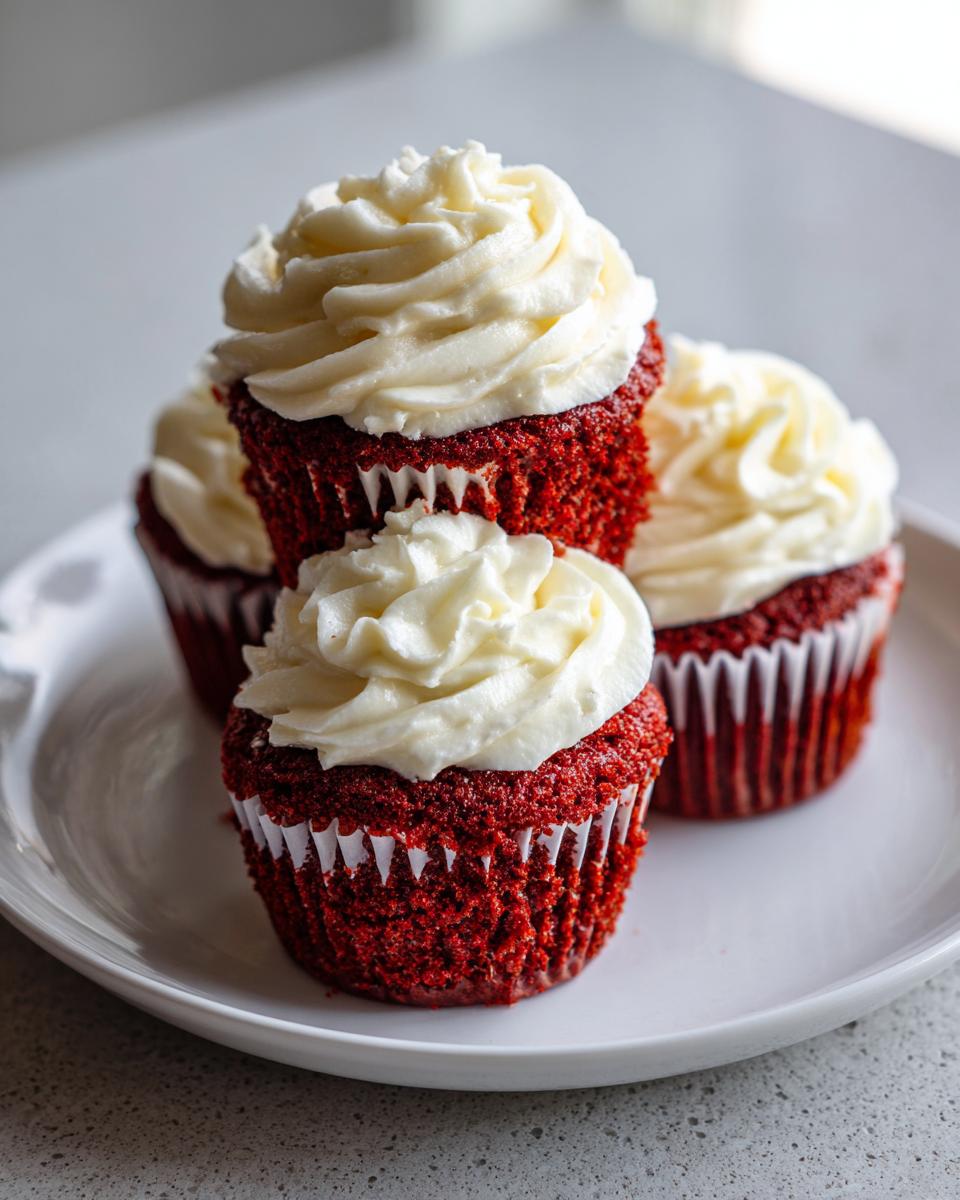
I know you’ve nailed the recipe by now, but sometimes the difference between a good homemade cupcake and a show-stopping one is just knowing a couple of extra baking tips and tricks. These little secrets are what separated my early, flat attempts from the gorgeous, high-crowned beauties I bake now. We’re talking about achieving that true bakery style cupcakes look without needing a pastry degree!
Don’t skimp on the quality of your coloring, and certainly don’t skip the vinegar or buttermilk! These simple additions are non-negotiable if you want that signature tang and texture. These tips ensure your red velvet cupcakes are moist and beautiful every single time because we’re using what the pros use.
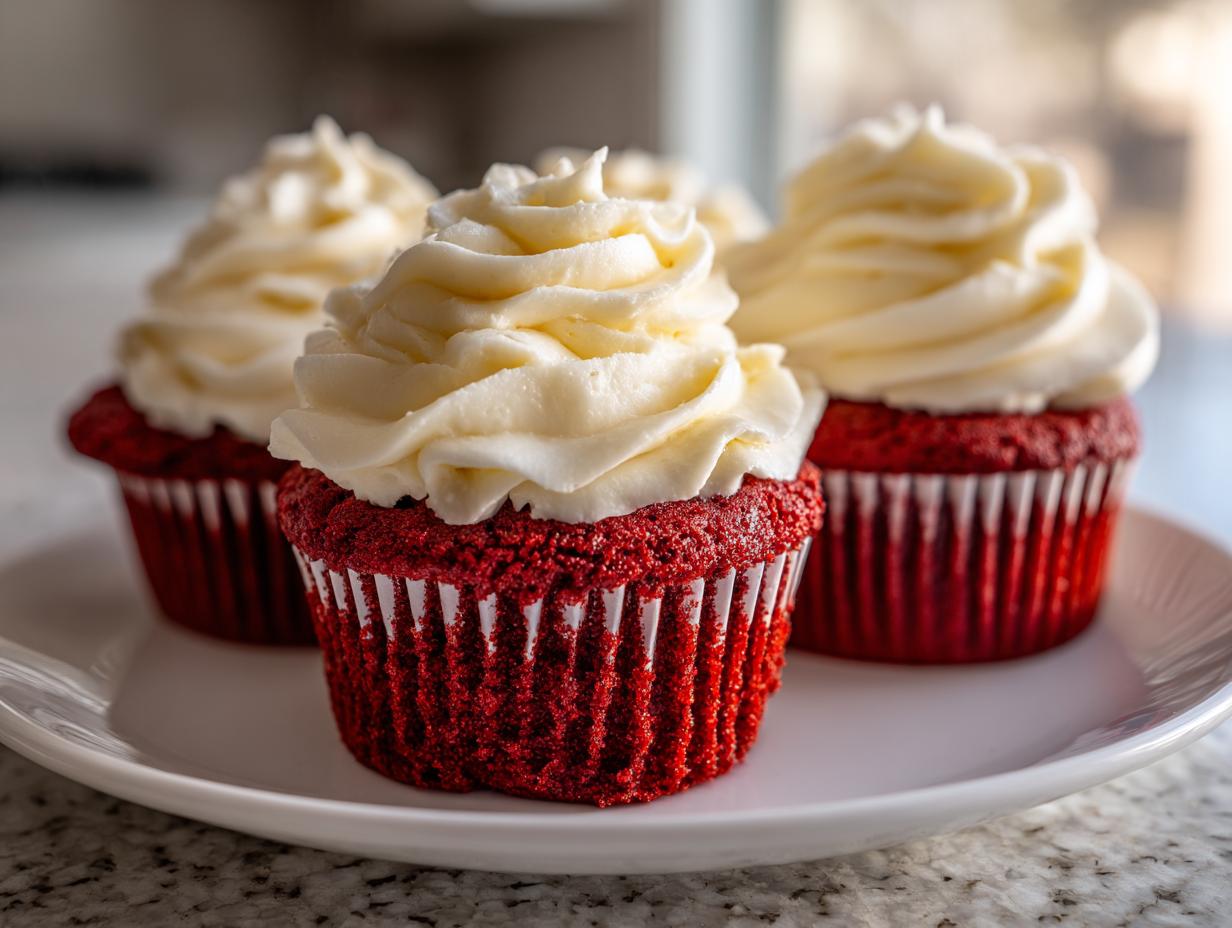
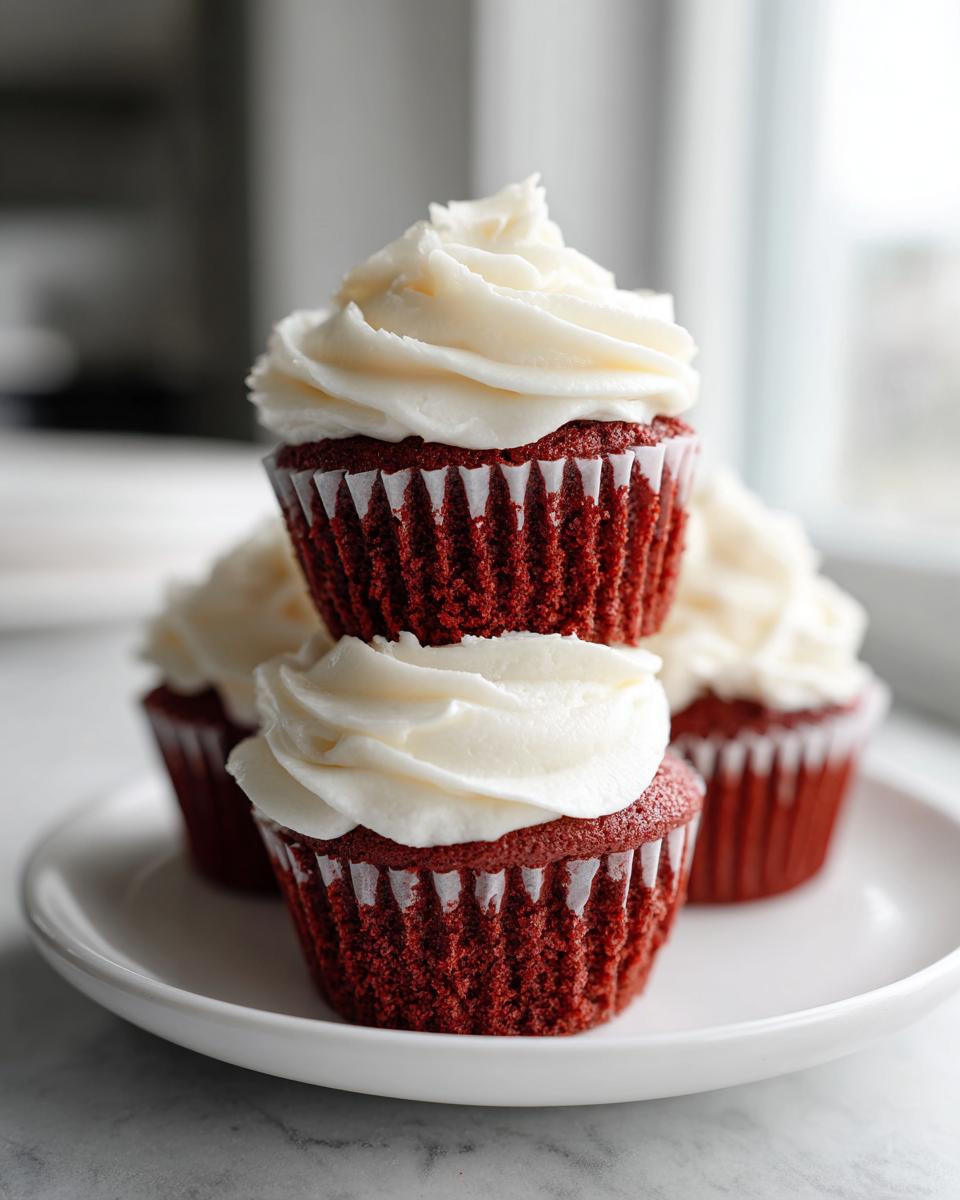
Achieving a Bakery Style Cupcakes Swirl
If you want that impressive height on top, ditch the tiny knife for frosting and grab a piping bag! This is where the magic happens visually. I highly recommend using a large star tip, like the Wilton 1M, which is easily found at any craft or grocery store. Fill that bag with your beautifully whipped cream cheese frosting.
Hold the tip just above the cooled cupcake top and start swirling from the outside edge inward. Keep a steady, even pressure, and lift the bag straight up at the very end to create that perfect, sharp peak. It feels tricky the first time, but once you get the rhythm down, you won’t go back to just spreading the frosting with a knife!
Storage and Reheating Instructions for Red Velvet Cupcakes
Now that you’ve baked the most incredible, moist red velvet cupcakes, we have to keep them perfect! Because we used that glorious cream cheese frosting, these little guys need to live in the refrigerator. Pop them into an airtight container—I try to stack them carefully or use a tiered carrier if I’m bringing them to a party.
Here’s the most important part about serving them: don’t ever eat them straight from the fridge! That frosting turns hard, and the cake gets a bit stiff. Always let your red velvet cupcakes sit out on the counter for about 30 to 45 minutes before serving. This lets them come back up to room temperature, making the cake ultra-tender again and the frosting perfectly soft and creamy.
Serving Suggestions for Your Decadent Sweet Treats
These red velvet cupcakes are rich all on their own, but pairing them with the right drink or side just elevates the whole experience! Since they are such a popular choice for Valentine’s Day desserts, I always lean toward something that feels special but isn’t too heavy.
A simple glass of cold milk is heavenly, honestly. But if you’re serving these after dinner, try spiking your coffee with a little vanilla syrup, or serving them alongside some fresh raspberries. If you’re looking for another simple but impressive treat after your main meal, you might want to check out my recipe for easy whipped ricotta dip—it’s perfect for gatherings!
Frequently Asked Questions About Red Velvet Cupcakes
It’s totally normal to have a few lingering questions when you’re making a classic like this! Whether you’re chasing that perfect velvety cupcake texture or just trying to figure out the timing, I’ve put together the answers to the most common things people ask me about these red velvet cupcakes. Don’t hesitate to jump into the comments if yours isn’t covered here!
Can I make red velvet cupcakes without buttermilk?
You absolutely can, even though red velvet with buttermilk is generally what I recommend for the best rise and tang! If you open your fridge and realize you’re out, don’t run to the store. Just take 1 cup of regular whole milk, stir in 1 tablespoon of white vinegar or lemon juice, and let it sit on the counter for about five minutes. You’ll see it curdle slightly—that’s your homemade buttermilk substitute! It works perfectly for this easy red velvet recipe and keeps your homemade cupcake recipes on track.
How do I get the deep red color in my red velvet cupcakes?
This is a big one! If you use standard liquid food coloring directly from the grocery aisle, you often have to add a ton to get a true red, and that extra liquid can ruin your batter consistency. To avoid this, the best tip is to use gel food coloring. Gel coloring is much more concentrated, so you only need a small amount—a teaspoon or two—to achieve that rich, deep color that makes these such stunning decadent sweet treats. It makes a huge difference in the final look!
Why do my cupcakes sometimes taste more like chocolate than red velvet?
That’s a great question! Remember how we added just one teaspoon of cocoa powder? That’s intentional! It’s just there to enhance the flavor and react with the vinegar and baking soda to give you that traditional subtle sour tang we associate with classic red velvet cake. If you are tasting too much chocolate, double-check that you didn’t accidentally use baking cocoa instead of regular unsweetened cocoa.
Share Your Homemade Cupcake Recipes Experience
That’s it—you’ve made the best, most moist red velvet cupcakes! I truly hope you loved this process as much as I enjoy sharing it with you. I want to hear all about it!
Did this recipe finally give you that confidence boost to tackle homemade cupcake recipes? Please drop a rating below, or hop over to the contact page to send me a note or picture. I can’t wait to see your beautiful swirls!
PrintThe Best Moist Red Velvet Cupcakes with Tangy Cream Cheese Frosting
Create bakery-style red velvet cupcakes with a tender, velvety texture using buttermilk for moisture. This easy recipe includes instructions for a rich, tangy cream cheese frosting, perfect for any celebration.
- Prep Time: 20 min
- Cook Time: 20 min
- Total Time: 40 min
- Yield: 12 servings 1x
- Category: Dessert
- Method: Baking
- Cuisine: American
- Diet: Vegetarian
Ingredients
- 1 1/2 cups all-purpose flour
- 1 1/2 cups granulated sugar
- 1 teaspoon baking soda
- 1 teaspoon unsweetened cocoa powder
- 1/2 teaspoon salt
- 1 large egg
- 1 cup buttermilk
- 1/2 cup vegetable oil
- 1 teaspoon white vinegar
- 1 teaspoon vanilla extract
- 1 tablespoon red food coloring (gel preferred)
- 4 ounces cream cheese, softened
- 1/2 cup (1 stick) unsalted butter, softened
- 3 cups powdered sugar, sifted
- 1 teaspoon vanilla extract
Instructions
- Preheat your oven to 350°F (175°C). Line a 12-cup muffin tin with paper liners.
- In a large bowl, whisk together the flour, sugar, baking soda, cocoa powder, and salt.
- In a separate medium bowl, whisk together the egg, buttermilk, oil, vinegar, vanilla extract, and red food coloring until fully combined.
- Pour the wet ingredients into the dry ingredients. Mix on low speed until just combined. Do not overmix; a few small lumps are acceptable.
- Divide the batter evenly among the 12 prepared cupcake liners, filling each about two-thirds full.
- Bake for 18 to 20 minutes, or until a toothpick inserted into the center comes out clean.
- Let the cupcakes cool in the pan for 5 minutes before transferring them to a wire rack to cool completely.
- While the cupcakes cool, prepare the frosting: In a large bowl, beat the softened cream cheese and butter together until smooth.
- Gradually add the sifted powdered sugar, mixing on low speed until incorporated, then increase speed to medium-high and beat until fluffy.
- Mix in the vanilla extract until the frosting is smooth and creamy.
- Once the cupcakes are completely cool, pipe or spread the cream cheese frosting onto each cupcake.
Notes
- For the deepest red color and best flavor, use high-quality gel food coloring instead of liquid coloring.
- Buttermilk reacts with the baking soda to give you that classic tender crumb. If you do not have buttermilk, mix 1 cup of whole milk with 1 tablespoon of white vinegar or lemon juice and let it sit for 5 minutes before using.
- To achieve a bakery style swirl, use a piping bag fitted with a large star tip (like a Wilton 1M).
Nutrition
- Serving Size: 1 cupcake
- Calories: 380
- Sugar: 45g
- Sodium: 250mg
- Fat: 20g
- Saturated Fat: 10g
- Unsaturated Fat: 10g
- Trans Fat: 0.5g
- Carbohydrates: 50g
- Fiber: 1g
- Protein: 4g
- Cholesterol: 45mg