
Oh, that craving hits you, right? You need that warm, doughy scent swirling through your kitchen, but the thought of making a giant pan of cinnamon rolls that you’ll end up stress-eating by Tuesday afternoon? Absolutely not. That’s where the magic of reduction comes in! I designed these small batch cinnamon rolls specifically for those moments when you want maximum indulgence with minimal leftovers. Forget the intimidation factor; this recipe uses simple techniques to get you four perfectly soft, totally gooey rolls every single time. It’s all about proving to yourself that you *can* master something delicious without a huge commitment. If you love that swirl, you should also check out my recipe for easy swirl cinnamon bread! Baking just four perfect rolls builds more confidence than tackling a recipe for twelve.
- Why You Will Make These Small Batch Cinnamon Rolls Again and Again
- Essential Ingredients for Perfect Small Batch Cinnamon Rolls
- Step-by-Step Guide to Making Small Batch Cinnamon Rolls From Scratch
- Tips for Success with Small Batch Baking
- Make-Ahead and Overnight Options for Your Small Batch Cinnamon Rolls
- Serving Suggestions for Your Manageable Dessert Recipe
- Storage and Reheating for Small Batch Cinnamon Rolls
- Frequently Asked Questions About Small Batch Cinnamon Rolls
- Understanding the Nutrition in Your Small Batch Baking
- Share Your Small Batch Cinnamon Rolls Success
Why You Will Make These Small Batch Cinnamon Rolls Again and Again
When you’re looking for a treat but don’t want to commit to a whole bakery’s worth, this recipe is your answer. It really nails that perfect balance of ease and incredible results. Seriously, once you try these, you’ll be reaching for this recipe every time a craving strikes.
- Perfect Portions: This is the ultimate in portion controlled baking. You get exactly four rolls, meaning they are perfect for a cozy weekend breakfast for two or a small family treat without any sticky leftovers hanging around.
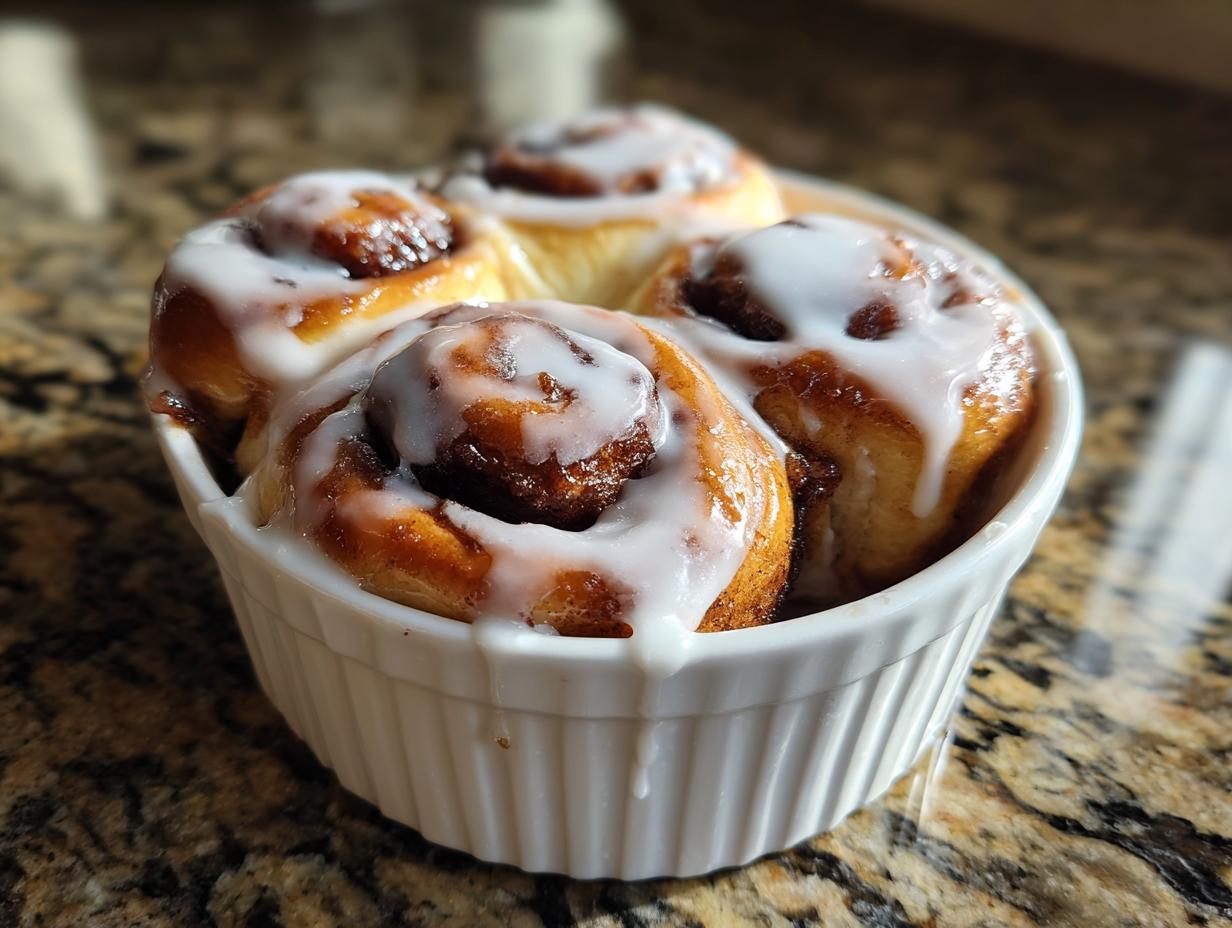
- Unbeatable Texture: We aren’t sacrificing that crucial texture just because the batch is small. These turn out incredibly soft, fluffy, and yes—they are truly soft and gooey pastries right out of the oven.
- No Stand Mixer Required: I truly believe great baking shouldn’t rely on expensive equipment! You can easily mix and knead this small dough by hand, which is a huge win for weeknight or spontaneous baking sessions.
- Quick Satisfaction: While yeast needs time to do its magic, the actual hands-on time is surprisingly short. You’ll be drizzling that icing faster than you think!
- True Homemade Flavor: There is no comparison between these fluffy sweet rolls made from scratch and anything store-bought. The fresh cinnamon aroma alone is worth the effort.
Essential Ingredients for Perfect Small Batch Cinnamon Rolls
Okay, let’s talk ingredients because scaling down a recipe means every single item matters! Since we aren’t making a massive batch, precision here is key to getting those perfect four rolls. Don’t worry; you don’t need any fancy finds for this. Everything here is standard pantry fare, which keeps things accessible. The secret to that signature soft texture starts with the right balance of fat and liquid in the dough. I’ve broken the list down so you can easily gather what you need for each part—dough, filling, and that gorgeous drizzle on top. If you happen to be looking for a great glaze recipe later, I have a fantastic vanilla buttercream frosting tutorial, but for now, we keep it simple!
For the Small Batch Cinnamon Roll Dough
- 1 cup all-purpose flour, plus more for dusting
- 1 teaspoon instant dry yeast
- 1/4 teaspoon salt
- 1 tablespoon granulated sugar
- 1/4 cup warm milk (about 105-115°F) – Making sure this milk is warm is crucial for waking up that yeast!
- 1 tablespoon unsalted butter, melted
- 1 large egg yolk
For the Gooey Filling
- 2 tablespoons softened butter (Softened is important here; we want it easily spreadable!)
- 1/4 cup packed light brown sugar
- 1 teaspoon ground cinnamon
For the Simple Icing
- 1/4 cup powdered sugar
- 1 tablespoon milk (for icing)
- 1/4 teaspoon vanilla extract
This combination ensures you get those beautiful, gooey frosted rolls without any complicated steps. Seriously, that contrast between the warm, fluffy roll and the cool, sweet icing is what makes this batch disappear so fast!
Step-by-Step Guide to Making Small Batch Cinnamon Rolls From Scratch
Now for the fun part! Turning simple flour and sugar into these decadent, perfect-sized rolls takes just a few clear moves. Since this is our small batch cinnamon rolls recipe, you don’t need to worry about juggling huge bowls of yeast dough. We’re keeping it straightforward and manageable. Follow these steps closely, and you’ll have the best breakfast treat!
Mixing and Kneading the Small Batch Dough
First things first: we combine things! Whisk your flour, yeast, salt, and granulated sugar together in a medium bowl. In a separate small bowl, gently mix your warm milk, the melted tablespoon of butter, and that rich egg yolk. Pour the wet mixture into the dry stuff. Grab a fork and mix until it looks shaggy—that means it’s just combined, don’t overdo it here. Now, turn that shaggy mess out onto your counter dusted lightly with flour. You’re going to knead this dough for about 5 to 7 minutes by hand until it feels smooth under your palms. If it’s sticky, just add flour, maybe one teaspoon at a time. Trust me, you can do this without a mixer!
First Rise and Filling Preparation
Once that dough is smooth, put it into a lightly oiled bowl, flip it around so it’s coated, and cover it tight with plastic wrap. Now, it needs to rest—find a warm spot in your kitchen for about 1 to 1.5 hours, or until it looks doubled in size. While it’s puffing up, make your filling! Just mix that 2 tablespoons of softened butter with the brown sugar and cinnamon until you have a lovely, spreadable paste. That butter needs to be soft so it spreads easily later, so grab it out early!
Shaping, Rolling, and Cutting Your Small Batch Cinnamon Rolls
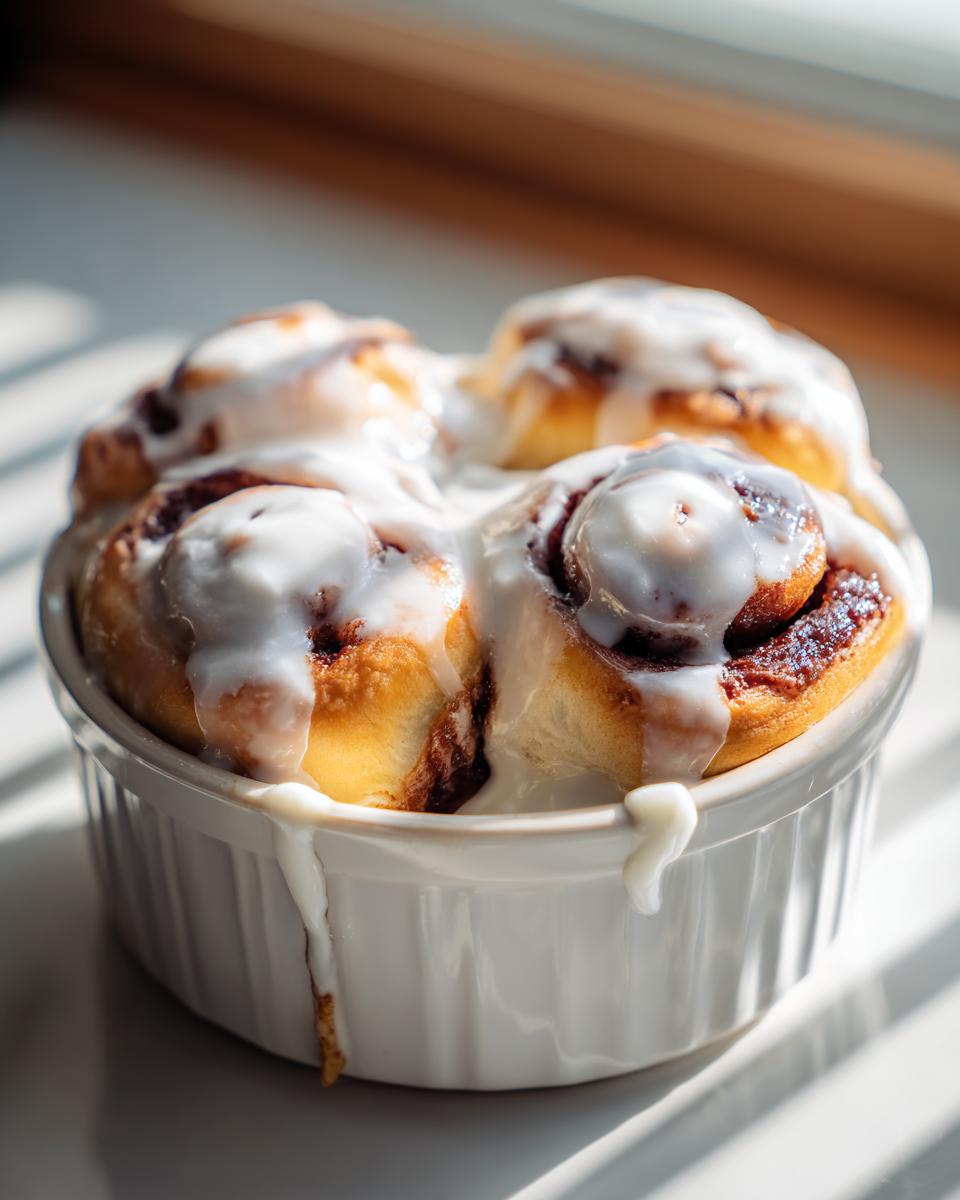
Okay, dough is ready! Punch it down gently (it’s satisfying, seriously). On your floured surface, roll that dough out into a neat rectangle, aiming for about 8 inches long by 6 inches wide. Take your cinnamon-sugar filling paste and spread it evenly all over the dough. Make sure you leave a small border of plain dough along one of the long edges—that’s your seal! Starting from the opposite long edge, roll that dough up really tightly into a log. Pinch that seam closed so it doesn’t sneak open during baking. Now, this is important: cut that log right into four equal pieces. Place those four rolls cut-side up into a small, lightly greased 8×4 inch loaf pan, or if you prefer individual rolls, use four small ramekins.
Final Proof and Baking
Cover the pan loosely again. We need a brief second rise, called proofing, for about 30 minutes. During the last 10 minutes of that proofing time, go ahead and preheat your oven to 375°F. This ensures everything is perfectly ready when it hits the heat! Bake them for 15 to 18 minutes. You’re looking for those tops to be nicely golden brown. You just made easy homemade cinnamon rolls from scratch—how amazing is that?
Preparing the Icing and Finishing Your Soft and Gooey Pastries
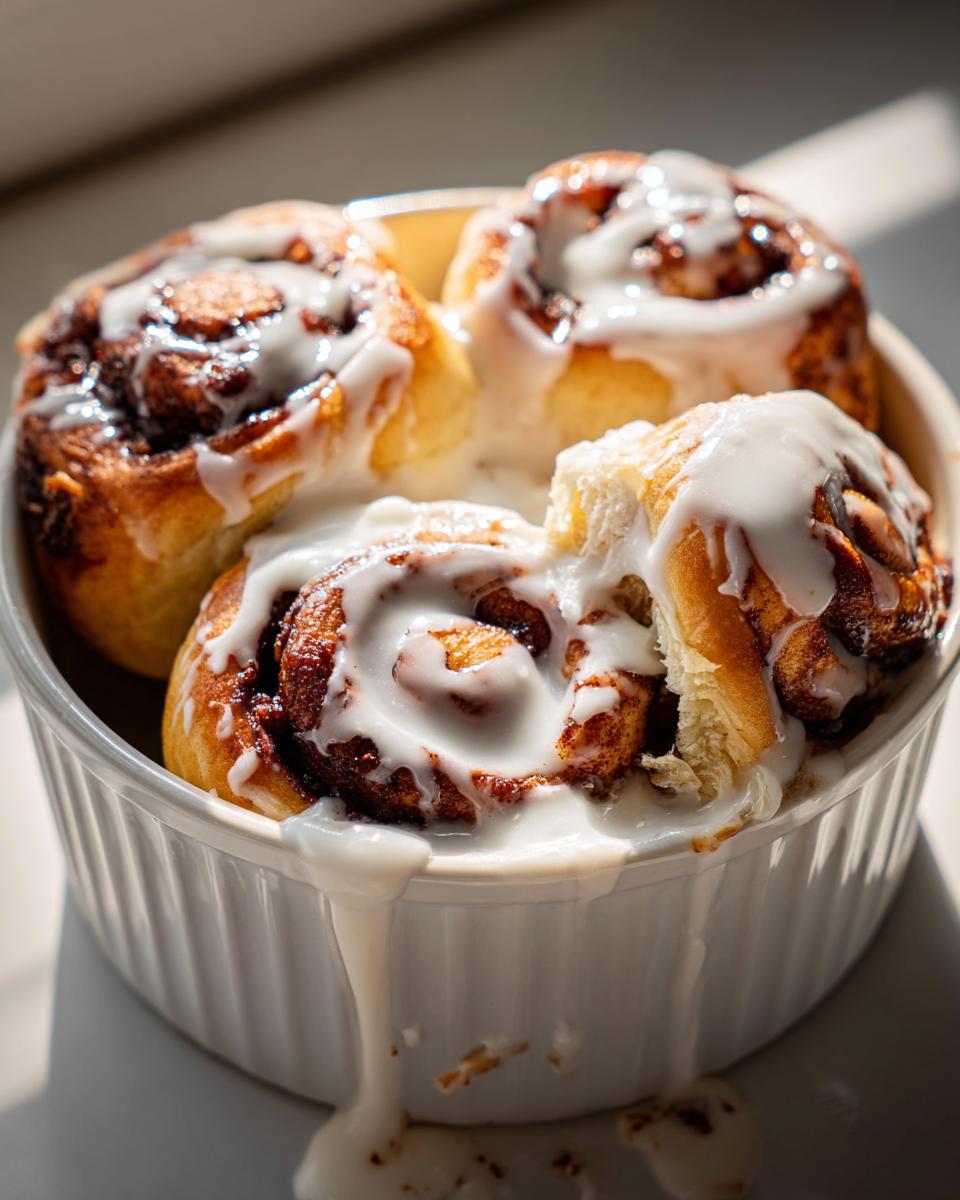
While those rolls cool down just a tiny bit, whip up that simple icing. Just whisk the powdered sugar, the tablespoon of milk, and the vanilla extract together until it’s smooth. Don’t stress if it looks too thick at first; add the milk just a drop at a time until it pours nicely off your whisk. Get that icing drizzled generously over the rolls while they are still warm! This is the secret for achieving those soft and gooey pastries you’ve been dreaming of. They’ll soak up the sweetness immediately!

If you need a little boost on quick baking ideas, check out my recipe for easy French toast—sometimes you just need something fast for breakfast!
Tips for Success with Small Batch Baking
Baking small batches of yeast dough can sometimes feel trickier than large ones, mostly because things heat up and cool down faster! Temperature control is really your best friend here. Since you’re only using 1/4 cup of milk, make absolutely sure it hits that 105°F to 115°F sweet spot—too cold, and the yeast just sits there; too hot, and you kill it dead. Don’t be aggressive when kneading this dough either. Because it’s so small, it can develop gluten too quickly if you fight it too hard. Keep your hands moving quickly and gently until it feels smooth, and then let the yeast do the heavy lifting during the rises. For more tips on handling tender doughs, take a look at my guide for soft, fluffy pita bread; the handling techniques overlap perfectly!
Make-Ahead and Overnight Options for Your Small Batch Cinnamon Rolls
Sometimes the best part of a lazy weekend morning is waking up to something already prepared, right? You don’t have to wait for that first rise for hours! This recipe is fantastic because it’s perfect for prepping ahead. We are essentially turning these into Overnight cinnamon rolls small batch delights.
Once you’ve cut your four beautiful rolls and placed them snugly into that loaf pan (or ramekins), don’t cover them with plastic wrap just yet. Instead, cover the pan tightly with plastic wrap, making sure it’s sealed well so they don’t dry out in the fridge. Pop the whole thing into the refrigerator for up to 12 hours. This slow, cold proofing time develops a lovely flavor—it’s almost like they sit and savor the experience!
When you wake up the next morning, don’t rush them straight into the hot oven! They need a little wake-up call first. Take the rolls out of the fridge about 30 minutes before you plan to bake. Letting them sit on the counter—still covered—allows the dough to warm up just slightly. When you do bake them, because they start colder, you might need an extra 2 or 3 minutes in the oven compared to the standard baking time. Keep an eye on their color!
If you want to see another fantastic recipe that works great for future planning, take a look at how I handle my date nut bread—it’s just as good overnight and waking up to it ready is heavenly. For folks who want more detailed refrigeration timing, I saw a great guide about this exact setup here: How to Make Small-Batch Overnight Cinnamon Rolls (Makes 4 Rolls). Enjoy that easy morning!
Serving Suggestions for Your Manageable Dessert Recipe
Since we’ve made such a small, perfect batch—just four rolls!—you want to serve them in a way that feels special, but still easy. This is your weekend breakfast idea, after all, not a complicated brunch spread. I don’t usually fuss too much, because when they are fresh and gooey, they really stand alone!
The absolute best way to enjoy these is straight from the pan within about ten minutes of icing them. Here are my go-to pairings:
- The Classic Coffee Companion: There is nothing better than a piping hot cup of strong coffee or espresso next to a warm, iced cinnamon roll. The bitterness cuts through the sweetness perfectly. It’s my favorite way to enjoy them on a quiet morning.
- Fresh Fruit Balance: To keep things from feeling too heavy, serve one roll alongside a small bowl of fresh berries—raspberries or sliced strawberries add a lovely tartness. This brightens up the whole plate!
- Keep It Simple: Honestly, if you’re having them for a mid-afternoon snack, just eat one! They are satisfying enough on their own. If you want another quick breakfast idea while you wait for these to bake, you should look at my guide for easy French toast; it’s super fast when you just need one serving.
Remember, the beauty of a small batch is that you don’t need to impress a crowd; you just need to treat yourself!
Storage and Reheating for Small Batch Cinnamon Rolls
Because we only make four rolls, the thought of them getting hard and losing that amazing soft quality is a real concern! Thankfully, if you manage to have any leftovers (which I often struggle to do!), storage is quite simple, but reheating is where we really focus to bring back that fresh-from-the-oven gooeyness.
If you have rolls left over—maybe two surviving overnight—you must keep them sealed tight. Don’t leave them uncovered on the counter for more than a few hours; they’ll turn into tiny dough rocks fast! Store the leftovers in an airtight container at room temperature for up to two days. If you need them to last longer than that, pop them in the fridge, but be aware you’ll need a slightly more robust reheating process later.
Here is my foolproof method for bringing them back to life. You want that soft texture, not a hot, chewy disaster!
Reheating in the Microwave (For Immediate Gooeyness)
If you need just one roll perfect for a mid-morning snack, the microwave is your quickest tool. Place your single roll on a microwave-safe plate. For moisture insurance, drape a slightly damp paper towel over the top of the roll—this steams the dough slightly as it heats.
Microwave it on 50% power for about 15 to 20 seconds. Start low and slow! If you blast it on high, you’ll just cook the water out of the dough and end up with something tough. A quick burst at lower power warms the butter and melts that icing just enough without drying out the bread itself.
Reheating in the Oven (Best for Restoring Texture)
If you have two or more rolls, or if they’ve been refrigerated, the oven is always the superior choice for bringing back that bakery texture. Preheat your oven really low, like 300°F (150°C). If the rolls have icing, you might want to scrape most of that gooey frosting off first and set it aside, otherwise, it melts right off and burns.
Place the rolls on a baking sheet lined with foil. Pop them in the low oven for about 5 to 7 minutes. The low heat gently warms the structure of the dough all the way through, making them fluffy again. Once they are warm to the touch, take them out and either reapply the original icing or mix up a tiny fresh batch of glaze for the best experience!

Frequently Asked Questions About Small Batch Cinnamon Rolls
I get so many great questions about tweaking recipes, and honestly, that’s how we all learn to be better cooks! Don’t feel silly asking—mastering that perfect portion size is what this whole recipe is about. Since we’ve already nailed the standard four-roll recipe, maybe you’re wondering how to adjust it even further or clarify some of the steps. Here are a few things I hear often about making these small batch cinnamon rolls.
Can I make this recipe even smaller, like cinnamon rolls for two?
Oh, that’s a great question for a quiet weekend! Yes, you absolutely can halve this entire recipe again to get just two rolls. That puts you firmly in the territory of true cinnamon rolls for two! When you do that, you’ll need to be super careful with your yeast measurement. Half of 1 teaspoon is technically 1/4 teaspoon, but trying to measure that precisely can be frustrating. I often tell people that if you’re halving a yeast recipe, just use a tiny, small pinch—maybe 1/8th of a teaspoon—if you can’t measure accurately. Everything else—the half cup of flour, the tiny bit of milk—should be easier to scale down. Just watch the bake time closely, as two small rolls might bake even faster than four!
Is this recipe truly a no mixer pastry recipe?
Yes, it most certainly is! When I developed this recipe, I wanted to make sure that anyone, regardless of their gadget collection, could achieve that satisfying, fluffy sweet rolls texture. The dough quantity is so small—only one cup of flour—that kneading it by hand for those 5 to 7 minutes is actually easier and maybe even more tactile than dealing with a dough hook on a stand mixer. You get a real feel for when the dough is perfectly smooth, which is a huge part of gaining confidence in bread making. You have all the tools you need right on your counter!
What if I only have active dry yeast instead of instant?
This is super common! Instant yeast is great because you can just toss it right in with the dry stuff, but if you only have active dry yeast, it’s no big deal. You just need one extra, quick step to “wake it up.” Before you start mixing anything else, take that 1/4 cup of warm milk (make sure it’s between 105°F and 115°F—that’s that warm bath feeling, not hot!) and stir in your yeast. Let it sit there completely undisturbed for about 5 minutes. If it gets foamy or bubbly on top, your yeast is alive and active, and you can proceed exactly as written! If it does nothing, you might need to grab fresh yeast for better results.
Can I use baking powder instead of yeast if I want quick cinnamon rolls?
That takes us into the realm of quick breads, and while I love those too, you’ll lose that characteristic fluffy, chewy texture that makes a rolled sweet roll so special. Yeast provides the strength and airy structure in the dough. If you need something like a quick cinnamon roll recipe with no rise time, you’d need a completely different formula using baking powder or soda, maybe closer to a biscuit recipe. For these, especially when you want that classic soft texture, the yeast is necessary. If you’re looking for something totally yeast-free, maybe check out my guide on making an easy whipped ricotta dip—it’s fast and delicious, though savory!
Understanding the Nutrition in Your Small Batch Baking
Now, I always feel a little funny posting nutrition facts because, let’s be real, nobody is making these decadent sweets because they are counting every single calorie! That said, being transparent about what goes into our small batch baking is just part of building confidence and understanding what we’re eating. Since we’re keeping this recipe manageable, the serving is small, which helps keep things in check!
Please remember, these numbers are just estimates based on the exact ingredient amounts listed in the recipe above, specifically calculated for a single roll (one-fourth of the total batch). The quality of your ingredients—like using high-fat butter versus lower-fat—will shift these totals. But for a general idea of what you’re enjoying in this wonderfully gooey frosted roll, here’s the breakdown:
- Serving Size: 1 roll
- Calories: Approximately 350
- Fat: Around 16g (including about 9g of saturated fat)
- Carbohydrates: 48g
- Protein: 6g
- Sugar: 28g (That gooey swirl adds up, doesn’t it?)
If you are ever worried about making treats too often, remember that making a small batch means you have less temptation lying around! It’s a great way to enjoy that comfort food craving without overdoing it. Enjoy baking confidently!
Share Your Small Batch Cinnamon Rolls Success
Well, friend, you did it! You tackled a yeasted dough, you nailed the cinnamon swirl, and you ended up with four perfect, small batch cinnamon rolls, ready to make your morning instantly better. Doesn’t that feel amazing? I truly hope you are feeling that spark of confidence—that’s the real goal here, far more than just eating a sweet treat!
Now that you’ve created this perfectly portion-controlled baking win, I would absolutely love to hear how it went. Did the dough feel right when you kneaded it? Did the icing drip just perfectly down the sides? Don’t be shy!
Please, take a moment down in the comments below and let me know what you thought. Leaving a rating helps other folks who might be nervous about baking with yeast feel brave enough to try these for themselves. If you snapped a picture of your gorgeous, gooey results—seriously, post it! Tag me on social media. Seeing your success stories is what keeps me in the kitchen experimenting and building more simple, achievable recipes for all of us.
If you’re feeling like you smashed this recipe and want to learn more about our philosophy of building kitchen confidence, you can always check out the ‘About’ page here: Ava Sinclair and the Kitchenican Story. Keep creating, keep tasting, and keep proving to yourself that you *can* master anything!
PrintSmall Batch Soft & Gooey Cinnamon Rolls (Makes 4 Rolls)

You can make incredibly soft and gooey cinnamon rolls without baking a huge batch. This straightforward recipe yields just four perfect rolls, making it ideal for a weekend breakfast or a manageable sweet treat.
- Prep Time: 20 min
- Cook Time: 18 min
- Total Time: 1 hour 48 min
- Yield: 4 servings 1x
- Category: Breakfast
- Method: Baking
- Cuisine: American
- Diet: Vegetarian
Ingredients
- 1 cup all-purpose flour, plus more for dusting
- 1 teaspoon instant dry yeast
- 1/4 teaspoon salt
- 1 tablespoon granulated sugar
- 1/4 cup warm milk (about 105-115°F)
- 1 tablespoon unsalted butter, melted, plus 2 tablespoons softened for filling
- 1 large egg yolk
- 1/4 cup packed light brown sugar
- 1 teaspoon ground cinnamon
- 1/4 cup powdered sugar
- 1 tablespoon milk (for icing)
- 1/4 teaspoon vanilla extract
Instructions
- In a medium bowl, whisk together the flour, yeast, salt, and granulated sugar.
- In a separate small bowl, mix the warm milk, 1 tablespoon melted butter, and egg yolk.
- Pour the wet ingredients into the dry ingredients. Mix with a fork until a shaggy dough forms.
- Turn the dough out onto a lightly floured surface. Knead for 5 to 7 minutes until the dough is smooth. If the dough is too sticky, add flour one teaspoon at a time.
- Place the dough in a lightly oiled bowl, turning to coat. Cover the bowl with plastic wrap and let it rise in a warm spot for 1 to 1.5 hours, or until doubled in size.
- While the dough rises, prepare the filling: In a small bowl, mix the 2 tablespoons softened butter, brown sugar, and cinnamon until combined into a paste.
- Gently punch down the risen dough. Roll the dough into a rectangle about 8 inches long and 6 inches wide on a lightly floured surface.
- Spread the cinnamon-sugar filling evenly over the dough, leaving a small border on one long edge.
- Starting from the long edge opposite the border, roll the dough tightly into a log. Pinch the seam closed.
- Cut the log into four equal pieces. Place the rolls cut-side up in a small, lightly greased 8×4 inch loaf pan or four small ramekins.
- Cover the pan loosely and let the rolls proof (second rise) for 30 minutes. Preheat your oven to 375°F during the last 10 minutes of proofing.
- Bake for 15 to 18 minutes, or until the tops are golden brown.
- While the rolls cool slightly, prepare the icing: Whisk together the powdered sugar, 1 tablespoon milk, and vanilla extract until smooth. Add more milk, a drop at a time, if the icing is too thick.
- Drizzle the icing over the warm rolls before serving.
Notes
- For overnight preparation, assemble the rolls in the pan, cover tightly, and refrigerate for up to 12 hours. Before baking, let them sit at room temperature for 30 minutes, then bake as directed, adding 2-3 minutes to the bake time if necessary.
- If you do not have instant yeast, use active dry yeast and let it bloom in the warm milk for 5 minutes before adding it to the flour mixture.
Nutrition
- Serving Size: 1 roll
- Calories: 350
- Sugar: 28g
- Sodium: 180mg
- Fat: 16g
- Saturated Fat: 9g
- Unsaturated Fat: 7g
- Trans Fat: 0g
- Carbohydrates: 48g
- Fiber: 1g
- Protein: 6g
- Cholesterol: 45mg