
There’s just something about a bowl of warm, sweet pudding that feels like a hug, isn’t there? When the day is long or the weather is grey, I instantly reach for that cozy feeling, and that means making my absolute favorite rice pudding recipe. Forget those thin, overly sweet versions you find sometimes; we are going for that truly luxurious, old-fashioned creaminess here, and I promise you, we nail it every single time.
Many people think getting that perfect texture means complicated baking times or rare ingredients, but that’s simply not true. I went through batches and batches—some too runny, some gummy, some scorched on the bottom—to figure out the foolproof way to do this on the stovetop. Trust me, after testing every pitfall, this rice pudding recipe is the one that gives you that melt-in-your-mouth smoothness you crave, using just basic ingredients you probably already have. If you’re looking for ways to simplify your evening meals, learning this recipe is a great start, so check out my guide for easy weeknight dinners for more inspiration!
We’re keeping things straightforward because the flavor here speaks for itself. You don’t need complex techniques; you just need a little patience while stirring. Ready to transform milk and rice into the ultimate homemade dessert? Grab your favorite saucepan, and let’s get started.
- Why This Old Fashioned Rice Pudding Recipe Delivers Comfort
- Simple Ingredients for Your Rice Pudding Recipe
- How to Make Stovetop Rice Pudding: Step-by-Step Instructions
- Tips for Success with Your Creamy Rice Pudding Recipe
- Serving Suggestions for this Homemade Dessert Recipe
- Storage and Reheating the Rice Pudding Recipe
- Variations on the Classic Rice Pudding Recipe
- Frequently Asked Questions About This Rice Pudding Recipe
- Share Your Creamy Rice Pudding Creation
- Share Your Creamy Rice Pudding Creation
Why This Old Fashioned Rice Pudding Recipe Delivers Comfort
There is nothing that screams easy homemade garlic butter recipe like a simple, warm bowl of pudding, and this recipe is pure nostalgia in a dish. We aren’t messing around with fancy shortcuts here; this is the real deal—a truly old fashioned rice pudding that relies on slow cooking to build incredible flavor and texture. It’s the perfect comfort food dessert for when you just need something reliable to wrap your hands around.
I remember one particularly tough week when I was trying to balance work and, well, life, and I just felt completely wiped out. I wasn’t up for cooking anything complex. But I had the basics—milk, rice, sugar—and whipping up this pudding was my instant reset button. Within an hour, the kitchen smelled like vanilla and cinnamon, and that first spoonful was like being wrapped in a warm blanket. That’s the magic of a classic comfort dessert that doesn’t demand complicated techniques.
Achieving the Creamiest Rice Pudding Texture
The secret to moving this beyond just ‘rice in warm milk’ territory and into the realm of truly creamy rice pudding is patience during the simmer. We aren’t looking for mushy grain soup; we want that thick, luscious mouthfeel. That happens because the rice slowly releases its natural starches into the milk mixture as it bubbles gently. If you rush it and boil it hard, the starch gets locked up, or worse, it sticks and scorches the bottom and makes the whole thing feel gummy. We are aiming for smooth, not sticky! Just keep that heat low and keep stirring occasionally.
Simple Ingredients for Your Rice Pudding Recipe
I want you to look at this list and realize something important: you likely have 90% of this sitting in your pantry right now. That’s one of the greatest things about this rice pudding recipe—it proves that the most satisfying dishes often come from the most simple ingredients dessert category. We don’t need complicated flavoring agents or fancy pre-made mixes to get that iconic, comforting taste.
This is a foundational recipe, meaning once you master these core components, you can easily tweak it later (we’ll get to variations!). For this batch, we are relying on the richness of whole milk and heavy cream—don’t skimp here; that’s where the creamy magic hides! Here are the exact measurements you’ll need for about six perfect servings.
- 1 cup long-grain white rice
- 4 cups water
- 1 teaspoon salt
- 4 cups whole milk
- 1 cup heavy cream
- 3/4 cup granulated sugar
- 2 teaspoons vanilla extract
- 1/2 teaspoon ground cinnamon (plus extra for topping)
Ingredient Notes and Substitutions for this Rice Pudding Recipe
Okay, now let’s talk about making smart swaps, because life happens! We call for long-grain white rice here, and it works beautifully because those grains stay separate enough to give you discernible texture while still releasing starch. If you happen to have Arborio rice (the risotto rice), you can absolutely substitute that! Just know that Arborio breaks down faster, so keep a very close eye on the simmering time; it might shave 5 to 10 minutes off your cook time, so start checking for thickness earlier.
The milk situation is key: please use whole milk if at all possible, and definitely use the heavy cream. Low-fat milk just won’t give you that luxurious, thick texture we worked so hard for in the previous section. Skim milk tends to result in a thinner, almost watery pudding unless you cook it for an eon, which increases the scorching risk. We want richness, so stick to the higher-fat dairies for this amazing easy 15-minute beer cheese dip of a dessert!
How to Make Stovetop Rice Pudding: Step-by-Step Instructions
Alright, let’s walk through this together. Making this stovetop rice pudding is a process, not a race! The goal here is maximum creaminess without nursing the pot constantly. I’ve broken down the 50 minutes of cooking time into three manageable stages so you never lose track. If you’re looking for a deeper dive on technique, I have a whole post dedicated to making creamy rice pudding the old-fashioned stovetop way!
Initial Water Absorption for the Rice Pudding Recipe
First things first—we want the rice to swell up nicely before we introduce the dairy. Grab a medium saucepan—nothing too wide, or it cooks too fast and sticks. Combine your cup of long-grain rice, the four cups of water, and that teaspoon of salt. Bring that whole mess up to a boil over medium-high heat. Once it’s rolling, immediately drop the heat down to low, put the lid on, and just let it simmer for about 15 minutes. You’re looking for almost all that water to disappear. Give it a quick stir occasionally while it cooks, just to make sure nothing is grabbing hold of the bottom of the pan.
Thickening the Creamy Rice Pudding Base
This is where the real texture starts building! Once the water is absorbed, pour in the 4 cups of whole milk and the 1 cup of heavy cream. Turn the heat up just a hair to medium-low—we want a gentle simmer, never a hard, rolling boil. Now, this part needs attention. You need to cook this base for the next 30 to 40 minutes. Stir frequently! Seriously, this is crucial to achieving that gorgeous, naturally thick texture we talked about. The rice is releasing its starch right now, making that amazing creamy rice pudding. If you walk away for too long, you’ll end up with rice cemented to the bottom of your pan, which is a disaster I’ve definitely experienced!
Finishing Touches for the Best Rice Pudding Recipe
When the pudding looks thick—like a very thick breakfast porridge, clinging nicely to your spoon—it’s time to turn off the heat. Take the pan completely off the burner! We add the sugar and vanilla extract now, stirring until that sugar dissolves completely. If you add the sugar while it’s still boiling, the texture can change weirdly, so make sure the heat is off. Taste it! If it’s not quite as thick as you dreamed, you can sneak it back onto very low heat for 5 to 10 more minutes, but watch it like a hawk. Once it’s perfect, you’re done with the cooking part of this rice pudding recipe. If you need a quick side dish to serve alongside, try my recipe for easy homemade salad dressing!
Tips for Success with Your Creamy Rice Pudding Recipe
If you’ve ever made anything involving milk on the stovetop—like this excellent rice pudding recipe—you know that scorching is the villain. It instantly ruins the whole batch. I learned this the hard way when I tried to make a quick rice pudding version hoping to save a few minutes. Trust me, those minutes aren’t worth the scrubbing later!
The notes in my recipe card (which are heavily underlined, because Grandma was serious about this) emphasize stirring frequently, especially near the end. This isn’t just busywork; it’s essential physics for a perfect pudding. When the milk heats up, the rice starch starts acting like a tiny little magnet, pulling itself to the hottest spots on the bottom of the pan. That’s where you get those burnt flakes that taste terrible.
To combat this, you need to physically sweep those layers up and redistribute them so the heat is applied evenly across the whole mixture. It’s the most active part of the 50-minute cook time, but it guarantees that final, amazing texture you’re looking for. If you want to try another simple dipping treat while you wait, my recipe for an easy creamy fruit dip recipe is super hands-off!
Preventing Scorching in Your Rice Pudding
So, how do you stop that scorching? The main thing is continuous movement during those last 15 to 20 minutes, right before the pudding is done. You don’t have to look away entirely, but you should be checking in with your saucepan every minute or so, using a wooden spoon or spatula to scrape the bottom well. If you see the pudding starting to look stiff or hear a slight ‘ticking’ sound—that’s the sound of burning rice grains clinging to the bottom—immediately pull the pan off the heat for 30 seconds, give it a solid stir, and then return it to the lowest setting. This technique saved me so many times! For reassurance that you are following the classic method, you can see how others rate this technique over on some great resources like Mom On Timeout’s version, which is also wonderful.
Serving Suggestions for this Homemade Dessert Recipe
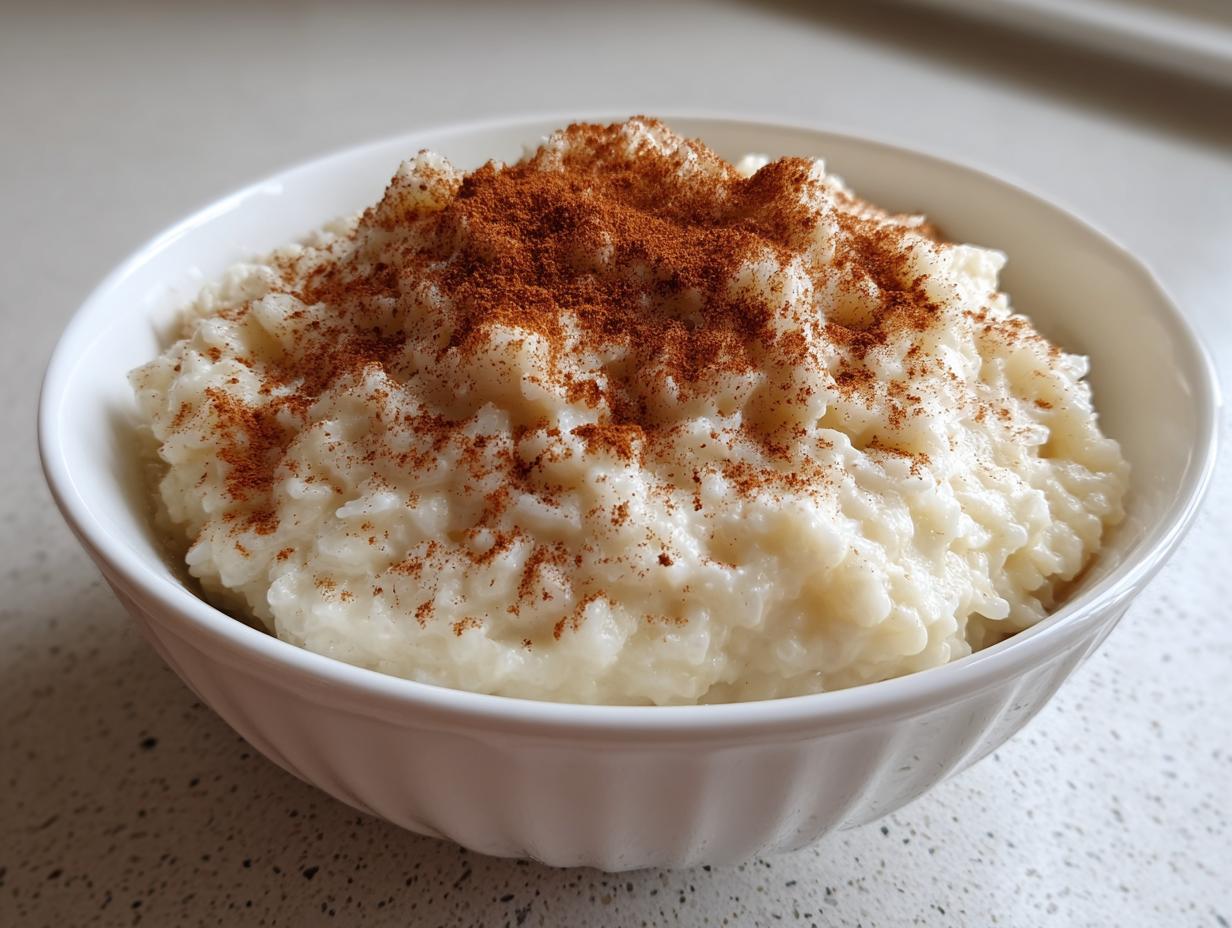
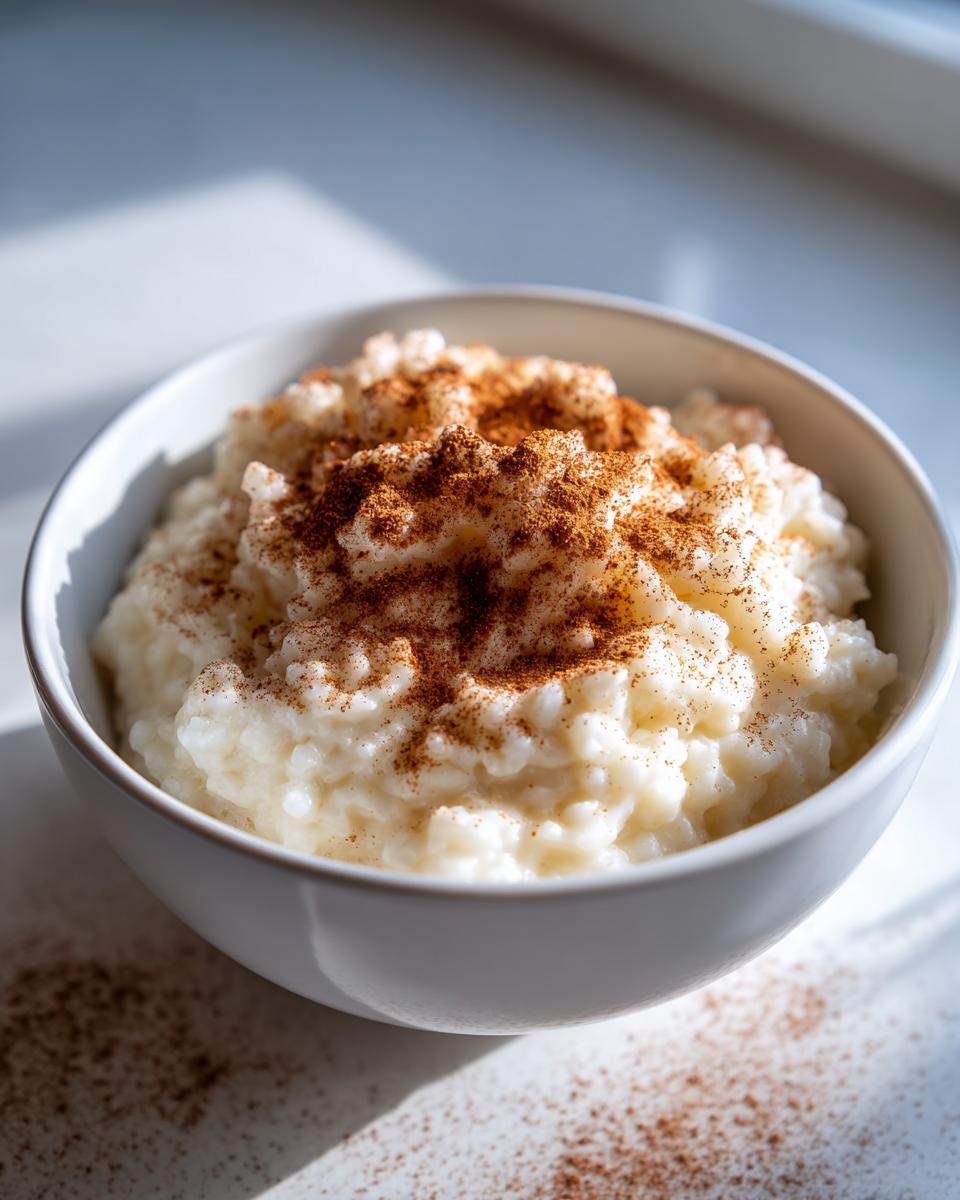
Now that you have created this beautiful, creamy rice pudding recipe from scratch, the final step is the fun part: making it look as good as it tastes! This vanilla cinnamon dessert is lovely all by itself, whether scooped into a bowl while still warm or enjoyed chilled straight from the fridge. I actually find myself preferring it slightly cool, maybe after an hour or two in the refrigerator, because that allows the flavors to really settle in and firm up the texture just a touch more.
When I serve it warm, I lean into the classic cozy vibe. A light dusting of extra cinnamon right on top—that’s non-negotiable for me! Sometimes, if I’m feeling extra decadent, I’ll add a tiny swirl of caramel sauce, almost like tracing a spiral on the surface. It looks so fancy, but it takes two seconds. If you’re looking for another simple, delicious fruit accompaniment for dessert time, I highly recommend my easy homemade applesauce recipe; it’s fantastic next to the warmth of the pudding.
For serving this homemade dessert recipe, don’t forget texture contrast! A sprinkle of toasted pecans or slivered almonds adds a nice crunch against the smooth milk and rice. If you want to get really wild (and you should, you deserve it!), a tablespoon of good quality maple syrup drizzled over the top instead of plain sugar is mind-blowing. It just takes this simple pudding up a serious notch!
Storage and Reheating the Rice Pudding Recipe
We made a big batch because, honestly, leftovers are the best part of making any homemade dessert recipe, right? This pudding keeps beautifully, but because it’s so rich and thick, you have to use the right technique to wake it up again. If you scoop it straight from the fridge and try to eat it, it will be significantly firmer than when it was warm—it’s more like a spoonable, chilled custard at that point. That’s totally fine if that’s what you’re after, but if you want that fresh, soft texture back, you need to plan ahead for reheating.
Store any remaining portion of your rice pudding recipe in an airtight container in the refrigerator. It lasts easily for about four days, which means you have several days of easy creamy dessert ideas ready to go! Don’t let it sit out on the counter for too long before chilling, though; we want to keep that dairy safe.
Now, for reheating, this is where people often go wrong and end up with dry, bland pudding. The starch continues to absorb residual moisture as it chills, making it incredibly stiff. The key here is adding back the liquid you lost!
When you scoop out your desired portion—whether you are warming it in the microwave or gently on the stovetop—you absolutely must stir in a splash of extra liquid. I usually use a teaspoon or two of whole milk or heavy cream per cup of pudding. Stir that in right before you reheat. This redistributes the moisture and gets it back to that smooth, scoopable texture.
If you’re using the microwave, heat it in short 30-second bursts, stirring well between each session. If you use the stovetop, keep the heat on low and stir constantly. For more great tips on making sure your puddings and other desserts stay perfect, I’ve written a whole post you might like on easy cool whip candy recipe basics, which also deals with texture preservation!
If you find yours has gotten surprisingly firm even after adding milk, don’t panic; just stir it a bit more vigorously while it heats up. Adding a tiny sprinkle of sugar while reheating can also help bring back some of that luxurious mouthfeel. You can see how Rachel handles leftovers in her guide over at Cooking With Rachel, too!
Variations on the Classic Rice Pudding Recipe
Okay, once you’ve mastered the classic, comforting version of this rice pudding recipe, you are free to play! That’s the beauty of learning the basics: you gain the confidence to start experimenting without stressing about ruining dinner. This traditional recipe is divine on its own, but it’s also a fantastic blank canvas for some really fun flavors.
If you’re feeling a bit adventurous—maybe you want to bring a bit of sunshine into that cozy bowl—we can easily nudge this toward a tropical rice pudding. My favorite subtle twist is swapping out about one cup of the whole milk for full-fat coconut milk. That instantly gives you a beautiful richness and a hint of the tropics without overwhelming the vanilla and cinnamon. You’ll want to keep the heavy cream, though, to maintain that essential creamy texture we worked so hard to achieve!
For a sharper, brighter flavor that cuts through the richness, try adding the zest of one small orange along with the vanilla extract at the very end. It wakes everything up! If you love learning how to bake with coconut, you should definitely check out my recipe for moist and fluffy coconut cake recipe—it shows you how to get that flavor profile just right.
Don’t forget spices! Cinnamon is a classic staple, but have you ever considered cardamom? Just a tiny pinch (maybe 1/4 teaspoon) blended in with the cinnamon completely changes the profile into something much warmer and more complex. Or, if you’re feeling bold, try using a few strips of fresh lemon peel during the milk simmering stage and then removing them before you add the sugar. It’s amazing how different a simple ingredients dessert can taste with just a small, thoughtful tweak!
Frequently Asked Questions About This Rice Pudding Recipe
I know when you’re trying out a new comfort food, you can sometimes have a few niggling doubts before you even start stirring. That’s completely normal! I’ve gathered up the most common questions readers have about making this specific rice pudding recipe to give you that extra boost of confidence. I want you to feel totally prepared before you even turn on the heat!
If you are looking for another simple recipe to serve alongside this dessert, you might want to check out my guide for an easy bean soup recipe—sometimes you just need a savory main course!
Can I make this rice pudding recipe ahead of time?
Oh, absolutely! In fact, some people swear this pudding tastes even better the next day after all those vanilla and cinnamon notes have time to mingle. However, you must remember that it thickens up A LOT once it chills down in the fridge. It goes from being a loose porridge to something much denser. When you decide to serve it later, whether warm or cold, always, always stir in an extra tablespoon or two of milk or cream per serving before you reheat it or eat it cold. That little bit of extra liquid brings back that luscious, creamy factor we’re aiming for.
What is the difference between stovetop and baked rice pudding?
This is a great question, especially since my recipe is strictly stovetop rice pudding! The main difference is texture. Baked rice pudding usually sets up much more firmly, almost like a spoonable custard or a crème brûlée base, because it bakes slowly, often with eggs helping to bind it. Our stovetop method, relying only on the starch released from the rice and the full-fat dairy, stays looser and far more ‘saucy’ or creamy, which is exactly what I love in a comforting pudding. If you’re looking for something quick, stovetop is the way to go over baked.
Can I use short grain rice instead of long grain?
Yes, you certainly can use short-grain rice or even Arborio rice! Just approach it with caution. Short grain rice releases starch much faster than long grain. If you substitute, you might find your pudding thickens in half the time, so you need to lower your temperature right away and start checking that consistency after only 20 minutes of simmering in the milk, rather than waiting the full 30 to 40 minutes. This is an important note if you are practicing your Arroz con Leche recipe techniques!
Is this an easy dessert recipe for beginners?
I built this recipe specifically to be an easy dessert recipe! If you can boil water and stir patiently, you can do this. There are no tricky steps, no tempering of eggs, and no complicated ratios. The most skill required is monitoring the heat, and that’s something everyone can learn quickly. Just stick to the stirring schedule, and you will create the best rice pudding you’ve ever had from scratch!
Share Your Creamy Rice Pudding Creation
I truly hope you loved making this recipe as much as I love sharing it with you. Seeing your successes is the whole reason Kitchenican exists—it proves that you *can* make unbelievably satisfying, delicious food without stress!
Once you’ve done the final dusting of cinnamon and taken that first bite of perfectly creamy rice pudding, please come back and let me know how it went! Did you serve it warm? Did you add raisins? Drop a star rating below, and definitely leave a comment telling me about your experience. I read every single one, and it helps me keep perfecting these tried-and-true comfort food classics for everyone.
If you tried this and have questions, or just want to share a photo of your bowl, you can always reach out via the contact page here. Happy cooking, and enjoy that cozy bowl!
PrintOld Fashioned Creamy Rice Pudding Recipe

This recipe shows you how to make a classic, creamy rice pudding on the stovetop using simple ingredients. Achieve that comforting, old-fashioned texture easily.
- Prep Time: 5 min
- Cook Time: 50 min
- Total Time: 55 min
- Yield: 6 servings 1x
- Category: Dessert
- Method: Stovetop
- Cuisine: American
- Diet: Vegetarian
Ingredients
- 1 cup long-grain white rice
- 4 cups water
- 1 teaspoon salt
- 4 cups whole milk
- 1 cup heavy cream
- 3/4 cup granulated sugar
- 2 teaspoons vanilla extract
- 1/2 teaspoon ground cinnamon (plus extra for topping)
Instructions
- Combine the rice, water, and salt in a medium saucepan. Bring the mixture to a boil over medium-high heat.
- Reduce the heat to low, cover the saucepan, and simmer for 15 minutes, or until the water is mostly absorbed. Stir occasionally to prevent sticking.
- Pour in the whole milk and heavy cream. Increase the heat to medium-low and bring the mixture to a gentle simmer, stirring frequently. Do not allow it to boil rapidly.
- Continue to cook, stirring often, for 30 to 40 minutes. The pudding thickens as the rice absorbs the liquid and releases starch. You are looking for a thick, creamy consistency.
- Remove the saucepan from the heat. Stir in the granulated sugar and vanilla extract until the sugar dissolves completely.
- Taste the pudding. If you prefer a thicker result, return it to low heat for another 5 to 10 minutes, stirring constantly.
- Serve the rice pudding warm, sprinkled with extra cinnamon, or chill it completely before serving.
Notes
- For the creamiest result, stir the pudding frequently, especially during the last 20 minutes of cooking, to prevent scorching on the bottom of the pan.
- If the pudding becomes too thick upon cooling, stir in a splash of milk when reheating or before serving cold.
- You can add 1/2 cup of raisins during the last 10 minutes of simmering if you like a traditional addition.
Nutrition
- Serving Size: 1 cup
- Calories: 380
- Sugar: 35g
- Sodium: 250mg
- Fat: 12g
- Saturated Fat: 7g
- Unsaturated Fat: 5g
- Trans Fat: 0g
- Carbohydrates: 60g
- Fiber: 1g
- Protein: 10g
- Cholesterol: 40mg