
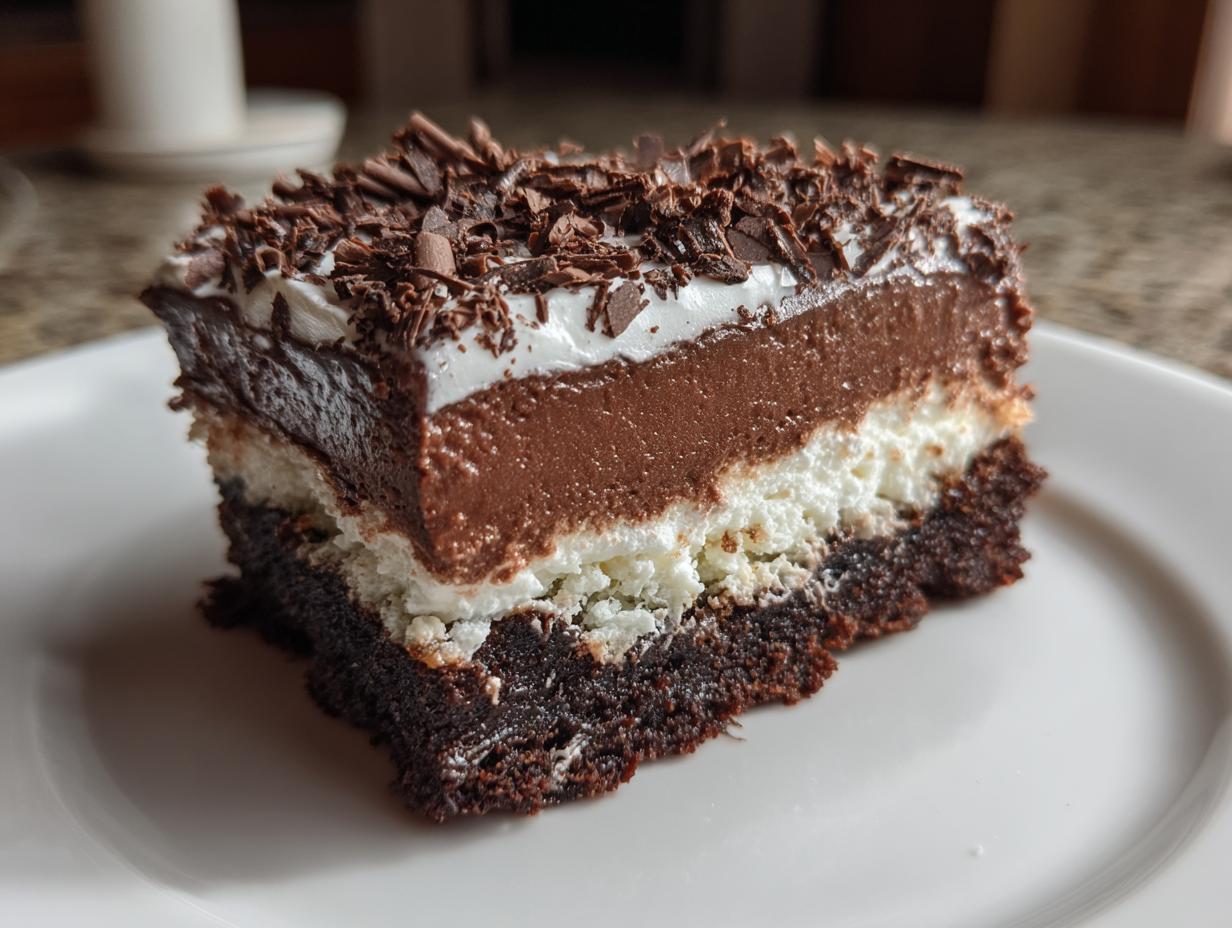
When life gets busy, but you desperately crave something deeply chocolatey and impressive, what’s the answer? Ditch the oven mitts! You know that feeling—you need a showstopper for a party or just a serious sweet craving to conquer, but the thought of baking one more thing feels impossible. That’s exactly where this recipe saves the day. I’m talking about the ultimate crowd-pleaser: the truly decadent brownie refrigerator cake. This isn’t just any layered dessert; it’s an assembly job that relies on cold magic, not heat! Trust me, making this easy, layered treat ahead of time means you get that ‘wow’ factor without breaking a sweat in the kitchen. It’s pure, simple accomplishment.
- Why This Brownie Refrigerator Cake Is Your New Favorite Make Ahead Party Dessert
- Gathering Ingredients for Your Brownie Refrigerator Cake
- Step-by-Step Guide to Assembling Your Brownie Refrigerator Cake
- Tips for the Best Creamy Refrigerator Cake Structure
- Ingredient Substitutions for Your Brownie Refrigerator Cake
- Serving Suggestions for This Decadent Cold Dessert
- Storage and Reheating Instructions for Leftover Brownie Refrigerator Cake
- Frequently Asked Questions About the Brownie Refrigerator Cake
- Share Your Brownie Refrigerator Cake Success
Why This Brownie Refrigerator Cake Is Your New Favorite Make Ahead Party Dessert
When I’m planning a potluck or heading out to a weekend gathering, the last thing I want to worry about is a dessert that needs last-minute touching up or risks falling apart. This recipe takes all the stress away! It’s genuinely the perfect make ahead party dessert. You put in the effort upfront, and the fridge does the heavy lifting.
- Zero Oven Time for Assembly: Yes, you bake the brownie base first—that’s the only heat involved! Once those fudgy squares are cool, the rest is simply mixing and layering. It’s such a quick chocolate treat because assembly takes maybe thirty minutes before it goes into chill mode.
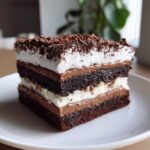
- Perfectly Set Layers After Chilling: Chilling isn’t just for keeping things cool; it’s what transforms this into a gorgeous, stable slice. After 6 hours, everything melds together beautifully. You end up with a gorgeous chilled brownie dessert that holds its shape when you serve it. It’s stunning, honestly!
For more ideas on crowd-pleasing sweets, check out my collection of delicious dessert recipes.
Gathering Ingredients for Your Brownie Refrigerator Cake
The beauty of a good brownie refrigerator cake, especially one you’re making ahead of time, is that it uses straightforward ingredients. I don’t believe in making things complicated when the payoff is this delicious! We’re building this gorgeous tower out of three main parts: the base, the cream cheese goodness, and the pudding layer. Everything here is designed to be easy to find at your regular grocery store. Remember, if you’re really short on time, you can completely skip baking the scratch base and just grab a family-sized pack of store-bought brownies. That’s part of my philosophy: we make it work for *your* life!
For the Brownie Base
Since we’re keeping things simple, we start with a box mix. This gives us fantastic, reliable fudgy squares every time. If you truly want to cut down the prep time to almost nothing, just know that you can absolutely substitute this section with your favorite rich, store-bought brownies!
- 1 (18.25 ounce) box chocolate cake mix (to make the brownies)
- Ingredients listed on the cake mix box (usually eggs, oil, and water)
For the Creamy Filling Layers
This is where that wonderful, slightly tangy richness comes from. My biggest tip here: please, please make sure your cream cheese and butter are truly soft. If they’re cold, you’ll get lumps, and we want silky smooth filling!
- 1 (8 ounce) package cream cheese, softened
- 1 cup powdered sugar
- 1/2 cup unsalted butter, softened
- 1 teaspoon vanilla extract
For the Pudding and Topping
We rely on instant pudding here because we aren’t waiting around for anything to cook or bloom! The milk needs to be seriously cold to help this set up fast when we whisk it.
- 1 (3.9 ounce) box instant chocolate pudding mix
- 2 cups cold milk
- 1 (8 ounce) container frozen whipped topping, thawed
- 1/4 cup chocolate chips or shavings, for topping
Step-by-Step Guide to Assembling Your Brownie Refrigerator Cake
Okay, now for the fun part—putting it all together! This is where the magic of a Simple Assembly Dessert truly shines. Remember, we are building layers, so take your time to keep them neat. This recipe is incredibly forgiving, but a little care now means a stunning presentation later.
Baking and Preparing the Brownies
First things first, get those brownies baked according to the box directions for your 9×13 inch pan. Once they come out, you absolutely must let them cool completely. I mean stone-cold! If you try to cut warm brownies, you’ll just get crumbs everywhere, and your layers will look messy. Once they are totally cool, carefully cut them into nice, even squares or rectangles. These pieces form the bedrock of our whole dessert.
Mixing the Cream Cheese and Pudding Components
While those brownies cool off, we tackle the creamy layers. For the cream cheese filling, get your softened cream cheese, powdered sugar, butter, and vanilla into a bowl. Beat it until it’s light and beautifully smooth—get out those lumps now! In a separate bowl, attack the instant pudding mix with your cold milk. Whisk it fast for about two minutes. You’ll notice it starts to thicken up right away. Let it sit on the counter for just five minutes while you start layering.
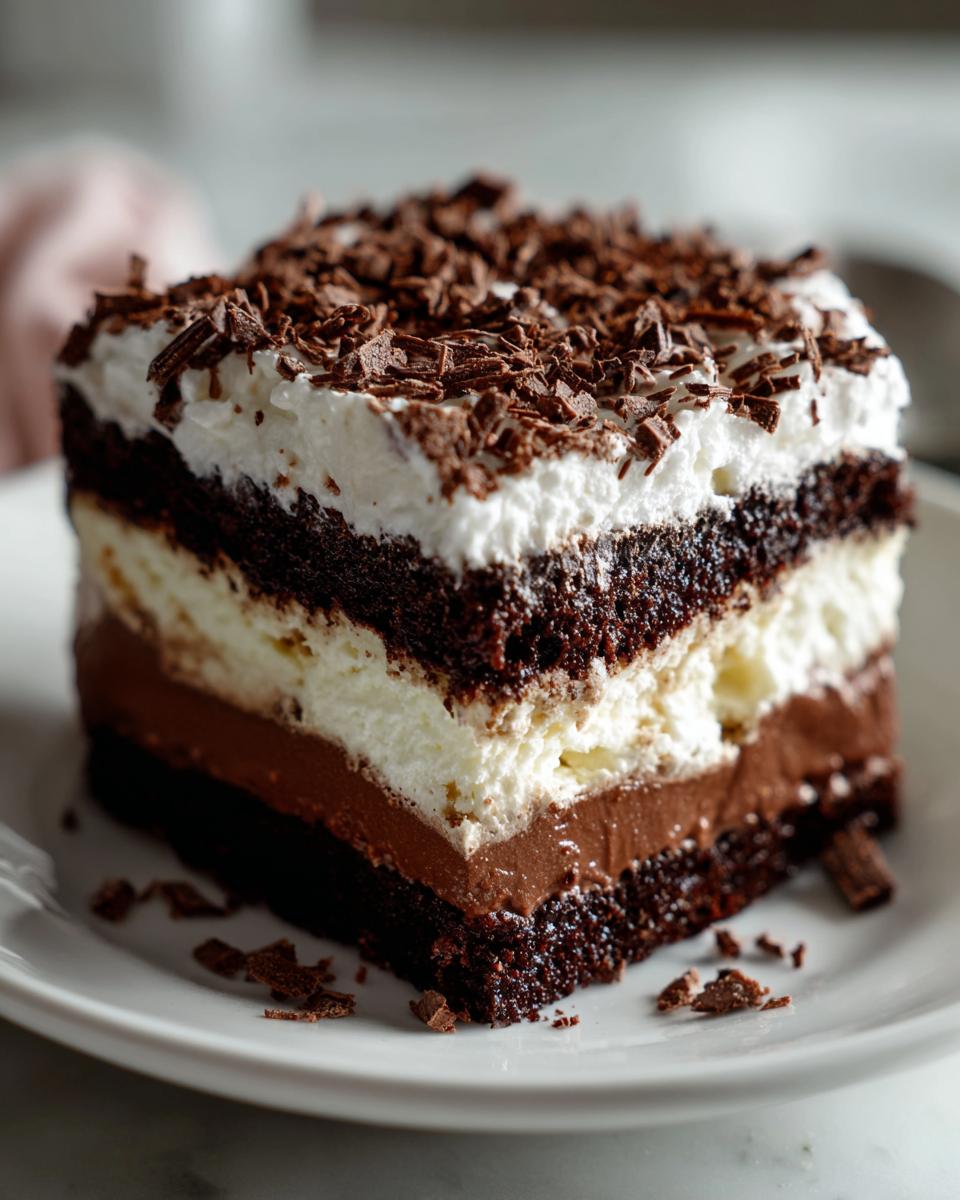
Layering the Brownie Refrigerator Cake
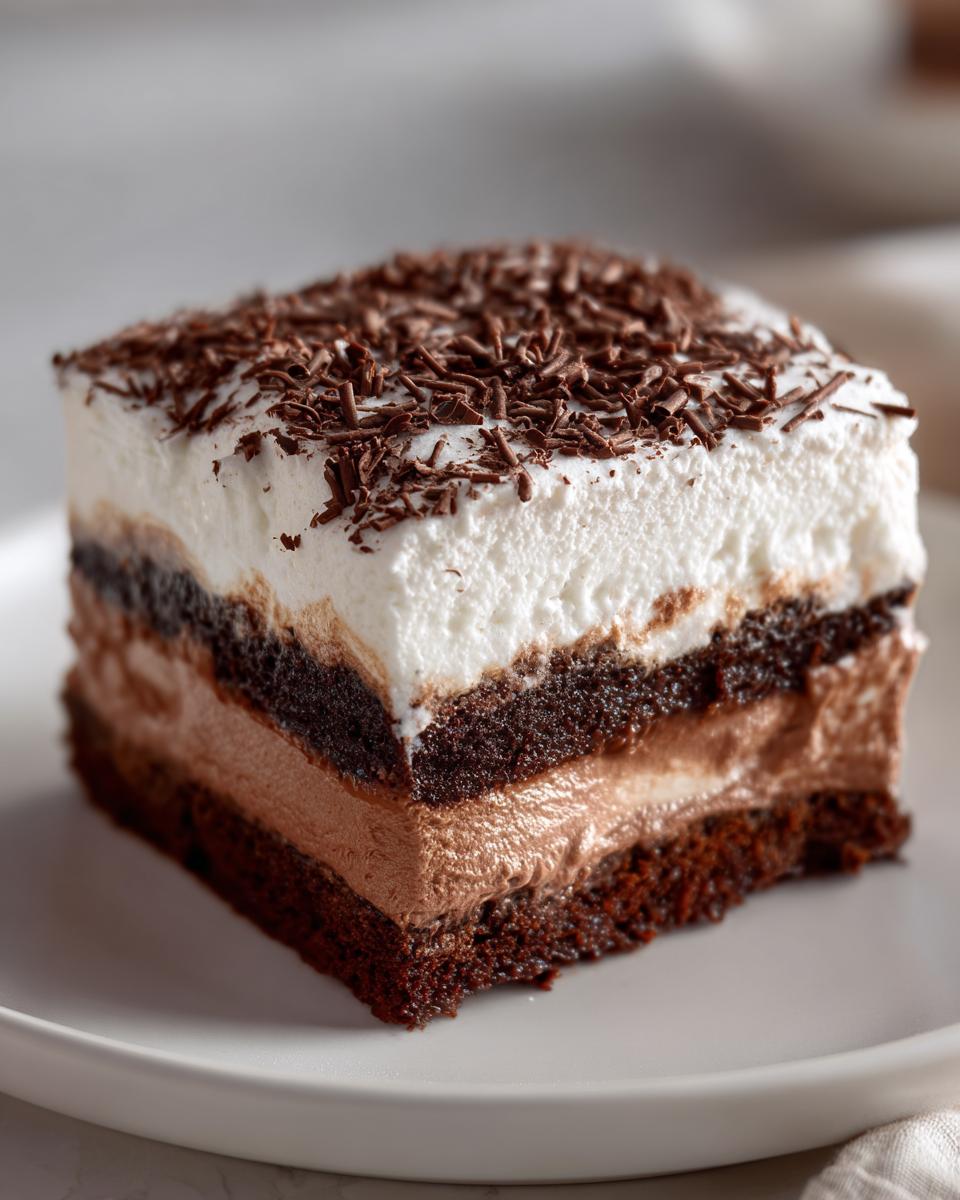
Time to stack! Grab your 9×13 dish. Start by placing half of your cut brownies down to cover the bottom completely. Next, spread half of that glorious cream cheese mixture evenly over those brownies. Then, spoon half of the slightly set pudding right on top of the cream cheese. Now, you repeat that pattern: Top that with the second layer of brownies. On this new brownie layer, spread the *rest* of your cream cheese mixture. Finally, finish the construction by spreading the remaining chocolate pudding right on top. See? It’s just going up, up, up!

Finishing and Chilling Time
We’re almost done with assembly! Gently spread that thawed whipped topping over the pudding layer. It should look fluffy and soft. Then, sprinkle those chocolate chips or shavings right over the top for that final decadent touch. Now, this is the most important step for a successful brownie refrigerator cake: cover it tightly with plastic wrap and send it to the fridge. It needs a minimum of six hours, but I always, always recommend leaving it in there overnight. That chilling time is necessary so all those creamy layers firm up perfectly!
If you want to see a video on making rich homemade brownies from scratch (if you ever decide to ditch the box!), check out this fudgy brownie recipe!
Tips for the Best Creamy Refrigerator Cake Structure
When you’re putting together a Creamy Refrigerator Cake, the final texture is everything! It has to slice cleanly but still melt in your mouth. Getting that structure right mostly comes down to two simple things we do right at the beginning. Don’t let those initial small steps slip by; they make a huge difference when it comes time to serve this dessert!
Ingredient Temperature Matters for Smoothness
I can’t stress this enough: soft cream cheese and soft butter are non-negotiable for that beautiful, smooth filling layer. If you try to beat them when they’re even slightly chilled, you’ll end up fighting lumps the entire time. I usually leave them out on the counter for at least an hour before I even think about starting. If you forget, you can microwave them in short, 5-second bursts, but watch them like a hawk! Lumps mean you won’t get that perfectly unified, rich layer we are aiming for.
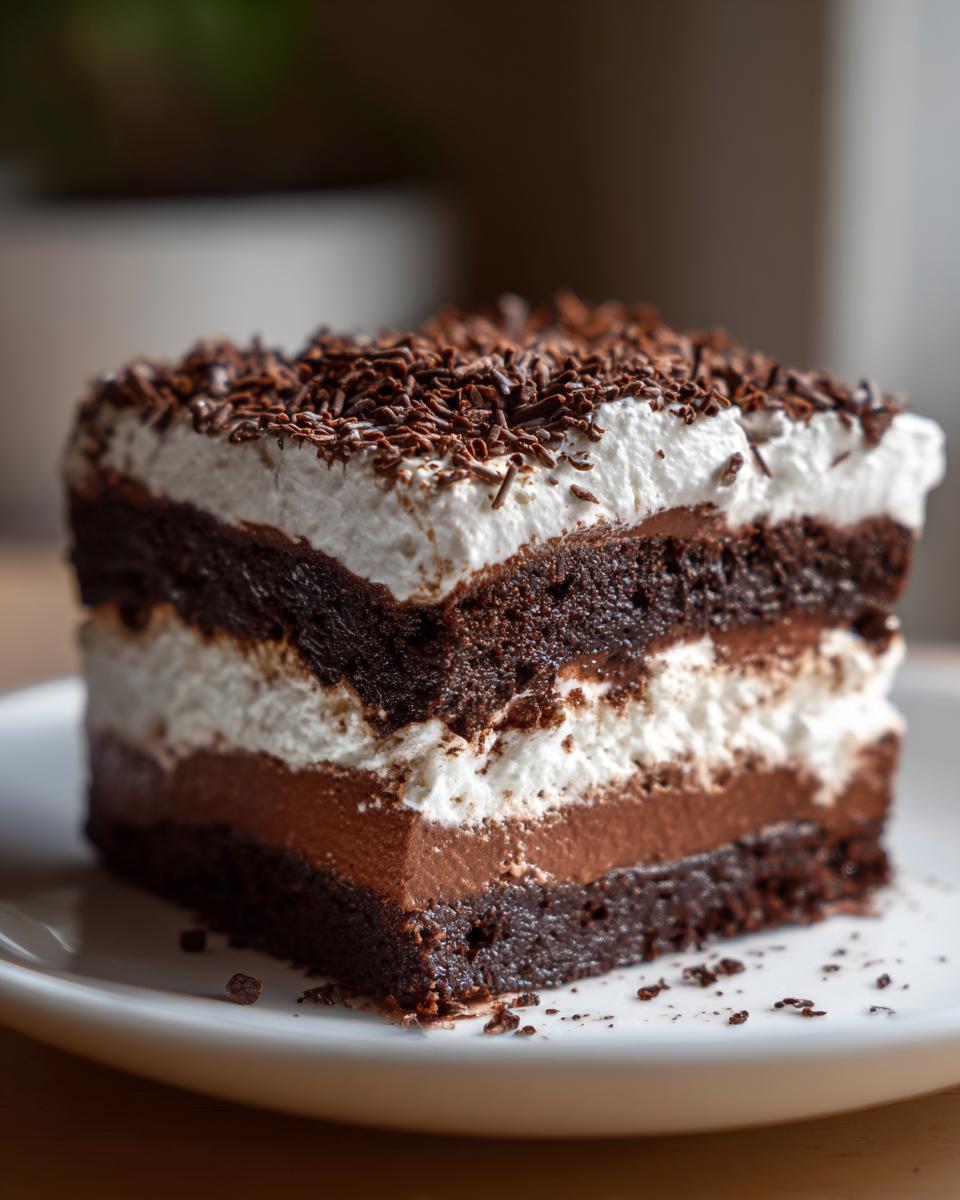
Achieving a Fudgy Brownie Icebox Cake Texture
Since we are using a cake mix to make the necessary brownie base, we must treat that base carefully. You want it fudgy, not cakey! That means as soon as the toothpick comes out *mostly* clean—not totally bone-dry—pull those brownies out of the oven. A slightly underbaked brownie, especially one that cools fully in the pan, gives you that dense, chewiness that sets up beautifully overnight. This slight under-baking is key to nailing that fudgy brownie icebox cake feel. If you want to see how I make a killer frosting for other chocolate treats, take a peek at my favorite frosting recipe!
Ingredient Substitutions for Your Brownie Refrigerator Cake
I love that this recipe is so flexible! When you’re creating a great No Bake Chocolate Dessert, sometimes you need to swap things out based on what you have or what you’re craving. Don’t ever feel locked into the ingredient list. Flexibility is part of building confidence in the kitchen, especially when something needs to come together quickly. We can easily tailor this whole structure to make it even simpler or richer, depending on your mood!
Swapping the Pudding Layer
The instant pudding we use here is fantastic because it sets up fast, but you can totally change the flavor profile. If you want something really luxurious, ditch the 2 cups of cold milk and swap it out for the equivalent amount of heavy whipping cream. Wow, that step takes this straight to decadent territory! The pudding sets up firmer and tastes richer. Alternatively, if you aren’t a dark chocolate fan, using instant vanilla pudding instead of chocolate will give you a creamy, lighter-colored layer that pairs beautifully with the brownies.
Creating a Chocolate Cheesecake Layer Variation
This substitution is perfect if you want something that leans more toward a chilled, creamy cheesecake vibe rather than the lighter tang of the butter/cream cheese mix. If you look at my notes, I mention this variation, and it’s a game-changer! Instead of making the standard cream cheese layer with butter and vanilla, you just change the amounts slightly. Use your 8 ounces of softened cream cheese, mix it with 1/2 cup of powdered sugar, and then fold in about 1/2 cup of the whipped topping you already have thawed out. It creates a thicker, denser, almost cheesecake-like layer right under the pudding. It’s glorious and totally changes the mouthfeel of the Creamy Refrigerator Cake!
Serving Suggestions for This Decadent Cold Dessert
When it’s time to serve this beautiful brownie refrigerator cake, you want the toppings to complement the cold, rich layers without complicating things. Since this is already such a Decadent Cold Dessert, sometimes simple is best. A super easy pairing is a drizzle of homemade chocolate sauce right before serving—it looks stunning against the white whipped topping and really amplifies that chocolate punch.
If you’re feeling ambitious, a few fresh raspberries on the side add a lovely, tart contrast. Or, if you just want to keep it easy, a light dusting of high-quality cocoa powder right before bringing it to the table seals the deal. Find my favorite easy sauce recipe to drizzle on top here!
Storage and Reheating Instructions for Leftover Brownie Refrigerator Cake
Handling leftovers from a dessert like this is easy, which is another huge win when you’re dealing with amazing Potluck Desserts No Oven! Because this brownie refrigerator cake relies on creamy, chilled layers, storage is straightforward, but you have to be careful. Always keep any leftovers tightly covered in that 9×13 dish—plastic wrap pressed right up against the surface stops the whipped topping from forming that weird skin. It stays great in the fridge for three, maybe four days.
Now, for the reheating part: don’t! Seriously. This dessert is designed to be eaten cold. Heating it up will turn your beautiful layers into a soupy, messy puddle! Just pull a slice out of the fridge about ten minutes before you plan to eat it if you want it slightly softer, but never feel the need to microwave it.
Frequently Asked Questions About the Brownie Refrigerator Cake
I always get questions when I post this recipe, because people want to make sure their brownie refrigerator cake comes out perfectly when they try it for the first time. It’s so easy, but sometimes the chilling part trips people up! I’ve compiled the most common things folks ask me, so you can jump straight to success and enjoy your dessert sooner.
Can I use homemade brownies instead of the cake mix for this brownie refrigerator cake?
Oh, absolutely yes! You can definitely use your favorite homemade brownie recipe if you prefer. Some bakers swear that a homemade brownie offers a denser, more authentically fudgy bite than the one we get from the box mix. If you go that route, just make sure whatever brownie recipe you use bakes up nice and thin in that 9×13 pan so we maintain our layer ratios for the best texture in this Easy Layered Cake Recipe!
What is the minimum chilling time required for this pudding layer cake recipe?
I know waiting is the hardest part! The absolute minimum time you should leave this dessert in the fridge is six hours. That gives the pudding enough time to firm up enough so it holds its shape a little. But listen to me: for the absolute best results, especially if you are planning to transport it or you just want those layers to be totally stable, let it chill overnight. Seriously, overnight chilling makes all the difference in achieving that perfect structural integrity!
Can I make this No Bake Chocolate Dessert in a round pan?
That’s a tricky one! While you certainly *could* use a round pan, I really don’t recommend it unless you adjust the recipe significantly. This assembly relies on the large, flat surface area of the 9×13 dish to keep the layers thin and even. If you use a deeper round pan, the pudding and cream cheese layers will be awfully thick, and they might not set up properly, especially the middle layers. If you must use rounds, maybe only do two layers of brownies separated by one creamy layer, or stick to your cutting board work surface for creating squares before assembling.
If you’re looking for other simple recipes you can whip up fast during the week, check out some of my easy weeknight dinners for inspiration!
Share Your Brownie Refrigerator Cake Success
Now that you’ve got the secrets to building this low-stress, high-reward brownie refrigerator cake, I want to hear all about it! Making food should be a journey, and seeing your beautiful, chilled layers come together is the best part of my day. Did you manage to find the perfect balance in that pudding layer? Did everyone devour their slices?
Please don’t be shy! Come back and drop a rating on the recipe card—it helps me know what’s working and proves to you that you absolutely nailed it. Remember, every successful dessert you make builds that internal confidence we talk about here at Kitchenican. It’s proof that you *can* create something truly special without ever turning on the oven for the main event. If you have any amazing photos or just want to share a proud moment, feel free to reach out through my contact page. Happy serving!
PrintDecadent Brownie Refrigerator Cake: Easy No-Bake Dessert
You can create this rich, layered Brownie Refrigerator Cake without turning on your oven. This no-bake dessert combines fudgy brownies, creamy filling, and pudding for a simple, make-ahead treat perfect for any gathering.
- Prep Time: 30 min
- Cook Time: 35 min
- Total Time: 7 hours 5 min
- Yield: 12 servings 1x
- Category: Dessert
- Method: No-Bake Assembly
- Cuisine: American
- Diet: Vegetarian
Ingredients
- 1 (18.25 ounce) box chocolate cake mix (to make brownies)
- Ingredients listed on cake mix box (usually eggs, oil, water)
- 1 (8 ounce) package cream cheese, softened
- 1 cup powdered sugar
- 1/2 cup unsalted butter, softened
- 1 teaspoon vanilla extract
- 1 (3.9 ounce) box instant chocolate pudding mix
- 2 cups cold milk
- 1 (8 ounce) container frozen whipped topping, thawed
- 1/4 cup chocolate chips or shavings, for topping
Instructions
- Prepare the brownies using the cake mix and ingredients listed on the box. Bake according to package directions for a 9×13 inch pan. Let the brownies cool completely in the pan.
- Once cool, cut the brownies into even squares or rectangles. You will use these as the bottom layer in your serving dish.
- Prepare the cream cheese layer: In a medium bowl, beat the softened cream cheese, powdered sugar, softened butter, and vanilla extract until the mixture is smooth and creamy. Set aside.
- Prepare the pudding layer: In a separate bowl, whisk together the instant chocolate pudding mix and cold milk for about two minutes, until the mixture begins to thicken. Let it sit for five minutes to set further.
- Assemble the cake in a 9×13 inch dish or a similar sized serving container. Place a layer of the cut brownies on the bottom.
- Spread half of the cream cheese mixture evenly over the brownie layer.
- Top the cream cheese layer with half of the prepared chocolate pudding.
- Add a second layer of brownies over the pudding.
- Spread the remaining cream cheese mixture over the second brownie layer.
- Top with the remaining chocolate pudding layer.
- Spread the thawed whipped topping evenly over the top layer.
- Sprinkle the chocolate chips or shavings over the whipped topping.
- Cover the dish tightly with plastic wrap and refrigerate for at least 6 hours, or preferably overnight, to allow the layers to set firmly.
- Slice and serve this chilled brownie dessert cold.
Notes
- You can substitute store-bought brownies if you want to skip the initial baking step entirely.
- For a richer flavor, use heavy cream instead of milk when making the instant pudding.
- If you want a chocolate cheesecake layer, use 8 ounces of softened cream cheese mixed with 1/2 cup powdered sugar and 1/2 cup of the whipped topping instead of the butter and vanilla.
Nutrition
- Serving Size: 1 slice
- Calories: 410
- Sugar: 35
- Sodium: 280
- Fat: 22
- Saturated Fat: 11
- Unsaturated Fat: 11
- Trans Fat: 0.5
- Carbohydrates: 52
- Fiber: 2
- Protein: 5
- Cholesterol: 55