
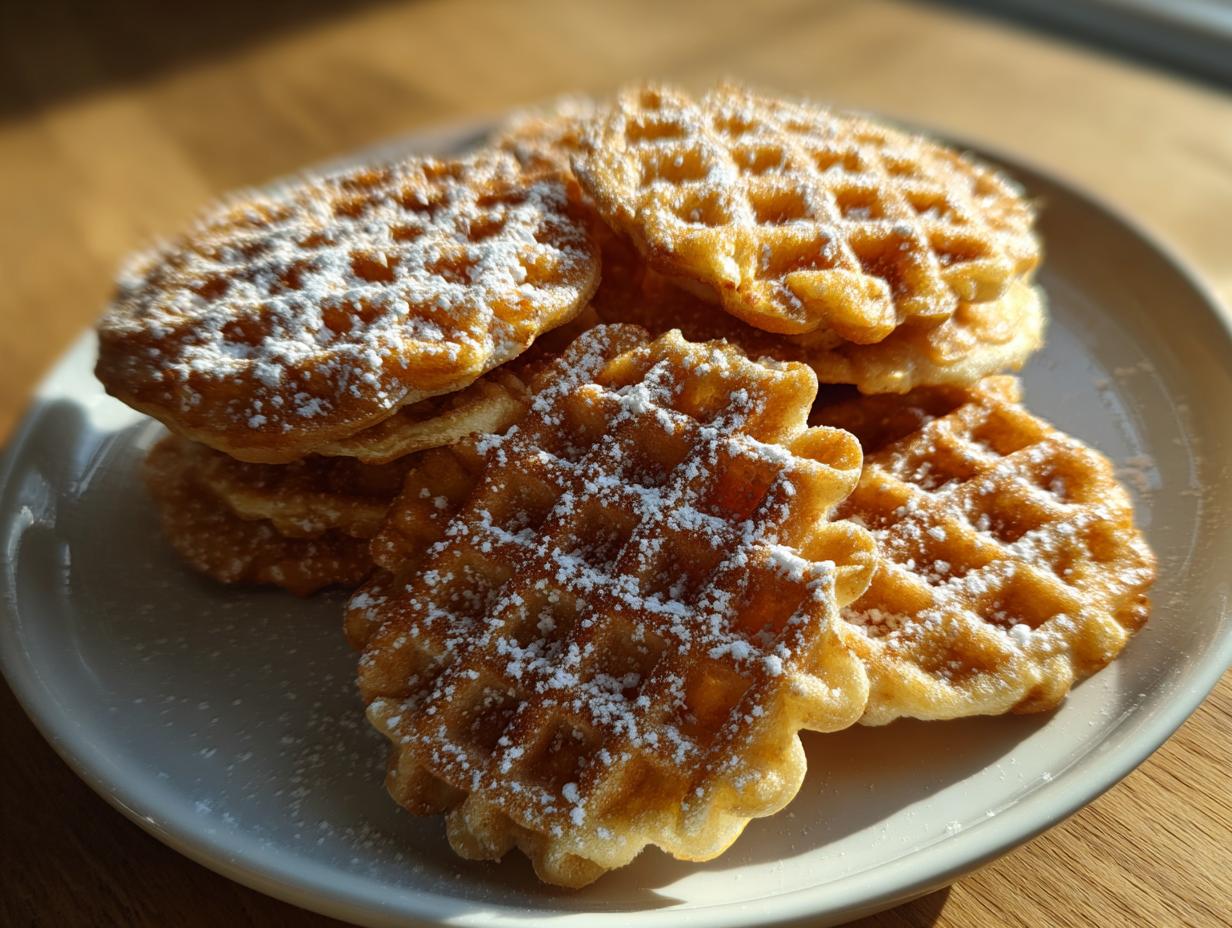
There’s just something magical about bringing the genuine taste of Italy right into your own kitchen, isn’t there? For years, I thought those beautiful, delicate, patterned cookies were off-limits—something only my Italian grandmother could master. But I want to let you in on a little secret: making authentic, crispy Italian waffle cookies, what we call pizzelle cookies, is totally achievable for you! I’m Ava Sinclair, and trust me, I’ve been where you are, staring at complex recipes thinking, “I can’t possibly do that.” Kitchenican was built on proving that belief wrong. We focus on keeping things simple and accessible. This recipe strips away the intimidation factor so you can feel that huge rush of accomplishment when you pull out your first perfect, lacy wafer. To learn more about my journey and why I believe every home cook can succeed, stick around!
- Why This is the Best Traditional Pizzelle Recipe for Crispy Italian Cookies
- Gathering Your Ingredients for Classic Pizzelle Cookies
- Essential Equipment for Easy Pizzelle Baking
- Step-by-Step Instructions to Make Homemade Pizzelle Cookies
- Serving Suggestions for Your Pizzelle Cookies
- Storage and Keeping Your Waffle Cookies Fresh
- Troubleshooting Common Issues When Baking
- Frequently Asked Questions About Italian Waffle Cookies
- Nutritional Estimate for Homemade Treats
Why This is the Best Traditional Pizzelle Recipe for Crispy Italian Cookies
Okay, why should you trust *my* recipe for your Traditional Pizzelle Recipe? Listen, I’ve tried batches that came out chewy, batches that stuck, and frankly, batches that tasted flat. This version nails that authentic Italian flavor profile—that beautiful mix of vanilla brightness with just a hint of licorice from the anise. It’s also formulated specifically to give you those genuinely Crispy Italian Cookies everyone fights over on the holiday tray. The biggest trick? We let the batter rest! That short resting period is non-negotiable. It hydrates the flour just right, which is half the battle won before those cookies even touch the iron. If you love using simple binders like butter, check out my thoughts on making homemade garlic butter!
The Secret to Achieving Truly Buttery Crisp Cookies
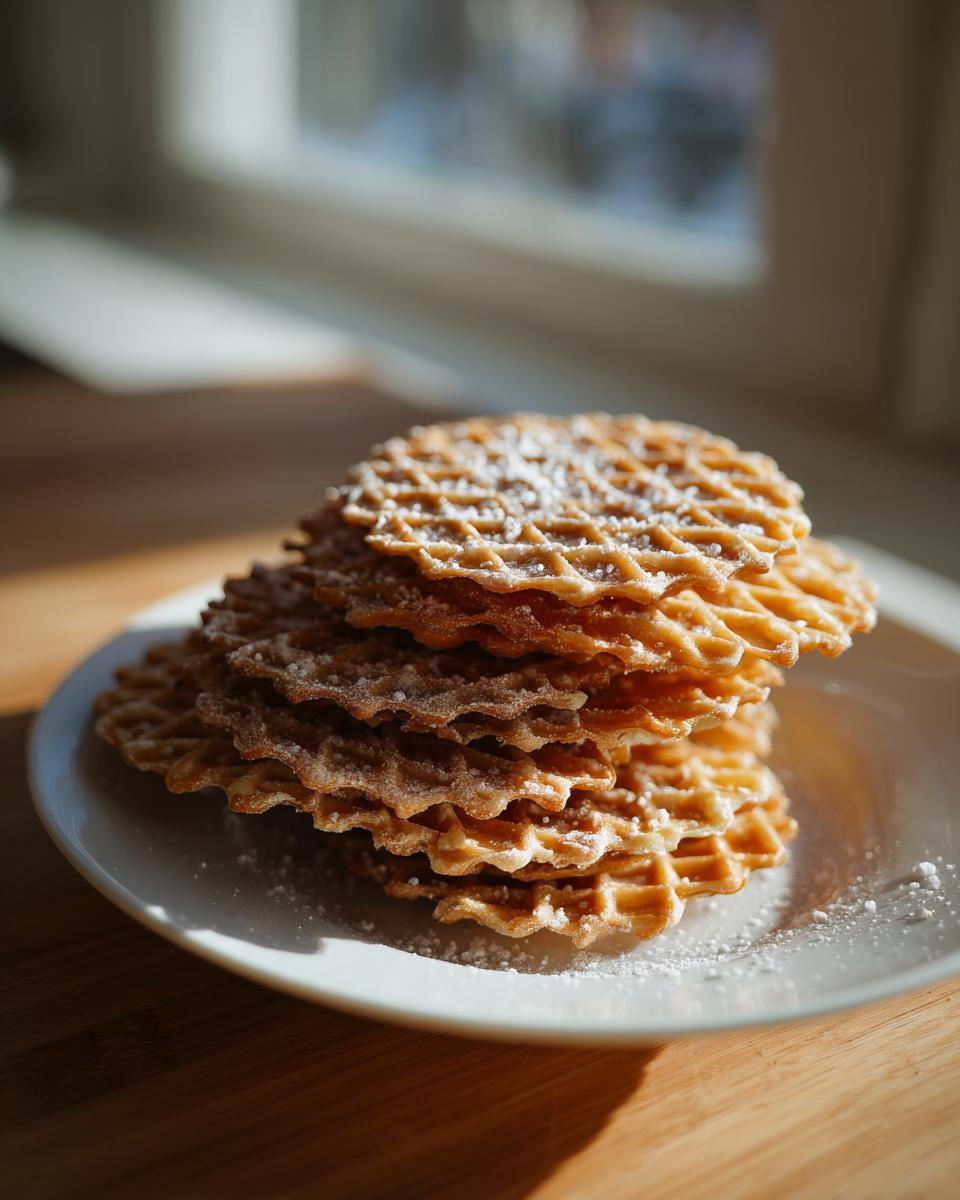
Crispness is everything with these delicate beauties, right? First, you absolutely must ensure your pizzelle iron is scorching hot before that first drop of batter hits it. A lukewarm iron steams the cookie instead of crisping it. Second, only use one level tablespoon of batter per cookie—too much batter makes them thick and soft. And my final, crucial thought: they are soft when they come off the iron—don’t panic! Let them cool completely on a wire rack without touching each other. That cooling process is where they transform from soft wafers into perfectly buttery crisp cookies. Trust me on the cooling step!
Gathering Your Ingredients for Classic Pizzelle Cookies
I know our Kitchenican philosophy is all about keeping things simple, and I designed this list of ingredients for our classic pizzelle cookies to reflect that! You won’t need anything exotic, just good quality pantry staples. I really want you to feel confident grabbing these supplies at your local store. Make sure your butter is truly melted and cooled down before you add it—warm butter will mess up the mixing process, so always check the temperature! If you’ve ever looked into making homemade applesauce, you know checking temperatures matters!
Ingredient Notes and Flavor Substitutions for Pizzelle Cookies
The traditional flavor here comes from anise extract, which gives it that lovely, slightly spicy Italian perfume. It’s totally optional; if you or your family aren’t fans, skip it! For amazing pizzelle cookies variations, swapping the extracts is super easy. If you want that almond-forward flavor, use 1 teaspoon of almond extract instead of anise. Want to dive into chocolate territory? You can swap out 2 tablespoons of the white flour for unsweetened cocoa powder. That’s how we keep this recipe exciting year after year. These light, buttery treats are so easy to customize!
Essential Equipment for Easy Pizzelle Baking
Now we need to talk about the gear for pizzelle cookies, because unlike chocolate chip cookies, these need a specialized tool. You absolutely must have a pizzelle maker, or an Italian iron, to make these work right. I know, I know, buying new equipment feels like a big step, but trust me, it’s worth it if you love these treats! Think of it as investing in beauty. This special iron is what creates those gorgeous, intricate, delicate patterned cookies we are aiming for. It heats up evenly and presses the batter thin. If you are already using specialized tools, you might want to check out how I use my mixer for homemade garlic butter!
Step-by-Step Instructions to Make Homemade Pizzelle Cookies
Alright, now that you have your tools and ingredients gathered, let’s get into the fun part of making these homemade pizzelle cookies! The entire process is actually quite fast once the batter is rested. Remember, patience during the resting stage pays off big time later in the crispness department. You will move quickly between mixing, resting, and cooking, so keep your station organized. We are aiming for a perfect, golden result every single time. Keep a steady hand when you scoop the batter—consistency is the key to matching shapes and cooking times. Don’t forget, if you need a fun, no-bake recipe, I have my steps for easy cool whip candy too!
Mixing the Batter for Perfect Pizzelle Cookies
We start by treating our dry stuff—flour, baking powder, salt—separately from the wet elements. When you mix the wet ingredients, you’ll beat those eggs and sugar until they look pale and slightly fluffy; this adds necessary air. When combining them, add the dry mixture slowly to the wet. And listen closely: You must avoid overmixing here! We want a smooth, thick batter, but mixing too much develops gluten, and that makes crisp cookies turn rubbery. Stop as soon as the flour streaks disappear!
Cooking and Cooling Your Delicate Patterned Cookies
Once your iron is fully preheated—and I mean *fully* hot—you’ll place just one level tablespoon of batter right in the center of the bottom plate. Close the lid firmly and wait until the loud steaming noise dies down, which usually means they are golden brown, about 30 to 60 seconds. Use a thin spatula to carefully lift the hot cookie out; it will feel soft, almost like cloth! Immediately transfer it to a wire cooling rack. This quick transfer and spacing are critical; if they touch or cool on a flat surface, they will stick together and stay soft. Have faith! They turn wonderfully crisp as they cool down completely.
Serving Suggestions for Your Pizzelle Cookies
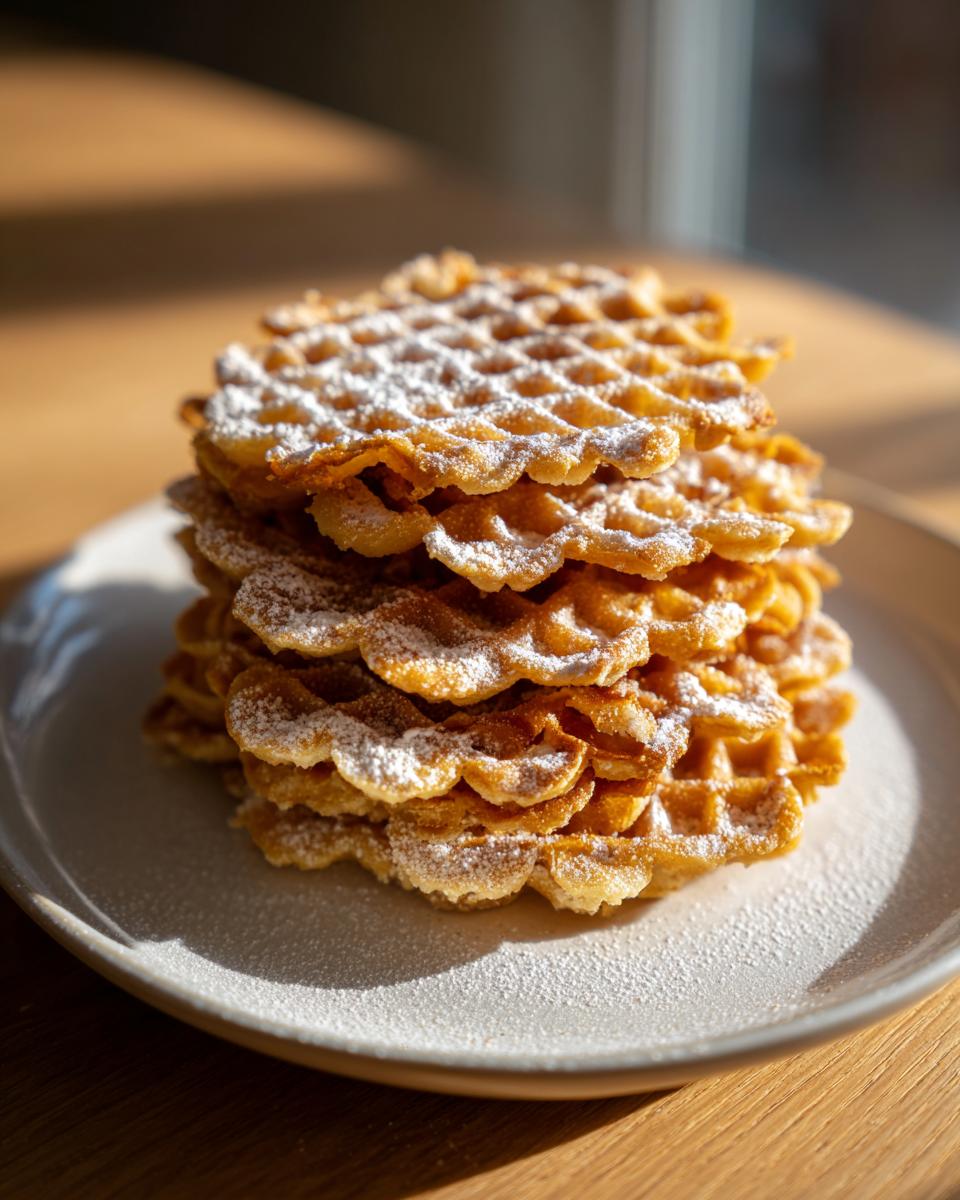
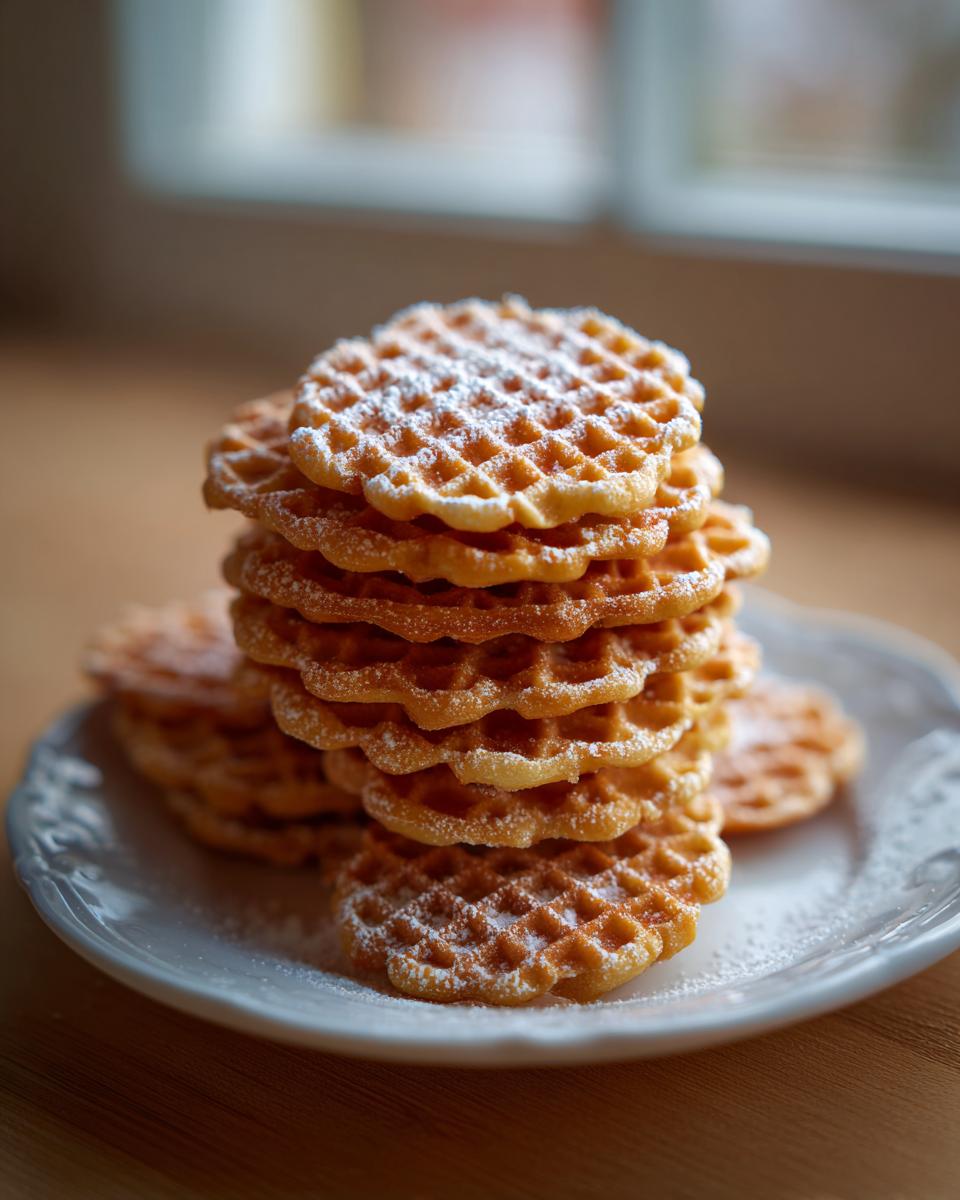
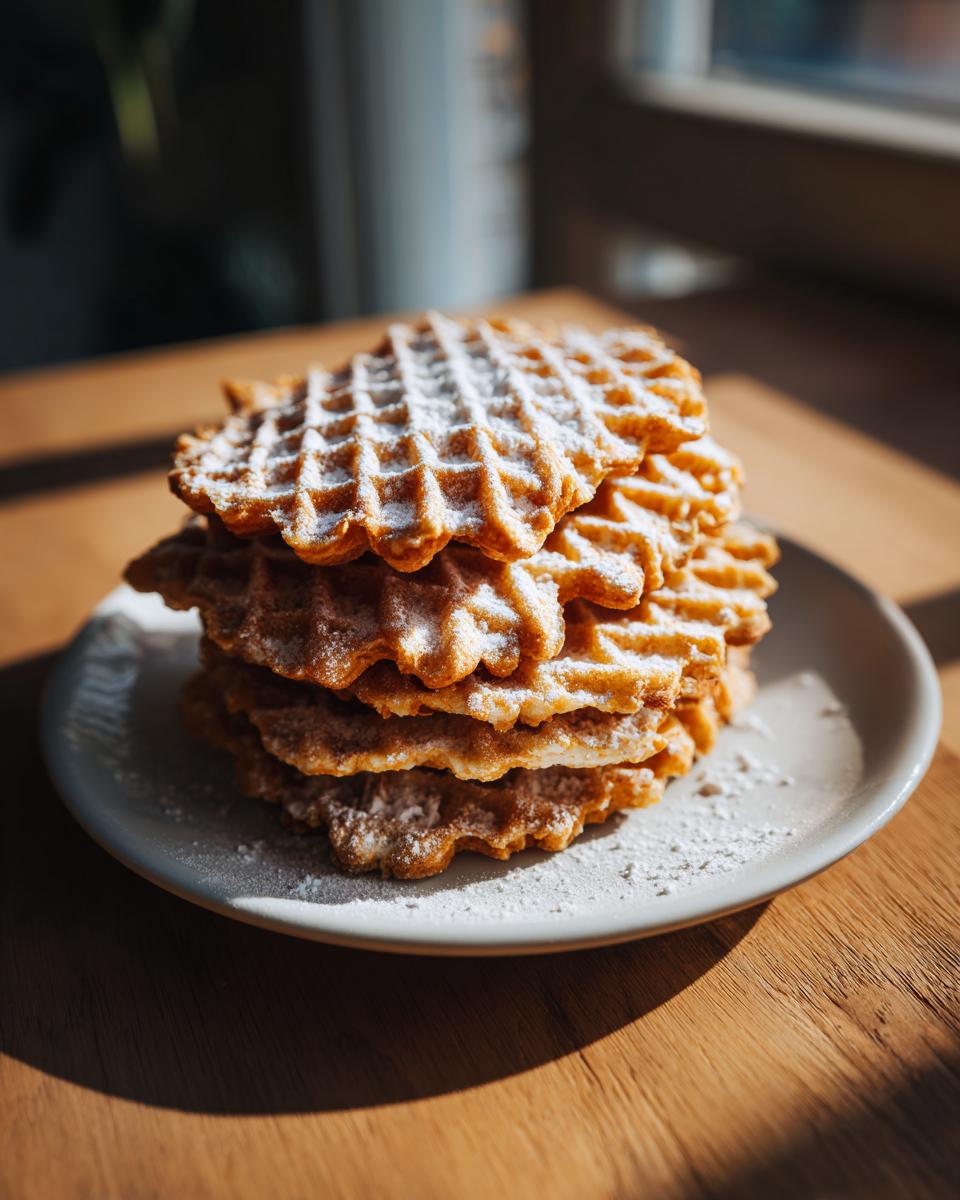
Once you’ve mastered making these incredible pizzelle cookies, the question becomes: how do I enjoy them? Honestly, they shine all on their own, just dusted lightly with powdered sugar. They are the perfect light snack cookie for that afternoon cup of coffee or tea. But if you’re building a festive cookie tray, these deserve center stage! They are essential Holiday Italian Desserts. I love serving them alongside a creamy dip if I’m feeling fancy—you should see how great they are with my creamy fruit dip. For something sweeter, try them with a little dollop of whipped ricotta dip!
Storage and Keeping Your Waffle Cookies Fresh
Listen, the worst thing that can happen after you bake the perfectly crisp batch is that they go soft overnight! Don’t let that happen to you. Once they are completely, totally cool—and I mean room temperature cool—slide them into a truly airtight container. Keep them away from any moisture in your pantry. If you find they’ve softened even a little bit the next day, here’s my trick: just pop the limp cookie back onto the warm iron (turned off, but still holding heat) for about 10 seconds per side. It magically brings back that lovely crispness! You can find my favorite recipe for a cozy easy bean soup if you need something savory after all that sugar!
Troubleshooting Common Issues When Baking
Even the best recipes can run into hiccups, especially with specialized equipment! My biggest struggle when I started making these light treats was sticking. If your batter is sticking to the iron, it usually means two things: your iron wasn’t hot enough, or you need a tiny bit of non-stick spray—even if your model says you don’t need it. For cookies that come out soft even after cooling, you have to bring back the heat! Pop them back on the warm iron for just a moment to drive out that last bit of moisture.
If your rounds are coming out too thick, you’re using too much batter; stick to that single tablespoon measurement. Too thin? Increase the batter just a hair. Don’t let little bumps discourage you; figuring out your specific iron is part of the learning process. If you need ideas for a less fussy baking project, you have to try my recipe for easy pizza pasta bake next!
Frequently Asked Questions About Italian Waffle Cookies
I get so many questions when folks try making these for the first time, and that’s totally okay! Building up that home-baking confidence takes practice. These Italian waffle cookies definitely have a few quirks that are worth chatting about.
Can I use a regular home waffle maker instead of a pizzelle iron?
This is the number one question I hear! The short answer is: please don’t try it if you want the classic result. Regular waffle makers have deeper grids, and they don’t get hot enough or press thin enough to create that signature light, lacy, crispy cookie texture. You’ll end up with a thick, soft pocket—more like a tiny, dense waffle than a delicate wafer. Stick to the specialized iron for the best outcome!
What exactly is anise flavor, and can I skip it?
Anise extract gives traditional Italian cookies their distinct, slightly sweet, licorice-like whisper. It’s an old-school flavor that really grounds the recipe! If that flavor isn’t for you, absolutely skip it. You can easily substitute it with almond extract for a different classic profile or just stick with pure vanilla for a simple, delicious taste. See my notes in the variations section for how to use almond flavored pizzelles next time!
Can I freeze homemade pizzelle cookies?
Yes, you can freeze them, but only when they are completely cool and crisp! Make sure they are stored in a really good airtight bag or container before freezing. Honestly though, I’ve rarely had leftovers because people snack on them so fast! If you ever want to watch a quick video tip from Mary Ann Esposito on her favorite Christmas cookies, I saw a great clip here: check out her thoughts. If you’re making dips to serve alongside these treats, you might enjoy whipping up some creamy garlic aioli!
Nutritional Estimate for Homemade Treats
When we’re talking about traditional, buttery, crispy Italian waffle cookies, we aren’t aiming for diet food, but here’s a little glimpse at the numbers, just so you know what’s what! For one cookie, we estimate about 85 calories, 5 grams of sugar, and 4 grams of fat. Remember, this is just an estimate for one serving size. Since we all use slightly different amounts of butter and sugar, how you make them will change these results! If you’re looking for ways to keep your mornings a bit lighter, I’ve gathered some of my favorite ideas for quick, healthy breakfasts while you’re waiting for your next batch to cool!
PrintClassic Vanilla and Anise Pizzelle Cookies: Authentic Italian Waffle Cookies
Make light, crispy Italian waffle cookies at home. This recipe uses simple ingredients to create traditional vanilla and anise flavored pizzelles, perfect for holiday trays or enjoying with coffee.
- Prep Time: 15 min
- Cook Time: 20 min
- Total Time: 35 min
- Yield: About 3 dozen 1x
- Category: Dessert
- Method: Iron Cooking
- Cuisine: Italian
- Diet: Vegetarian
Ingredients
- 1 cup all-purpose flour
- 1 teaspoon baking powder
- 1/4 teaspoon salt
- 3 large eggs
- 3/4 cup granulated sugar
- 1/2 cup unsalted butter, melted and cooled
- 1 teaspoon pure vanilla extract
- 1/2 teaspoon anise extract (optional, for traditional flavor)
Instructions
- In a medium bowl, whisk together the flour, baking powder, and salt. Set this dry mixture aside.
- In a separate large bowl, beat the eggs and sugar together until the mixture is pale yellow and slightly thickened.
- Beat in the melted butter, vanilla extract, and anise extract (if using) until just combined.
- Gradually add the dry ingredients to the wet ingredients, mixing on low speed until a smooth, thick batter forms. Do not overmix.
- Cover the bowl and let the batter rest at room temperature for at least 30 minutes. This step helps achieve the best crisp texture.
- Preheat your pizzelle maker according to the manufacturer’s instructions. This equipment is essential for making these delicate patterned cookies.
- Lightly grease the iron if your model requires it. Place one level tablespoon of batter onto the center of the hot iron.
- Close the lid firmly and cook for 30 to 60 seconds, or until the steam stops escaping and the pizzelle is golden brown. Cooking time depends on your specific maker.
- Carefully remove the hot pizzelle using a thin spatula. It will be soft initially.
- Immediately place the hot cookie onto a wire cooling rack. If you want to shape them into cannoli shells or cones, shape them quickly before they cool and harden.
- Allow the pizzelles to cool completely on the rack; they will crisp up as they cool.
- Repeat the process with the remaining batter. If the batter thickens too much while resting between batches, stir it briefly.
- Once cooled, dust with powdered sugar or dip the edges in melted chocolate for variation. Store cooled cookies in an airtight container.
Notes
- For the crispiest pizzelles, ensure your pizzelle maker is fully preheated before adding the batter.
- If your cookies are not crisping after cooling, return them to the warm (but turned off) iron for 10 seconds per side to dry them out further.
- To make chocolate pizzelle cookies, substitute 2 tablespoons of the flour with 2 tablespoons of unsweetened cocoa powder.
- For almond flavored pizzelles, replace the anise extract with 1 teaspoon of almond extract.
Nutrition
- Serving Size: 1 cookie
- Calories: 85
- Sugar: 5
- Sodium: 35
- Fat: 4
- Saturated Fat: 2.5
- Unsaturated Fat: 1.5
- Trans Fat: 0
- Carbohydrates: 11
- Fiber: 0.2
- Protein: 1.5
- Cholesterol: 30