
When the air gets crisp and the decorations come out, nothing says ‘holiday’ quite like that rich, velvety sip of real eggnog. Forget those thin, overly sweet cartons from the store—you deserve the absolute real deal! I’m Ava Sinclair, and trust me, if I, a former microwave-dinner enthusiast, can master this classic batch of creamy homemade eggnog, you absolutely can too. This recipe is proof that incredible holiday cheer doesn’t require fussy techniques, just a little patience. We’re going to make what I consider the ultimate, traditional Christmas beverage together, and it’s surprisingly easy.
- Why This Homemade Eggnog Recipe is Your New Holiday Favorite
- Essential Ingredients for Perfect Homemade Eggnog
- The Best Homemade Eggnog Tutorial: Stovetop Method Instructions
- Quick Alternative: The Speedy Blender Eggnog Technique
- Chilling and Serving Your Classic Custard Drink Eggnog
- Make Ahead Holiday Beverages: Storing Your Eggnog
- Beyond the Glass: Using Leftover Eggnog in Festive Recipes
- Frequently Asked Questions About Making Eggnog
- Share Your Homemade Holiday Favorites
Why This Homemade Eggnog Recipe is Your New Holiday Favorite
Seriously, once you nail this version, you won’t look back. We aren’t just making a drink here; we’re making a Homemade Holiday Favorite that tastes of genuine comfort. This recipe beats anything I’ve ever found pre-made because of three main things that hit exactly what the holidays demand in a good beverage.
- The texture is unbelievably rich—it’s what those Creamy Winter Drinks should be!
- The spice blend of nutmeg and cinnamon is perfectly balanced, not overpowering.
- It’s completely flexible for everyone at the party.
Achieving That Velvety, Thick and Creamy Eggnog Texture
The smoothness is non-negotiable, right? That Thick and Creamy Eggnog finish comes directly from treating our eggs right on the stove. We create a true, velvety custard base by cooking it gently until we hit that key temperature point. Don’t panic about the heat—hitting 170°F is how you ensure that luxurious, coating mouthfeel. It’s the foundation of a great Classic Custard Drink.
Alcoholic Eggnog Recipe vs. Eggnog Without Alcohol
This is my favorite part about making it from scratch! Whether you need a sophisticated Alcoholic Eggnog Recipe for the adults or a safe, delicious Non Alcoholic Holiday Punch for the kids after we’ve separated the batches.
My rule is simple: we hold off on the bourbon or rum until *after* we’ve strained and cooled everything. That way, the alcohol doesn’t interfere with the cooking process, and everyone gets their perfect mug!
Essential Ingredients for Perfect Homemade Eggnog
Okay, here’s where we get down to business. Because this is a custard-based drink, the ingredients need to be quality choices, but thankfully, they are all super common finds! To get that perfect from scratch eggnog flavor, you’ll need:
- 6 large egg yolks
- 3/4 cup granulated sugar
- 1/4 teaspoon salt
- 1 teaspoon vanilla extract
- 1/4 teaspoon ground nutmeg, plus more for garnish
- 1/8 teaspoon ground cinnamon
- 1 1/2 cups whole milk
- 1 1/2 cups heavy cream
- Optional: 1/2 cup bourbon, dark rum, or brandy
Ingredient Notes and Substitution Guidance
Listen, you need that heavy cream! That’s what makes it creamy winter drinks material instead of just sweet milk. For the vanilla, use the real stuff, not imitation; it makes a huge difference in the final flavor profile. We want that warm, comforting taste. If you skip the spirits, don’t worry; the flavor is still incredible, making it a wonderful family friendly holiday drink. If you are worried about tempering the yolks separately, you might want to check out my guide on creating a foolproof basic egg custard first, just to get comfortable with the technique!
The Best Homemade Eggnog Tutorial: Stovetop Method Instructions
If you want that perfect, velvety texture, the Stovetop Eggnog Method is hands-down the way to go. It takes an extra few minutes of standing and stirring, but trust me, the payoff in richness and safety is totally worth the effort. We’re essentially creating a delicate custard here, so constant attention is key—no wandering off to check your phone!
First things first, whisk those yolks, sugar, and salt until they look pale and thick. Then, get your milk and cream warming gently on the stove until little bubbles just start hugging the edges. Remember, we want hot, but definitely not boiling!
Tempering Eggs: A Key Step for Smooth Eggnog
This is the make-or-break moment, so pay attention! Tempering is just a fancy word for slowly introducing hot liquid to cold eggs so they don’t instantly scramble into little yellow rocks. While whisking your egg mixture like crazy, stream in about a cup of that hot milk mixture, very slowly. Keep that whisk moving! Once those eggs are warmed up gently, you slowly pour the tempered mix back into the saucepan with the rest of the milk and cream.
Now, back to medium-low heat! You must stir constantly with a wooden spoon or spatula until the mixture thickens enough to coat the back of the spoon. When you run your finger across that coated spoon and the line stays put? Success! Pull it off the heat immediately—that’s your cue that it hit the perfect temperature for a totally smooth, luxurious drink!

Quick Alternative: The Speedy Blender Eggnog Technique
Look, I get it. Sometimes we realize we want homemade eggnog five minutes before guests show up. If the stovetop feels like too much commitment, don’t stress! We have a fantastic backup plan that still delivers a phenomenal, creamy winter drink flavor, hitting that spot for easy holiday entertaining.
This method skips the saucepan entirely and relies on the power of blending. The trick here is using the blender’s high speed to emulsify everything beautifully, but you still need the gradual heating step to keep things safe and creamy. You’ll combine your yolks, sugar, milk, cream, and all those gorgeous spices right into your blender jar.
Next, here’s the *crucial* part for this fast version: while the blender is running on medium speed, you slowly stream in that hot, but not boiling, milk mixture. The powerful blending action, combined with the hot liquid, gently cooks those egg yolks right in the jar—a quick, brute-force version of tempering!
It comes together in about a minute of blending time, which is fantastic! But here’s my non-negotiable advice: even with the blender doing the work, you still MUST strain that mixture afterward to catch any tiny bits. Most importantly, this from scratch eggnog needs mandatory chilling time. Don’t even think about serving it warm, no matter how easy it was to make. It needs those hours, preferably overnight, to truly thicken up and let those spices settle into a gorgeous homemade holiday favorite.
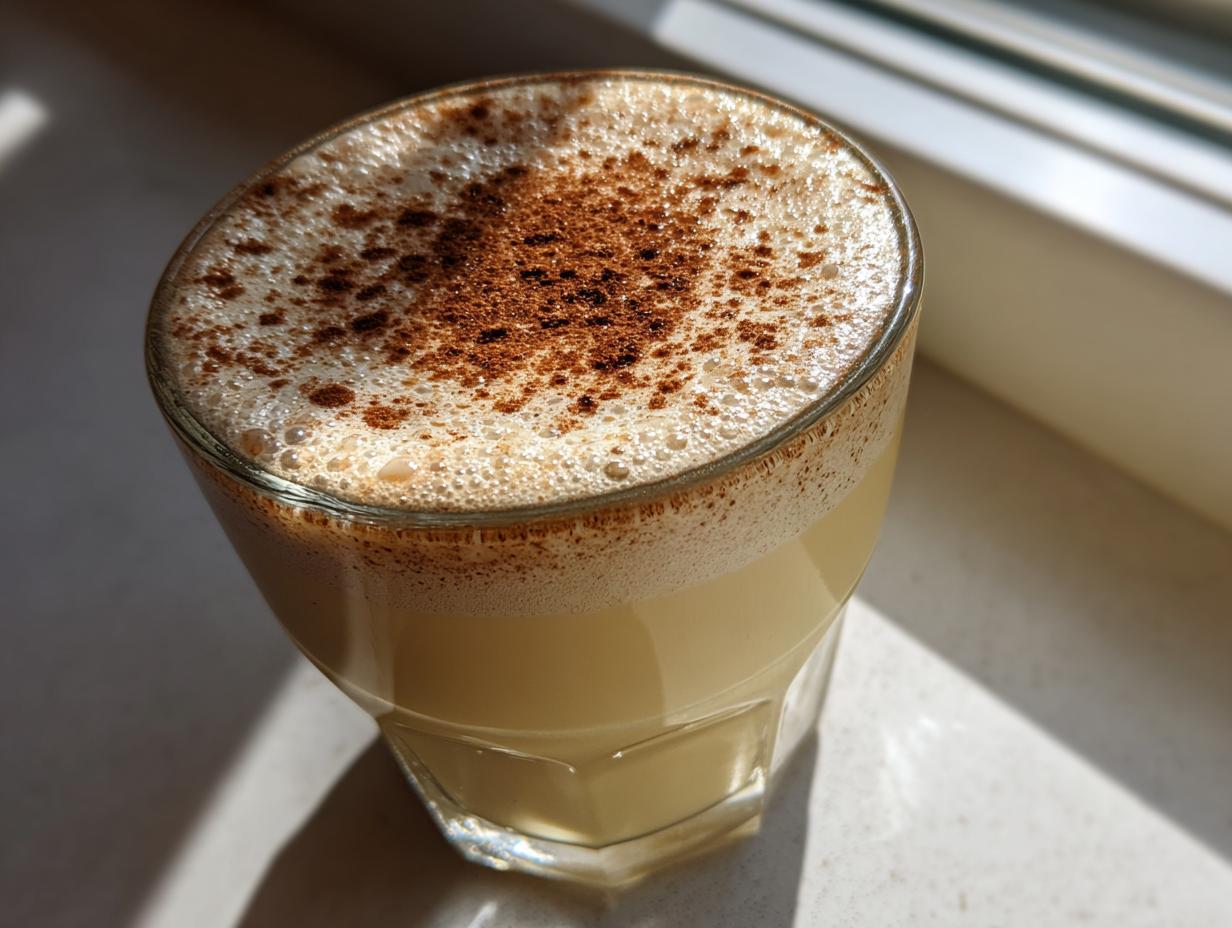
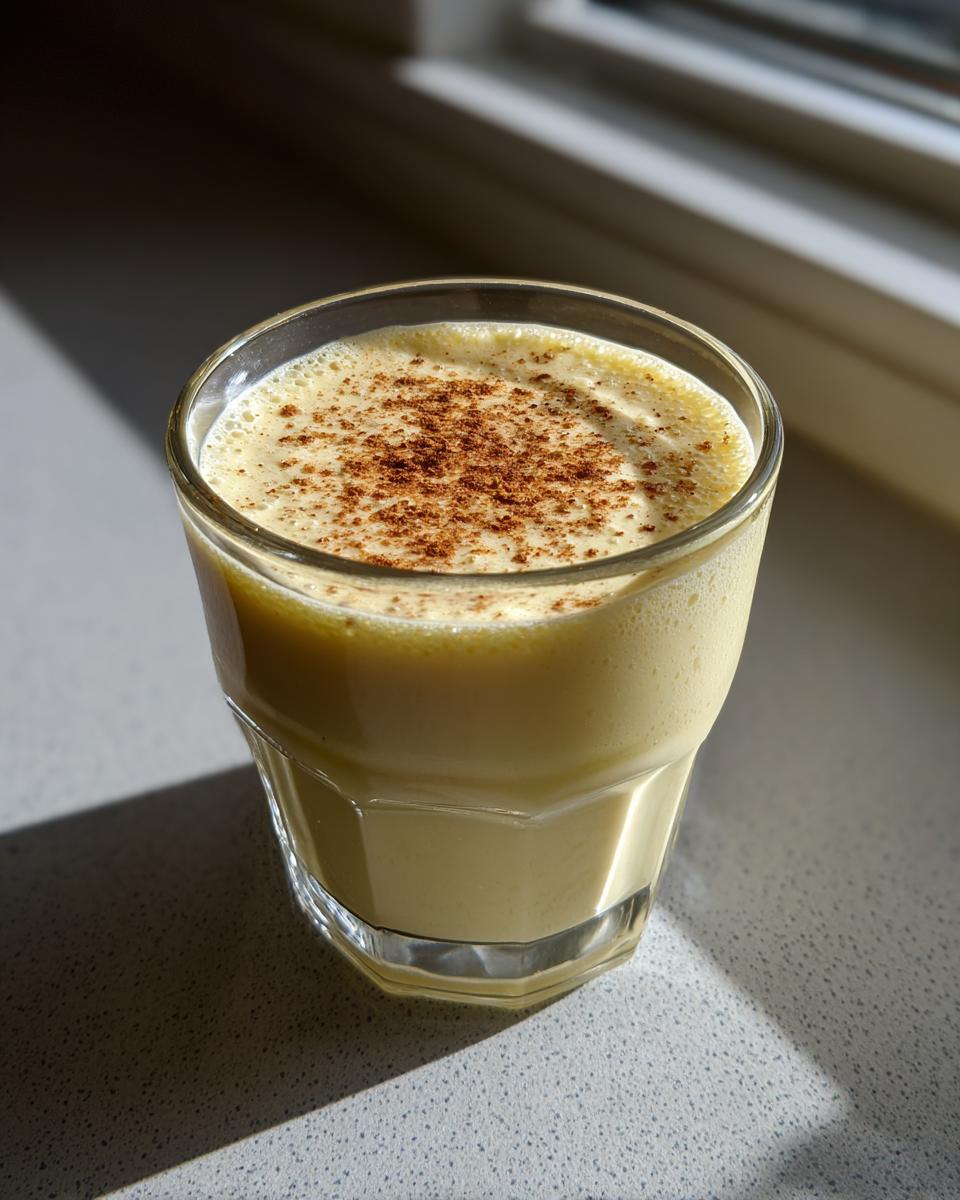
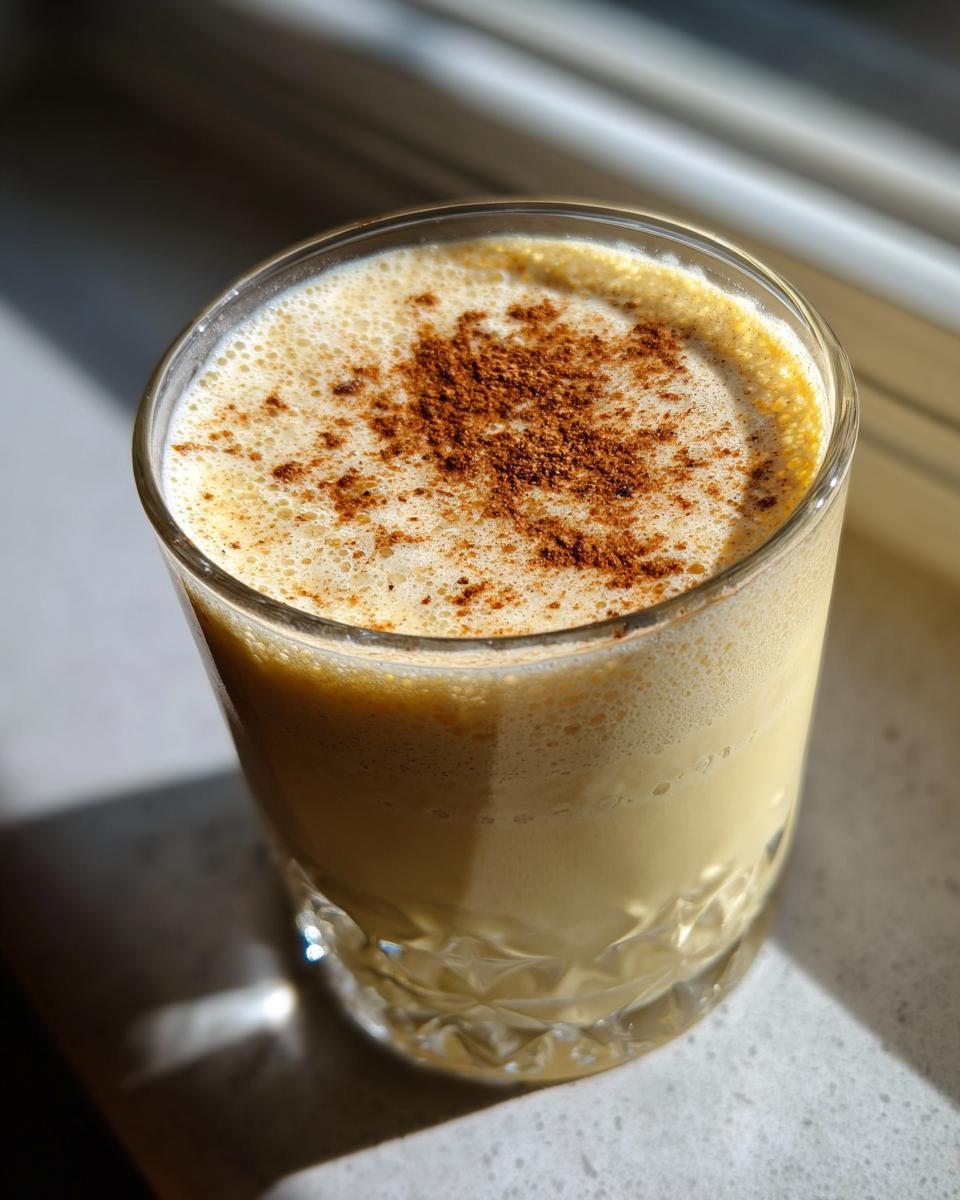
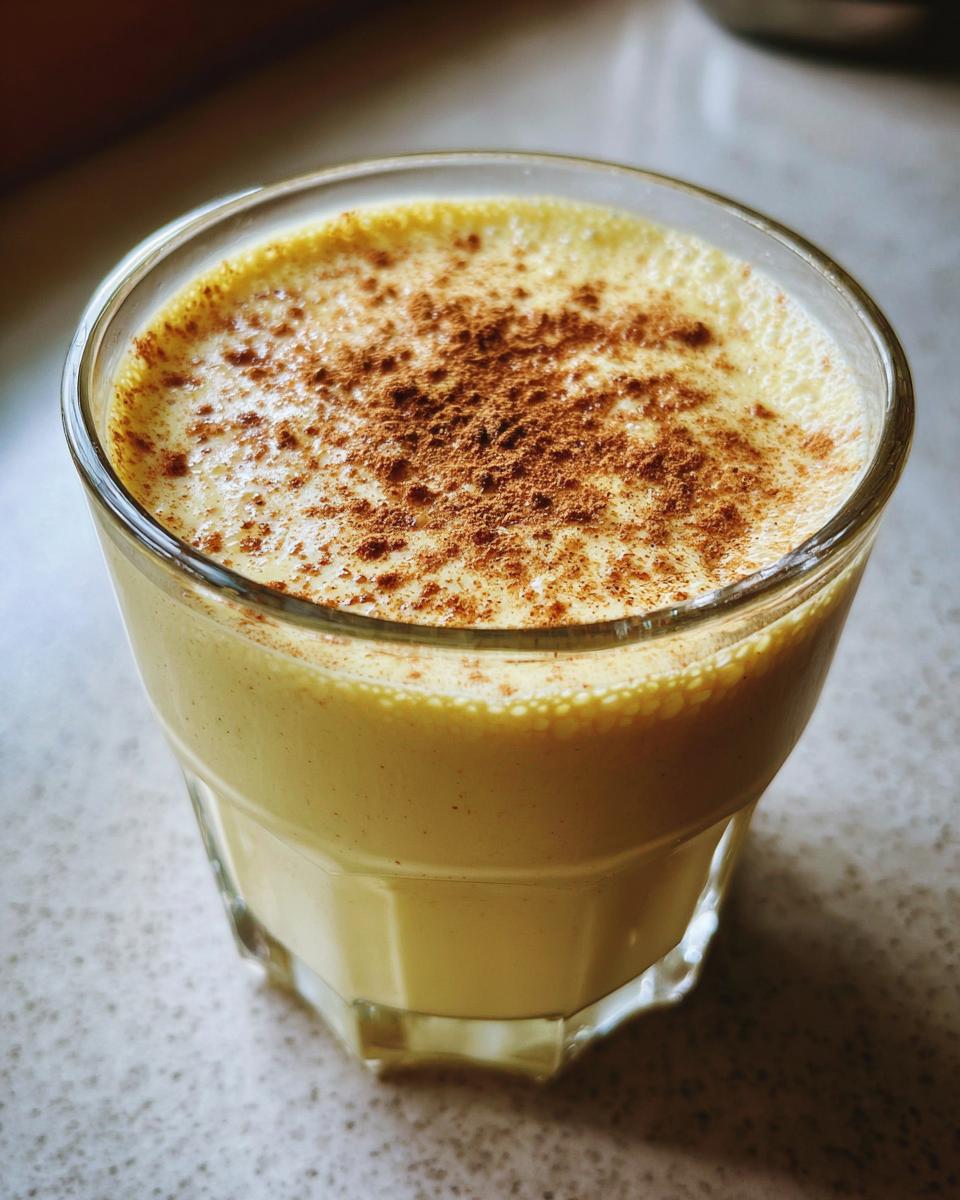
Chilling and Serving Your Classic Custard Drink Eggnog
You’ve tamed the heat, you’ve mixed the perfection, but hold on just a minute before you pour—the chilling process is where the real magic happens! This amazing Classic Custard Drink needs time to mellow out; that’s non-negotiable if you want that authentic, rich flavor. My strong advice? Cover the surface directly with plastic wrap so a gross, rubbery skin doesn’t form, and stick it in the fridge for at least four hours. Honestly, though, wait until the next day!
Seriously, I can’t stress this enough: the flavor profile of this Nutmeg Vanilla Drink deepens so much overnight. When I first tried making it, I was impatient and served it only two hours later. It was good, sure, but the second-day batch? Wow! It becomes complex and perfectly spiced. Also, before serving, pour the whole thing through a fine-mesh sieve. Even if you tempered perfectly, straining guarantees zero lumps and that silken finish. If you want to practice straining techniques on something savory first, you can even check out how I treat sauces in my creamy garlic aioli!
When you’re ready to serve this glorious homemade eggnog, give it a good, vigorous whisk—it separates a bit in the cold! Then pour it into your prettiest glasses and, of course, dust the top with that final, essential grating of fresh nutmeg. It’s the best way to finish off our seasonal masterpiece.
Make Ahead Holiday Beverages: Storing Your Eggnog
One of the best parts about this recipe being a Classic Custard Drink is that it is absolutely designed to be a Make Ahead Holiday Beverage. You can (and should!) make this eggnog a day or two before your big party!
Once it’s thoroughly chilled, transfer any leftovers into a clean, airtight container. I usually use a big glass pitcher that seals tightly. You can safely keep this wonderful drink hanging out in the back of your fridge for up to five days. That means less stress on Christmas morning, which is always a win in my book!
Now, the one thing you have to remember when you go to serve it—or even if you just want to use some as an ingredient for another fun treat—is that it will separate slightly after sitting cold for so long. It’s totally normal because of the milk and cream sitting together, but don’t just scoop it out! You need to give it a brisk, energetic whisk right before you pour it out. This brings the whole creamy dream back together. It’s like waking up the spice blend!
If you are planning ahead for even more ease, you can prep your savory sides ahead too, just like I do when I make my famous seven-layer salad for potlucks. Having the eggnog ready ahead of time means you’re only focusing on the fun when the guests arrive!
Beyond the Glass: Using Leftover Eggnog in Festive Recipes
So, you made a giant batch of the best homemade eggnog ever (because, let’s be honest, you did!), and now you have a little bit left over, or maybe you know you’ll have leftovers because you always go big for the holidays. Don’t let that rich custard go to waste! This is where we turn a beloved holiday drink into a showstopping Traditional Christmas Recipe dessert!
I love getting creative with whatever is left from a big batch. Think about it: you’ve already perfected the spices and the creamy texture—that’s 90% of the work done for your next great dessert!
Eggnog in Baked Goods and Custards
The first thing I always reach for is using that liquid gold as the base for other creamy things. If you love a rich, sweet custard, substitute the milk/cream mixture in almost any standard pie or tart recipe with your leftover eggnog. Imagine a slice of rich eggnog pie! It comes out just perfectly dense and spiced.
Also, crème brûlée is just begging for this flavor injection. You can easily swap regular cream/milk for your leftover eggnog base and then finish it with that satisfying crack of caramelized sugar on top. If you’re looking for inspiration on getting that perfect, rich base in baked goods, you might check out how I handle the custard components in my recipe for Southern buttermilk pie; the technique is very similar!
Turning Eggnog into Cozy Cocktails
If you have a little bit left, or if you made the alcoholic version and want to stretch it for an after-dinner treat, you can turn it into a tiny, powerful cocktail! Instead of mixing it straight, try creating a tiny twist on an Old Fashioned.
It’s incredible how well spiced rum or bourbon plays with the nutmeg. For a fun little holiday nightcap, you can look up how others are mixing their spirits into richer drinks—I love seeing what creative takes people find, like those amazing twists on the classic Eggnog Old Fashioned!
Simple Serves and Flavor Boosters
If you just want something simple, you can even use it to elevate boring things! Next time you make French toast, use a splash of leftover eggnog in the batter instead of milk. Who doesn’t want breakfast that tastes like Christmas? Or, if you’re feeling really ambitious, you can blend it with a little gelatin and let it set for a beautiful, jiggly eggnog mold—a fun surprise on the buffet table!
Frequently Asked Questions About Making Eggnog
When you’re making something this wonderfully rich, questions always pop up! I know I had a million when I first started trying to nail this best homemade eggnog tutorial. Here are the top things people ask me about whipping up a batch of this seasonal favorite.
Is homemade eggnog safe if I skip the stovetop cooking?
This is the most important question, honestly! While you see some raw, unheated recipes out there, if you want that safe, truly luxurious, **Classic Custard Drink** texture, I always, always recommend cooking the yolks via the stovetop or using the blender tempering method I shared above. Cooking the mixture to 170°F is the best way to eliminate risks associated with raw eggs. For me, the effort of stirring for ten minutes is worth the peace of mind and the amazing, silky texture it creates.
What is the best spirit to use in alcoholic eggnog?
Oh, the fun part! For a classic experience, you really can’t beat dark rum, the warmth of bourbon, or a nice brandy. Those spices play so beautifully with the woodiness of the spirit. However, if you want just a little kick without changing that beautiful nutmeg and vanilla profile, clear spirits work great too! A good quality vodka or even white rum lets the eggnog flavor shine through, making it a fantastic **Festive Party Drink** for guests who prefer a less assertive alcohol note.
How long does this fresh batch of eggnog last?
Since we’re cooking this properly, it lasts quite well for a fresh, dairy-based drink! You can safely store your finished, chilled homemade eggnog in an airtight container in the fridge for up to 5 days. It tastes best around day two, though, when those spices have really had time to mingle. You’ll notice a slight separation after a couple of days, but just give it a vigorous whisk, and it comes right back to life!
Share Your Homemade Holiday Favorites
Alright, my friends, now comes the best part! You’ve made the easiest, richest, creamiest batch of eggnog imaginable, and I hope your kitchen smells like pure Christmas magic right now. That’s the joy of making things from scratch—you control the creaminess, the spice, and the cheer!
I truly want to know how this recipe worked out for you. Did you decide to spike yours with rum, or did you stick to the family-friendly version? Did you find that overnight rest made a difference like it did for me?
Please, leave a rating right below this post—it helps other home cooks feel confident enough to try something new this season. If you snapped a picture of your beautiful, nutmeg-dusted glasses, tag me on social media! I absolutely love seeing how my recipes fit into your favorite traditions.
If you found this whole experience—from tempering the eggs to serving that perfect sip—boosted your kitchen confidence, that’s fantastic news! If you’re looking for another amazing make-ahead appetizer to serve alongside your drinks, these easy stuffed dates are always a huge hit, and they are simple too!
Thank you for letting me share this piece of my holiday tradition with you. Happy sipping!
PrintThe Easiest Rich and Creamy Homemade Eggnog (Alcoholic & Non-Alcoholic Options)

Stop buying store-bought eggnog. You can make this rich, creamy, classic holiday drink from scratch using simple ingredients. This guide provides a stovetop method for the best texture and includes options for serving it spiked or family-friendly.
- Prep Time: 15 min
- Cook Time: 10 min
- Total Time: 4 hours 25 min
- Yield: 6 servings 1x
- Category: Holiday Drinks Recipes
- Method: Stovetop Cooking
- Cuisine: American
- Diet: Vegetarian
Ingredients
- 6 large egg yolks
- 3/4 cup granulated sugar
- 1/4 teaspoon salt
- 1 teaspoon vanilla extract
- 1/4 teaspoon ground nutmeg, plus more for garnish
- 1/8 teaspoon ground cinnamon
- 1 1/2 cups whole milk
- 1 1/2 cups heavy cream
- Optional: 1/2 cup bourbon, dark rum, or brandy
Instructions
- In a medium bowl, whisk the egg yolks, sugar, and salt until the mixture is pale yellow and thick. This takes about 2 minutes.
- In a medium saucepan, combine the whole milk and heavy cream. Heat over medium heat until steam rises and small bubbles form around the edges. Do not let it boil.
- Temper the eggs: Slowly pour about 1 cup of the hot milk mixture into the egg yolk mixture while whisking constantly. This step prevents the eggs from scrambling.
- Pour the tempered egg mixture back into the saucepan with the remaining milk and cream.
- Cook over medium-low heat, stirring constantly with a wooden spoon or spatula, until the mixture thickens enough to coat the back of the spoon. This usually takes 8 to 10 minutes. Do not let it boil. The temperature should reach 170°F (77°C).
- Remove the saucepan from the heat immediately. Stir in the vanilla extract, nutmeg, and cinnamon.
- Strain the mixture through a fine-mesh sieve into a clean bowl to remove any small cooked egg pieces, ensuring a smooth texture.
- If making the alcoholic version, stir in your chosen spirit now.
- Cover the surface of the eggnog directly with plastic wrap to prevent a skin from forming. Chill in the refrigerator for at least 4 hours, or preferably overnight, until completely cold.
- To serve, whisk the chilled eggnog well. Pour into glasses and garnish each serving with a fresh sprinkle of ground nutmeg.
Notes
- For the creamiest texture, cook the custard slowly on the stovetop. If you are short on time, you can use a blender method: combine all cold ingredients (milk, cream, yolks, sugar, spices) in a blender and blend until smooth. Then, slowly stream in 1 cup of hot (but not boiling) milk while blending to gently cook the yolks. Chill thoroughly before serving.
- This homemade eggnog tastes best when made one day ahead, allowing the spices to fully infuse the custard.
- Store leftover eggnog in an airtight container in the refrigerator for up to 5 days.
Nutrition
- Serving Size: 1 cup
- Calories: 450
- Sugar: 35g
- Sodium: 110mg
- Fat: 30g
- Saturated Fat: 18g
- Unsaturated Fat: 12g
- Trans Fat: 1g
- Carbohydrates: 38g
- Fiber: 0g
- Protein: 10g
- Cholesterol: 250mg