
There is genuinely nothing better on a chilly evening than wrapping your hands around a steaming mug, right? We all deserve that moment of pure, chocolatey comfort. If you’ve been settling for those dusty packets from the store, I’m here to tell you that you can ditch them forever! Making your own rich homemade chocolate syrup is one thing, but crafting the hot cocoa mix of your dreams is even easier. At Kitchenican, we believe spectacular flavor shouldn’t require complex techniques. This recipe proves that anyone—yes, even you, if you’ve ever doubted your kitchen skills!—can create something truly decadent from simple pantry staples.
- Why This Homemade Hot Cocoa Mix Is Your New Favorite Pantry Staple Drinks
- Ingredients for the Best Hot Cocoa Mix Recipe
- How to Prepare Your Creamy Hot Chocolate Mix
- Tips for Success When Making hot cocoa mix
- Serving Suggestions for Your hot cocoa mix
- Packaging Your hot cocoa mix In A Jar for Homemade Gifts In A Jar
- Storage & Reheating Instructions for this Chocolate Drink Mix
- Frequently Asked Questions About hot cocoa mix
- Share Your Cozy Winter Bev Experience
Why This Homemade Hot Cocoa Mix Is Your New Favorite Pantry Staple Drinks
When you make your own DIY Hot Chocolate Mix, you get instant access to the best mug-warming experience possible. Forget those chalky, overly sweet store versions! This recipe is a game-changer for keeping cozy on hand all winter long. It’s quick, it lasts forever, and it tastes like you spent hours fussing over it—but you absolutely didn’t.
Here’s why this simple dry mix needs to be in your life:
- It provides a vastly superior flavor profile compared to anything pre-packaged.
- You can whip up a big batch in under five minutes, making it perfect for busy evenings.
- It stores beautifully, so you always have a comforting option ready to go, supporting your quest for great Pantry Staple Drinks.
Seriously, this is the Easy Cocoa Powder Recipe you’ll use every single time. I keep a jar right next to my favorite mugs!
Achieving Rich Flavor in Your Hot Cocoa Mix
The secret here is not adding tons of weird fillers. We rely on quality ingredients, specifically good unsweetened cocoa powder. That’s where the real deep chocolate flavor comes from! When you see the rich color of this dry mix, you know you’re making something worthy of the title Best Hot Cocoa Mix Recipe. It guarantees that satisfyingly Creamy Hot Chocolate Mix texture we all crave, especially if you add that optional milk powder.
Quick Hot Chocolate Mix Prep Time
Listen up—it takes five minutes, tops. That’s less time than it takes to find the old box of packets hiding in the back of your pantry! You just dump, whisk, and jar. That’s it! It’s an incredibly Quick Hot Chocolate Mix solution. I even use it when I need a spur-of-the-moment chocolatey treat while working late. Try whipping up a batch today; you’ll find yourself reaching for your easy weeknight dinners right after, because you’ve already finished the hardest part of dessert!
Ingredients for the Best Hot Cocoa Mix Recipe
This is where the magic—and the trust—comes in. You’ll notice this section is short, and that’s a good thing! It means you aren’t fighting a list of twenty ingredients you’ll have to track down. This Homemade Hot Cocoa Mix is built on accessible pantry items. We’re keeping everything straightforward so you build confidence fast.
Here are the only things you need for your Big Batch Cocoa Mix. Make sure you measure these carefully so that when folks try your Hot Cocoa Mix In A Jar gift, it tastes perfect every time:
- 2 cups powdered sugar (The standard sweetness base.)
- 3/4 cup unsweetened cocoa powder (This is your flavor backbone, so use one you love!)
- 1/2 cup non-fat dry milk powder (This is optional, but I highly recommend it for that true Creamy Hot Chocolate Mix texture. If you skip it, see the tips later about using more milk when you serve it.)
- 1/2 teaspoon salt (Don’t skip this! Salt is crucial; it wakes up the chocolate flavor.)
If you ever wonder about how to boost the flavor of other pantry items, check out my guide on easy homemade garlic butter recipe—it uses the same principle of enhancing simple ingredients!
How to Prepare Your Creamy Hot Chocolate Mix
Okay, friends, the joy of this recipe is that there is zero cooking involved! We are just focused on perfect blending. Step one is simple: get all your dry ingredients—the sugar, the cocoa, the optional milk powder, and that crucial little pinch of salt—together in a nice, big bowl. If you try to mix this in a tiny bowl, you’ll end up making a big mess, trust me!
Use a standard wire whisk or even a big fork. You want to spend some time here. This isn’t like just stirring two things together; we are incorporating powders that really like to clump up, which is the absolute worst when you are trying to enjoy a smooth drink later.
Once you’ve gathered everything, you can move on to the most important part of making this Quick Hot Chocolate Mix worth your while.
The Crucial Step: Whisking Your hot cocoa mix Thoroughly
I know, I know, whisking seems obvious, but this is where you elevate your easy creamy garlic aioli recipe skills to the drink realm! You absolutely must whisk everything together for a full sixty seconds, at minimum. I always count it out loud! Why? Because cocoa powder—even the good stuff—hates breaking apart from the sugar. If you rush this step, you’ll end up with a lump of dry cocoa powder sinking to the bottom of your mug when you add hot milk.
We are aiming for a perfectly uniform, light brown powder where every single spoonful has the exact right ratio of chocolate to sweetness. This complete incorporation is key to having an outstanding, velvety cup of chocolatey goodness every single time you reach for the jar.
Tips for Success When Making hot cocoa mix
Okay, now that you’ve got your big batch mixed up, let’s talk about how to make sure every cup you pull from that jar is absolutely next-level. I learned a couple of things the hard way early on in my Kitchenican journey, so you don’t have to!
The biggest flavor booster I discovered is the cocoa powder itself. If you are serious about that deep, dark chocolatey flavor, look for Dutch-process cocoa powder. I made a batch once using standard baker’s cocoa, and my first mug tasted just… fine. It was good, sure, but not *spectacular*. Then I swapped it out for Dutch-process, and wow! It made the mix so much richer and less acidic. It really brings out that deep chocolate note you expect in a luxurious drink.
It’s all about maximizing that flavor while keeping things simple, much like when I perfected my best all-purpose homemade salad dressing—a small switch in ingredient quality makes a huge difference.
Also, remember you have control over the texture when you serve it up, too. If you decided to skip the powdered dry milk when making the base mix (which is totally fine for a leaner version!), you need to compensate when you make the actual drink. Use hot milk instead of plain hot water. Milk adds instant richness and body that mimics that creamy feel we talked about. If you use milk for the non-milk powder version, use just a little more mix—maybe 3 1/2 tablespoons—to punch up the chocolate density!
Serving Suggestions for Your hot cocoa mix
Now that you have this spectacular, ready-to-go supply of Chocolate Drink Mix sitting in your cupboard, the fun part begins: making the actual drink! This is where you transform your simple dry mixture into a luxurious, soul-warming cup of cocoa. It’s so easy, I promise you won’t want to go back to those old store-bought methods ever again.
When you’re ready to pour a mug of one of these ultimate Winter Warm Drinks, here is the ratio I stick to. Start with 3 level tablespoons of your homemade mix and whisk that into about 1 cup of hot liquid. You can use water if you prefer a lighter drink, but if you want that true “rich and creamy” experience, please, use whole milk or even half-and-half if you’re feeling decadent!
The key to getting this right when using water is making sure you whisk really aggressively at first, just like we did when mixing the dry ingredients. You want it smooth before adding the rest of the hot milk. If you’re using milk, the consistency comes together much faster, giving you that perfect Cozzy Winter Bev in seconds.
To take it over the top—because why wouldn’t you?—get creative with toppings! Mini marshmallows are a non-negotiable necessity for me, especially when making this for the kids. But if you’re making this for yourself after a long day, try a dollop of real whipped cream and a light dusting of cinnamon or nutmeg right on top. Another fantastic idea is adding a swirl of chocolate syrup—you can check out how I make my own creamy stovetop rice pudding recipe later, but for now, focus on that chocolate! These little additions really turn a simple Hot Cocoa Recipe Without Milk Powder into a genuine dessert experience.
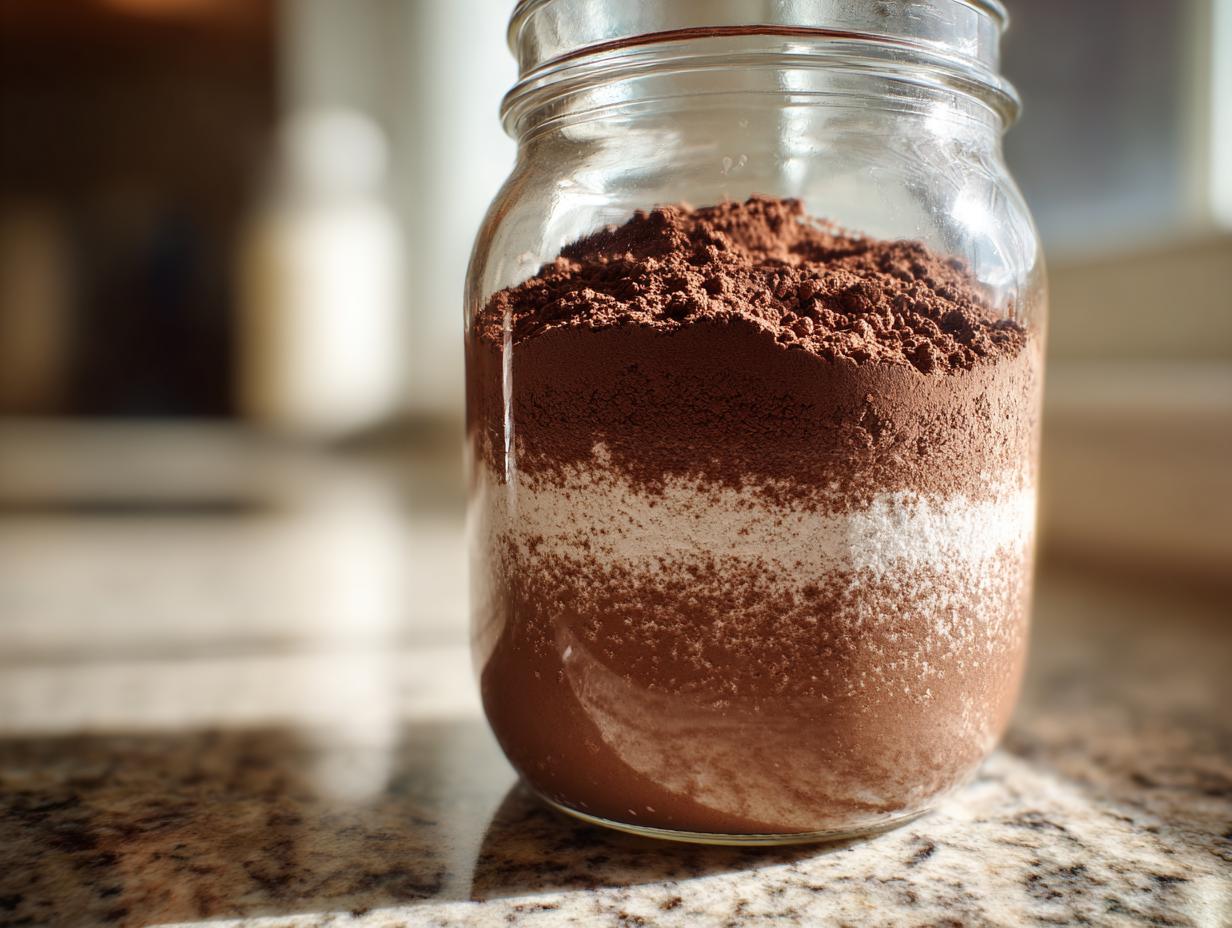
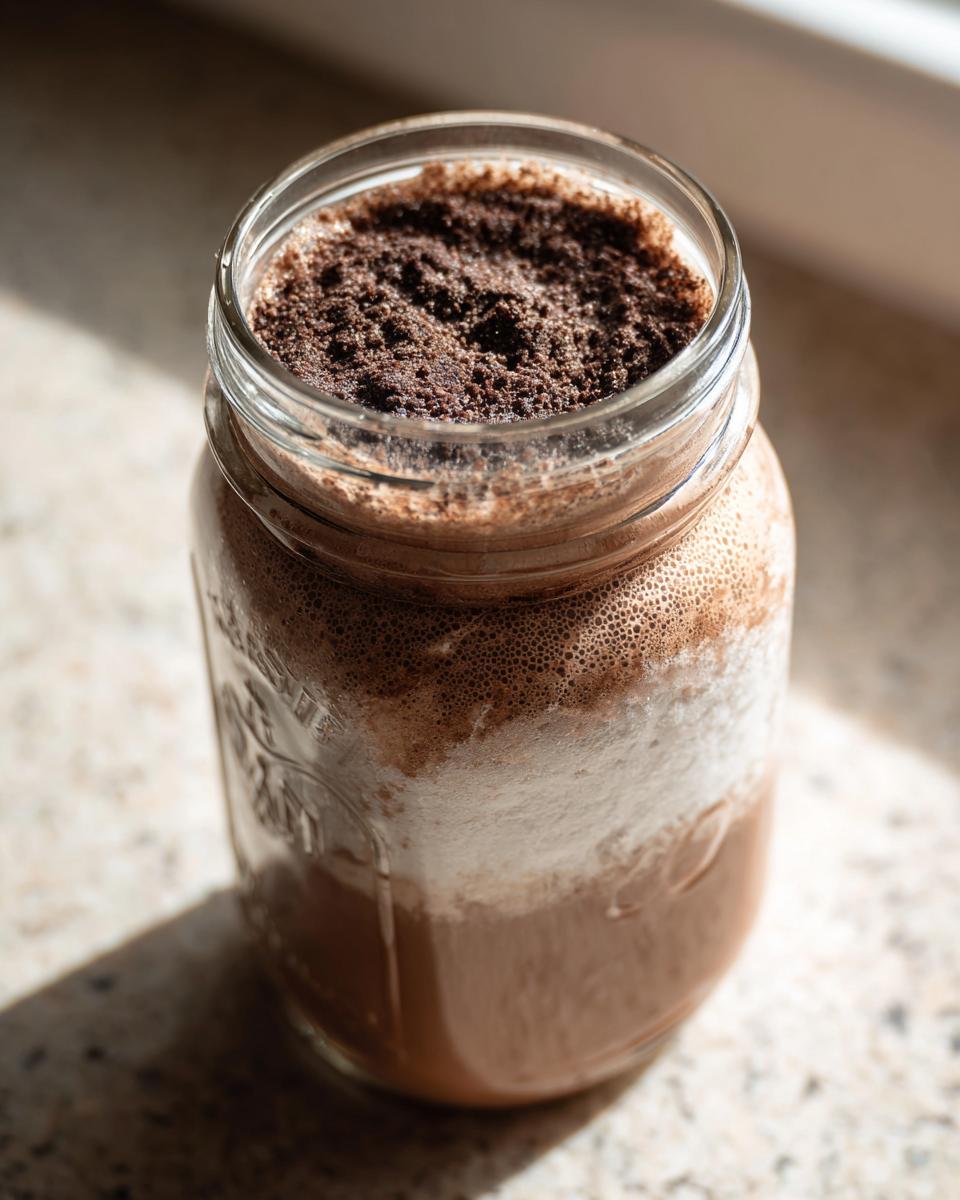
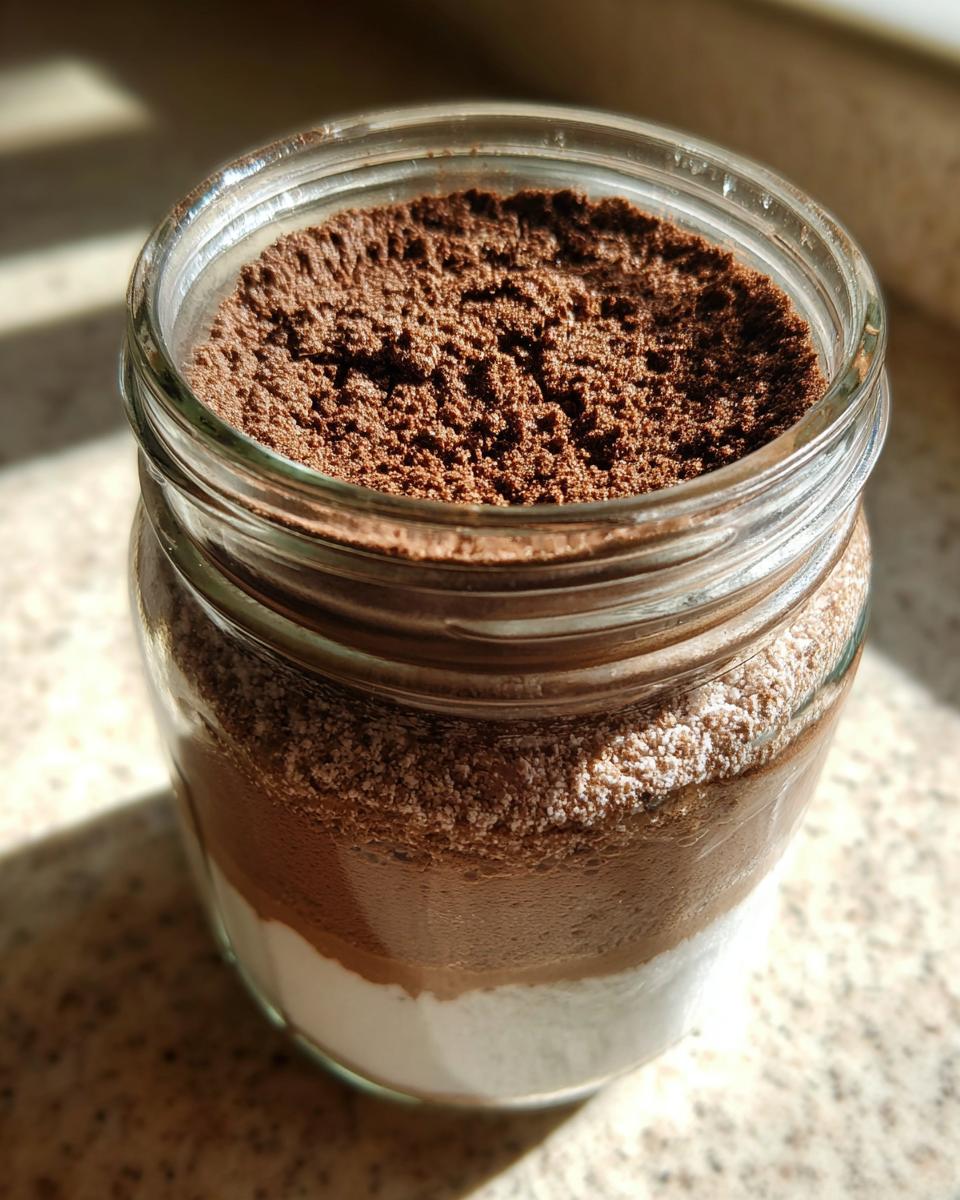
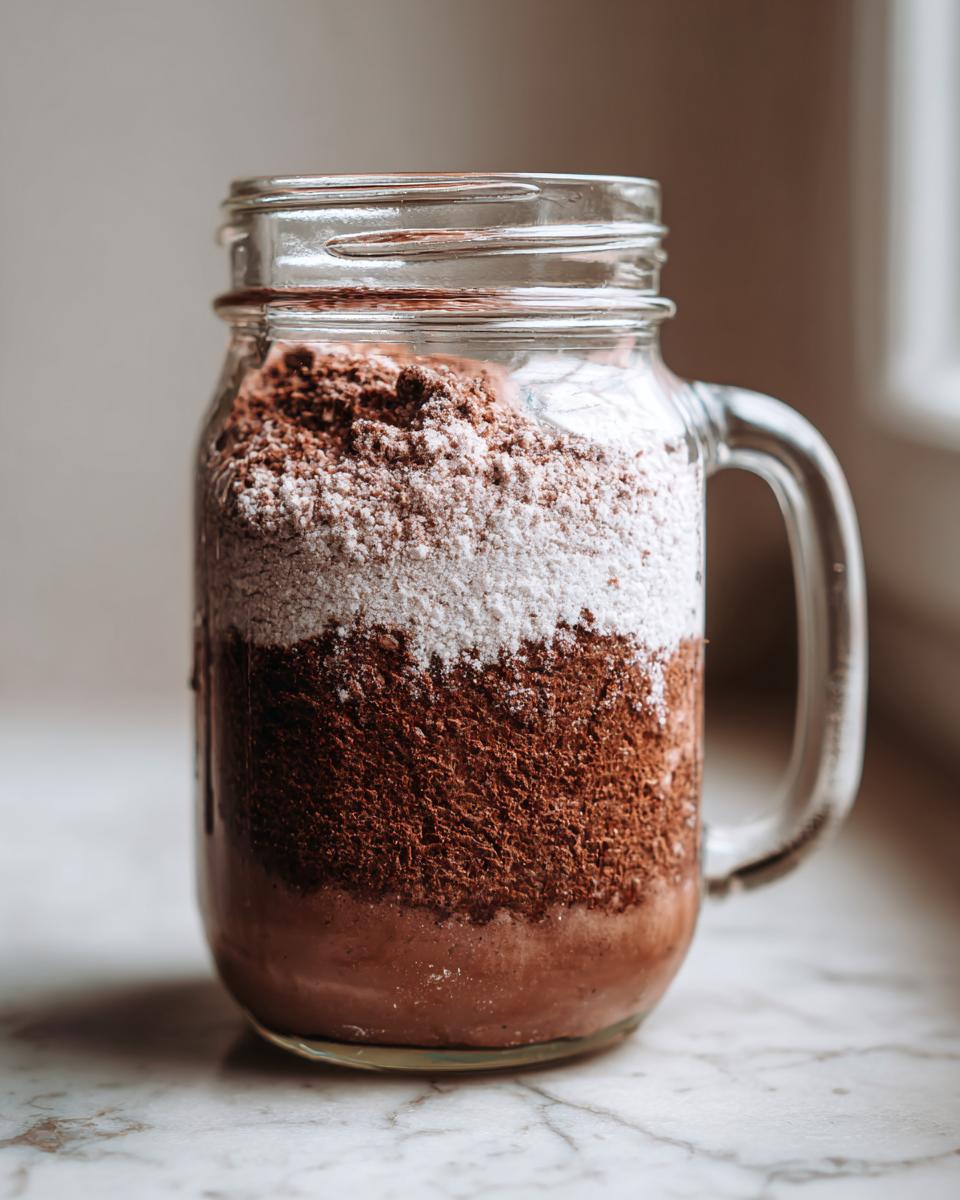
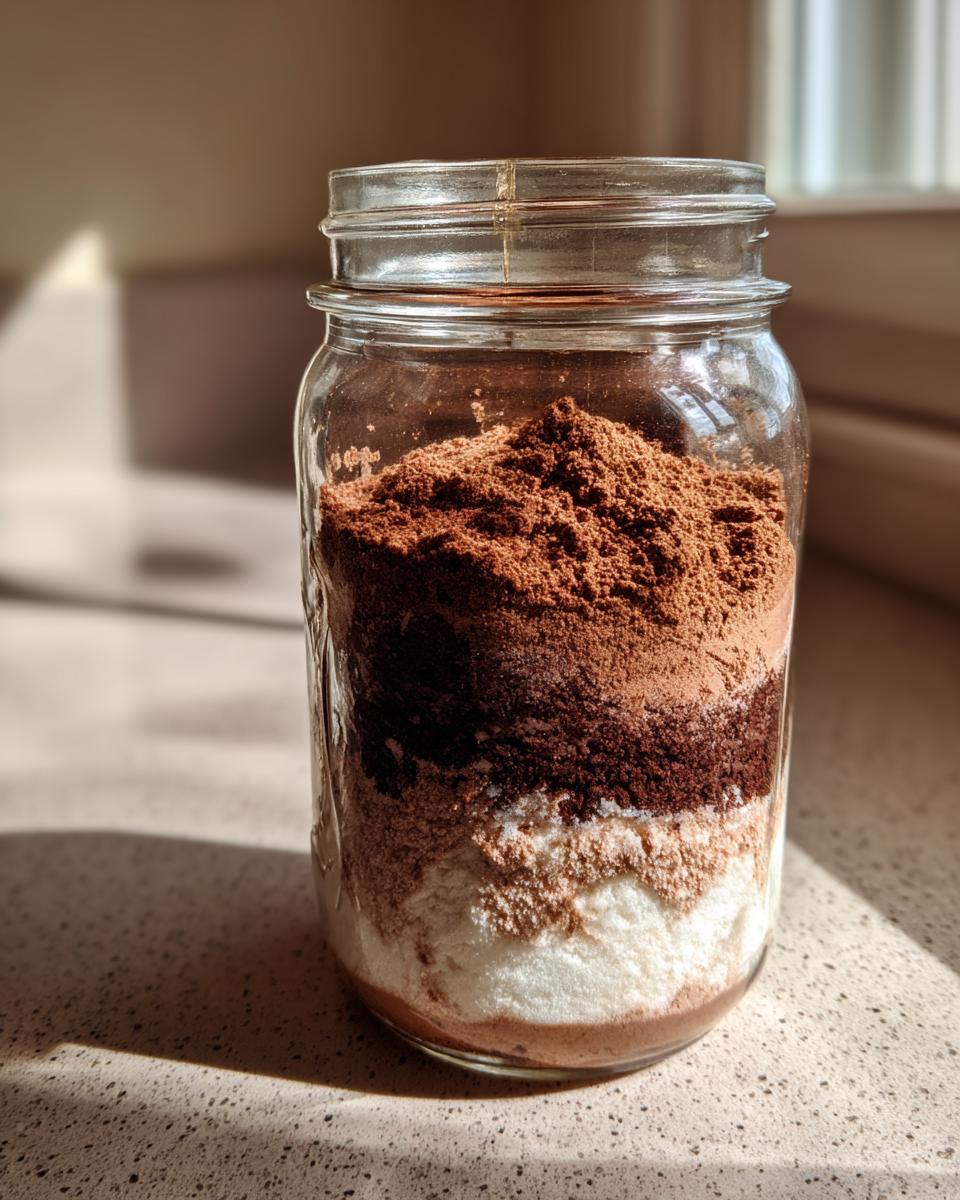
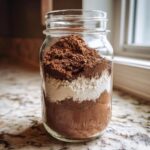
Packaging Your hot cocoa mix In A Jar for Homemade Gifts In A Jar
Okay, this is one of my absolute favorite things about making a Big Batch Cocoa Mix: it doubles perfectly as the easiest, most thoughtful gift! If you’re looking for fantastic Holiday Food Gifts that actually get used, packaging your Homemade Hot Cocoa Mix up in a pretty mason jar is the way to go. Seriously, nothing beats receiving something made with love, and this takes maybe two extra minutes!
To make it look amazing, you can either gently layer the ingredients—sugar first, then the cocoa, then the optional dry milk (if you used it)—or you can whisk everything together first if you prefer a uniform look. Whisks-together works best if you are making a batch for yourself, but layering looks so pretty in a clear jar for gifting!
The trick for any successful Hot Cocoa Mix In A Jar is making sure the recipient knows how to use it. Don’t forget to tie a little tag around the neck of the jar with a piece of twine. On that tag, you must write down the simple instructions: “Use 3 tablespoons per 1 cup of hot milk or water!” That way, they can pour a cup of pure joy right away! If you need more inspiration for jar gifts, check out how delicious my fudgy homemade Oreo brownies are, which also make incredible Homemade Gifts In A Jar, though those require actual baking!
If you want even more amazing ideas specifically for jar presentation, I always look towards sites like Upstate Ramblings for inspiration on presentation; they have great tips for making jar gifts shine. Check out how they present their mix here!
Storage & Reheating Instructions for this Chocolate Drink Mix
One of the biggest flexes of making your own hot cocoa mix is how ridiculously long it lasts. Unlike those soggy, half-used packets that hide in the back of the cupboard, this beautiful, dry blend is ready for you whenever those chilly nights hit—even a year from now!
The longevity comes down to one thing: dryness. Since we are working only with dry ingredients, we don’t have to worry about mold or spoilage like we do with a wet sauce. However, you do need to respect the moisture in the air! Keep the mix in a truly airtight container. I’m talking about a jar with a tight-sealing lid, or even a sturdy zip-top bag if you don’t have immediate jar space.
Store this mix in a cool, dry place—think the back of your pantry, nowhere near the stove or sink where steam might creep in. If you follow those simple rules, this DIY Hot Chocolate Mix will stay perfectly good for up to a whole year. I often make a quadruple batch around Halloween just to cover us right through Easter!
Now, about reheating: this is a dry mix, so there’s nothing to reheat! Once you prepare your cup of cocoa using hot milk or water, that’s when you enjoy it fresh. If you happen to be making a big batch of this Chocolate Drink Mix and you’ve accidentally added too much, don’t fret about how to store the leftovers. Just put the extra back into the main airtight container. It holds its flavor and texture beautifully, meaning you can always whip up just one perfect cup whenever the mood strikes.
If you enjoy making things ahead of time, you should definitely check out my recipe for easy cool whip candy recipe—it lasts for ages in the freezer too, which is great when you need a quick treat!
Frequently Asked Questions About hot cocoa mix
I get asked all the time about variations and longevity once someone tries my recipe for Homemade Hot Cocoa Mix for the first time. It’s the best sign that they’ve officially ditched the store-bought stuff! Here are the most common things folks wonder about when they start making their own for Cozzy Winter Bev nights.
Can I make this hot cocoa recipe without milk powder?
Absolutely, you can! If you have allergies, or just don’t keep dry milk on hand, you can easily leave it out. Remember it’s totally optional in the main recipe. If you skip the powdered milk, you just change the liquid you use when preparing your drink. Instead of using just water, you’ll want to use hot milk instead to get that signature velvety texture. If you prefer water even without the powder, add an extra half-tablespoon of the cocoa mix per cup to really boost the chocolate intensity!
How long does this homemade hot cocoa mix last?
This is the beauty of a dry mix! Because we don’t add any water or fresh dairy, this Chocolate Drink Mix lasts for ages, provided you store it correctly. In an airtight container, kept in a cool, dark cupboard, this hot cocoa mix stays fresh and potent for up to a full year. I always keep a jar going all winter, and I’ve never had one go bad before I finished it! If you’re making a batch just for gifts, make sure you attach a little reminder tag on the jar noting the preparation instructions so they know how to use it later.
What is the best cocoa powder to use for the richest flavor?
If you want the richest, deepest, almost dark-chocolate experience in your cup, go for Dutch-process cocoa powder. Standard unsweetened cocoa powder works perfectly well—and it’s cheaper!—but Dutch-process cocoa has been alkalized, which cuts down on acidity and gives you that darker, smoother, more mellow flavor profile that truly defines a luxurious hot chocolate. I think using Dutch-process is the secret to achieving that decadent taste people rave about in my oatmeal bars recipe, too—it’s all about boosting the depth of the chocolate!
For even more tips on ensuring your mix is perfect, take a peek at what other bakers are doing over at Recipes Sweets for their cocoa powder tips right here.
Share Your Cozy Winter Bev Experience
I truly hope this simple recipe for homemade hot cocoa mix brings that same easy warmth to your kitchen that it brings to mine every cold season. Making something delicious from scratch—even something as simple as a dry mix—is such a small victory, but those little victories are how we build real confidence in the kitchen!
So, please don’t just leave this recipe here in your browser tabs! Go grab your cocoa powder and sugar and mix up a batch today. I want to hear about it!
Once you’ve stirred up your perfect blend, let me know how it tastes. Did you go for the ultimate creaminess with the dry milk, or did you stick to the three-ingredient classic? Did you use dark chocolate shavings on top? Drop a comment below, tell me how many stars you’d give this DIY Hot Chocolate Mix, and share any flavor twists you tried!
Remember, that’s the whole point of Kitchenican—to bridge the gap between wanting good food and actually making it. You did the hard work of looking up the recipe, now go enjoy the reward. You absolutely can master your kitchen, one Cozzy Winter Bev at a time! If you want to learn more about our whole mission and how we encourage confident cooking, you can read all about our story here.
PrintRich & Creamy Homemade Hot Cocoa Mix
Make this easy homemade hot cocoa mix using basic pantry staples. This recipe yields a rich, chocolatey drink that tastes better than store-bought versions and is perfect for gifting in a jar.
- Prep Time: 5 min
- Cook Time: 0 min
- Total Time: 5 min
- Yield: About 16 servings 1x
- Category: Beverage
- Method: Mixing
- Cuisine: American
- Diet: Vegetarian
Ingredients
- 2 cups powdered sugar
- 3/4 cup unsweetened cocoa powder
- 1/2 cup non-fat dry milk powder (optional, for creaminess)
- 1/2 teaspoon salt
Instructions
- Gather all your ingredients: powdered sugar, cocoa powder, dry milk powder (if using), and salt.
- In a large bowl, combine the powdered sugar and cocoa powder. Whisk them together well to break up any clumps.
- Add the dry milk powder, if you are including it, and the salt to the bowl.
- Whisk all dry ingredients thoroughly for at least one minute. You must mix completely to avoid lumps when preparing your drink later.
- Store the finished hot cocoa mix in an airtight container, such as a mason jar, in a cool, dry place.
- To prepare, mix 3 tablespoons of the hot cocoa mix with 1 cup of hot milk or water. Whisk until smooth and enjoy your cozy winter drink.
Notes
- For a richer flavor, use Dutch-process cocoa powder.
- If you skip the dry milk powder, use 1 1/2 cups of hot milk instead of water for a creamier result.
- This mix stores well for up to one year in an airtight container.
- For a DIY gift, layer the ingredients in a decorative jar and attach a tag with the preparation instructions.
Nutrition
- Serving Size: 3 tablespoons mix
- Calories: 130
- Sugar: 23g
- Sodium: 35mg
- Fat: 1.5g
- Saturated Fat: 0.8g
- Unsaturated Fat: 0.7g
- Trans Fat: 0g
- Carbohydrates: 28g
- Fiber: 2g
- Protein: 2g
- Cholesterol: 0mg