
If you’re anything like me back when I first started cooking, you’ve probably given up on making perfect sugar cookies more times than you can count. You know the drill: you want that perfect, buttery, soft-and-chewy bite, but you also need them sturdy enough to cut out intricate shapes for a holiday tray. Too often, you end up with either a puddle that spreads across the pan or a brittle disc that crumbles instantly. Ugh! I completely get it.
Well, I’m Ava Sinclair, and trust me, I’ve been there. That’s why, after years of baking failures, I finally perfected this recipe. This isn’t just another recipe; it’s the blueprint for consistently achieving those bakery-style sugar cookies that are wonderfully soft on the inside but hold their shape like a champion when you cut them out. We stripped away all the fuss and focused on the essentials. You absolutely can create the best homemade cookies right here, right now!
- Why This is the Best Sugar Cookie Recipe Ever
- Essential Ingredients for Perfect Sugar Cookies
- How to Make Easy Sugar Cookies From Scratch
- Tips for Success with Your Sugar Cookies
- Ingredient Notes and Substitutions for Sugar Cookies
- Making Sugar Cookies for the Holidays
- Serving Suggestions for These Simple Dessert Recipes
- Frequently Asked Questions About Perfect Sugar Cookies
- Nutritional Estimates for Your Sugar Cookies
Why This is the Best Sugar Cookie Recipe Ever
I totally get it. You need a formula that just *works*, every single time, whether you’re making sugar cookies for a quick weeknight treat or tackling a huge batch of holiday cut-outs. This recipe stops the endless search for the best sugar cookie recipe because it manages that crazy balancing act. You can find more guidance on making them soft and chewy right here: soft, chewy sugar cookies.
Here’s why I promise this one is going into your permanent rotation:
- It delivers that melt-in-your-mouth tenderness that makes you close your eyes after the first bite.
- It’s surprisingly straightforward—a truly simple cookie recipe built on baking staples.
- It gives you the structural integrity needed for decorating without tasting like cardboard!
Achieving Soft Sugar Cookies Texture
The softness comes from how we treat the butter and sugar—we really beat air into them early on. Plus, we use just the right amount of leavening and rely on chilling heavily. That controlled chilling keeps the dough firm so the cookies bake up thick and chewy instead of flat and crisp.
The Secret to Perfect Cut Out Sugar Cookies
The trick to getting perfect cut out sugar cookies that don’t warp in the oven is twofold: proper chilling and thickness consistency. You MUST chill the dough for at least two hours—don’t even think about hacking that step! Rolling them out to a uniform 1/4 inch keeps the bake even. This method guarantees sharp edges that your cutters create, making them perfect for any kind of decorating.
Essential Ingredients for Perfect Sugar Cookies
I can’t stress this enough: using good quality, basic ingredients is what separates those dry, store-bought discs from truly incredible sugar cookies. For this recipe, we are sticking to high-quality baking staples. You don’t need anything fancy, just good measurements! Check out my favorite recipe for homemade garlic butter if you want to see how much I value quality fats!
Here is exactly what you need to gather before you start creaming:
- 1 cup unsalted butter, softened (this needs to be truly soft, guys!)
- 1 1/2 cups granulated sugar
- 2 large eggs (make sure they are room temperature if you can!)
- 1 teaspoon vanilla extract
- 3 3/4 cups all-purpose flour
- 1 teaspoon baking powder
- 1/2 teaspoon salt
That’s it! A simple, short list builds the best foundation for your cut out sugar cookies.
How to Make Easy Sugar Cookies From Scratch
Alright, let’s get our hands dirty! This is where the magic happens, turning those simple ingredients into what I hope will become your best sugar cookie recipe ever. I want these to be as simple as possible for you, so I’ve broken down the process. Just follow along—I promise it’s less complicated than it looks. You can use this dough for everything from pretty holiday sugar cookies to simple afternoon snacks.
Mixing the Dough and Chilling for No Spread Sugar Cookies
First up, take that softened butter and sugar and cream them together until they look genuinely light and fluffy—you need that fluffiness! Don’t rush this part; it’s essential for texture. Next, add your eggs one at a time, making sure each one is fully incorporated before adding the next, then stir in the vanilla. Now, whisk your dry ingredients—the flour, baking powder, and salt—separately. This keeps everything evenly distributed. Mix the dry stuff into the wet stuff slowly, keeping the mixer on low speed so you don’t overwork the dough. Seriously, stop mixing as soon as you see no more flour streaks. Then comes the non-negotiable step: divide the dough into two flat disks, wrap them tight, and chill them in the fridge for at least two hours. Chilling solidifies the fat, which is the absolute secret weapon to getting those beautiful no spread sugar cookies!
Rolling, Cutting, and Baking Your Sugar Cookies
Once your dough is nice and firm, get your oven preheated to 375 degrees Fahrenheit. I always line my baking sheets with parchment paper; it just makes cleanup a dream. Dust your counter lightly with flour and roll out one disk of dough until it’s about 1/4 inch thick—no thinner, or you lose that lovely chewiness! Now, use your cutters, place the shapes onto the lined sheets, leaving just a bit of space between them. You’ll bake these for about 8 to 10 minutes. Keep a close eye on them! You want the edges to look set, but the very center should still look a little soft. That slight softness tells you they’ll be wonderfully soft sugar cookies once they cool down. If you want to peek at some other great baking processes, check out how I make whipped ricotta dip—similar principle of aeration!
Let the cookies sit on the hot pan for about five minutes after they come out. They firm up a lot during this time. If you’re looking for general tips on making sugar cookies, this guide might help: sugar cookies recipe.
Tips for Success with Your Sugar Cookies
Even with the best foundational recipe, sometimes you need a few little nudges to get those sugar cookies looking *exactly* how you pictured them. I learned these small tricks the hard way, so please, let them save you some stress! When you’re getting ready to bake a huge batch for Christmas baking, these tips are lifesavers.
- If you want cookies that look professionally crafted and hold super sharp edges—especially for heavy decorating—pop those cut-out shapes onto the baking sheet and freeze them for 10 minutes *before* they ever see the oven. It’s a little extra step, but it locks that shape in.
- The key to the softest cookies, hands down, is slightly underbaking! They should look just done when you pull them out. They continue cooking on the hot pan and then on the rack. If they look completely baked in the oven, they will be hard later.
- Don’t try to decorate until they are completely cool. Seriously, wait until they are stone cold, or your icing will melt right off. If you’re making these ahead of time, they freeze like a dream! Wrap those unbaked, cut-out shapes tightly, and they keep well in the freezer for about three months. I swear by preparing dough in advance, like when I make my soft bread bowls!
For more brilliant tips on making festive cut-outs, check out what my friends are doing over at The Seasoned Mom!
Ingredient Notes and Substitutions for Sugar Cookies
When we talk about making something the “best,” we have to look closely at the building blocks. For these easy sugar cookies, the ingredients are simple—that’s the beauty of it—but their roles are critical. Knowing *why* we use what we use is half the battle won in the kitchen, right?
Let’s talk about the butter first. I always specify unsalted butter, and that’s non-negotiable! Why? Because salt levels vary wildly between brands, and when you’re baking something as delicate as these cookies, you need total control over the salinity. We add exactly 1/2 teaspoon of salt ourselves for reliable flavor. If you only have salted butter on hand, just omit the added salt, but know the flavor won’t be quite as clean.
Secondly, pay attention to the leavening agent! We use baking powder, not baking soda. Baking powder gives us a gentle, consistent lift, which helps the cookies stay thick and prevents them from spreading too much sideways. If you accidentally swap in baking soda, these cookies will likely brown faster and flatten out because baking soda needs an acid to activate fully, giving you a different final texture—more of a crispy edge than that lovely chew we want.
And please, use real vanilla extract. While I love a good bargain on pantry items, vanilla is our primary flavor element outside of the buttery base. Imitation vanilla extract just doesn’t give you that sweet, warm aroma that makes homemade cookies so comforting. Trust me on this one; it makes all the difference when you’re aiming for that classic taste.
Making Sugar Cookies for the Holidays
When the air gets crisp and the holiday music starts playing, you know it’s time to put these sugar cookies to work! This recipe is honestly my go-to for every Christmas baking marathon. They are sturdy enough to handle whatever cookie cutters you throw at them, from tiny reindeer to big, beautiful stars.
The true fun, of course, is in the decoration. This is where you can really let your creativity shine. Whether you’re baking with toddlers or trying to make a professional-looking platter for the office party, the key is patience right after they come out of the oven. Remember what I said about letting them cool completely? That applies double time when you’re planning on icing them.
If you plan on covering these beauties in a thick, shiny layer of royal icing that actually dries hard—not sticky mess territory!—you really want to check out the secret to getting that icing perfect. Having the right icing makes all the difference for these holiday sugar cookies.
If you need some serious inspiration for festive shapes and color palettes, run over and see what the folks at Madilyn Recipes are doing for their Christmas baking spread. Seeing their gorgeous decorated cookies always makes me excited to pull out my own cutters!
Ultimately, these are fantastic simple dessert recipes to turn into a tradition. Pull out the sprinkles, grab the food coloring, and enjoy the process. These simple, buttery sugar cookies are the perfect canvas for making memories.
Serving Suggestions for These Simple Dessert Recipes
Now that you have perfected these gorgeous, buttery cookies, how should you serve them? Honestly, they are fantastic all on their own—a true testament that simple dessert recipes shine brightest. But if you want to elevate your little spread for company or just for a quiet afternoon indulgence, I have a few go-to pairings.
For a morning treat or an afternoon break, you simply cannot beat one of these melt in your mouth cookies alongside a hot cup of coffee or a big, tall glass of cold milk. They are just perfect for dipping! Sometimes, that simple combination is the most satisfying.
If you’re looking to serve them as part of a larger spread, especially if you didn’t go heavy on the icing, why not offer a little something extra for dipping? I’ve got this absolutely incredible creamy fruit dip that works beautifully here. It’s light, slightly tangy, and scooping a bit of that dip with a plain, buttery cookie is just heavenly. It takes a little effort but instantly makes your little cookie plate look like something from a cute bakery!
For holiday baking especially, I like to arrange them on a nice wooden board with some fresh berries or chocolate-dipped pretzels. It adds color and breaks up the sweetness just a bit. But honestly, feel free to just pile them high on a platter—they disappear fast no matter how you serve them!
Frequently Asked Questions About Perfect Sugar Cookies
I get asked about these sugar cookies all the time, especially when people are getting ready for big holiday baking sessions. It’s completely normal to have a few sticking points when you’re aiming for that perfect texture and shape. Here are the things I hear most often when people try to master this recipe.
Why do my sugar cookies spread out when I bake them?
Oh, the dreaded spread! This is the #1 issue people have with cut out sugar cookies. Usually, it boils down to two things: your butter was too soft, or you skipped chilling the dough. If your butter is melty instead of just properly softened, you introduce too much liquid too early, and those cookies melt right in the heat. Make sure you chill that dough for the full two hours minimum. Seriously, it solidifies the fat so they don’t go swimming in the oven. If you want to get involved in some truly comforting baking, sometimes I switch gears completely and just make my easy bean soup instead!
Can I skip chilling the dough? I’m in a hurry!
I know, I know, waiting is the hardest part of baking! But if you are making cut out sugar cookies, you really can’t skip chilling. If you try to roll out room-temperature dough, it turns sticky, you’ll end up adding way too much flour just to handle it, and that extra flour makes the final cookie tough, not soft. Chilling creates the perfect texture and guarantees those sharp, beautiful edges you want for decorating.
How do I get perfectly flat, even cookies without puffy centers?
This is about rolling thickness and a little pre-bake magic. You need to roll your dough to a consistent 1/4 inch thick across the entire surface. Use those rulers or guides if you have to! Also, remember that tip about chilling the shapes on the baking sheet right before they go into the oven? That extra 10 minutes of cold rest helps the outside edges set immediately upon contact with the heat, preventing the center from puffing up too much. Consistent thickness plus that cold starting point equals flat, gorgeous soft sugar cookies ready for icing.
Is this the best recipe for decorated cookies?
Absolutely, yes! This is a classic, sturdy base that people often call the best sugar cookie recipe specifically because it handles decorating so well. It has enough structure (thanks to the flour ratio) to support thick icing without cracking, but we didn’t sacrifice flavor or texture to get there. They stay delightfully soft even after the icing sets up.
Nutritional Estimates for Your Sugar Cookies
Okay, let’s talk nutrition for a second. When you’re making basic cookie dough from scratch using butter and sugar, we know these aren’t exactly health food, right? But it’s good to have a general idea of what you’re whipping up when you finish a batch of these incredible homemade treats. Remember, these figures are just estimates. The final count can wobble a bit depending on exactly how thick you roll your dough or which brand of butter you stock in your kitchen.
I pulled these averages based on a standard 1/4 inch cookie size. If you’re planning on frosting these heavily, you’ll definitely add a bit more sugar and calories from the icing, so keep that in mind!
- Serving Size: 1 cookie
- Calories: 150
- Total Fat: 7g (Saturated Fat: 4g)
- Carbohydrates: 20g (Sugar: 12g)
- Protein: 2g
- Cholesterol: 30mg
- Sodium: 85mg
See? Pretty standard for a delicious, buttery cookie! Don’t let the numbers scare you away from one of the best easy cookie recipe classics out there. Just enjoy the moment, and maybe pour yourself a glass of milk!
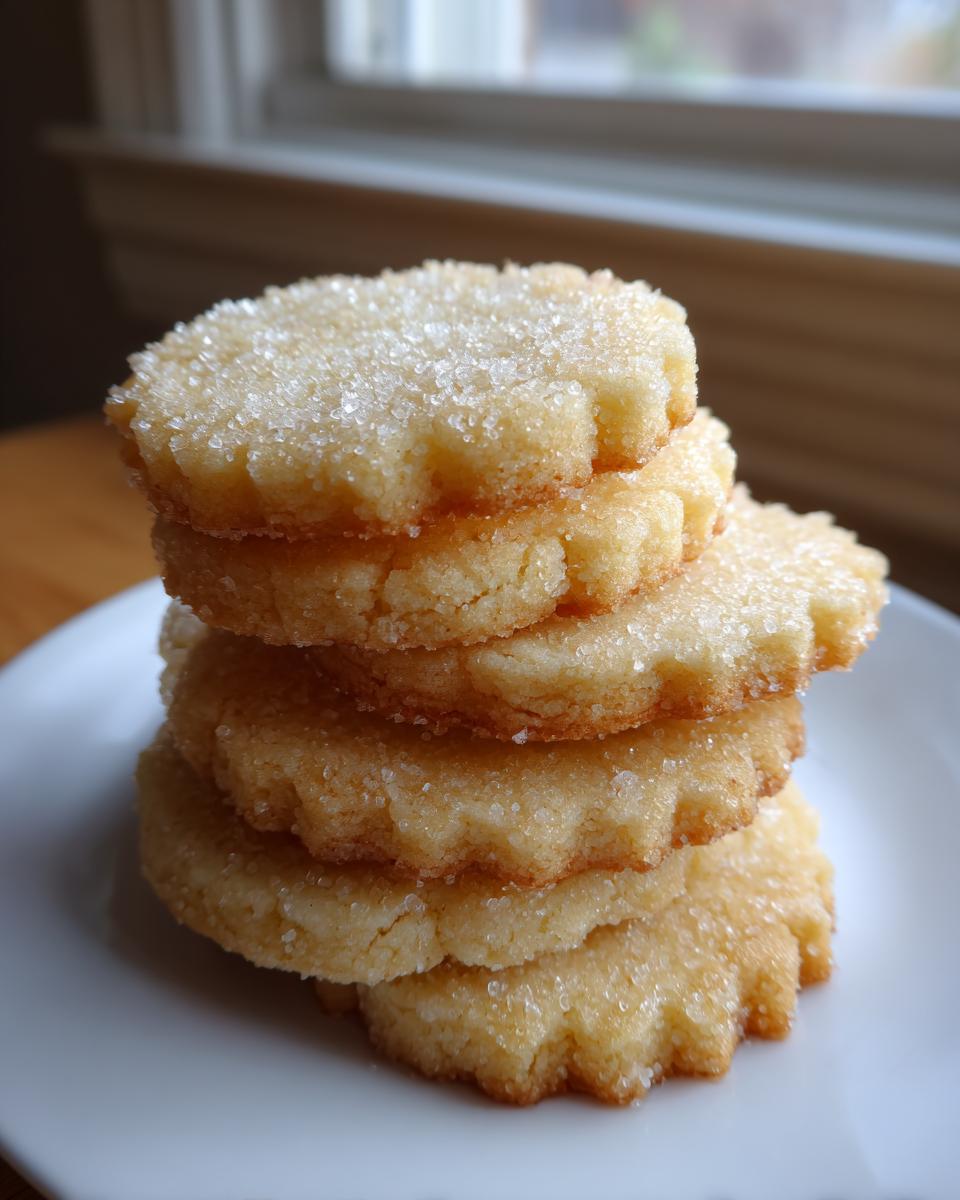
PrintThe Best Soft and Chewy Cut-Out Sugar Cookies
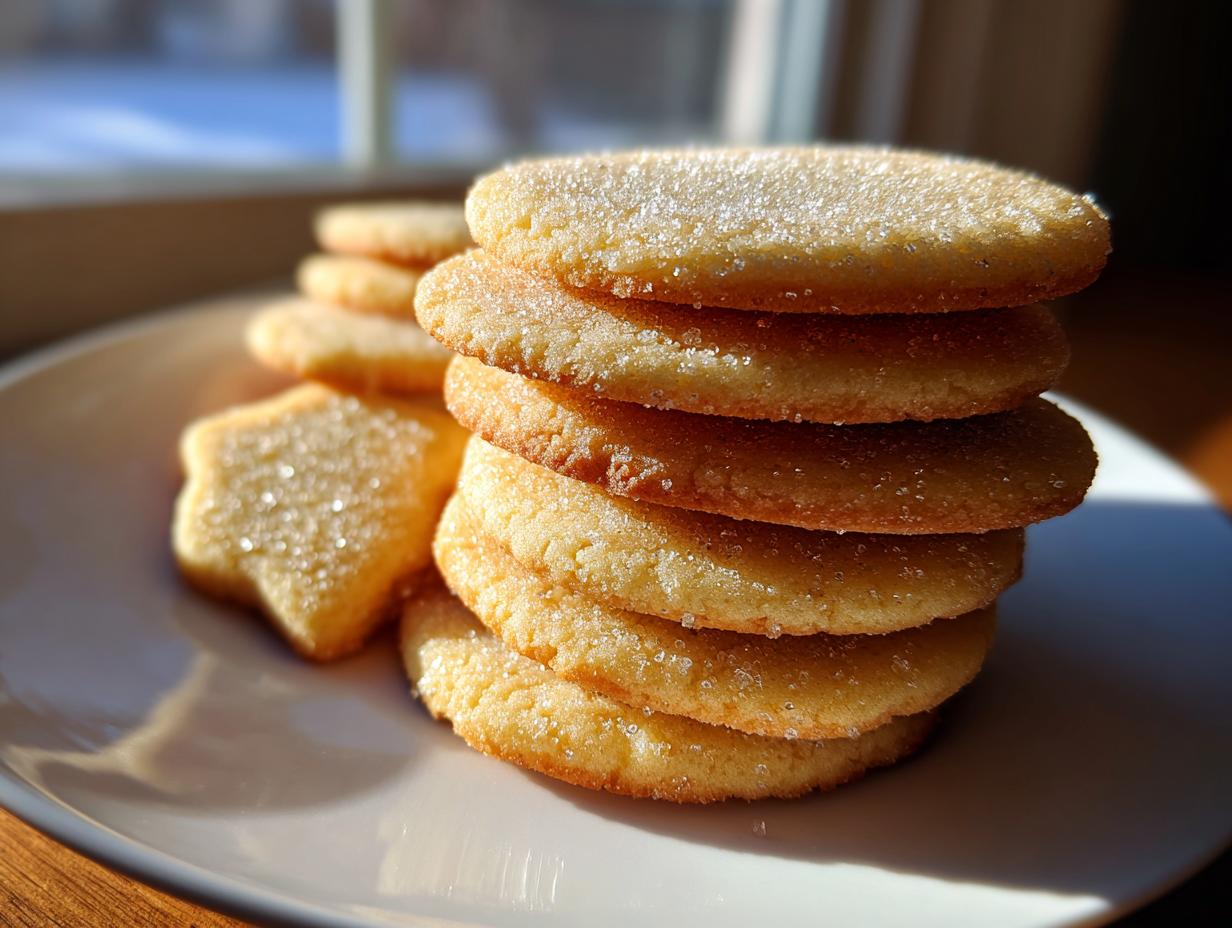
You can make bakery-style sugar cookies at home. This recipe creates soft, chewy cookies that hold their shape perfectly for cutting out and decorating, making them ideal for holidays or any celebration.
- Prep Time: 30 min
- Cook Time: 10 min
- Total Time: 160 min
- Yield: 3 dozen cookies 1x
- Category: Dessert
- Method: Baking
- Cuisine: American
- Diet: Vegetarian
Ingredients
- 1 cup unsalted butter, softened
- 1 1/2 cups granulated sugar
- 2 large eggs
- 1 teaspoon vanilla extract
- 3 3/4 cups all-purpose flour
- 1 teaspoon baking powder
- 1/2 teaspoon salt
Instructions
- In a large bowl, cream together the softened butter and granulated sugar until the mixture is light and fluffy. This step builds texture.
- Beat in the eggs one at a time, mixing well after each addition. Stir in the vanilla extract.
- In a separate bowl, whisk together the flour, baking powder, and salt.
- Gradually add the dry ingredients to the wet ingredients, mixing on low speed until just combined. Do not overmix the dough.
- Divide the dough in half, flatten each half into a disk, wrap tightly in plastic wrap, and chill in the refrigerator for at least 2 hours. Chilling is key for no spread sugar cookies.
- Preheat your oven to 375 degrees Fahrenheit. Line baking sheets with parchment paper.
- On a lightly floured surface, roll out one disk of dough to about 1/4 inch thickness. Use your favorite cookie cutters to cut out shapes.
- Place the cut-out sugar cookies onto the prepared baking sheets, leaving about 1 inch between them.
- Bake for 8 to 10 minutes, or until the edges are set but the centers still look slightly soft. For thicker cookies, aim for 10 minutes.
- Let the cookies cool on the baking sheet for 5 minutes before transferring them to a wire rack to cool completely. Decorate once fully cooled.
Notes
- For the softest cookies, slightly underbake them. They will firm up as they cool.
- If you plan to decorate heavily, chill the cut-out shapes on the baking sheet for 10 minutes before baking to help them maintain sharp edges.
- This dough freezes well. Wrap chilled, unbaked cut-out shapes tightly and freeze for up to 3 months.
Nutrition
- Serving Size: 1 cookie
- Calories: 150
- Sugar: 12g
- Sodium: 85mg
- Fat: 7g
- Saturated Fat: 4g
- Unsaturated Fat: 3g
- Trans Fat: 0g
- Carbohydrates: 20g
- Fiber: 0g
- Protein: 2g
- Cholesterol: 30mg